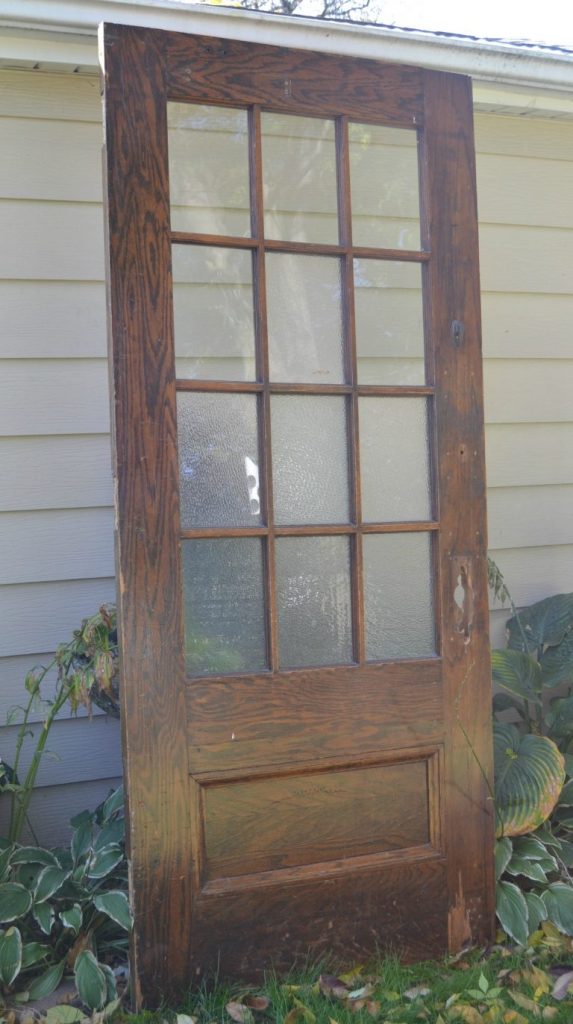
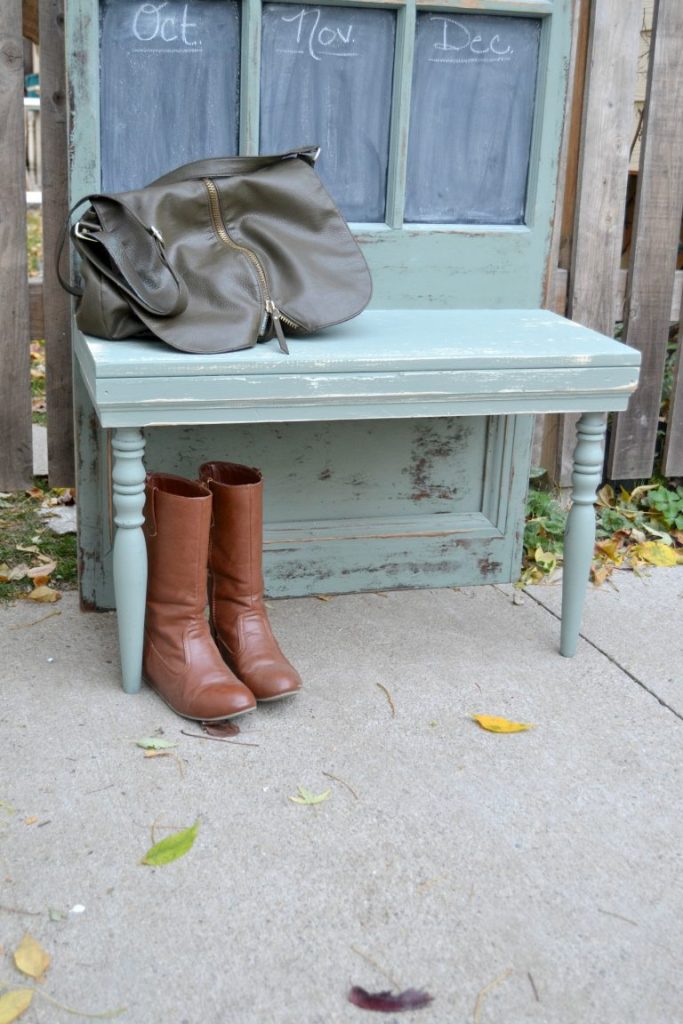
I did this DIY Hall Tree for a themed makeover I used to do with a group of bloggers. I was stumped for this particular project, but when I was searching around for ideas, my stash of old doors were the last thing I looked through. I had an old schoolhouse door that I knew would be the perfect candidate for a hall tree!
This door is so yummy to me. Yep, “yummy”. That is my official term for amazing pieces from old schoolhouses. This door came from one of the oldest schools in our area. They got rid of all the original doors in the school because they need to have doors that are up to code with the new rules and regulations for things like intruders. It is so sad that we have to lose all of the beautiful features of old schools because of the times we are in.
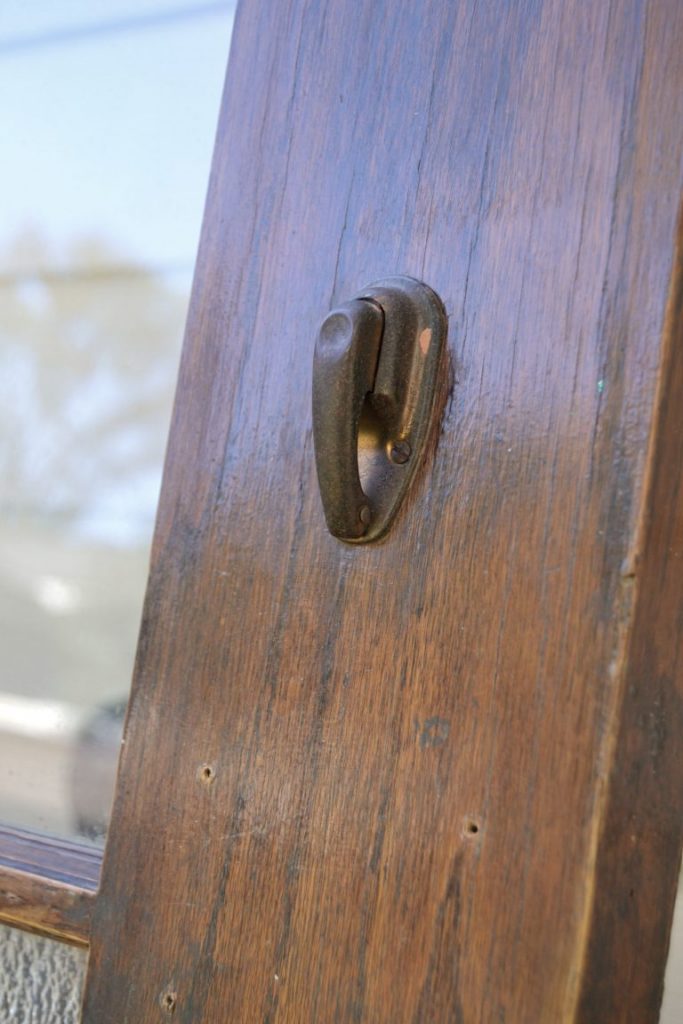
This door still had the original “paper clip” on it.
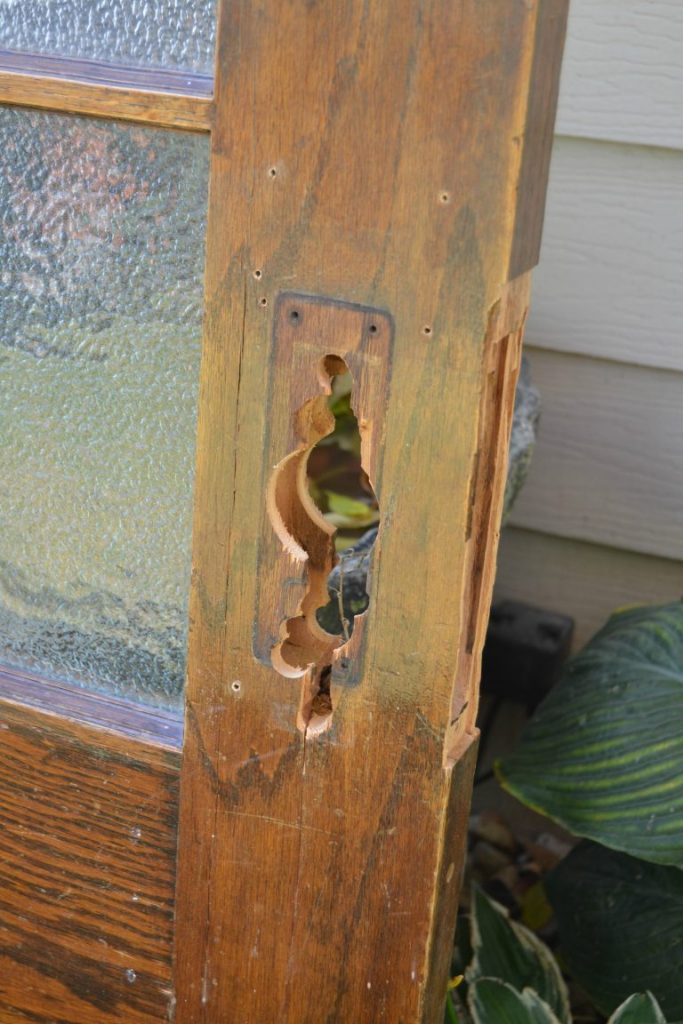
The school took all the original brass handles off the doors to recycle them. UGH!!!
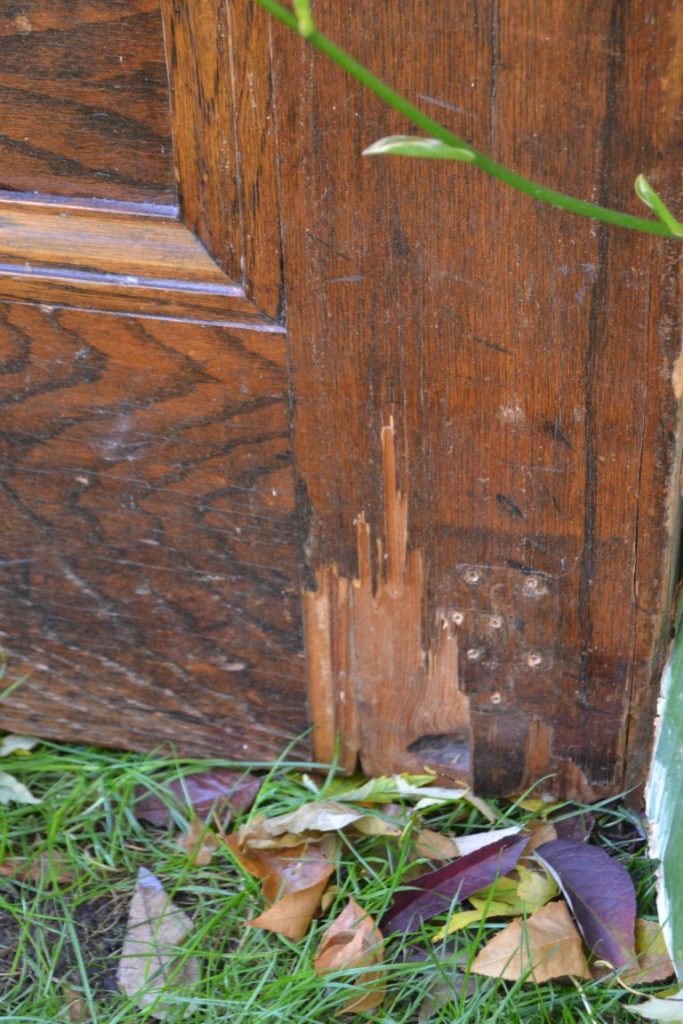
The bottom was not in the best shape either, but I was so happy to bring this door home.
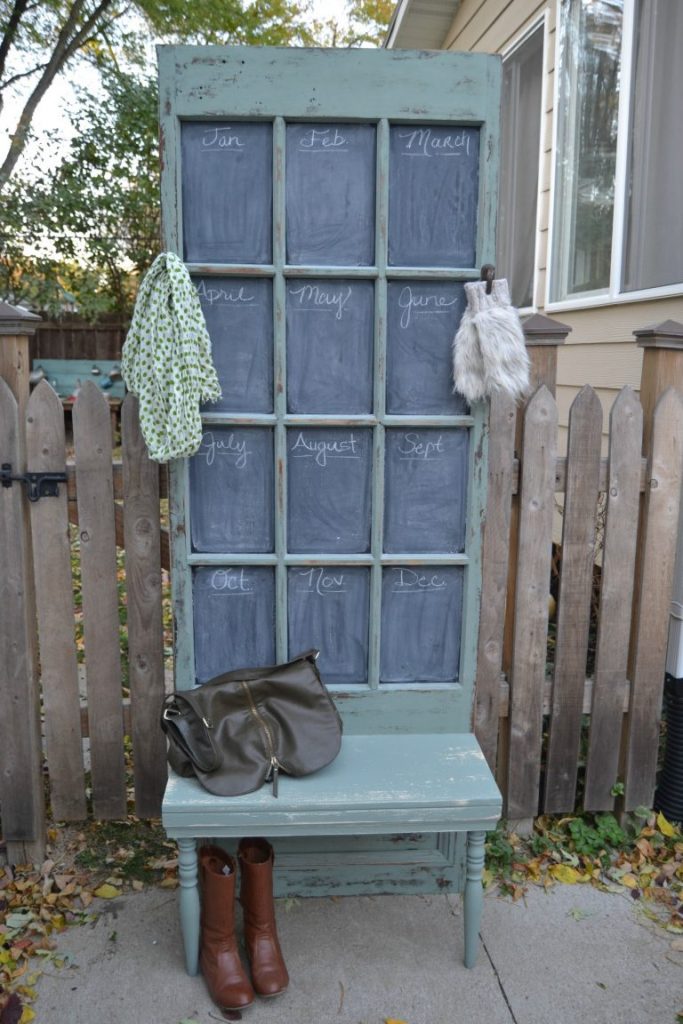
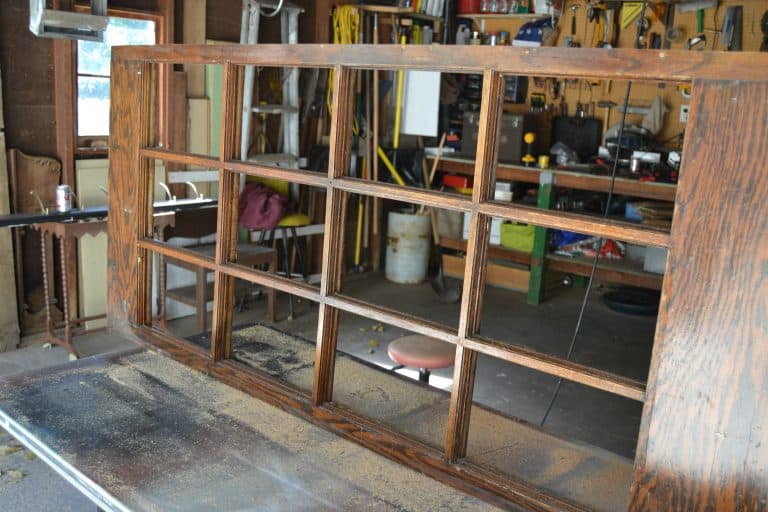
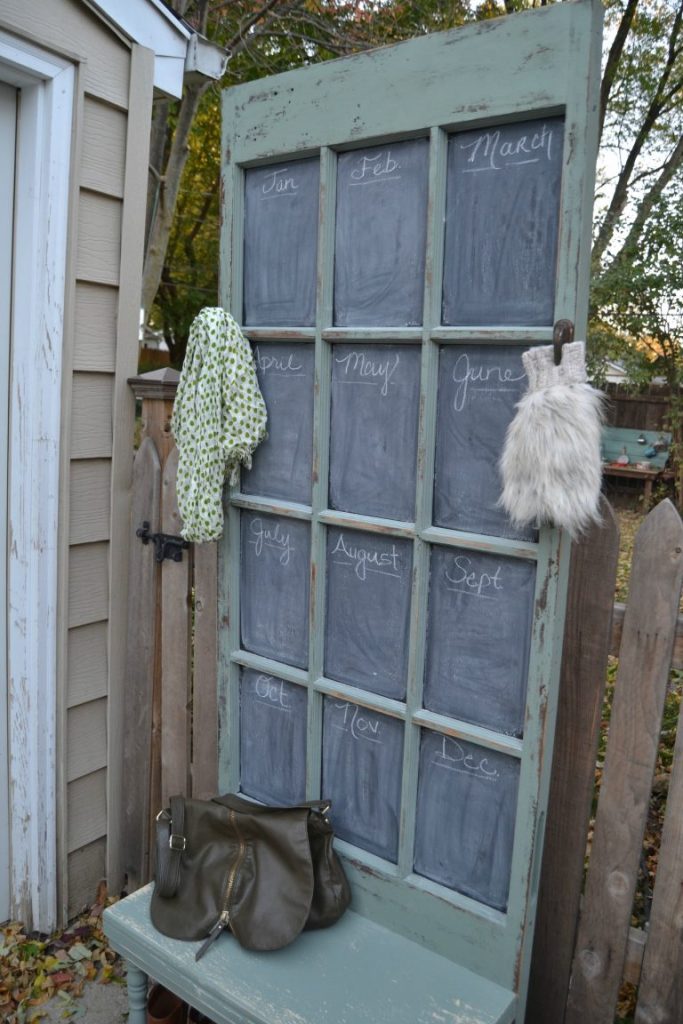
One of the first things that caught my eye about this door were the twelve window panes. As soon as I saw them, I thought about the twelve months in a year and knew this would make some kind of great calendar. When I was thinking about this black project and came across this door, the “hall tree with a calendar plan” came together!
Now, I was set!
To start, we took out the plastic and glass windows (some of the windows were broken so they replaced them with plastic).
Then, Matt cut the bottom portion off the door and around the sides so it was equal on both sides and the hole where the door knob was was no longer there.
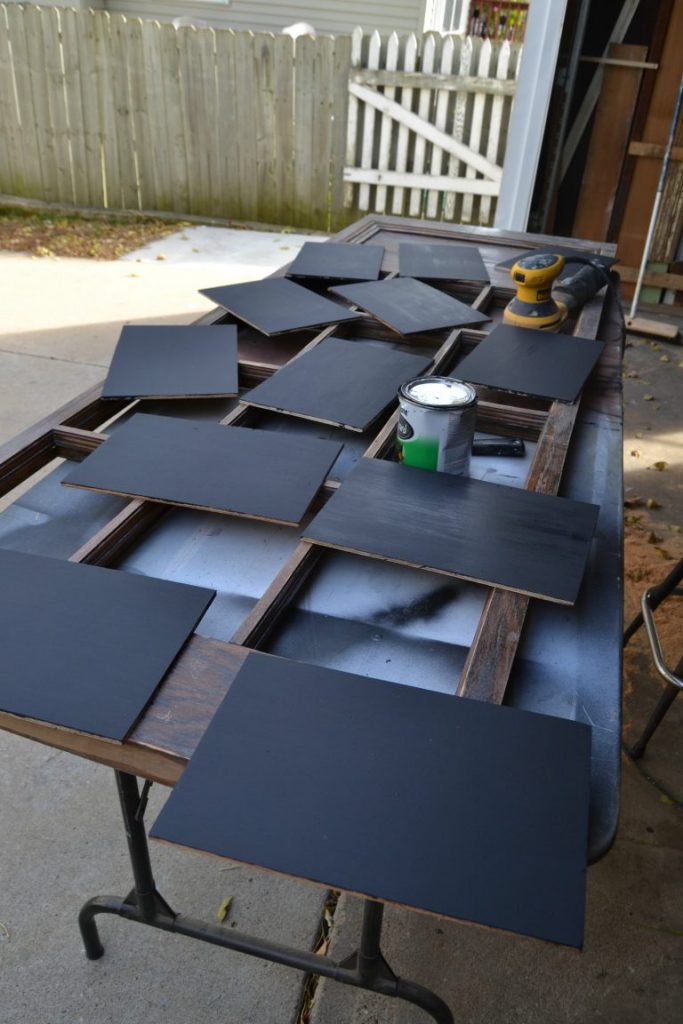
He cut thin plywood to fit each window pane and I painted them with black chalkboard paint. Chalkboard paint makes everything better and what better way to incorporate black into my project! 🙂
I sanded the door down pretty well before I painted it. It had such a thick sheen on it that I wanted to rough it up so the paint would adhere better.
I mixed three colors from Country Chic Paint to get a beautiful green color; Backyard Picnic, Cobble Stone and Creme Brulee. This color makes me happy.
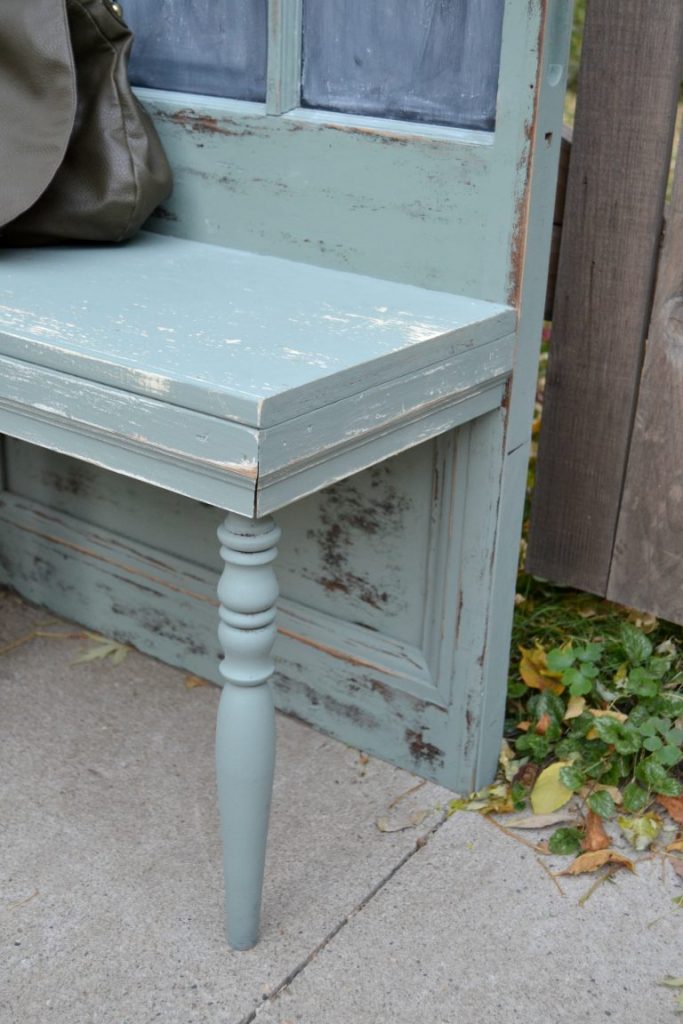
I put a few coats of paint on the door and then I used my sander to distress it.
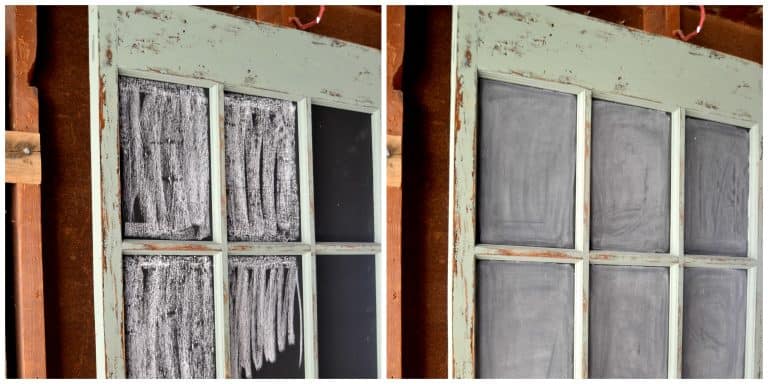
Matt nailed and caulked all the chalkboard pieces on the back of the door and I “seasoned” them before I wrote on them.
Whenever you have a new chalkboard, it is important to season it. All that means is to rub the side of a piece of chalk all over the chalkboard surface and wipe it off with a dry cloth. Now, the chalkboard is ready to be used. If you don’t season it, you may run into the problem of always seeing what you wrote on the chalkboard after you erase it.
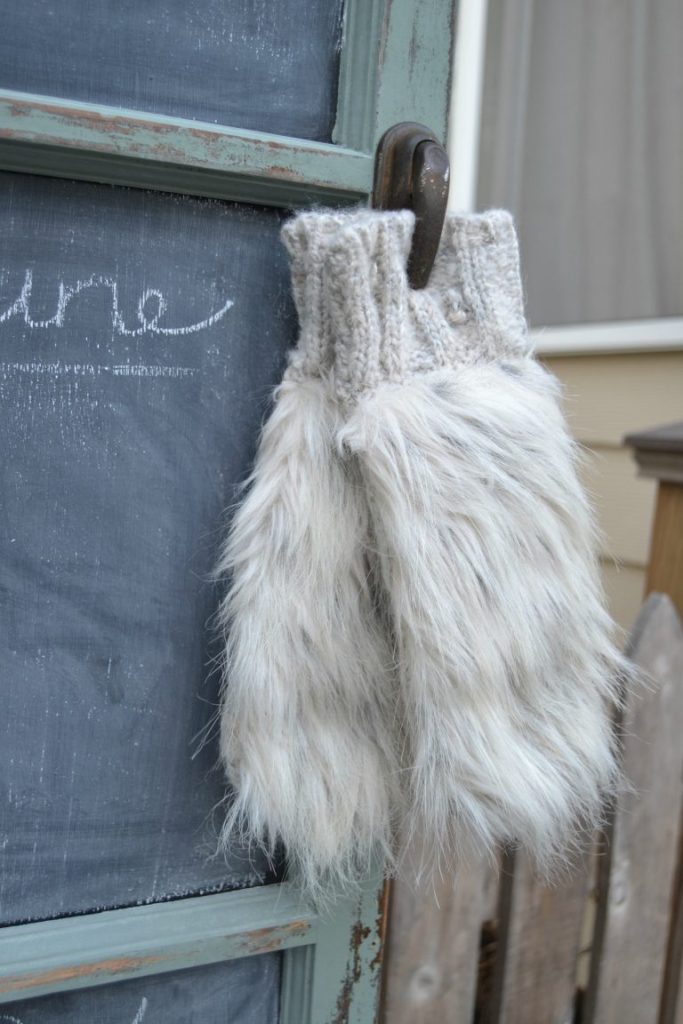
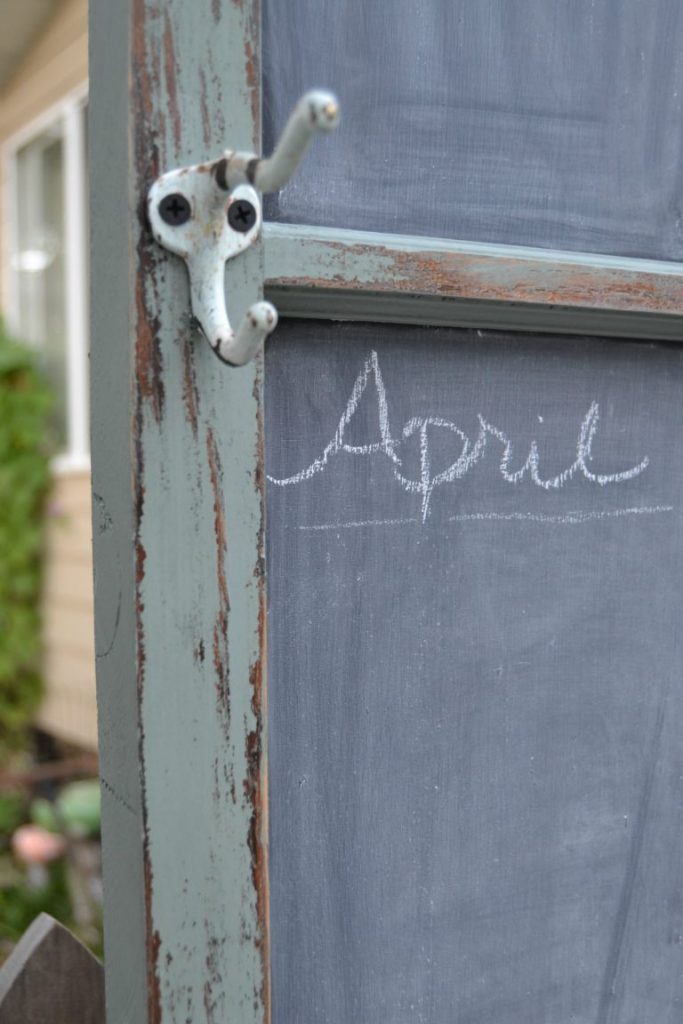
I put the paper clip back on the door, along with another old hook I had.
The paper clip is perfect for holding notes, homework or even hats and/or mittens.
The last thing this hall tree needed was a bench.
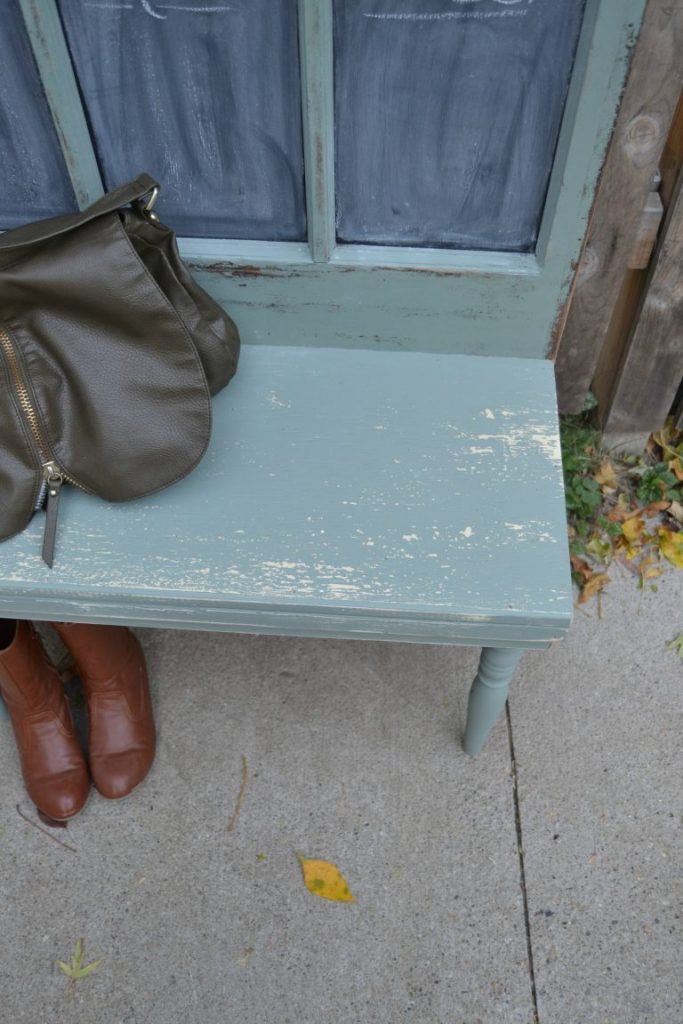
Matt made the bench from an old board we had in the garage, some trim pieces and some legs I had.
I love it!
I took a gazillion pictures of the finished project so here are a few more beauty shots.
{Affiliate links are used in this post. You can read my disclosure HERE.}
These monthly challenges get more and more fun every time. This is my third makeover with this creative group of ladies. My first makeover was the DIY Knobs and my second project was the DIY French Country Furniture Makeover.
If you don’t have time to DIY your hall tree, I found some beautiful options online:
PIN THIS POST!
If you liked this Hall Tree post, you will also love these repurposed projects:
Architectural Salvage For The Entry



This is a fantastic repurpose, Lindsay! So creative and fun – and I love the chalkboard display. Pinning!
Thank you so much Larissa!
Such a great restyle of a door! Perfect calendar to keep track of it all. 🙂
Thank you Amy!
Brilliant!!! I love it so much. And I’d have loved to seen the pretty handle/knob but LOVE the clip!
That’s awesome.
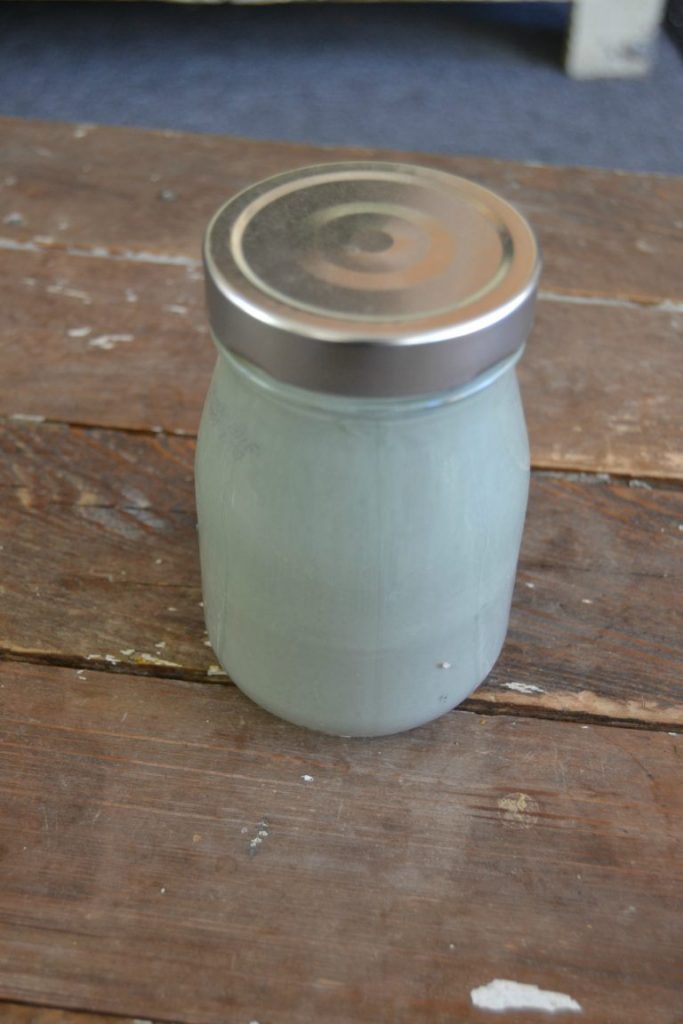
(oh and paint filled glass jars and clumsy me don’t mix well! lol Ask me how I know? 😉 )
xo
Nancy
I didn’t think about that. I hope I don’t break them, but probably will. I like them because I can see the color inside. 😉
That is one sweet Hall Tree – very clever replacing the glass panes with chalk board for every month of the year. Love love love it Lindsay! So nice to have a piece of your town’s history in your home.
Thank you Marie!
This is just beautiful – WOW – I’m rearranging my enclosed front porch in my mind to accommodate something this fabulous !!!
I’m in LOVE !
Thank you Suzan!
This is so awesome!! What a clever way to re-use such a pretty old door 🙂
Thank you Emily!
I love the interpretation of the black theme and the little clip with the fuzzy mittens is just precious!
~Tami
Thank you Tami!
This is fantastic and so creative, Lindsay! I love the color you chose for the door/bench and the chalkboards are perfect.
Thank you Amy!
Lindsey,
what a fabulous transformation! It looks wonderful.
Hugs,
Karin
Thanks Karin! XO
Oh that door is gorgeous! Love the transformation and love the color you chose. It goes perfectly with the chalkboard!
Thank you Bre!
What a treasure you have! It’s such a shame that the school had to get rid of its gorgeous old doors but I’m glad that you got to buy one. You came up with a great use for the door. It’s going to be fun to use the chalkboards and it will be great to have a place to sit to put on your shoes when you leave the house.
I think that my desk and your door are from the same school era! 🙂
I think so too! Thank you!
OMG, Lindsay, that is amazing! I love everything about it. I would love to feature this on RoadKill Rescue if you are interested in submitting it! Have a great weekend!
Thank you! I submitted it!
Oh Lindsay, I LOVE this project so much! The 12 pane calendar is simply genius! I wish I had room in my kitchen for one!
Sharing on my Facebook over the weekend. 🙂 Thanks for linking up!
Thanks so much Donna!
I absolutely LOVE this! Super cute!
Thank you Heidi!
Just love how your hall tree turned out. The distressing is just perfect and the color is gorgeous!
Thank you Lucy!
I am making a hall tree similar. Was just wondering how you attached the legs to the bench? I attached the bench to the door with a ledger board. Did you just drill through the top and attach the legs….doesn’t seem like that would be to sturdy. So was just wondering….
Thanks for stopping by Wanita! Underneath the trim board of the bench, we have a 1 x 3 so we lag bolted the legs into the 1 x 3 and then attached that to the underside of the bench. Hope that helps! Good luck!
What an incredible makeover! You have certainly inspired me to makeover a door I have in my garage stash! Wasn’t sure what to do with it but…. Thank you for sharing this!
Smiles!
Terry
Your welcome!!!
Lindsay, it’s amazing! Thank you for sharing. You are one of the features at the Anything Blue party at The Dedicated House. Here is the link so you can check out your feature. http://www.thededicatedhouse.com/2015/10/the-last-anything-blue-friday.html Hope you’re having a lovely weekend. Toodles, Kathryn @TheDedicatedHouse
Soooo glad you brought this one back to the party! Featuring you again on FB on Sunday! Thanks for linking up to Upcycled Storage!
Thank you so much!