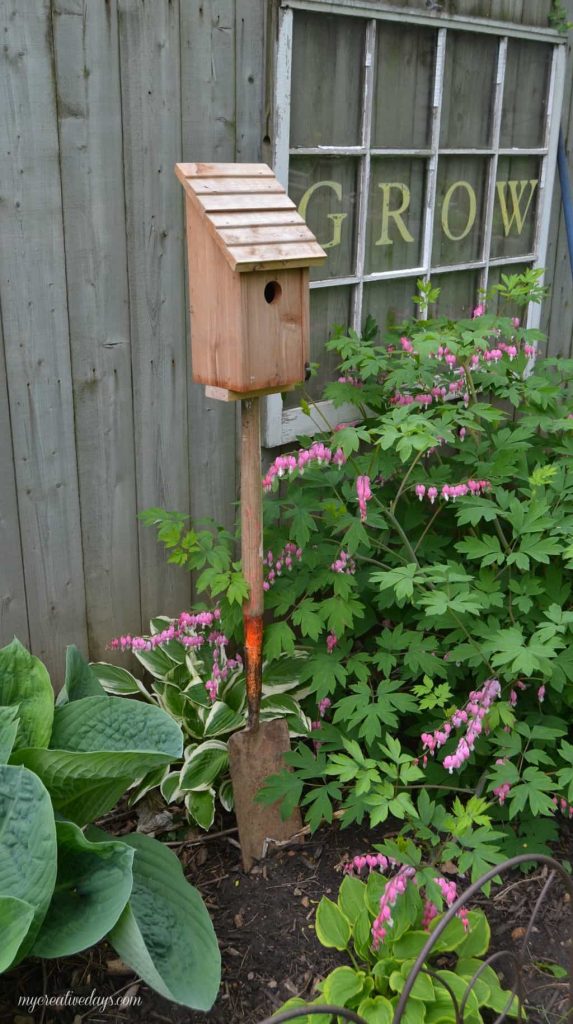
We have always received so many compliments about this idea we use in our garden and yard. This Repurposed Bird House is something Matt has been doing for some time now. He loves picking up old garden tools at yard sales and repurposing them into different things for our yard and home. His most infamous projects are the bird houses he puts in top of old garden tools. They are a huge hit with anyone who comes to the yard.
So, with spring here and all the garden and landscaping plans going on, I thought it would be a good time for a post illustrating how easy these old shovel bird house stands are to make.
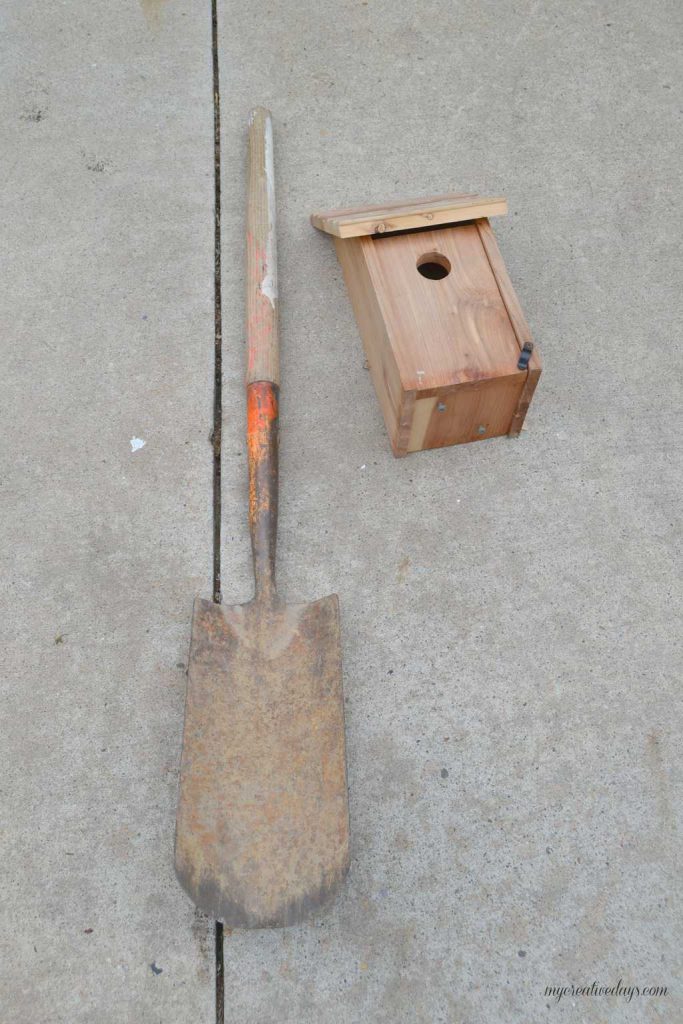
For this particular bird house, we used an old shovel, but we have also used rakes and other garden tools.
I searched yard sales for this post and came up with this shovel and bird house for $2. Great deal, huh?!
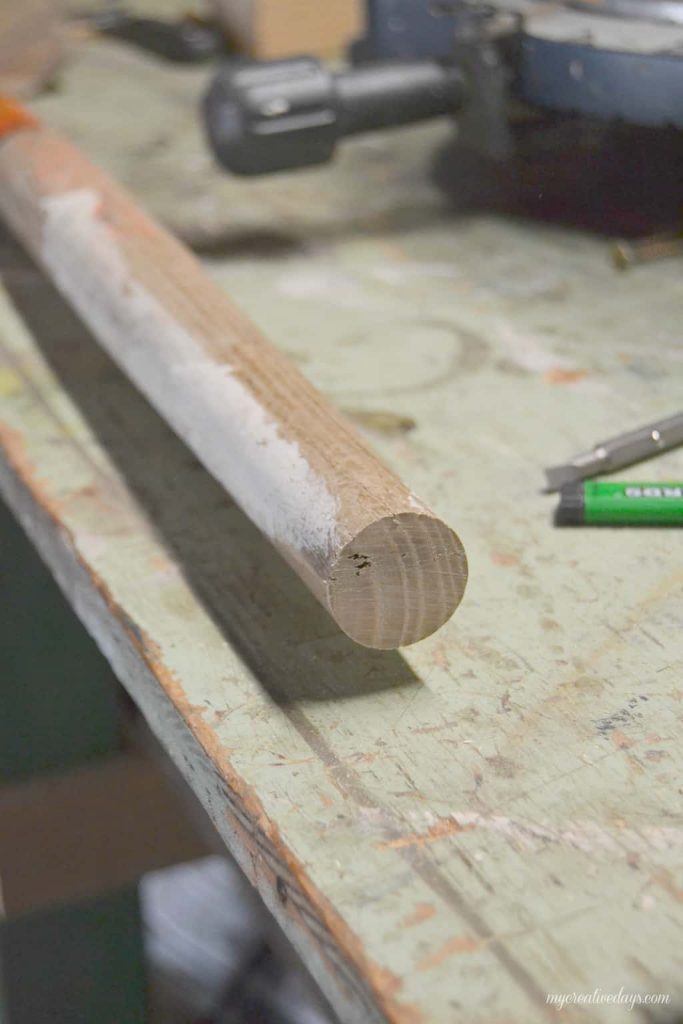
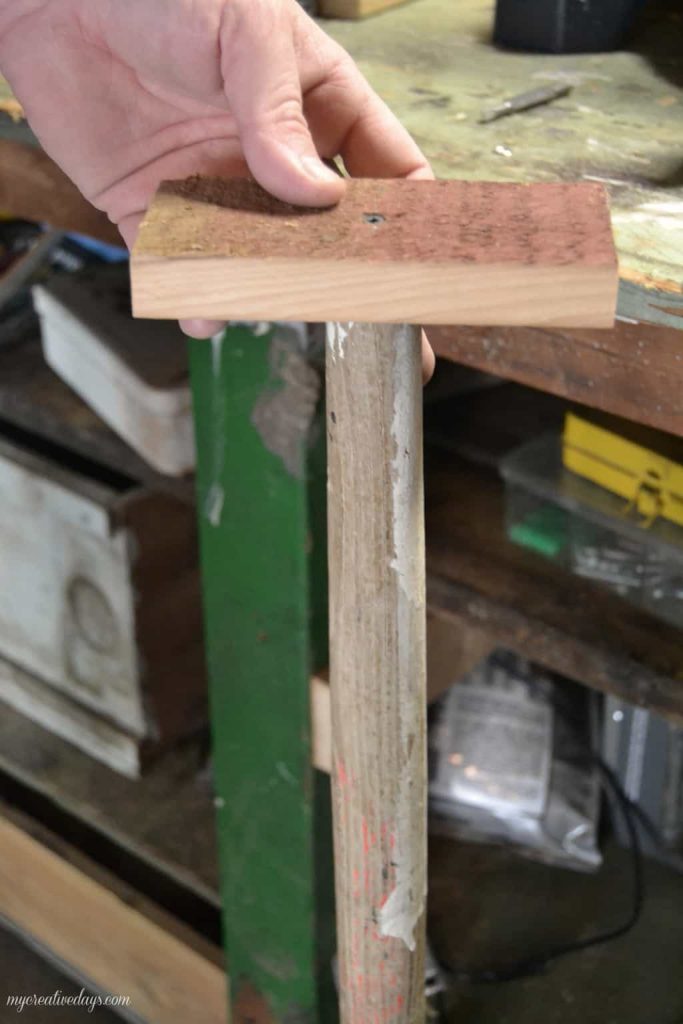
The first thing we had to do was make the top of the shovel handle flat. All you need to do for this is cut a little bit off the shovel handle. This will ensure that the bird house will sit on the shovel straight.
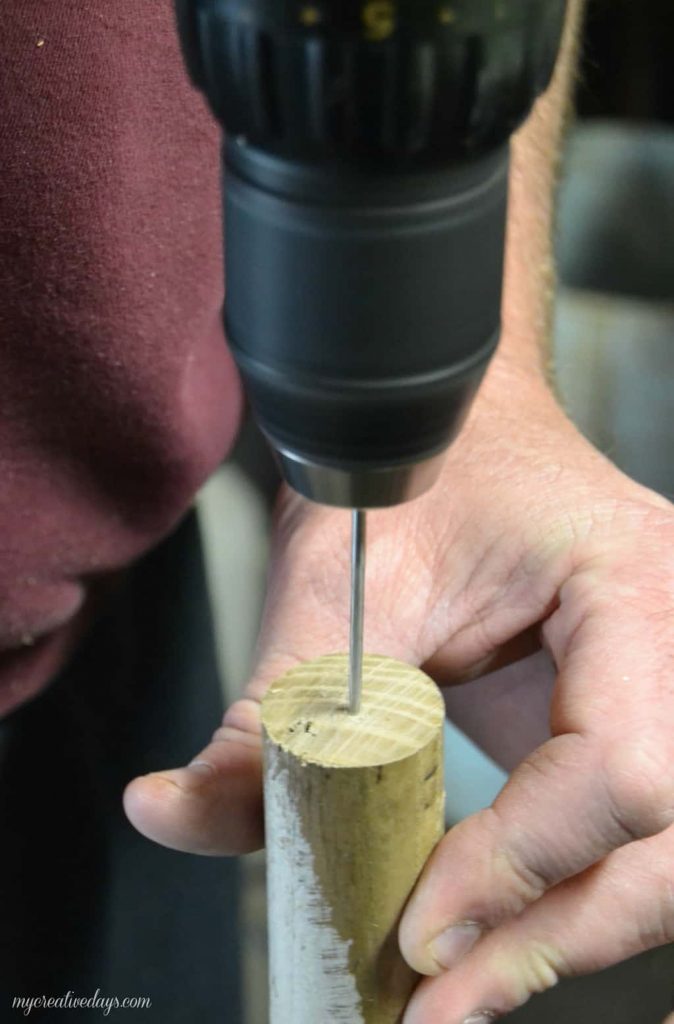
Then, we pre-drilled through the end of the shovel handle.
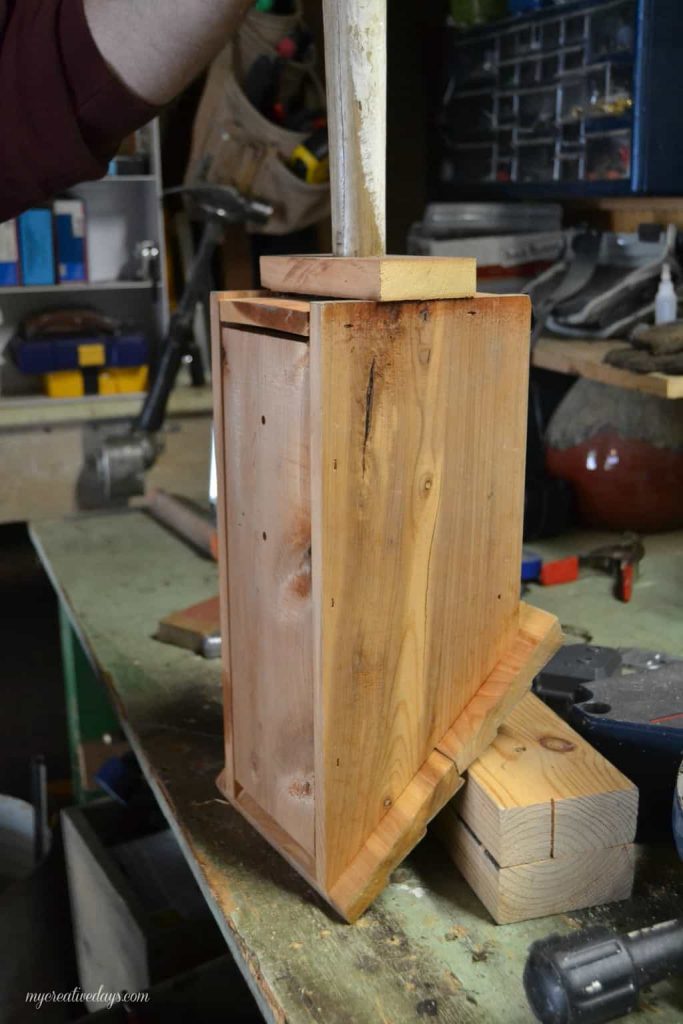
Next, we cut an old piece of wood to fit the base of the bird house and screwed it to the end of the shovel.
Then, we flipped the bird house upside down and screwed the shovel to the base of the bird house.
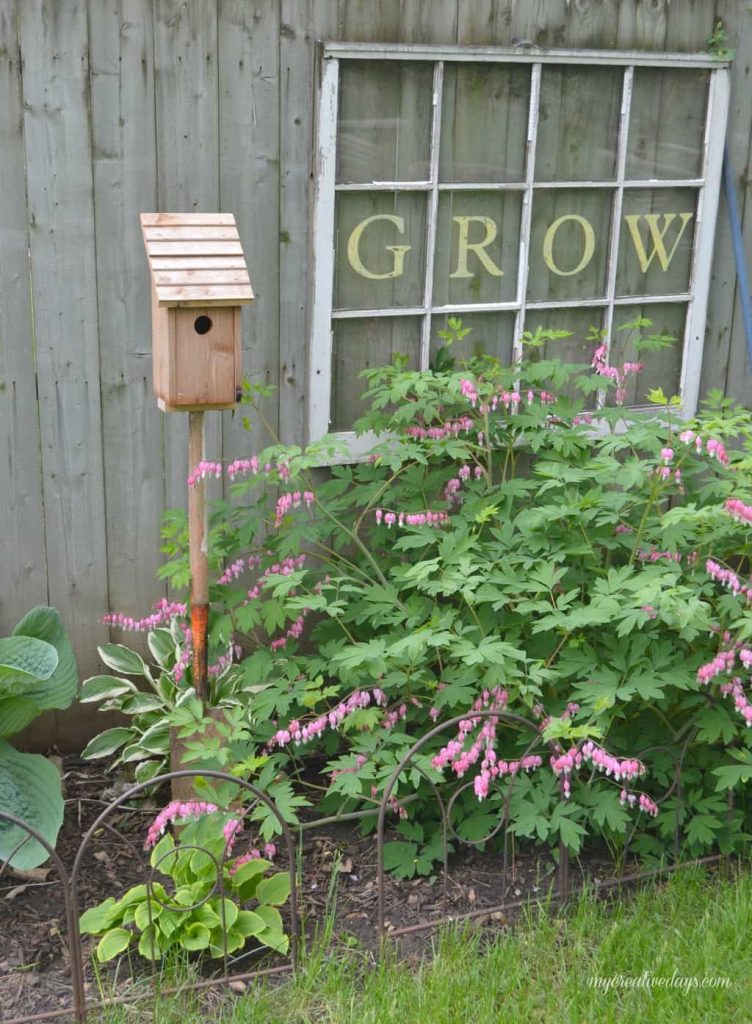
Ta-da! Now you have an Old Shovel Bird House Stand!
All you have to do is push the shovel into the ground.
{After we took this picture, we did push this shovel further into the ground. You could also use a iron stake behind it and tie it to that to ensure it stays. We have never had problems though.}
These shovel stands will stay up and hold up to the weather and the birds.
{Affiliate links are used in this post. You can read my disclosure HERE.}
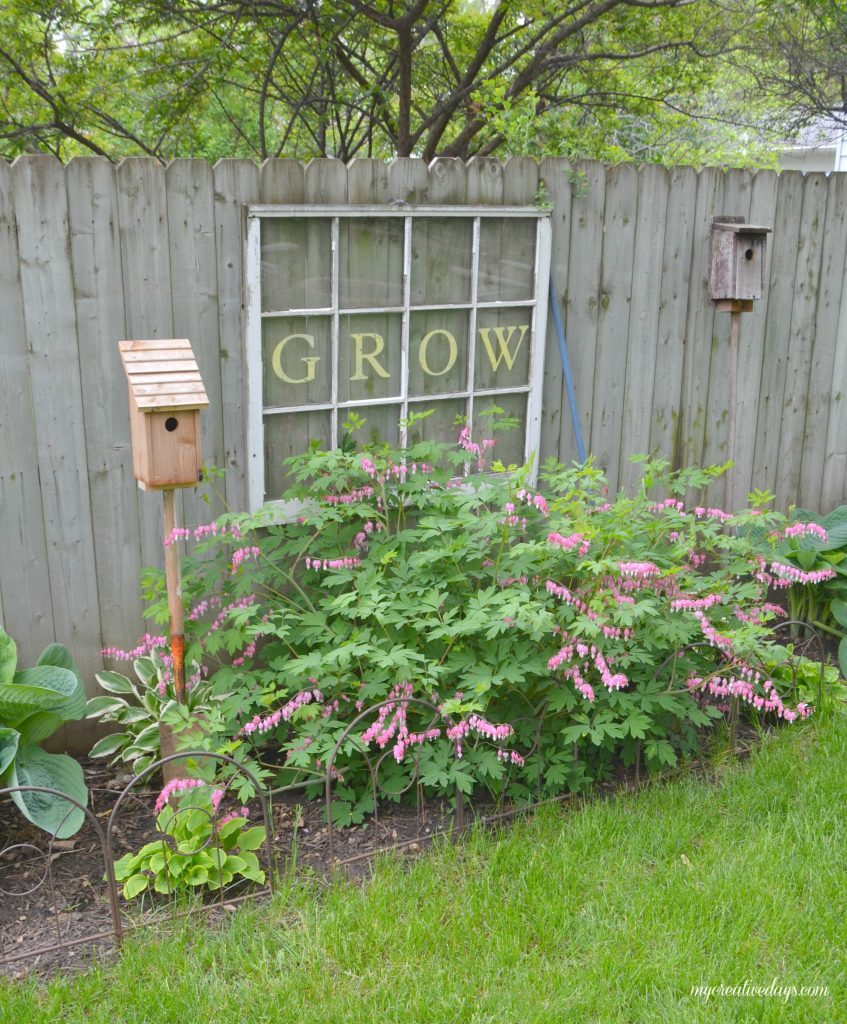
As you can see, we have used longer garden tools as well. The Repurposed Bird House on the right is never vacant.
Just like my home, I love adding character to our yard. This is a great way to use old garden tools and put them to good use again. You could always paint the houses and the shovels if you wanted to.
Do you have bird houses in your yard?
If you don’t have time to make a Repurposed Bird House, I found some cute options online:
PIN THIS POST!



I think this is a great addtion to you yard, very clever idea and I would for you to share your posts every week. WW is now in progress!!
Hope you have a fantastic day!
Karren
Oh My Heartsie Girl
Thank you!
What I was looking for were instructions on how to build the birdhouse. Thanks. Its a great idea with the shovel…
Thank you!
what a super cute garden you have…I especially love the old window!!! xoxoxo Christine from Little Brags
Thank you Christine!
This is absolutely adorable, Lindsay!! What a cute little space!
Thank you Katie!
Such a great idea!! It looks good in your garden!!
Thank you Debbie!
Love this! Brilliant idea and fantastic repurpose. My garden definitely needs one!
Found you through Burlap & Babies – thanks for sharing!
Thank you so much Shelly!
This looks incredible! Pinned and tweeted. We appreciate you taking the time to party with us. I hope to see you tonight at 7 pm.. Happy Monday! Lou Lou Girls
Thanks!
What a fabulous way to display a birdhouse!!! And $2 is awesome!
$2, rocks! Thank you Tara!
Hello Lindsay
I love this birdhouse idea with the shovel. The deal you got was fantastic! I love the way your garden looks.I’d love to see more of it! Can you tell me the name of the beautiful bush you have under the GROW window with the pretty pink and delicate flowers? I love it.
Thank you! It is a bleeding heart bush. Love it!