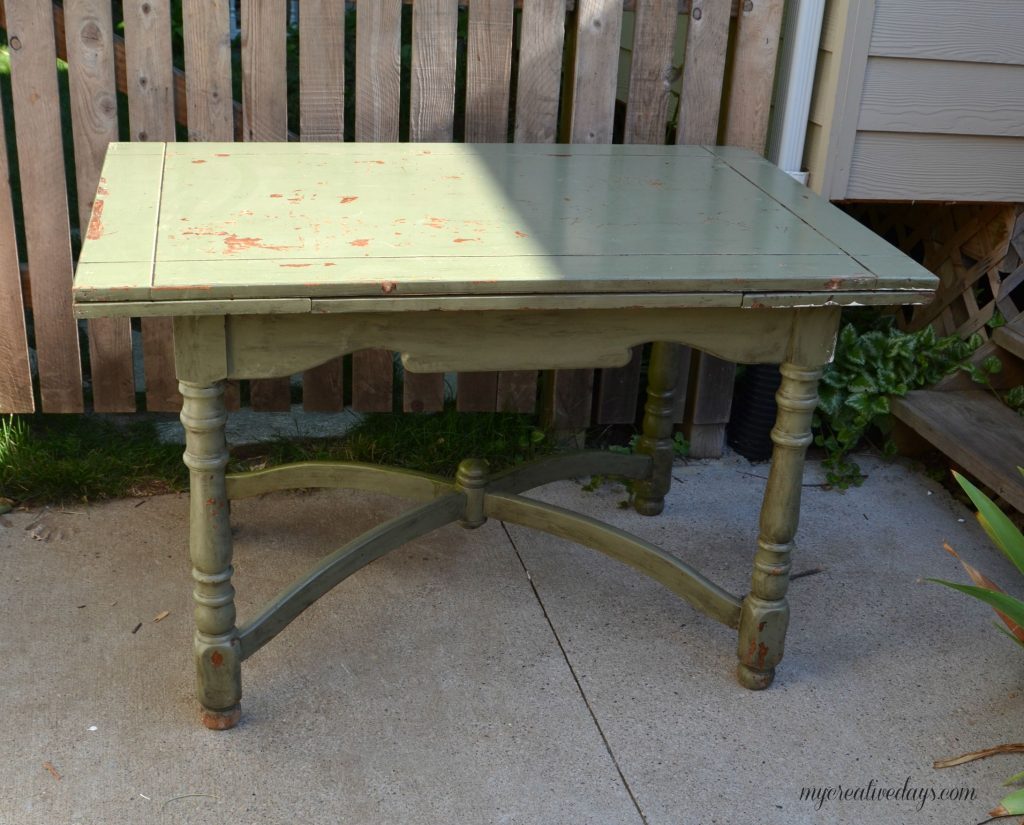
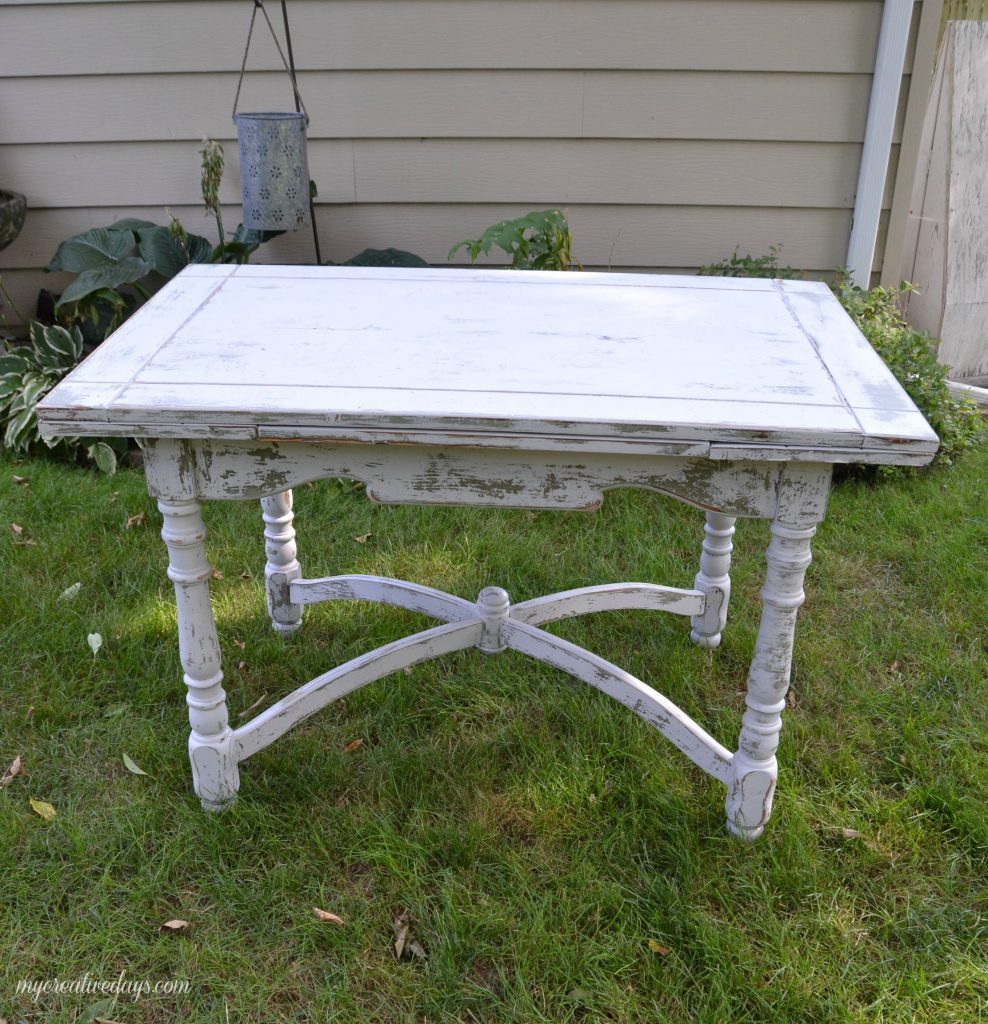
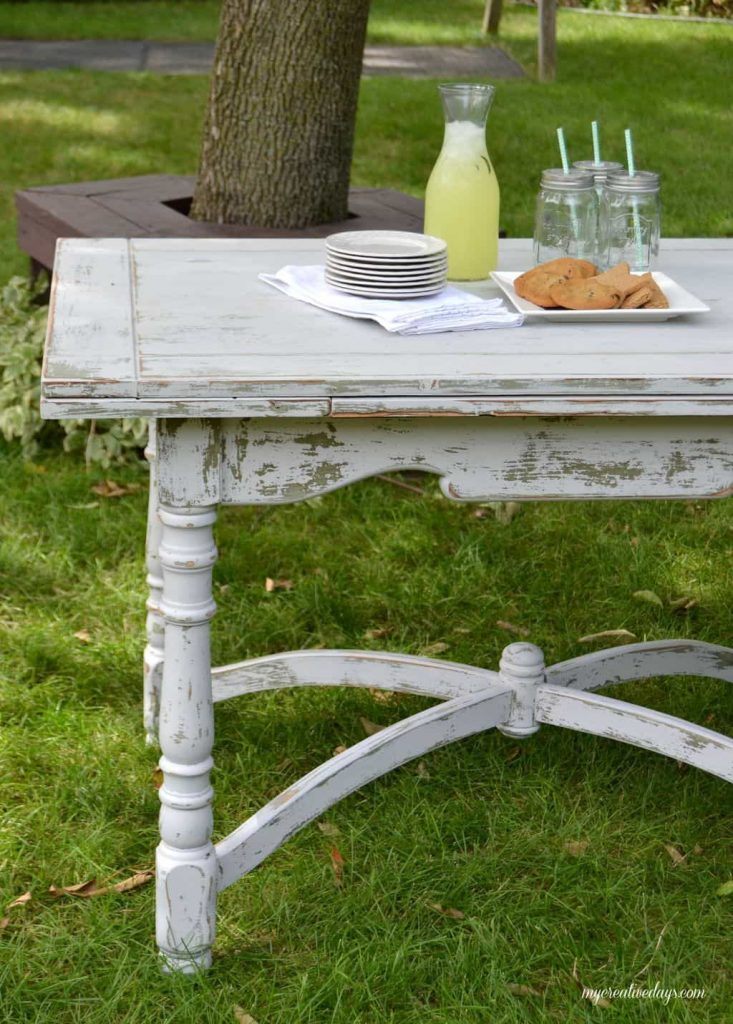
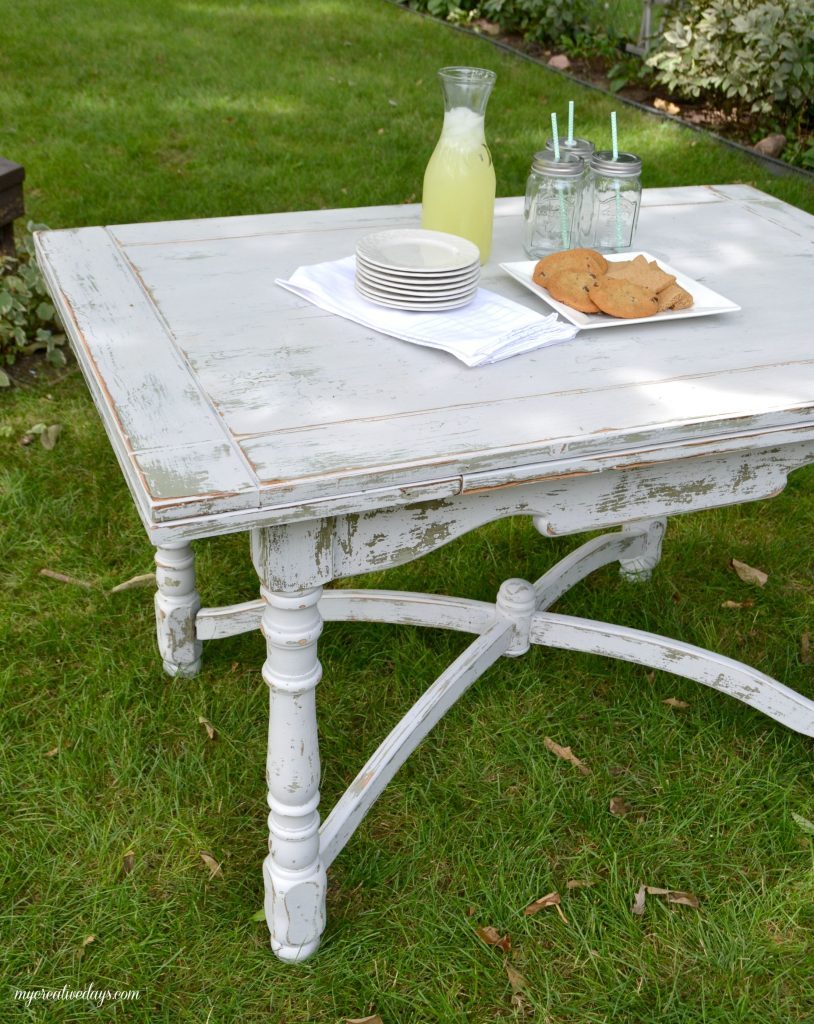
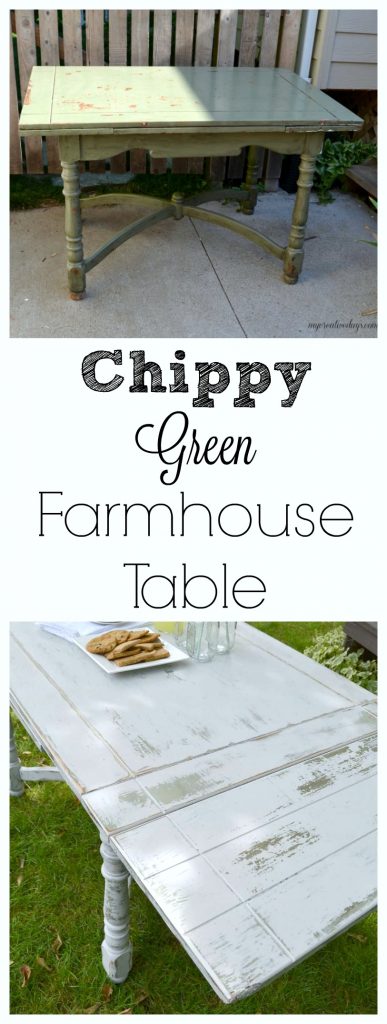
Farmhouse tables come in all shapes, colors and sizes. This small farmhouse table was an avocado green color, but we toned it down and made it chippy with touches of the green color popping through. It looks so much better now and it the perfect size for a small kitchen or dining room.
Do you ever have a project that goes just right and makes you super happy?
This table was one of those projects.
I bought this table a few weekends ago at a yard sale. There were many great things I brought home that weekend, but this table was my favorite.
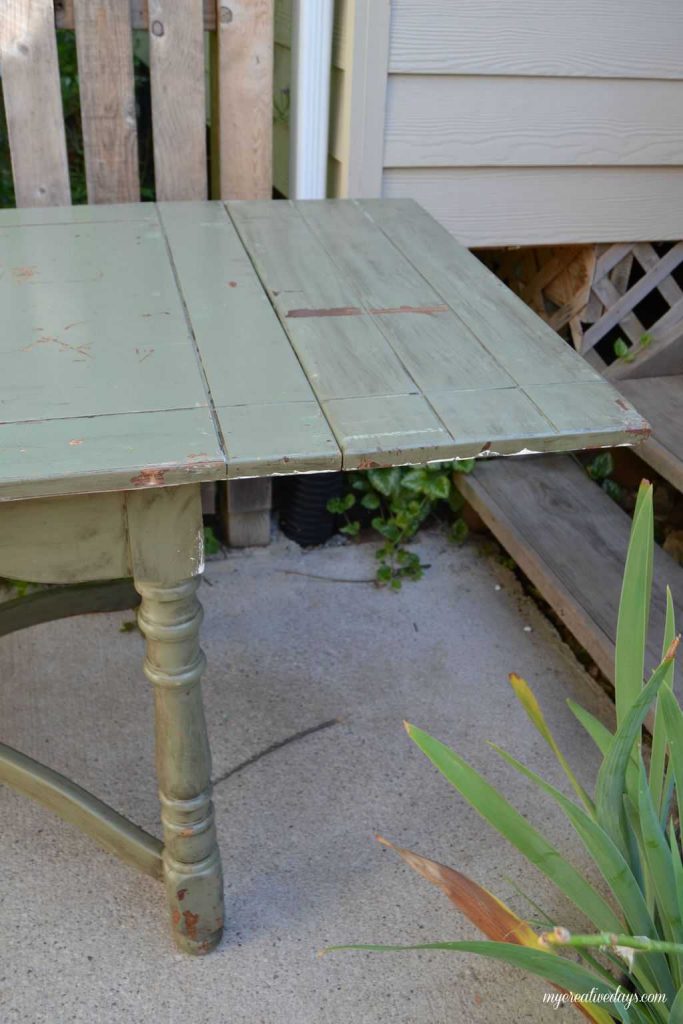
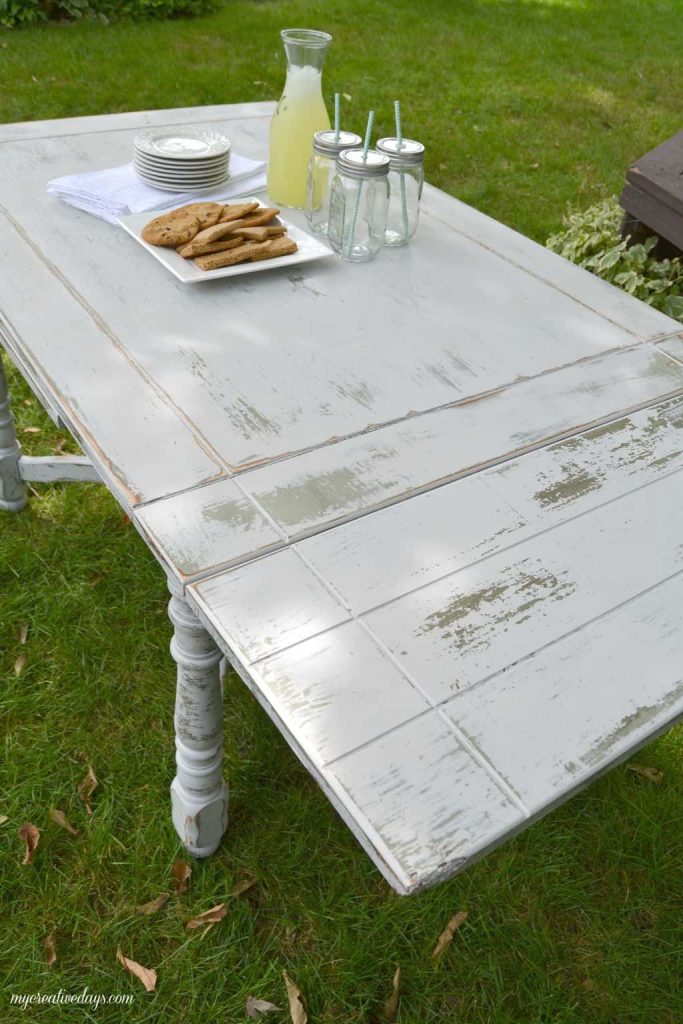
One of my favorite things about the small farmhouse table is that both ends slide out to make it longer.
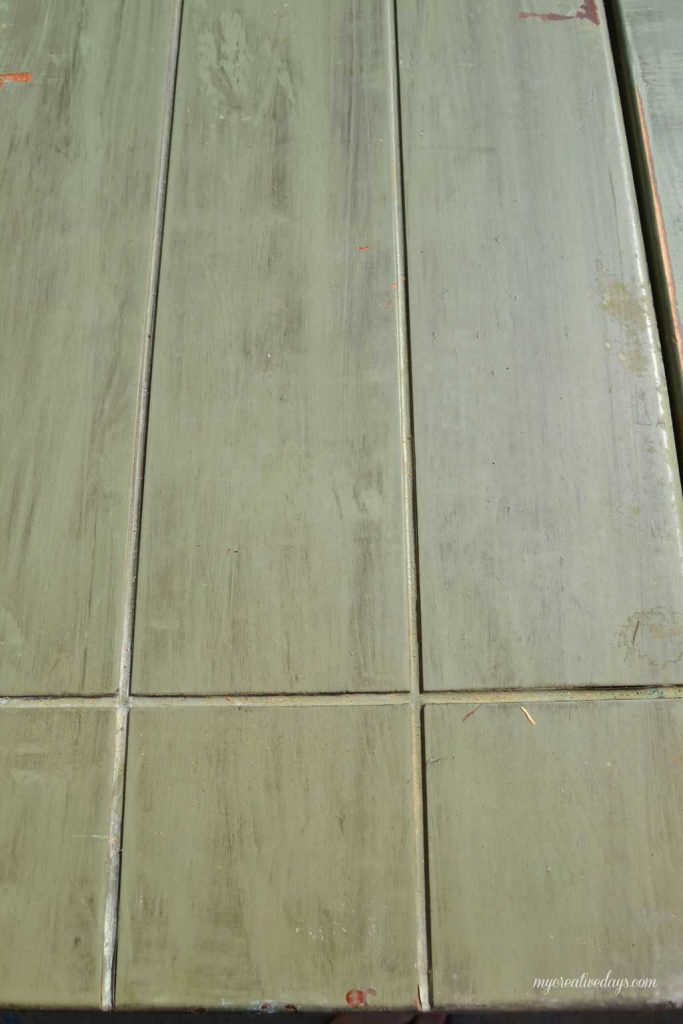
Another great feature are all the lines on the top.
Lastly, I loved the green color on the table.
Well, one of the green colors.
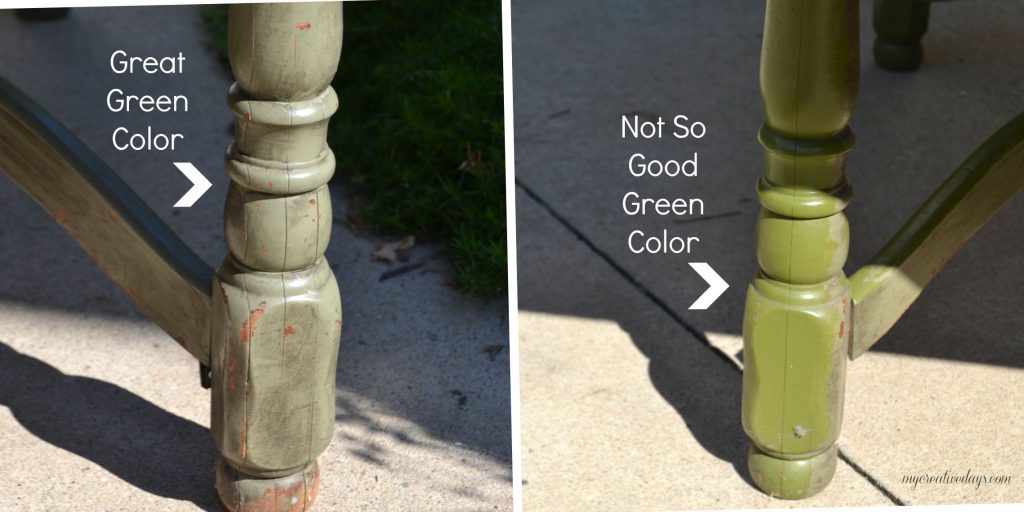
The small farmhouse table had been painted two different shades of green.
One of them I really liked and the other was too much on the “1970’s avocado” side for me.
Since I really like green, I decided to paint the table a different color and try to distress it so the green shows through.
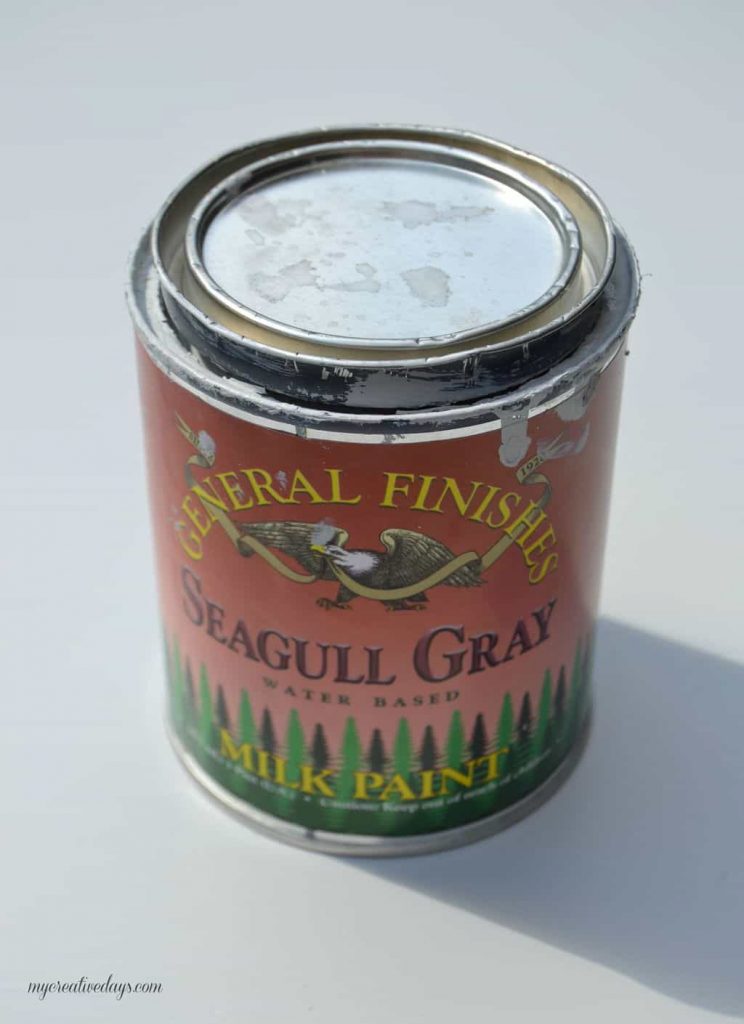
I chose “Seagull Gray” from General Finishes to paint the table.
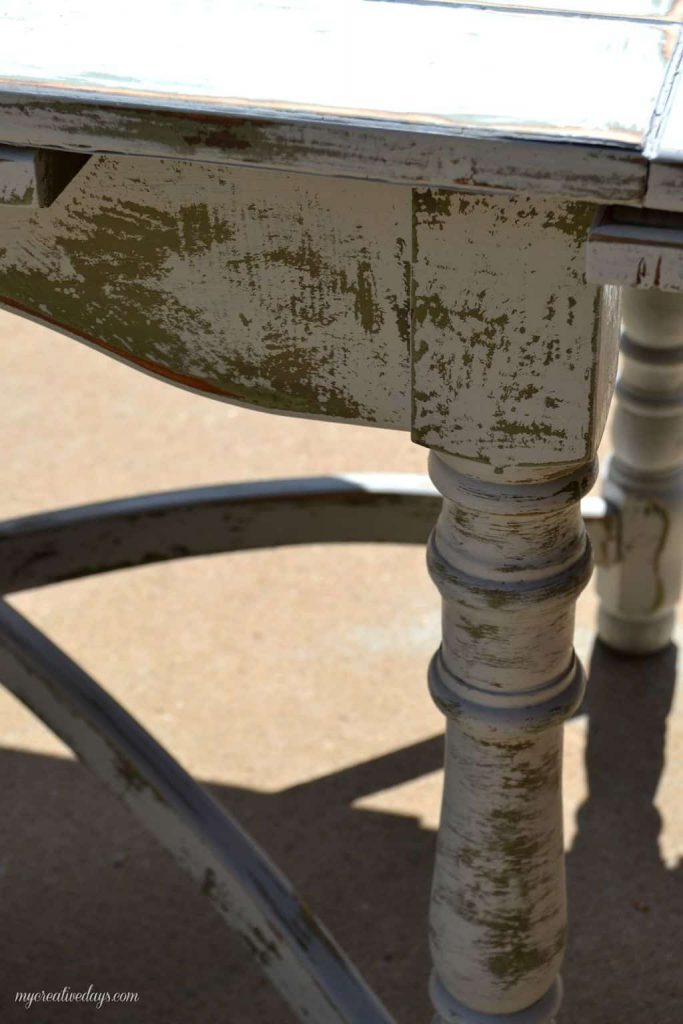
Once I got a couple of coats of paint on the table and it dried, I used a rotary sander all over it.
Look what happened!
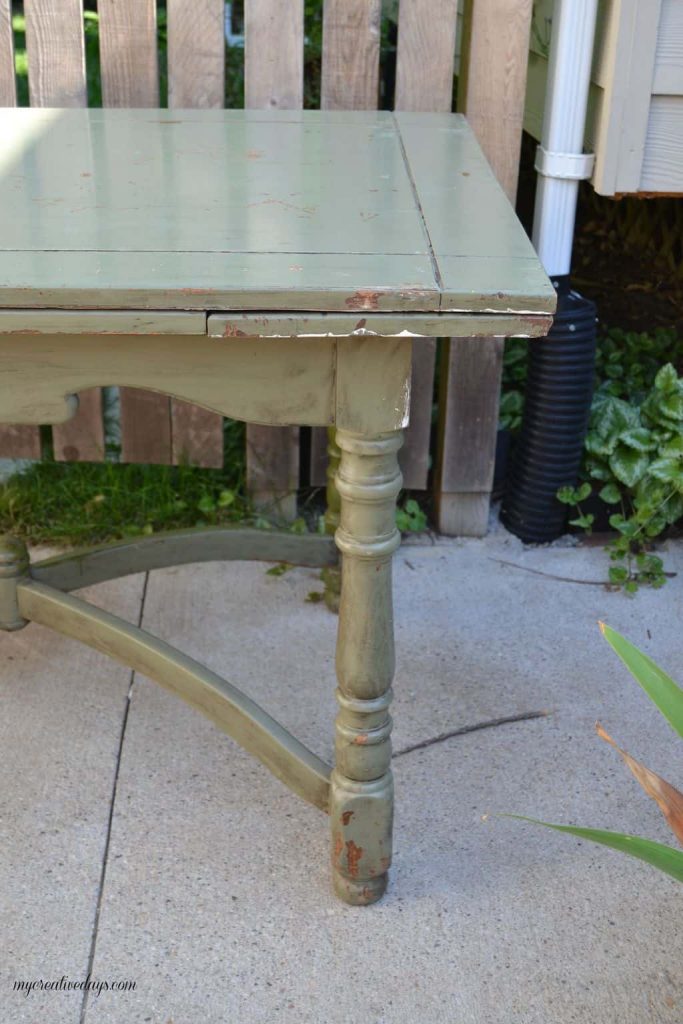
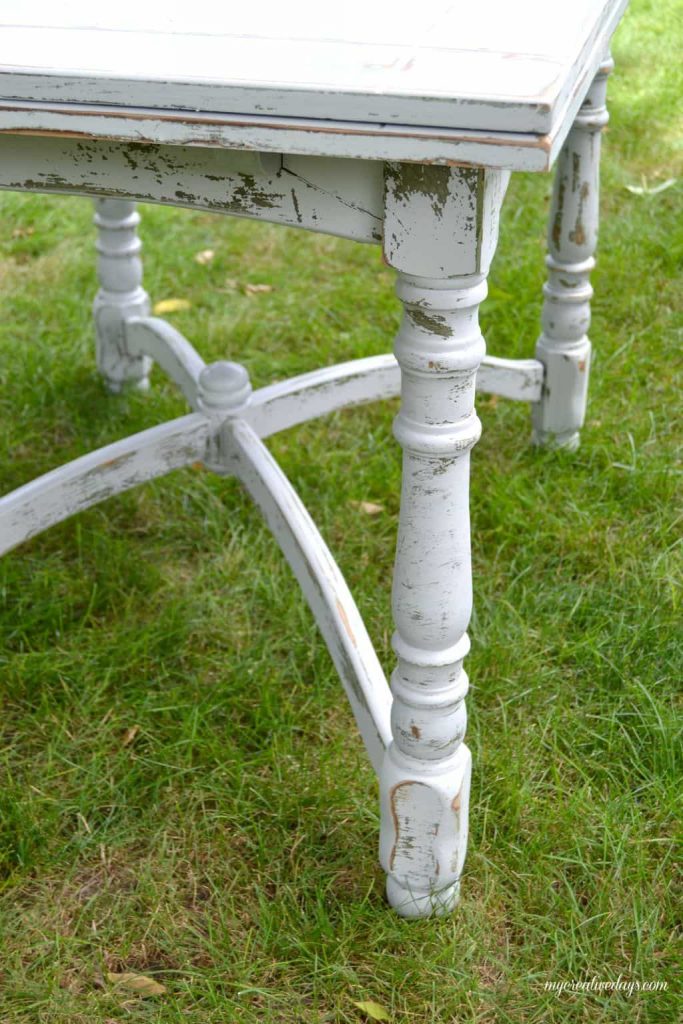
Chippy goodness!
Chippy perfection!
The green colors (even the “1970’s avocado”) look amazing peeking through the light gray paint.
The sides that slide out even “chipped” perfectly.
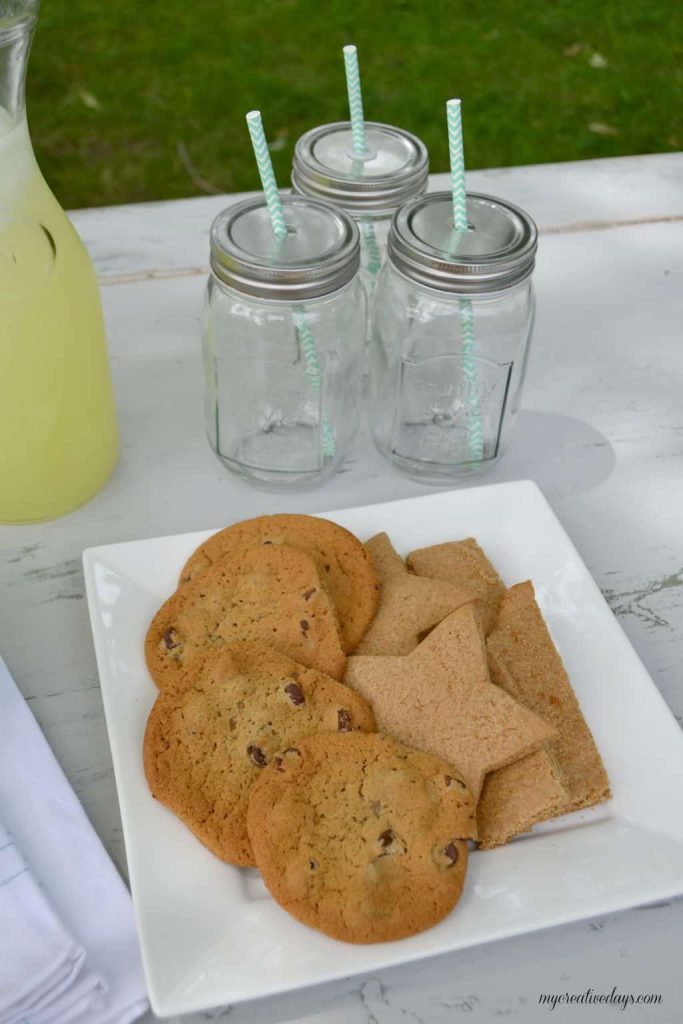
We made homemade graham crackers the other day. Our kids are hooked.
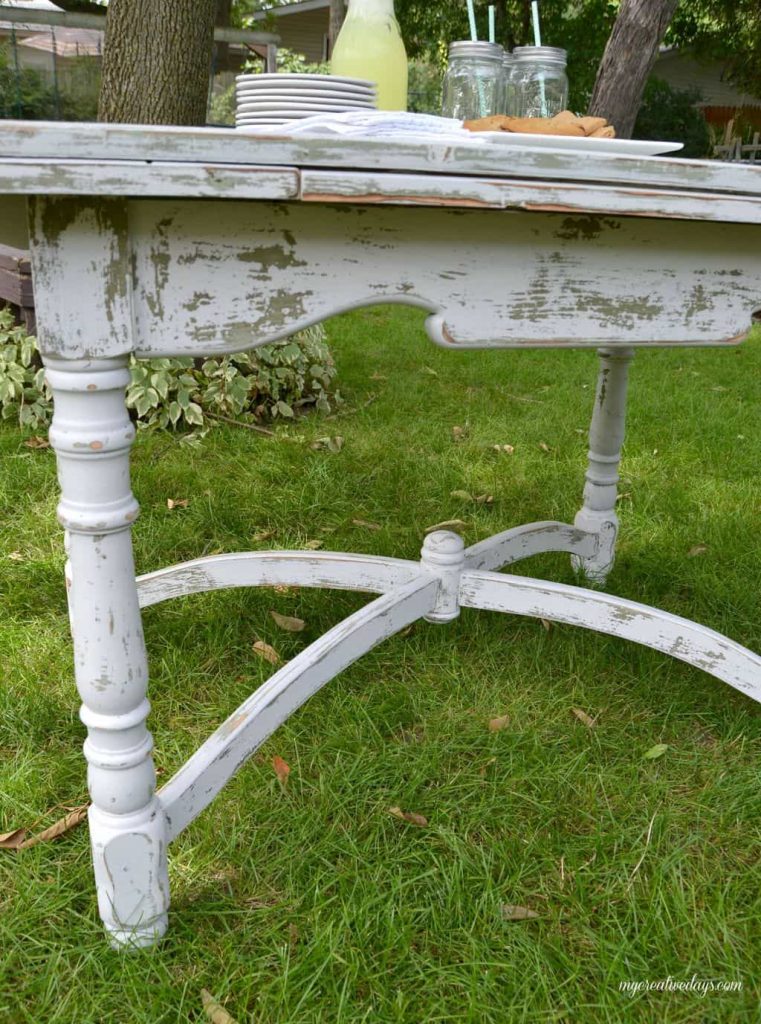
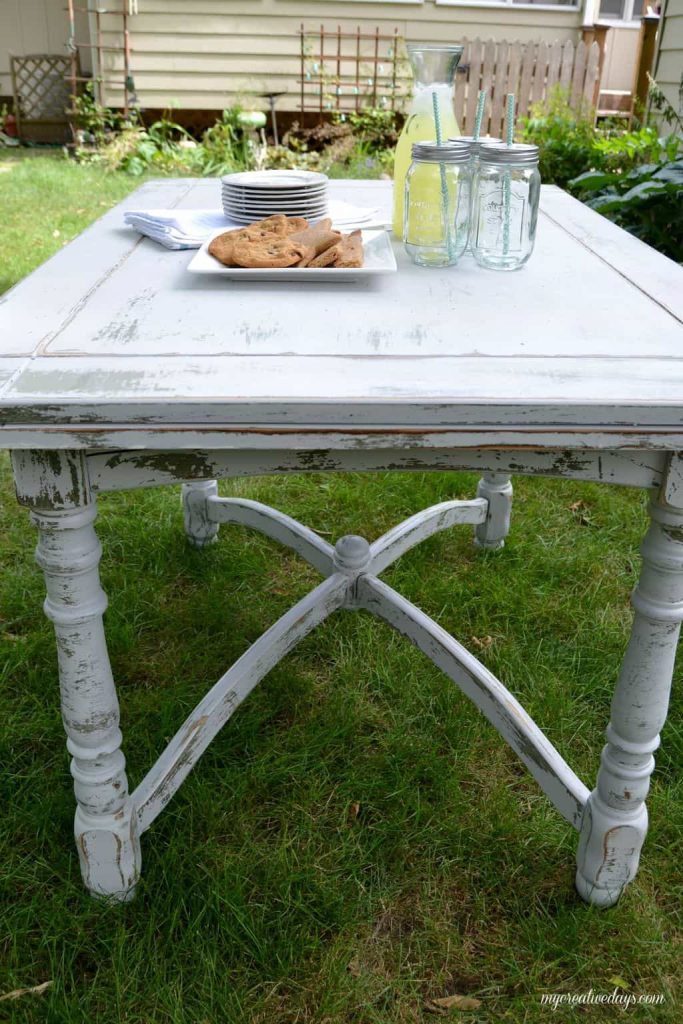
Here’s a few more pictures of this pretty small farmhouse table.
Those legs…………
{Affiliate links are used in this post. You can read my disclosure HERE.}
I am so happy with this table makeover. It could not have come out any better.
I have never found so many great dining tables in one month before. I know there has only been two, but that is a lot for me. The last one was a curbside rescue that had four chairs to go with it. This one was a yard sale rescue without any chairs, but equally as stunning. I think this one has come out on top as my favorite. Which one is your favorite?
I know it is hard to find these tables to make over so I found some beautiful small farmhouse tables online:
PIN THIS POST!
If you liked this small farmhouse table project, you will also love these makeovers:
Farmhouse Table And Chairs From Curbside Find
DIY Outdoor Furniture Makeover


Oh my gosh Lindsay, whitewashing over the existing green just took this table to another level. The darker green under the white is such a nice contrast – just love it!
Thank you Marie. I love the way it turned out!
Oh what a lovely blog you have! I’ve found you via Shabbilicious and I’m loving the blogs I’m visiting. Recreating items was something I did a while back – love what you’ve done with this table. Lucky you to have found a gorgeous piece.
Have a great day! Elena 🙂
Thank you so much for stopping by Elena! I love rescuing and repurposing things.
Hi!
Great find and great job! Tell me about milk paint.
Thanks, Kim
I like it. I use all kinds of paint – latex, milk, chalk and depending on the project, I have had success with all of them. Chalk paint is great for distressing. I love using different waxes over it and milk paint to get different looks.
LOVE that table! And I’m hoping you might could give me some quick advice… I’m new to this painting & distressing thing! A small tool caddy I’m working on — painted it brown, then a cream color over it, put a couple of stenciled (with an ink jet printer!) vintage ads on it. Then wanted to distress it a bit with sand paper in places. What would be the best grit of paper to use? Because what I used is changing the color of the cream paint to a yellow! And I don’t want yellow!! Didn’t use chalk paint — had a bad experience with that awhile back. Thanks for any help you can give me!
This table I did was not like any other. After I sanded it, the green color popped through perfectly. It is never that easy. There are some products out there that crackle your paint. You could try one of those. If I were you, I would try a lighter color as the base and make sure everything is coated very well. When that is full dry, then try a dry brush of the darker color and then the stencils in a lighter color. Then, try sanding it with 120 grit. On smaller projects, I do it by hand so I have more control. If I have a bigger project or want more distressing, I use the round sander. I hope some of these tips help. Good luck!
Love the way it looks
What did you seal it with? I have a table to paint and get out my garage before it turns cold and the cars want their space back lol
I use a matte top coat like the one from General Finishes. You could use a polyurethane too. I just don’t like a high sheen. Any top coat that has a matte finish will work. I know exactly what you mean about the cars wanting the garage before winter. We are having a HUGE sale at the end of this month to take back some much needed garage space.