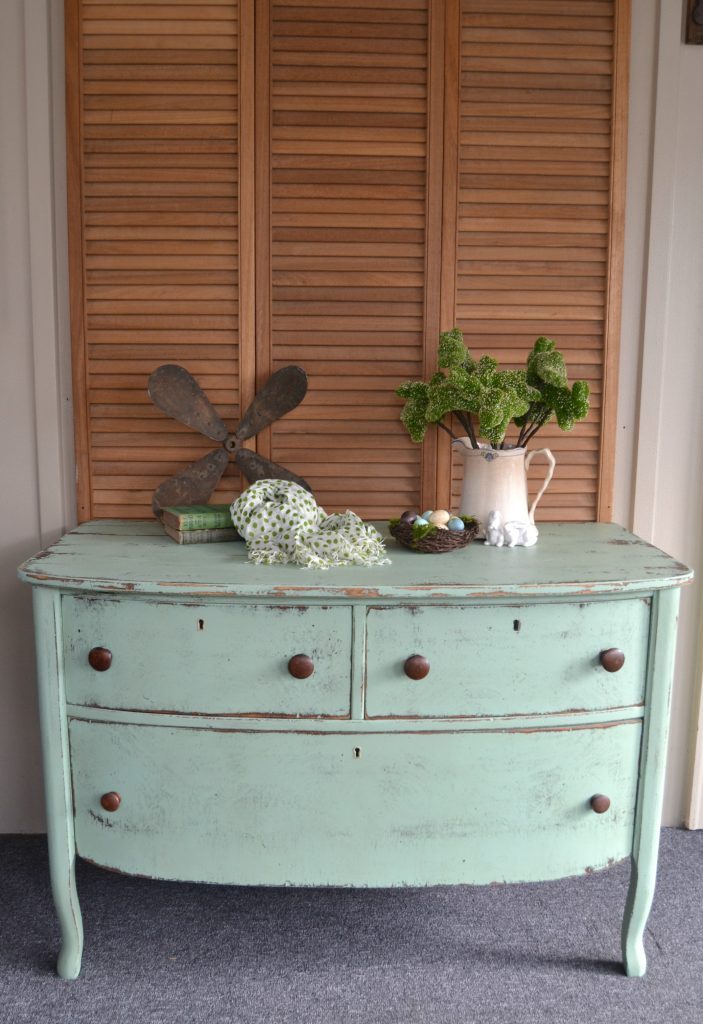
To say that I have revamped a dresser or two in my time is an understatement. Dressers are fun to make over because they come in all shapes and sizes and there are so many ways you can transform them. This Distressed Dresser Makeover was my latest project.
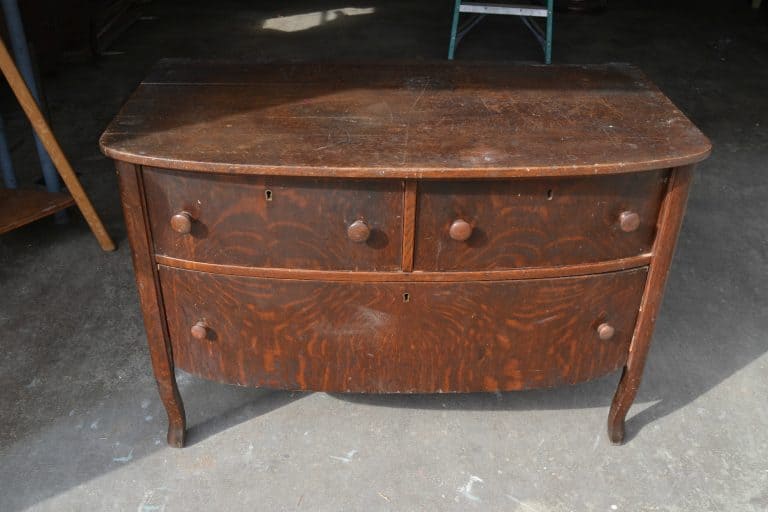
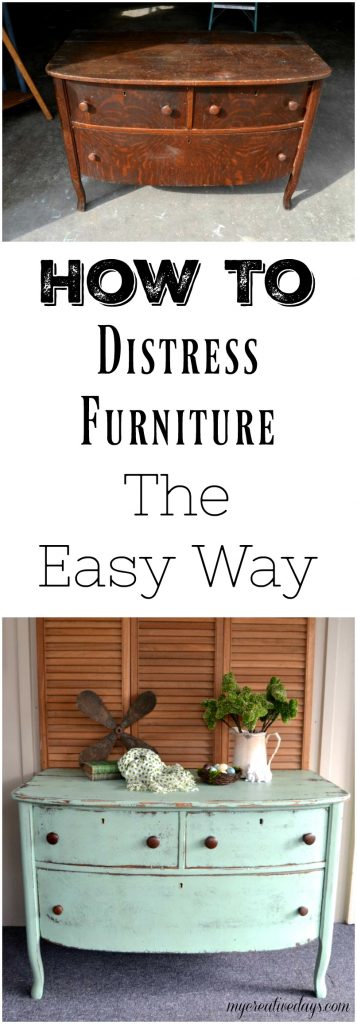
Matt found it like this on the side of the road!
Yes, the side of the road! (Make sure to follow along with me on Instagram. I share all of my finds there!)
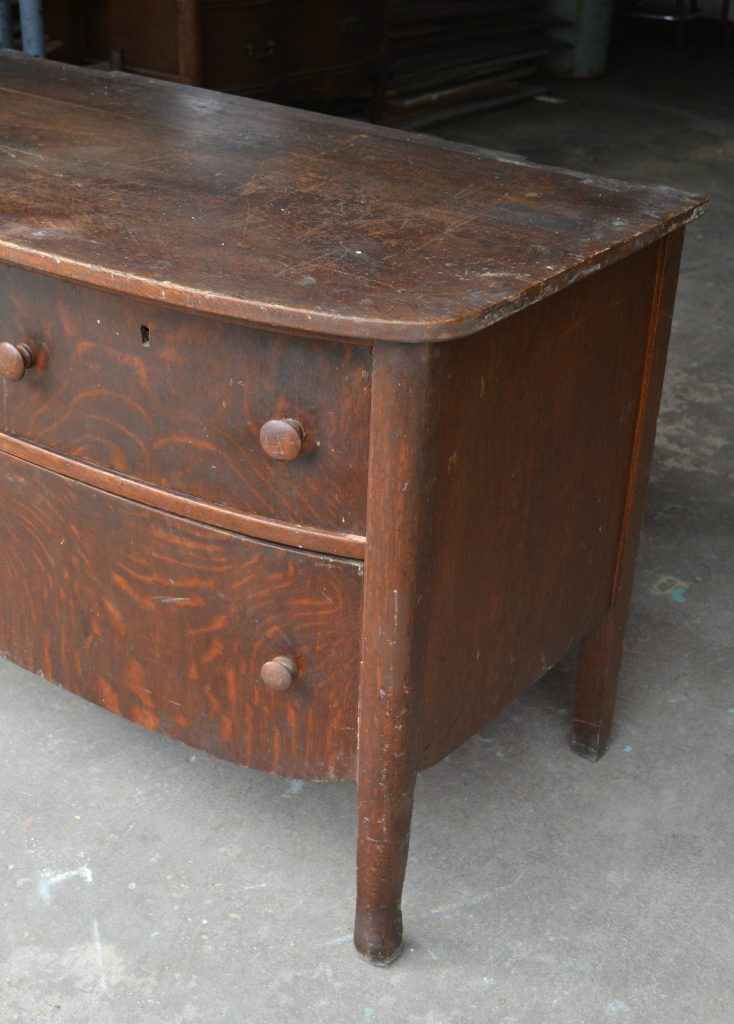
It has seen better days and was a little rough, but still structurally sound. Instead of just showing you another painted dresser, I wanted to share how I easily distressed this one. Each piece I make over is different and sometimes they aren’t so straight forward, but this one was so easy that I wanted to share how I did it.
(Affiliate links are used in this post. You can see my full disclosure HERE.)
Supplies Used For This Distressed Dresser:
“Lily Pond” from Fusion Mineral Paint
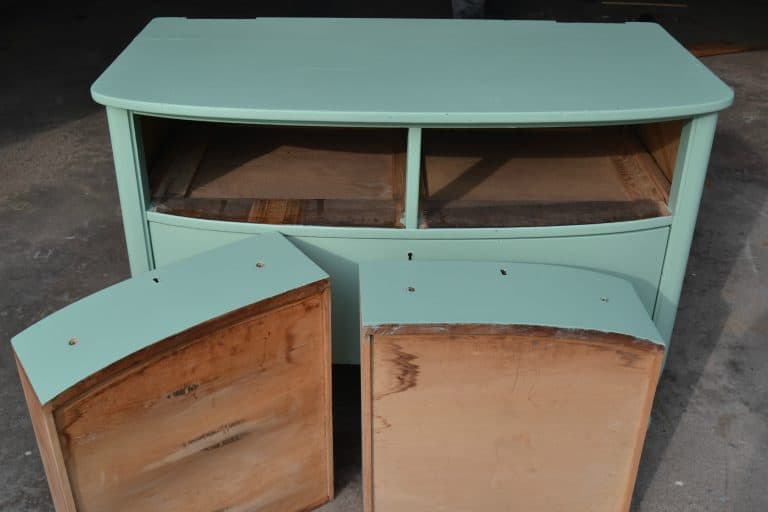
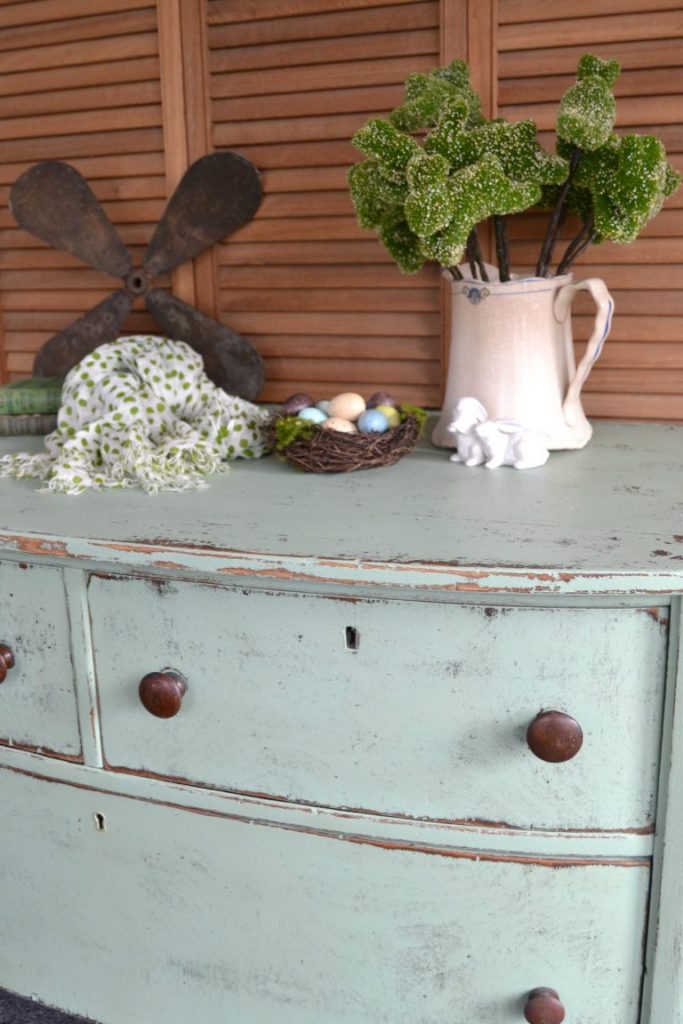
I started the makeover by painting the entire dresser in “Lily Pond” from Fusion Mineral Paint.
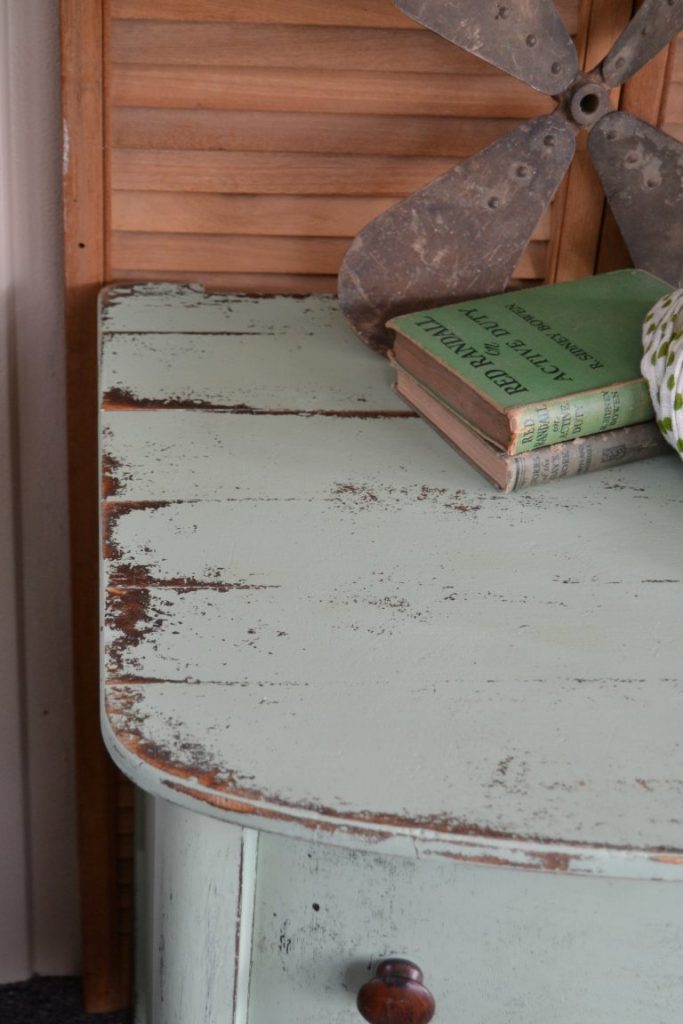
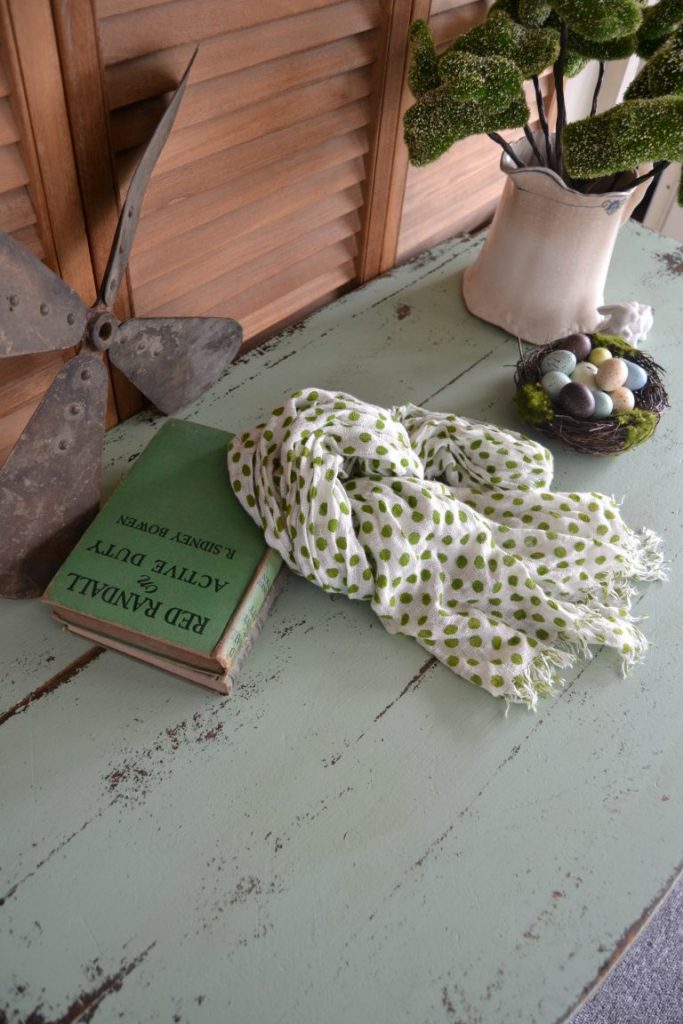
This color is a very pale green color. In these pictures, it looks a lot stronger, but it isn’t. I knew it was going to be beautiful with the dark wood peaking through in different spots.
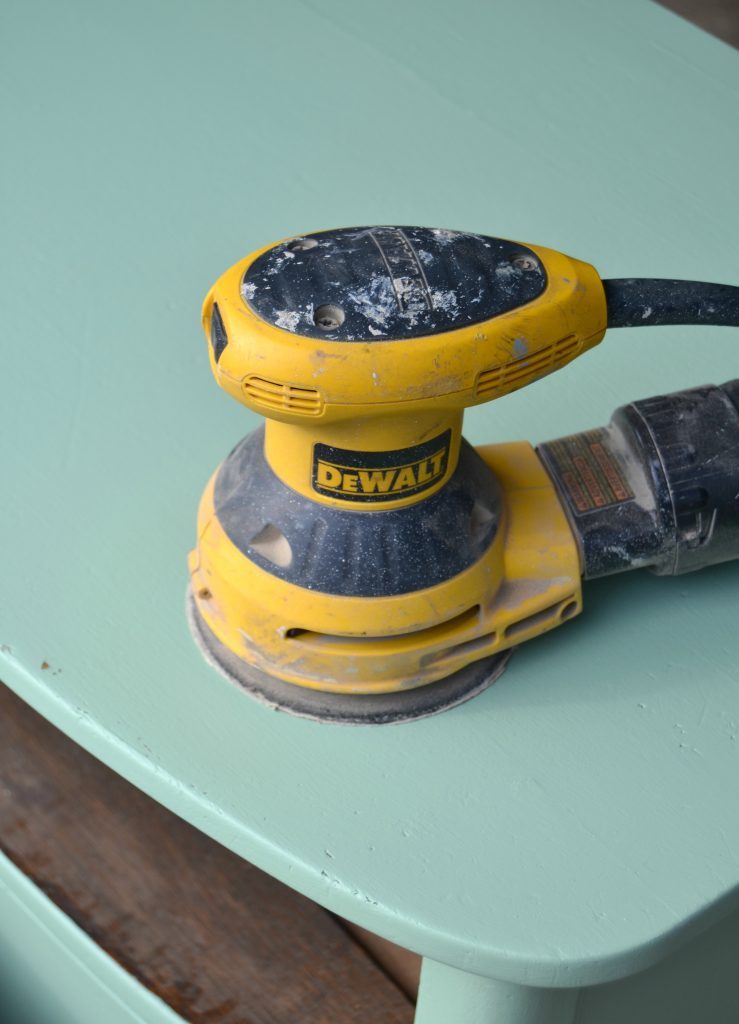
Then, I broke out one of my favorite DIY tools.
If you are a newbie DIYer or a seasoned DIYer who is looking for a good sander, this is the one.
I use this thing ALL THE TIME! It is the best.
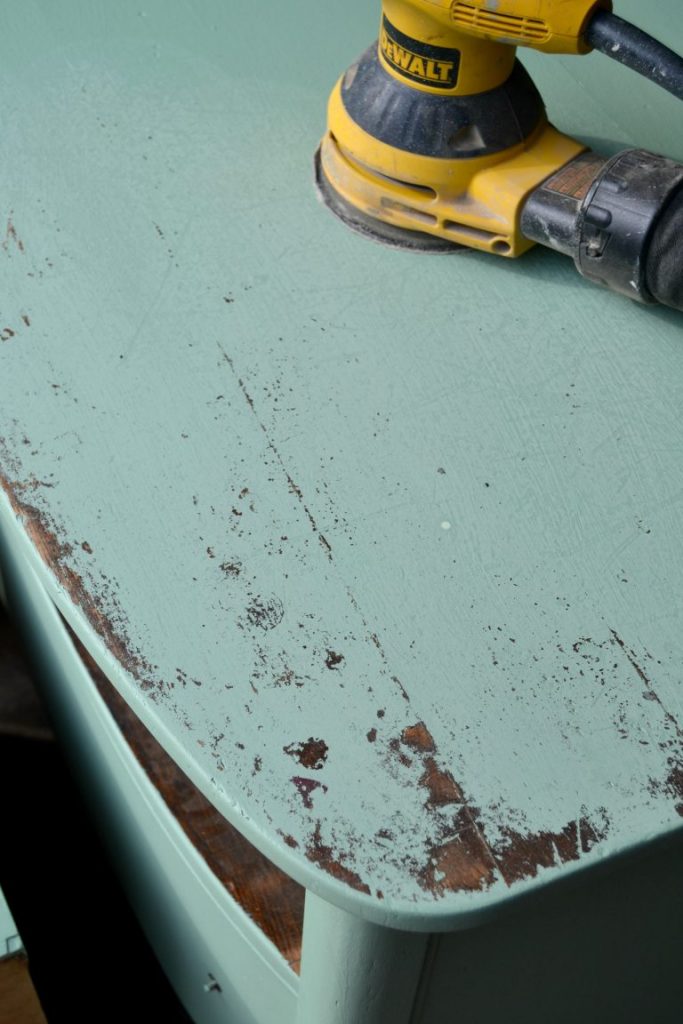
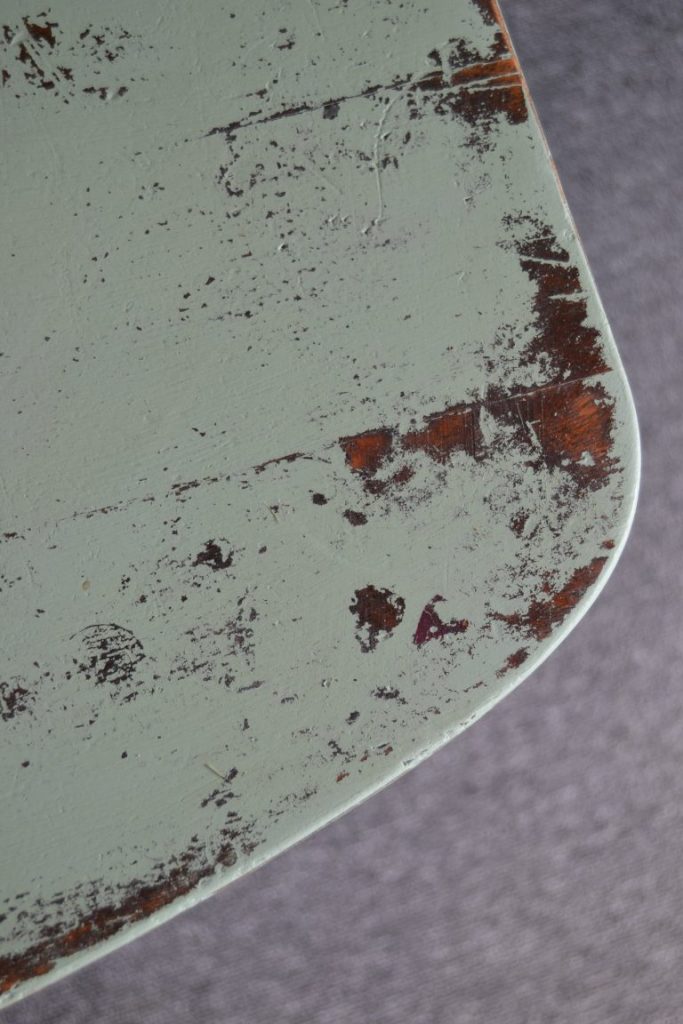
To distress the paint, I waited for it to fully dry and then ran the DeWalt sander on the top. If I wanted more paint to come off, I added more pressure, but I really just let the sander do the work. I do pay close attention to make sure and distress where “natural wear” would be (the edges and corners) with less emphasis on the center.
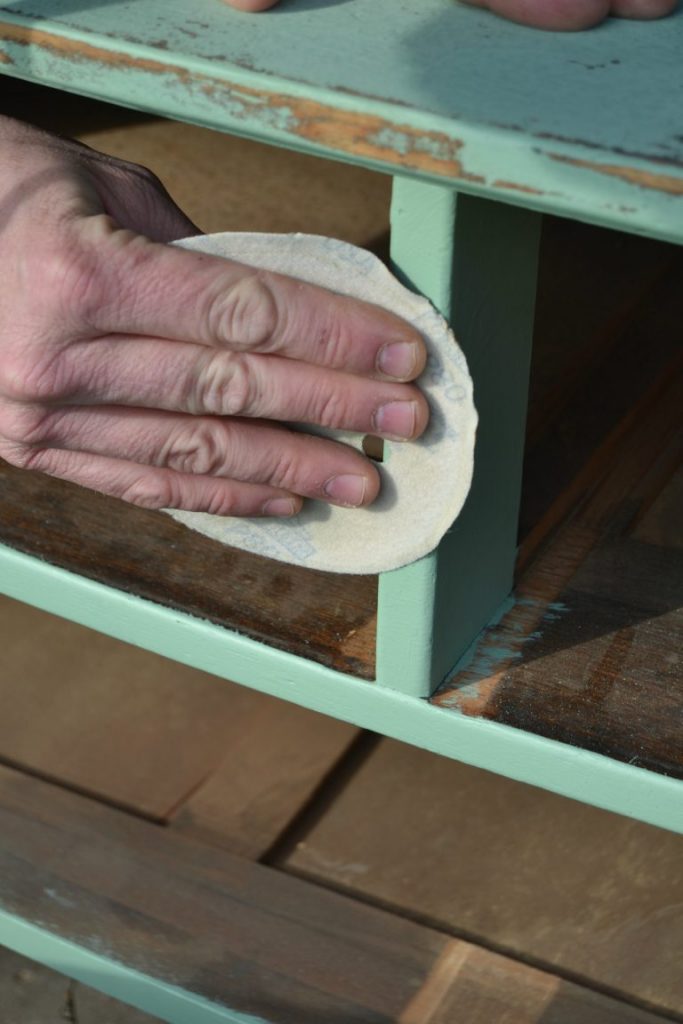
For the smaller areas and in corners where I can’t get the sander, I hand sand with one of the orbital sander pads.
I get so excited to do the sanding part of each makeover. That is when each piece takes on its own personality and gets all its character. It never gets boring. 🙂
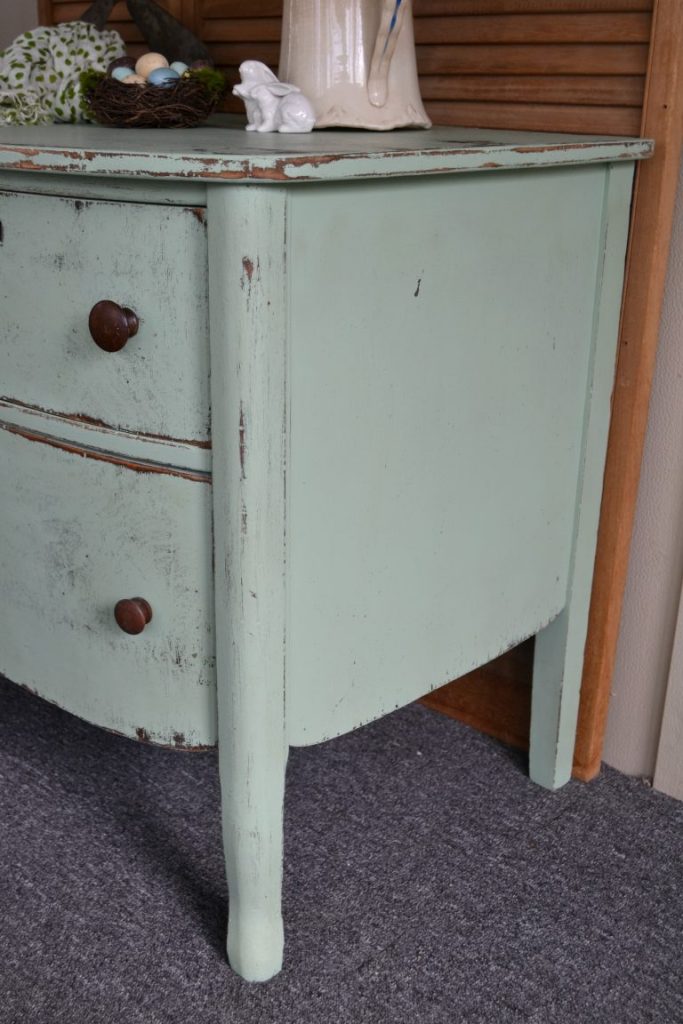
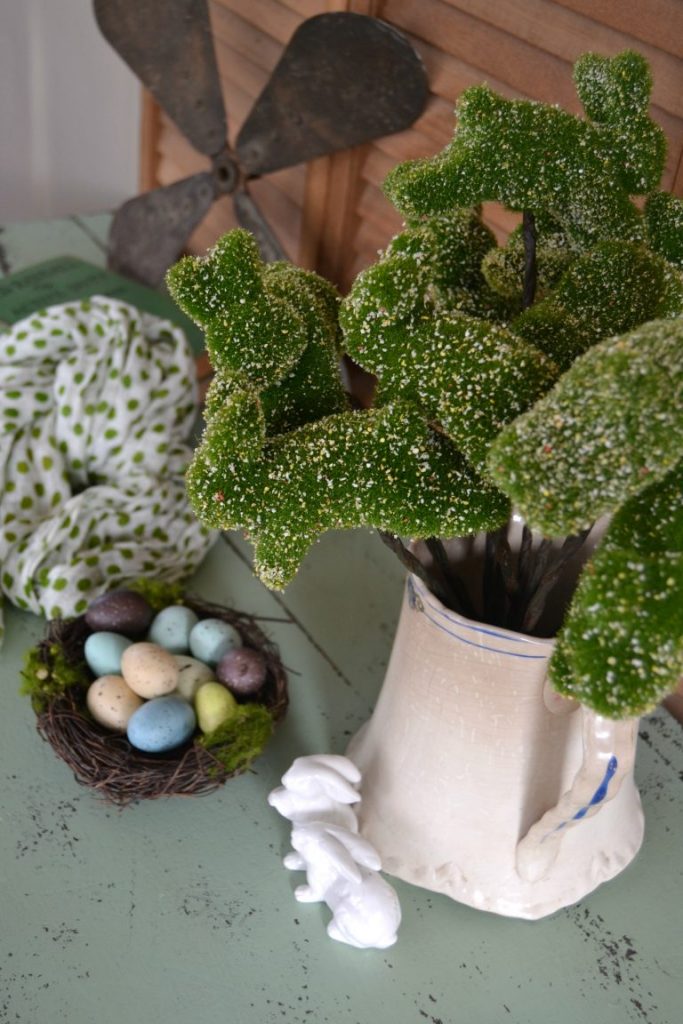
I kept the knobs natural. They highlight the dark wood that is popping through the paint.
The sides of this dresser didn’t distress much. That’s okay. I didn’t force it and just let the sander do its magic.
I don’t always do this, but I did use a wax after the sanding.
The wax deepens the color a little bit and adds a protective coat. Sometimes after I sand a piece, I don’t like the way the paint looks. The wax smooths out the color and enhances it. This distressed dresser definitely needed it.
It always amazes me what we find on the side of the road. It doesn’t happen all the time (I wish it did), but we have found some amazing pieces that people want to just throw in the landfill. Distressing furniture doesn’t have to be scary or make you hesitant to try it. You do need some tools to make it happen, but once you have them, there is no limit to what you can do.
Do you make over furniture?
PIN THIS POST!
If you liked this distressed dresser post, you will also love these tips:
The Easy Way To Remove Paint From Glass Hardware


Beautiful makeover from the color to the distressing
Thanks Marie!
Oh I am so enamoured with this piece. It’s juste delish! Thanks for sharing at Friday’s Furniture Fix! ;o)
Thank you Lucy!
OH Lindsay…Lindsay. This is a blow-your-hair-back-slap-ya-momma awesome makeover. Love the shape of the piece and LOVE the color. Well done. Thanks for linking to Friday’s Furniture Fix. We LOVE having you share with us. XOXO
Thank you Susie!!!
What grade sandpaper do you recommend for distressing?
It depends on the piece and how distressed you want it to look. I usually start with 120 and see how it is working. I have used 80 too.
Lindsay this piece is perfectly distressed! You did a lovely job and the color choice is beautiful! I hope you have a great week!
Smiles!
Terry
The Curator’s Collection & Making Broken Beautiful (Thursdays)
http://thecuratorscollection.wordpress.com
Thank you so much Terry!
I have the same sander and I love it – great size for girl hands.
I love my sander!
Wow that’s nice idea about Farmhouse Dresser as you have used it Lindsay, I really appreciate your this idea to use Farmhouse Dresser which is giving a unique look to table and home.
Do you recommend applying primer beforehand?? Love your work!
Thank you! It depends on the project and on the paint you are using. I hate to give you a broad answer, but it really does depend. If you are using a chalk-like paint or a mineral paint, I don’t usually prime first.
Hi Lindsay
we are launching a new website next month and would love to feature this blog on it.
Is that ok with you
Julie
Yes. Will you have a link back to my site?
where can I get this paint? loved what you did
Amazon! Here is my affiliate link: http://amzn.to/2nrRnBD
I’m getting ready to try my hand at distressing my first piece. Did you have to do anything to prepare the piece for painting? What type of brush did you use to paint?
Love it! Just wondering how you clean the pieces you find before painting them? Thanks!
It depends on what it is, but good old soap and water or vinegar work wonders.
I can’t believe you painted over TIGER OAK! I would have only done the top and frame and left the drawers natural.
That would have been pretty too!
Did the piece have a varnish over it? If so, would you not sand that first to make sure the paint has something to hold onto?
It always depends on the piece. Sometimes I sand and other times, I will use products that make it so I don’t have to sand and sometimes just the paint I use just adheres. We talk all about all the different methods, techniques and tips in The Creative Squad. We are opening the doors again soon! You can sign up here to be notified when we are open again: https://mycreativedays.porch.com/creative-squad/
Hi Lindsay, what a wonderful job you did! I love it!
Could you please tell me what kind of wax you usually use?
Thank you! X
The links to everything I used in this makeover are in the post. Is there a different link you are looking for?