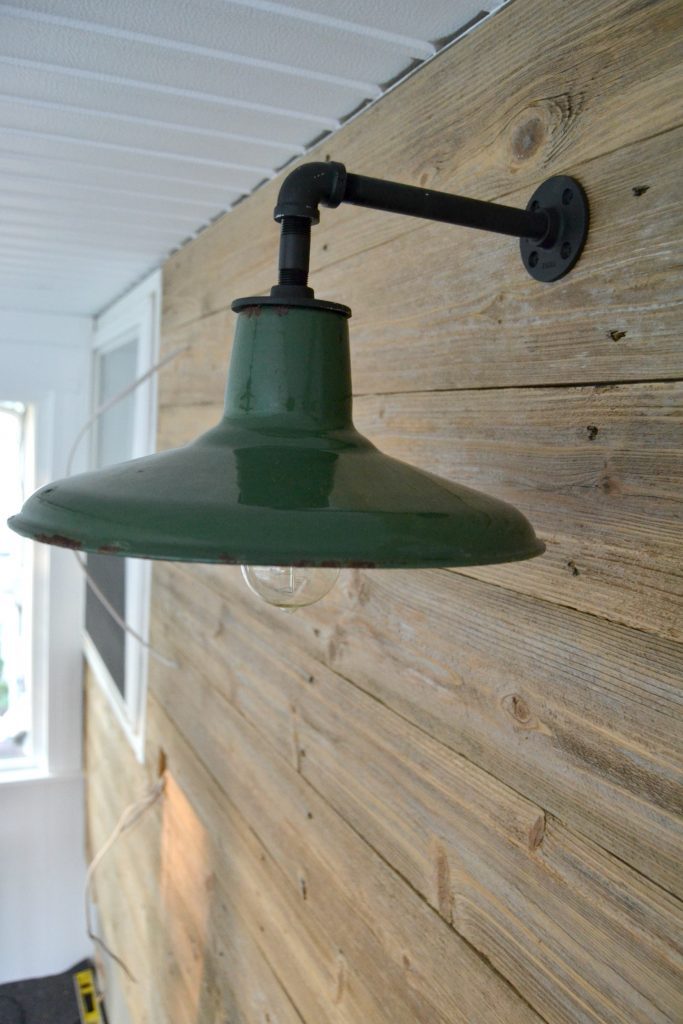
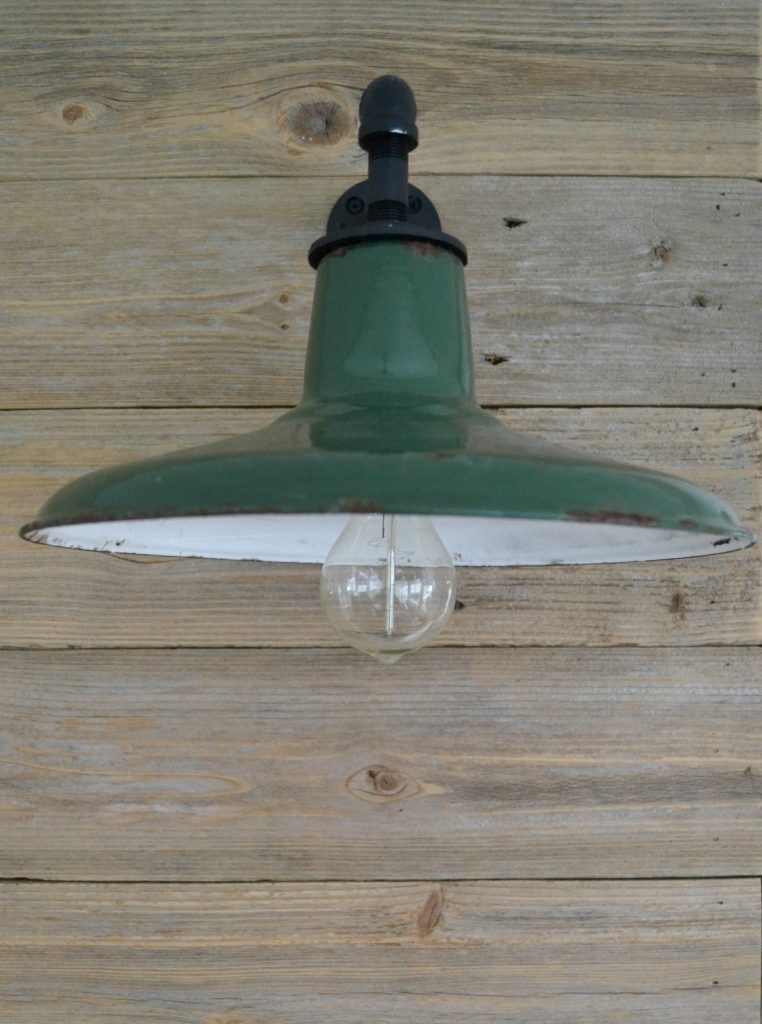
I am back with a more detailed back porch project like I promised. A couple days ago, I revealed the entire back porch makeover. Every makeover takes a little more time than I think it will, but I am always happy with the process and the outcome. Not only do I love the process and outcome, but I always have a favorite part of every makeover we do. In the back porch, it is the FREE reclaimed wall and the rescued barn lighting we added.
Matt and I were both excited when we found these amazing barn lights in an old barn. Matt had to crawl under a lot of stuff to get them, but they were well worth the crawl. They are my favorite “farmhouse/country” green color and they are weathered just right. I didn’t know what I was going to do with them at first, but when we started planning the porch makeover, I knew exactly where they would go.
I wanted to bring the barn lighting back to life in our porch. Coming up with ideas is the fun part, but then we have to figure out if we can make them work. Matt and I stood at Lowes for a long time to figure out how we could make these green gems light fixtures again. To be honest, he is there making it all happen and I am just there to make sure the plan will be aesthetically pleasing. We are the dream team!
(Affiliate links are used in this post. You can read my disclosure here.)
Supplies Used To Make DIY Barn Lighting:
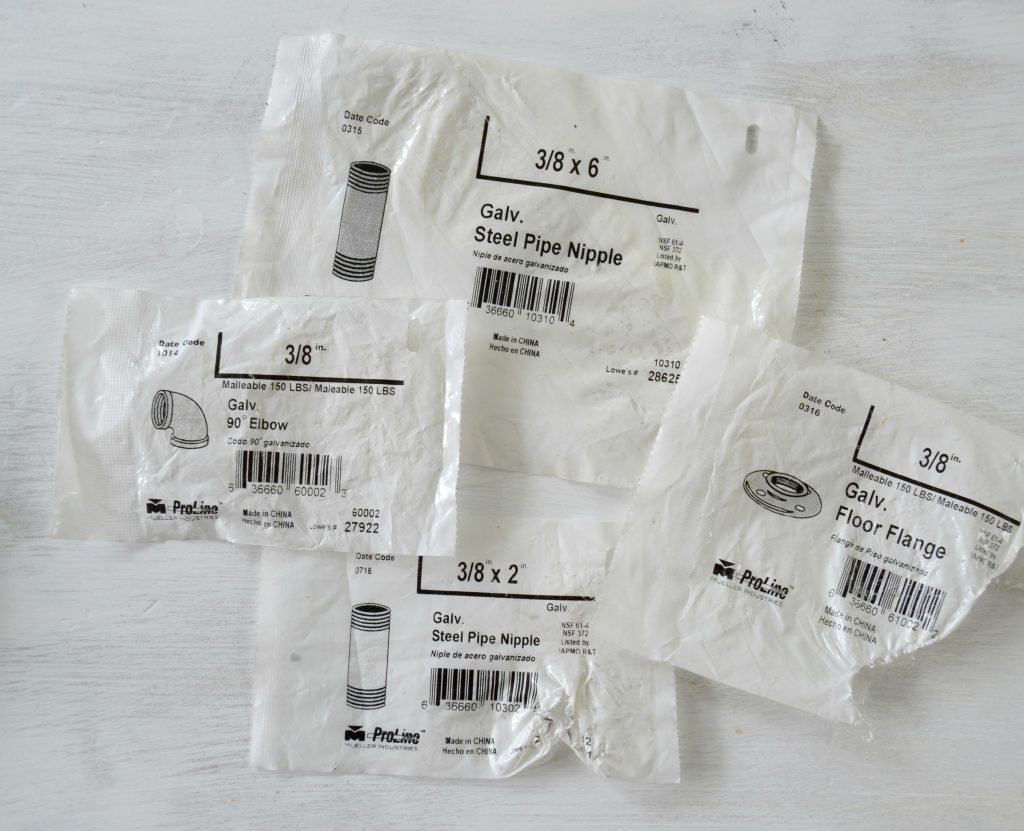
3/8″ Galvanized Floor Flange
3/8″ Galvanized 90° Elbow
6 Galvanized Steel Pipe Nipple 3/8″
3/8″ x 2″ Galvanized Steel Pipe Nipple
Solid Brass Light Socket from Snake Head Vintage
Romex #14 Wire
Rustoleum Spray Paint in Flat Black
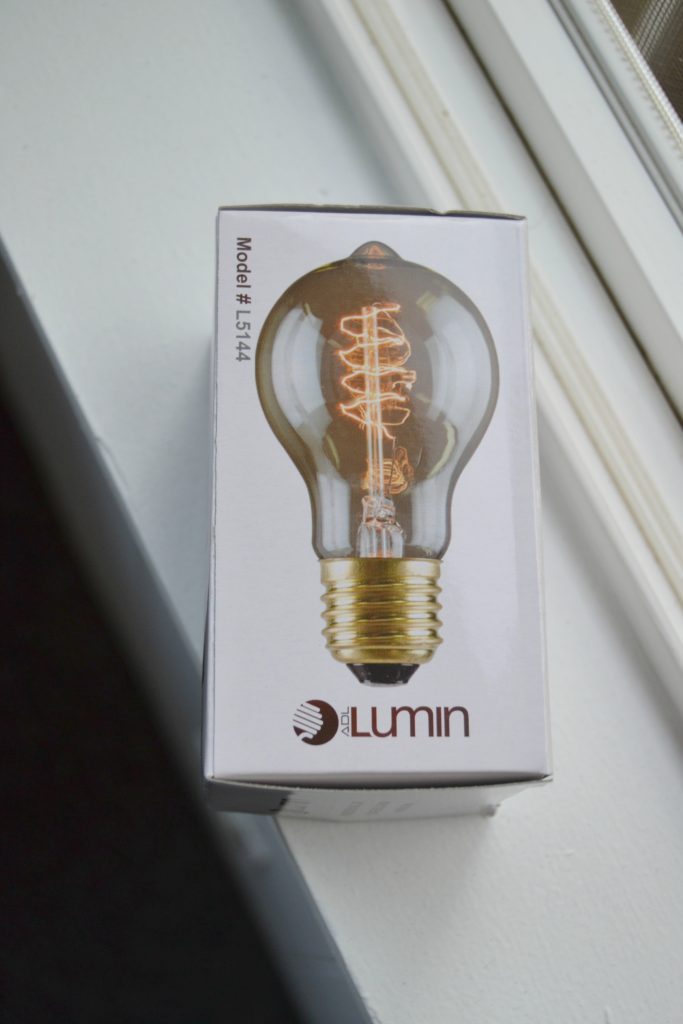
Edison Globe Light Bulb from Snake Head Vintage
Amazing fixtures from a barn pick.
Drill
Piece of wood for inside the fixture
Depending on what kind of light you want, you may need a switch box, switch and switch cover. We wanted these lights on a switch instead of a pull chain mechanism.
Directions on How To Make DIY Barn Lighting:
(*As with any lighting or electrical project, make sure to have a professional on hand or hire a professional to do the work.)
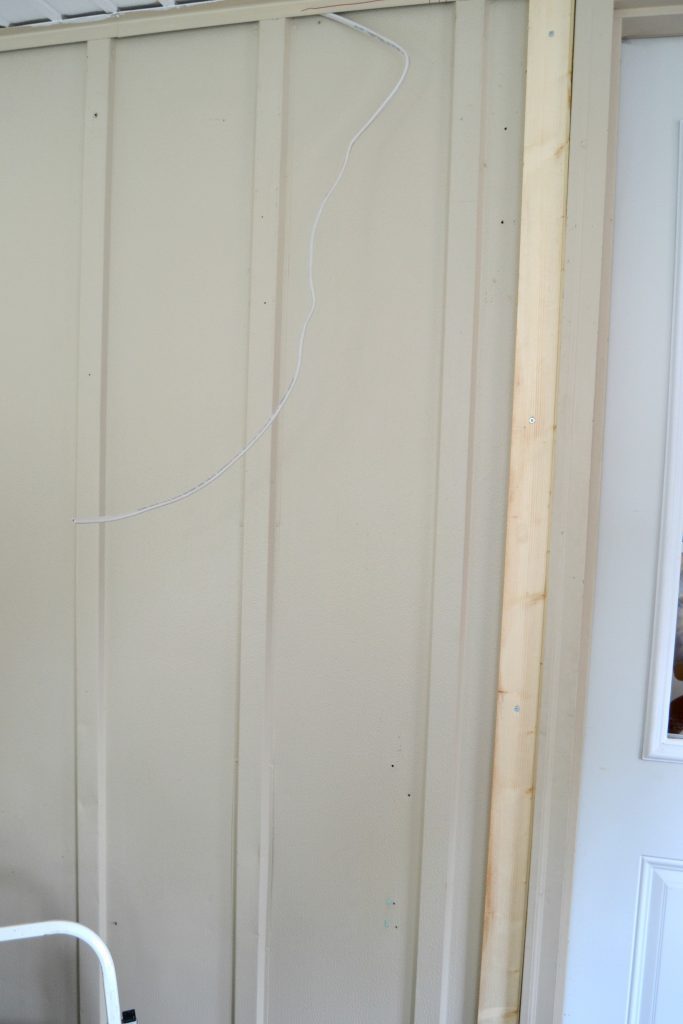
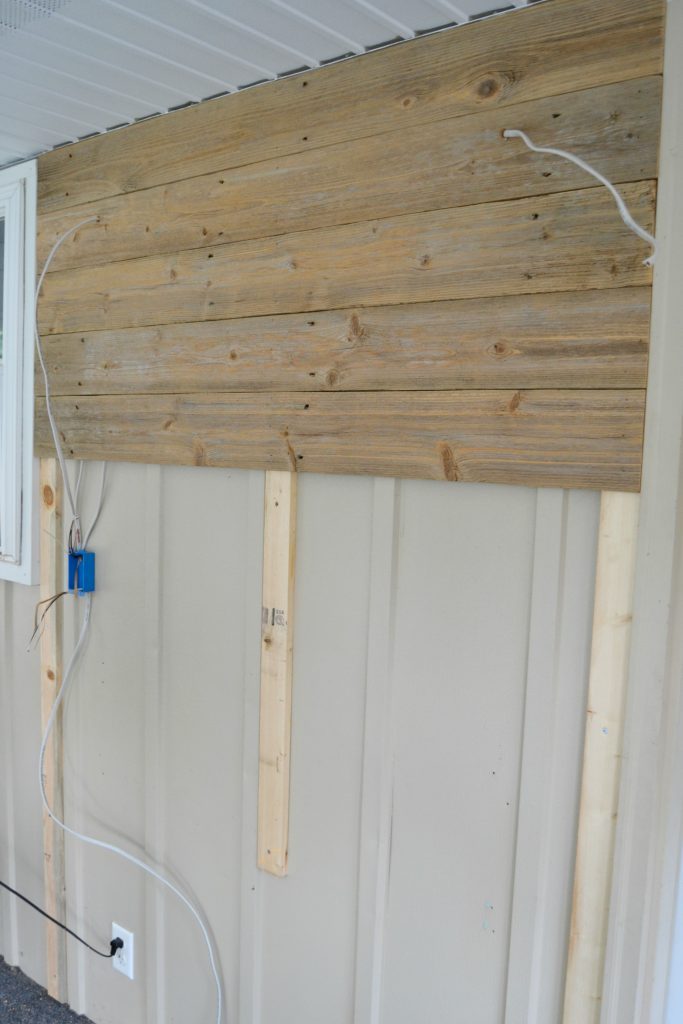
The first thing we had to do was get the wire in the spot where the barn lighting was going to hang.
For this project, we were also adding reclaimed wood to the wall so once we had the wire where we needed it, we put up some of the reclaimed wood to screw into.
We cut holes in the wood for the wire to come out and then placed the switch where we wanted it.
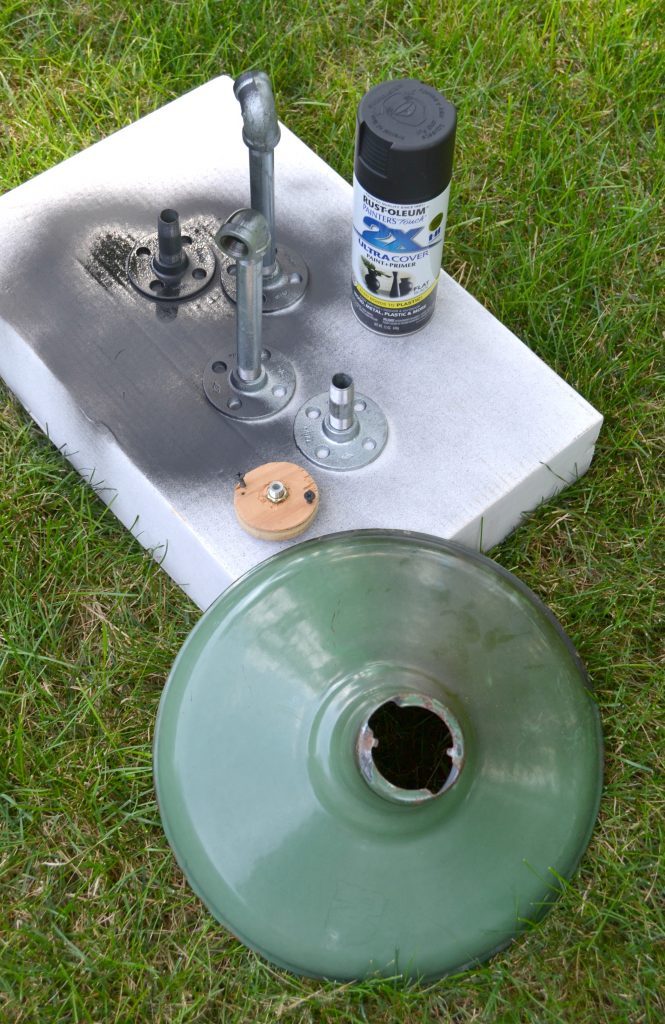
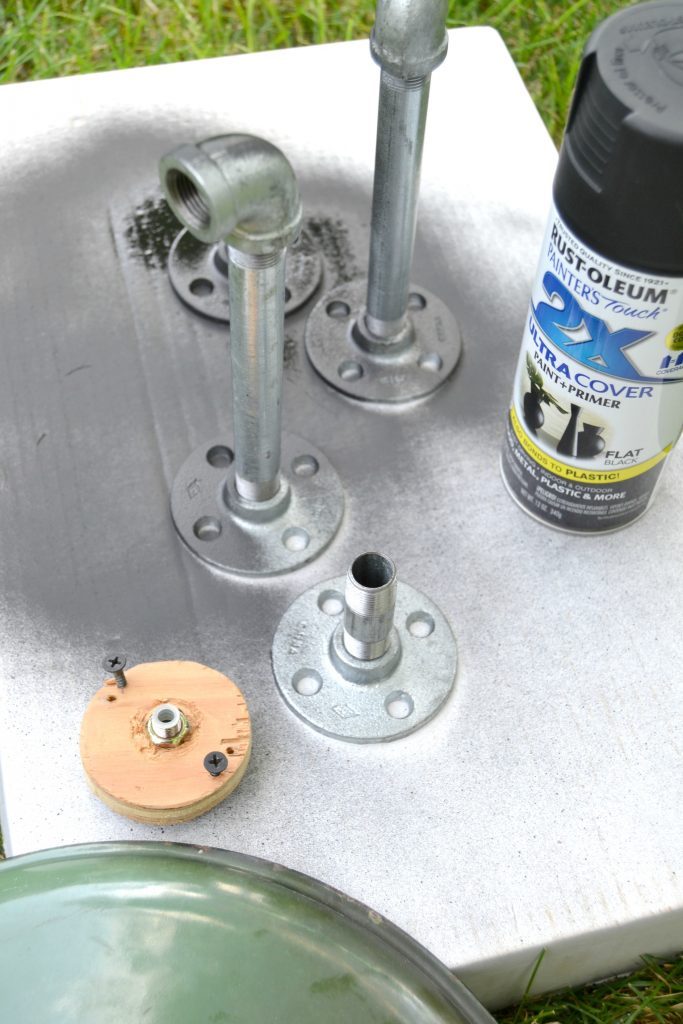
Now, it was time to put the fixtures together, piece by piece.
I spray painted all of the galvanized pieces in flat back spray paint from Rustoleum.
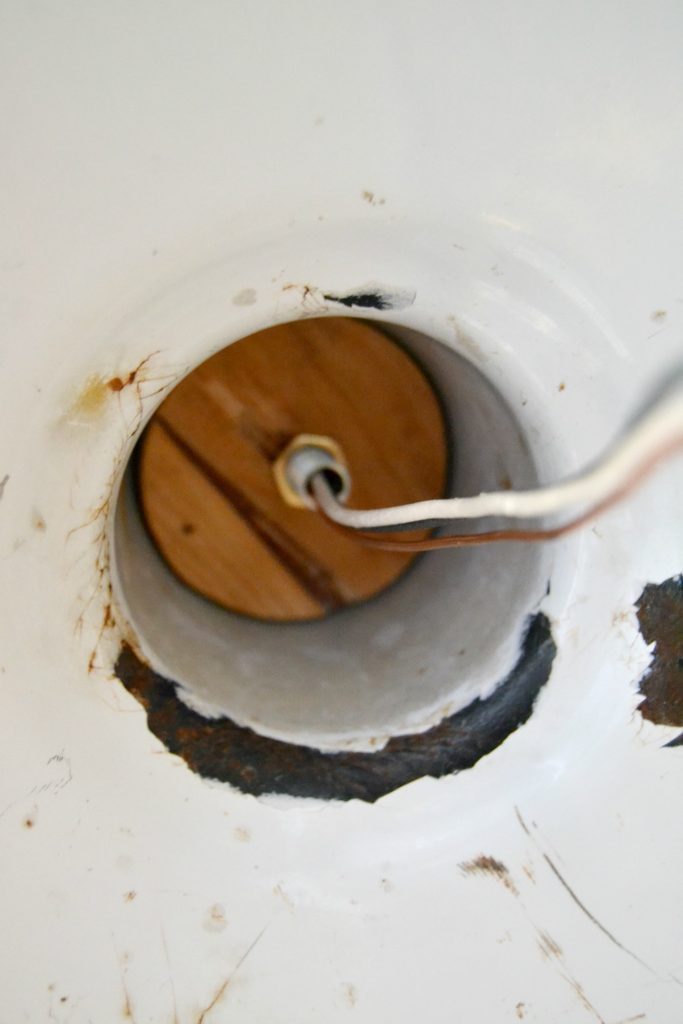
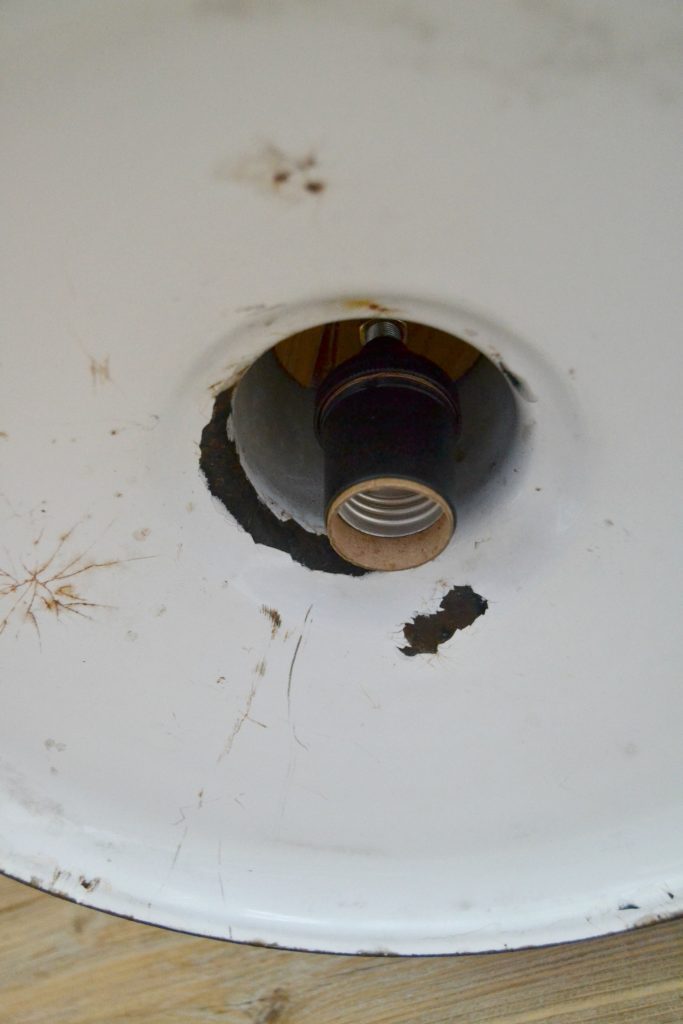
Next, Matt cut a piece of wood the size of the hole on top of the green fixtures and put it inside them. This would hold up the socket and the “guts” of the fixture.
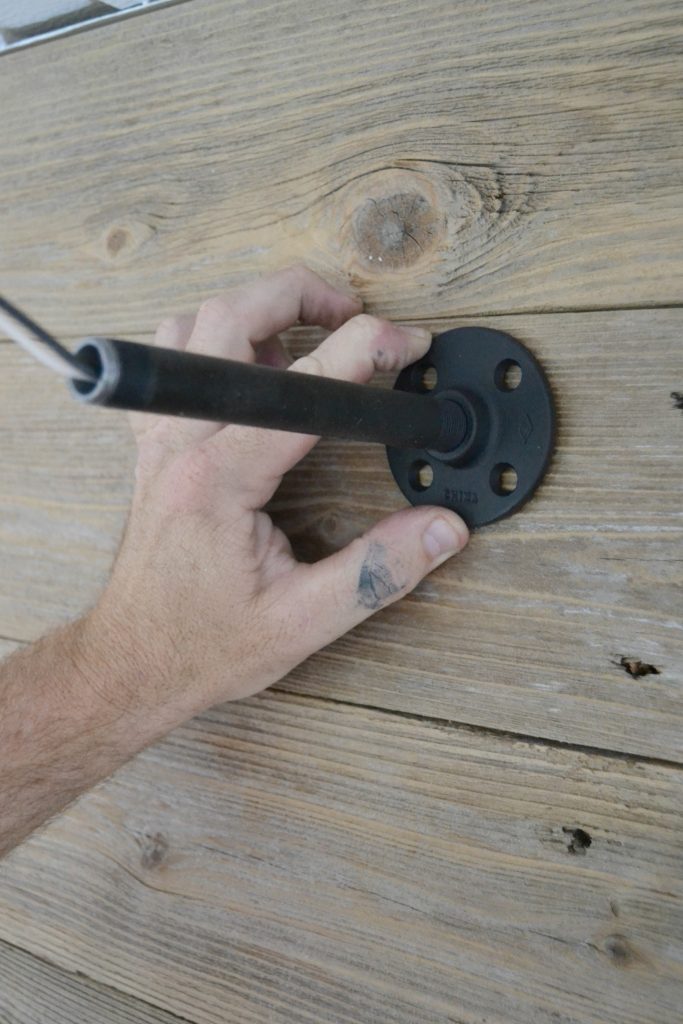
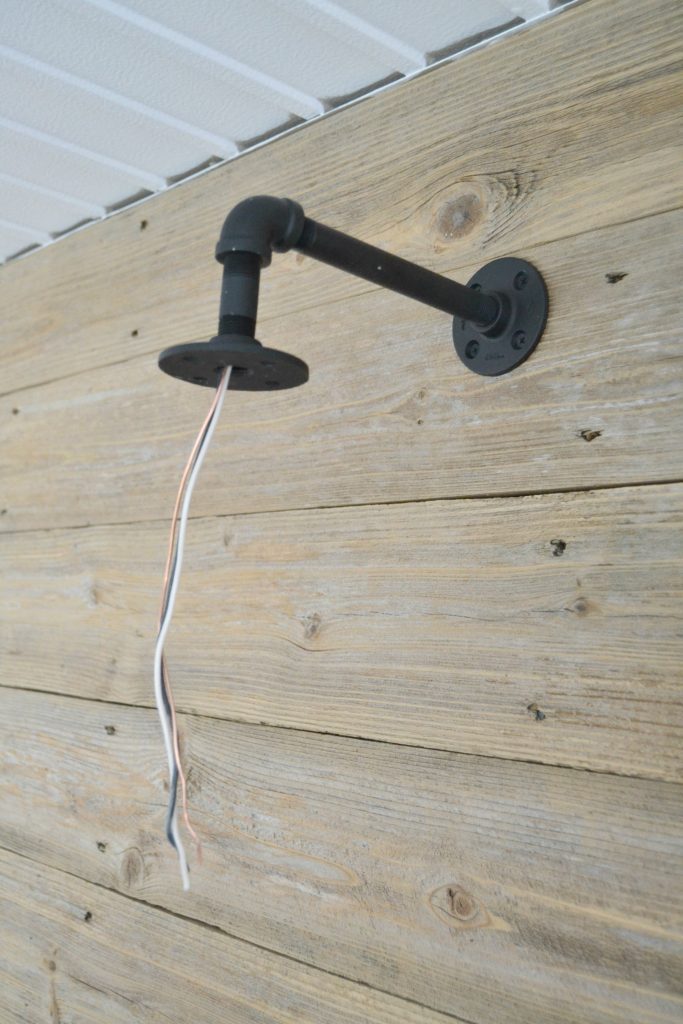
Putting the fixtures on the wall was a step by step process. We started by pulling the wire through and screwing the 3/8″ Galvanized Floor Flange on the wood. Then, we screwed on the 3/8″ x 6 Galvanized Steel Pipe Nipple.
After that, we added the 3/8″ Galvanized 90° Elbow and the 3/8″ x 2″ Galvanized Steel Pipe Nipple on the end. Then, we added another flange on the end.
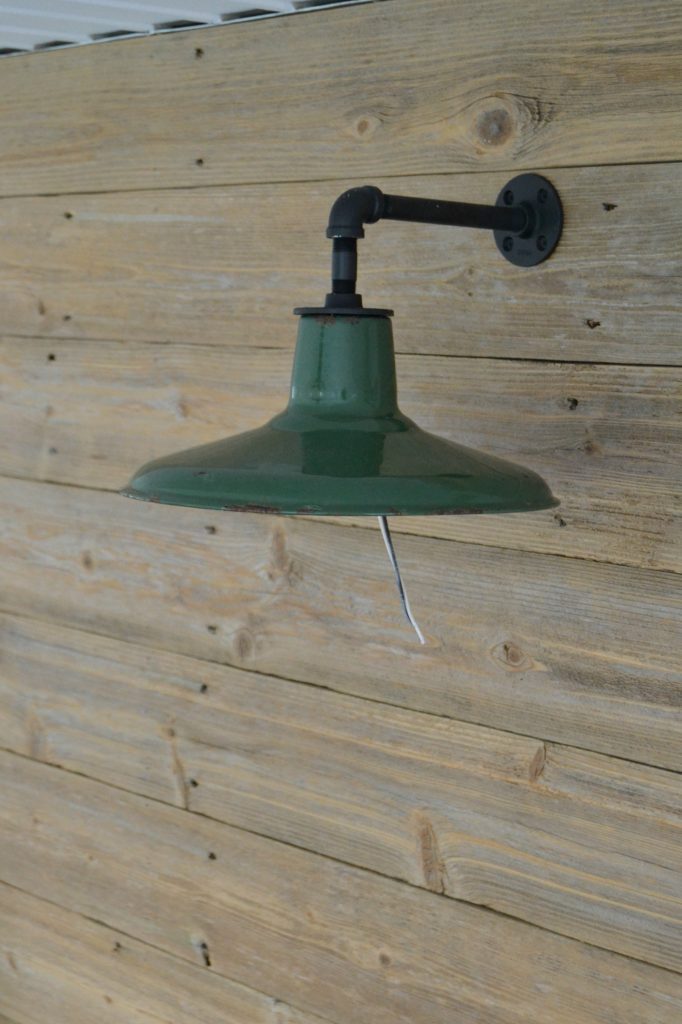
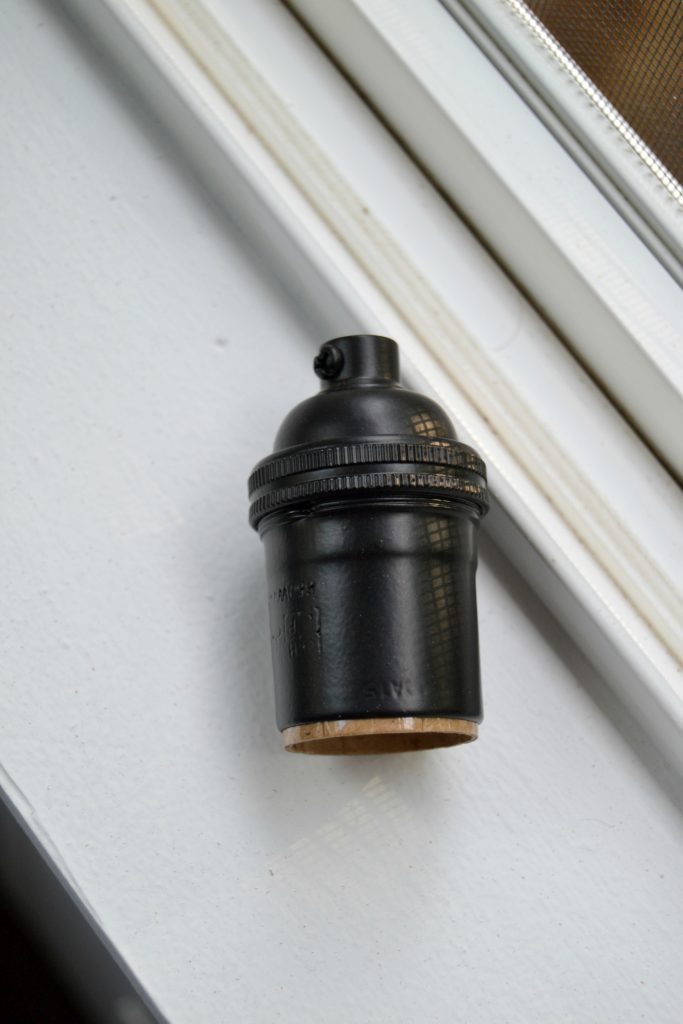
Finally, we added the green fixture and the Solid Brass Light Socket from Snake Head Vintage.
I really wanted to try the Edison Globe Light Bulb from Snake Head Vintage. These bulbs have a vintage look that I thought would look great in these fixtures.
I touched up the black paint on the pipes and we were done!
Like I said earlier, I didn’t know what I was going to use these pieces for when we pulled them from the barn. After seeing them in our garage, I really wanted to find a way we could incorporate them into our home. These farmhouse fixtures are exactly what our porch makeover needed.
We also found a bigger pair of these green lights in the barn. I am trying to figure out a way to use them in the toy room makeover when we start on that. I will be posting about the entire porch makeover soon so you can see both of the lights together. Stay tuned!
Would you have pulled these fixtures from the barn? What would you have done with them?
If you don’t have barn lights on hand, I found some great options online:
PIN THIS POST!
If you liked this barn lighting post, you will also like these ideas:
Custom Wood Signs – Our Family Room Sign
Framed Chalkboard Sign With Chalk Couture
Magnolia Paint in 25+ Colors Available At Target



I sure would have! I’m not sure where I would use them but definitely I would make them into lights. I have a large one I’m trying to figure out how to make it work for the art studio. It may be my outside, over the door light. I love how yours turned out! They’re perfect!
Thank you! We also pulled a pair of bigger shades like this from the barn. We are hoping we can use them in the basement room we are making over for the kids. I just love them!
Great makeover and I love these fixtures! How does the galvanized steel pipe nipple attach onto the top of the green light shade?
We had to cut a piece of wood to fit inside the shade. It is in the post. That piece of wood is how we attached it. Yes, there is another flange on top.
Great makeover and I love these fixtures! How does the galvanized steel pipe nipple attach onto the top of the green light shade? Is there another floor flange attached to it (I don’t think you mentioned it in the instructions) ? If so, how is the flange attached to the fixture?
We had to cut a piece of wood to fit inside the shade. It is in the post. That piece of wood is how we attached it.
Gorgeous, and I love it!
THanks!
Bless you! I am so glad you posted this. I have two light shades like these we found too in an old barn. One is white and one is green. I loved them but did not know if I could use them. You have figured out a way and I am so gratefully. Now I just have to get my husband’s help and they are going up. Thank you again! Have a wonderful day and take care.
YAY! So exciting! They are the best lights ever! Good luck!
I love the reclaimed wood!! I would love to do some open shelving in my home. Any ideas on where I could purchase boards like these?