Last week, I shared 30 minute DIY projects. Whether it is small projects or larger home makeovers, you all know that we love to DIY whatever we can. When we started doing DIY projects, we were just trying to make our home pretty on our tiny budget. Now, I am really passionate about it and am obsessed with the thousands of dollars we save every year by doing it. We have learned so much about the DIY process and even more about all the money you can save by doing it.
This is a subject I could talk your ear off about, but today I am sharing DIY Tools For The Beginner That Will Save You Thousands. Through all the mistakes, trials, blood, sweat and tears in our projects, I feel like we have a good grasp on what tools you need. The one thing we learned the hard way was that you need to have the right tools for DIY projects. In the beginning, we would try to use what we had and we ended up spending more money in the end fixing the mistakes we made because we didn’t use the right tools.
This list of Beginner DIY Tools For The Beginner is something I wish we had starting out. I get a lot of people asking me about tools and what we use most often and what I would suggest to someone just starting out so here it is.
{Affiliate links are used in this post so you can easily find these products. You can read my disclosure here.}
Beginner DIY Tools:
The most important DIY tool to me is paint. You can do so much with paint. Spray paint, latex paint, chalk-based paint… whatever paint you like, it is a staple in my beginner DIY tools for the beginner. A coat of paint can make the biggest difference without a lot of money invested. When I first started painting, I would spend a lot of time searching the mis-matched section at our local home improvement stores.
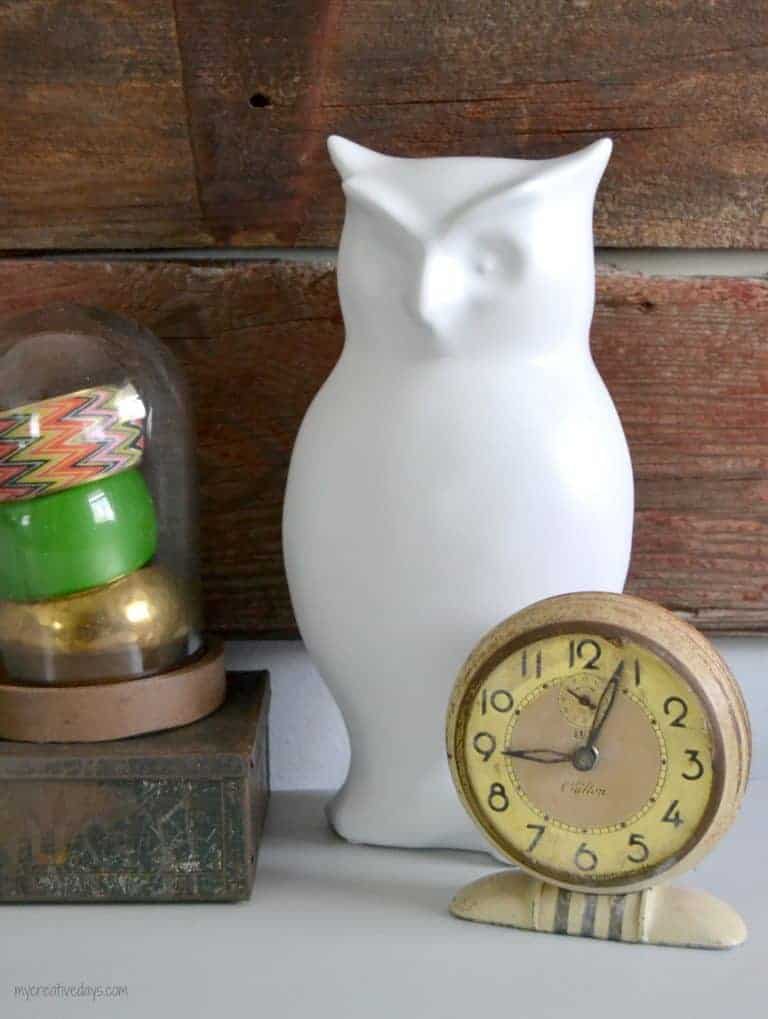
There are some amazing colors you can find in that section and it is dirt cheap! Buy colors you want to have in your home. Then, head out and search for treasures that you know you would love if they were a different color. Paint is great for small accent pieces, entire rooms and furniture pieces. A coat of white spray paint turned this brown, outdated owl into a perfect piece in our home.
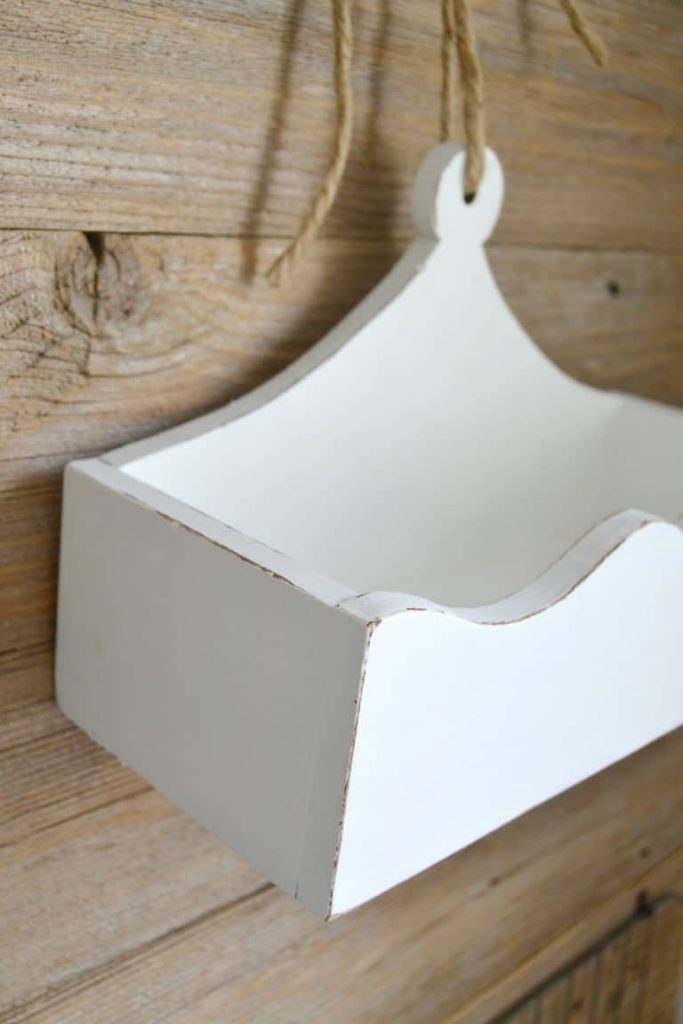
Another easy tool all beginners need is sandpaper. It is simple, inexpensive, but so effective. Not only do I use sandpaper to prep paint projects, but I use it every time I want to rough up a piece to make it look worn and weathered. I used sandpaper around this Thrifted Mason Jars Caddy Makeover just to give the edges a little definition. There is always different grits in my tool box because all projects have different needs.
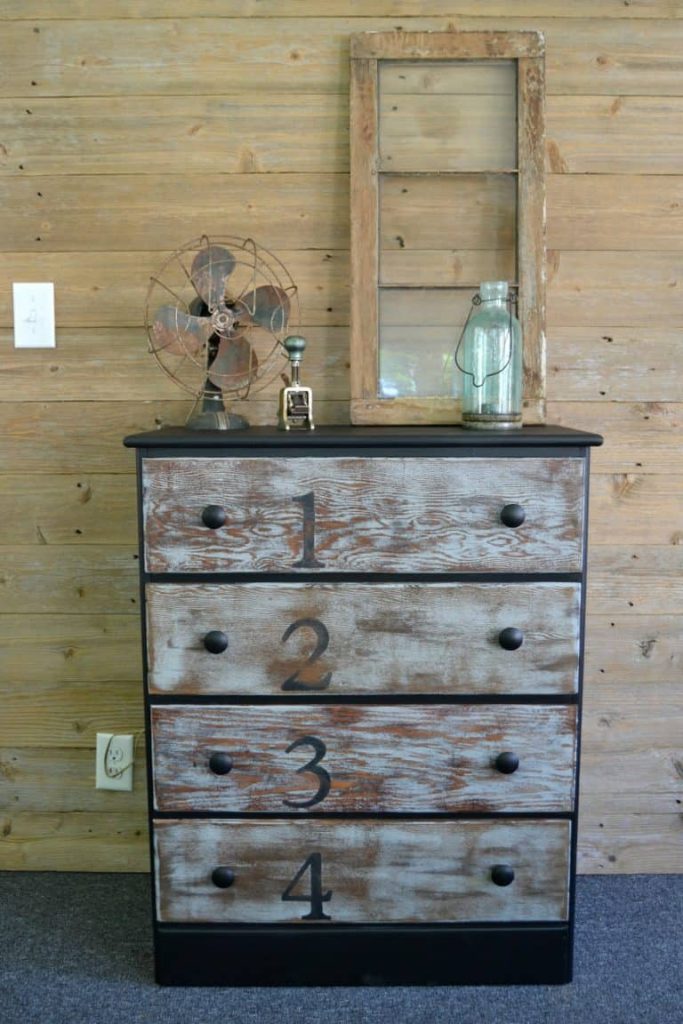
I used to use my hands when I sanded things in the beginning, but now, I use an orbital sander for larger projects. I can’t tell you how much I love my orbital sander. Projects get done in no time with it and wish I had invested in one from the beginning. It is a game changer! My Rustic Numbered Dresser Makeover would have taken me days to do if I was sanding it by hand.
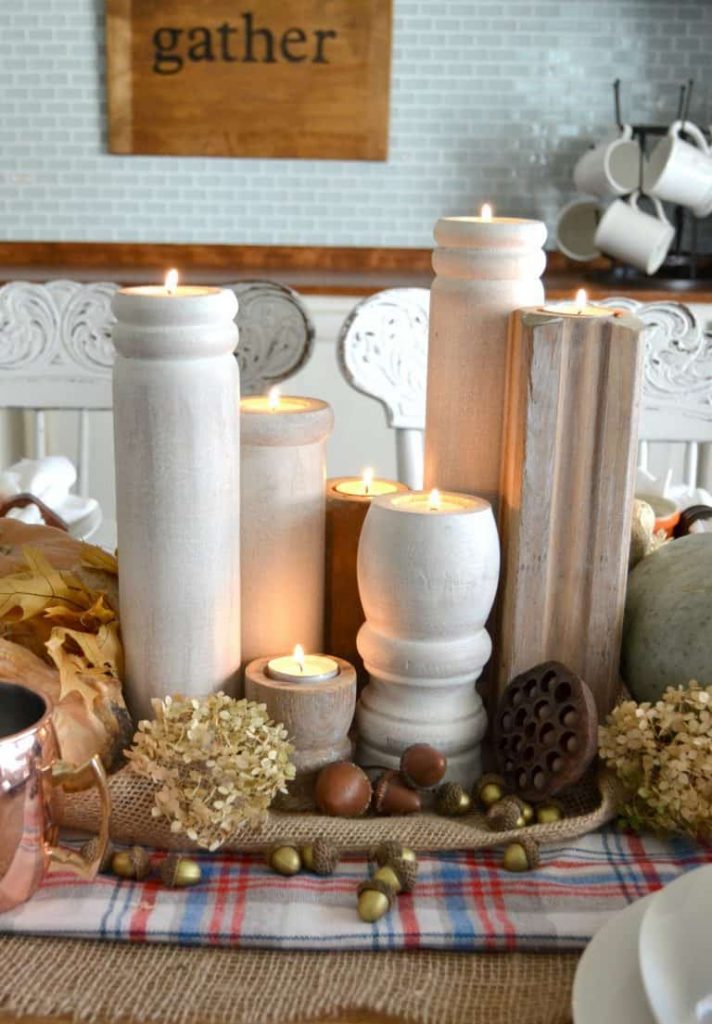
A drill has to be in your tool box when you are DIYing. Beginners and pros can’t DIY without one. Over the years, we have accumulated three of them because we are usually using so many different bits during each project. Not only are drills great for screwing things together, but different bits will do different things. My Repurposed Votive Candlesticks were done with a wider drill bit. Easy and so fun!
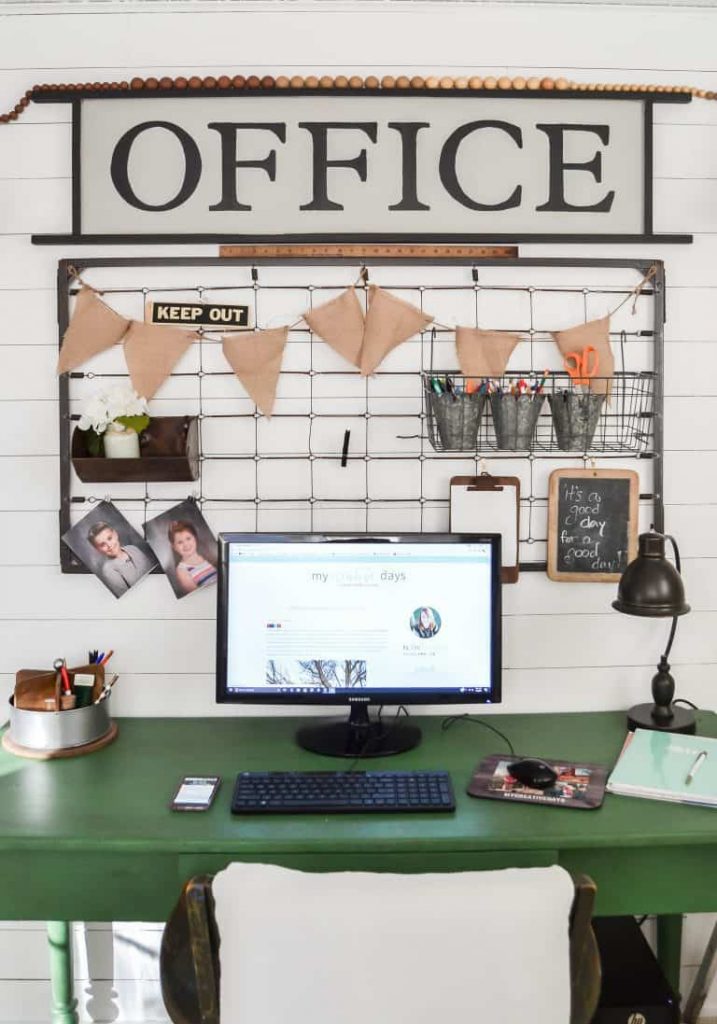
I use my Cricut for many projects. It’s great for making signs and throw pillows! I would not be able to do any lettering on anything without it. My latest Cricut project was the Farmhouse Office Sign. Signs are so easy to make with my Cricut and I recommend it to anyone who is looking to save a ton of money on decor pieces like this.
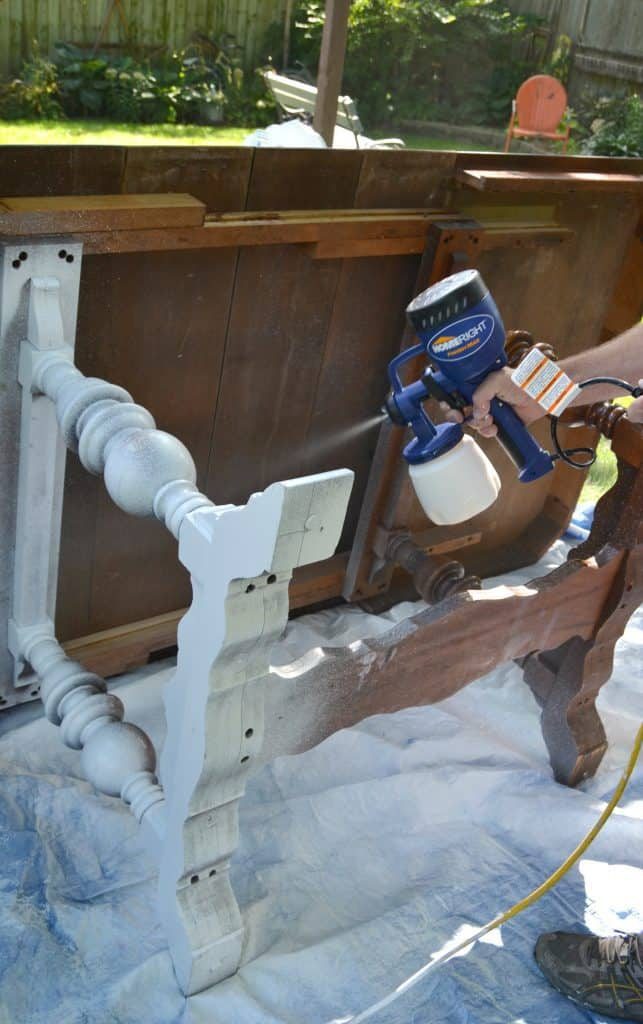
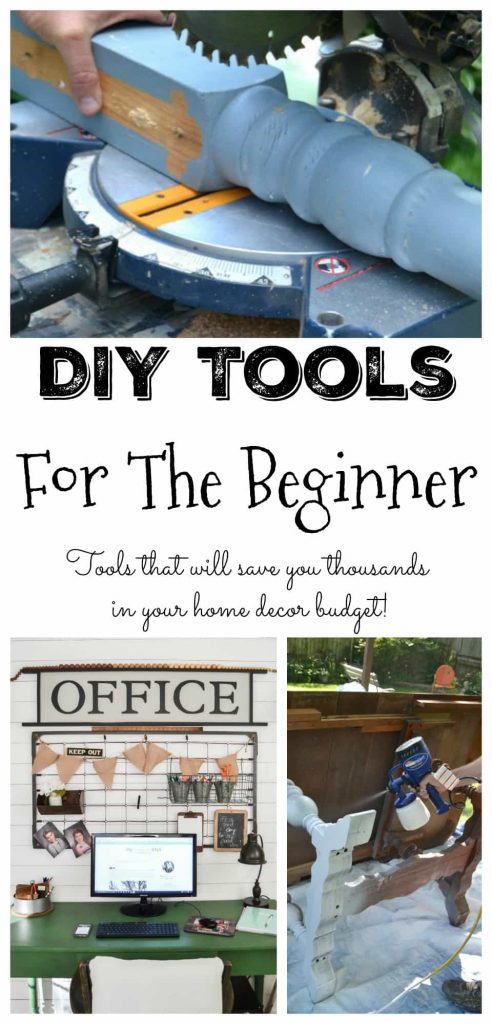
In the beginning of my furniture makeover projects, I painted everything by hand. Now, don’t get my wrong, some pieces need to be painted by hand, but when I have larger projects, I use my Homeright Paint Sprayer. This sprayer has saved me to much time and I get so many projects done that would take me days to do by hand.
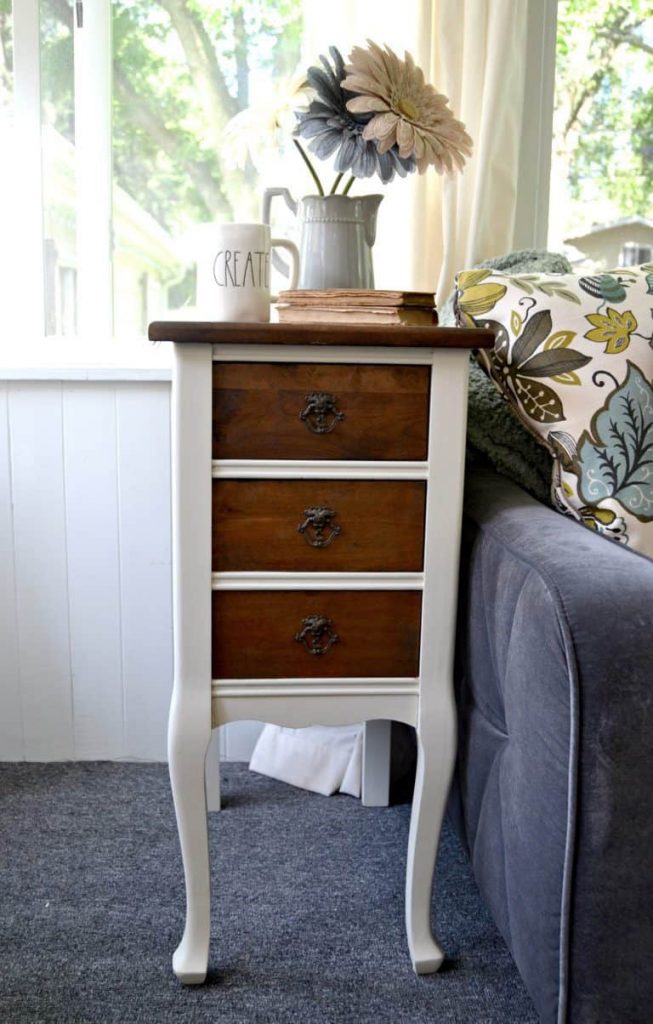
For those projects that need to be painted by hand, invest in some good paint brushes. THIS IS A MUST! I have tried to save money by buying cheaper brushes, but they never hold up and I end up buying more brushes in the end. Get good brushes to start with and take good care of them and they will last you forever. This Broken End Table Makeover was a small project that I painted by hand.
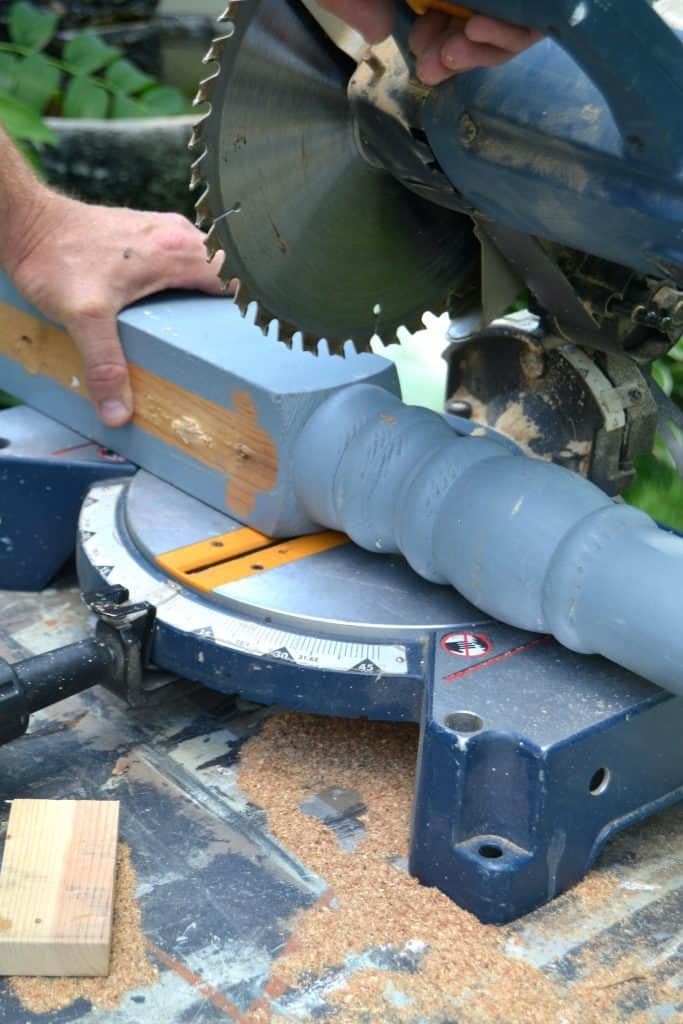
After a few years of using my dad’s Miter Saw, we invested in our own. I know a saw like this can be intimidating for a beginner, but they have so many safety features and are made to use easily. We use our miter saw for small and big projects. It is a higher priced tool, but it will pay for itself over and over again with all the money you will save by what you can do with it.
When you are DIYing, you are investing in making one of a kind pieces and features for your home at a fraction of the cost of buying new or hiring out. Investing in some great tools in the beginning is going to save you thousands of dollars in the end. It would actually be a lot of fun to go through our home and write down what the cost was for us to DIY different pieces and projects. I know we have saved thousands of dollars.
Are you a DIYer? What beginner DIY tools would you add to the list?
Recap: Beginner DIY Tools:
Paint
Sandpaper
Orbital Sander
Drill
Cricut
Paint Brushes
Miter Saw
PIN THIS POST!
If you liked this DIY Tools For The Beginner Post, you will also like these posts:
The Paint Sprayer That Will Paint A Room In 10 Minutes
10 Tips: How To Be More Productive


Fabulous job!
Thank you!
Love ❤️ it
Thank you!