A few months ago, I posted about decorating shelves quickly and inexpensively. In that post, I shared the hutch my mom gave me. When I was younger, I remember her bringing the hutch home from an estate sale and spending an entire summer stripping every layer of paint it had on it. I have always told my mom I wanted that hutch, but we haven’t had room for it. When I moved my office to the guest bedroom, we had the perfect spot for the hutch and we brought it home. I have been decorating and redecorating that thing since we got it here.
When I posted a picture of the hutch on Facebook, my mom called me and told me that if I wanted to paint it, I could. WHAT?! No way! The memories of all the work she put into it and the finish of the wood is too good to cover up with paint. With that said, I started itching to find a hutch I could paint. Low and behold, I found one about three weeks ago. This DIY Farmhouse Hutch Makeover gave me the “painted hutch fix” I needed while my mom’s hutch is still unpainted and beautiful in our living room.
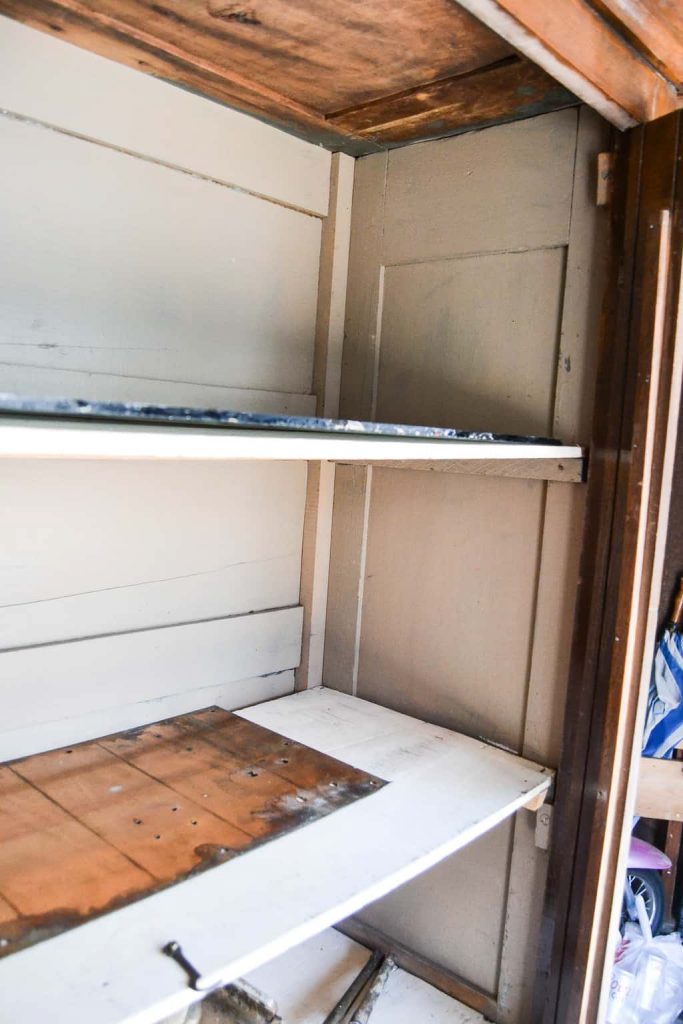
When I first saw this hutch, I didn’t think it was an old piece so I walked past it. Then, as I came back around, I noticed the inside. The inside wood and style is an exact match to my moms’ hutch!!!
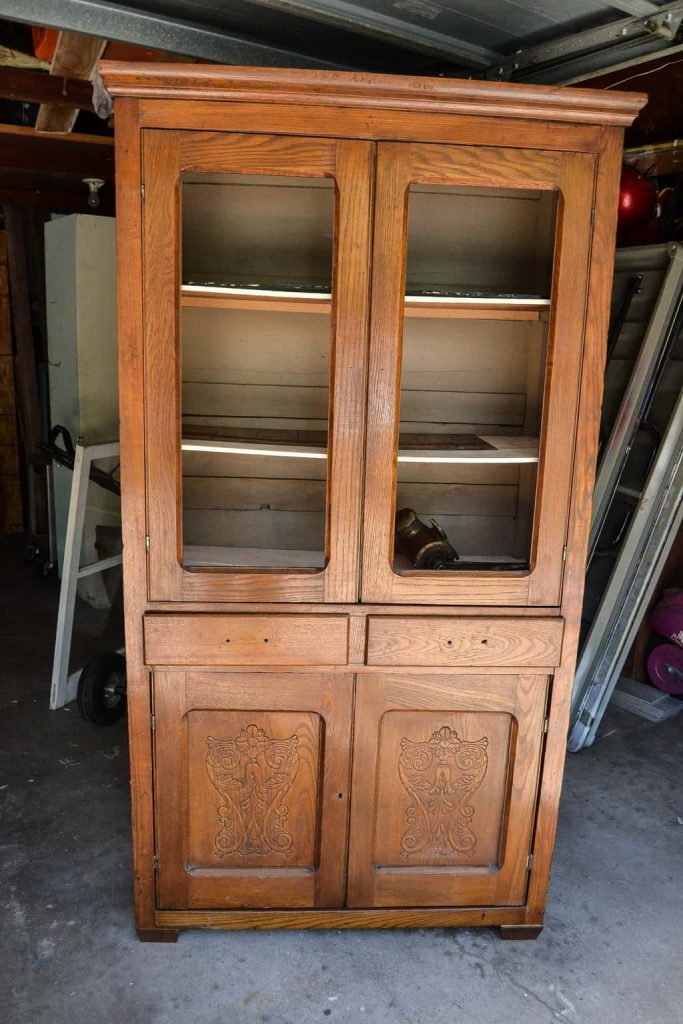
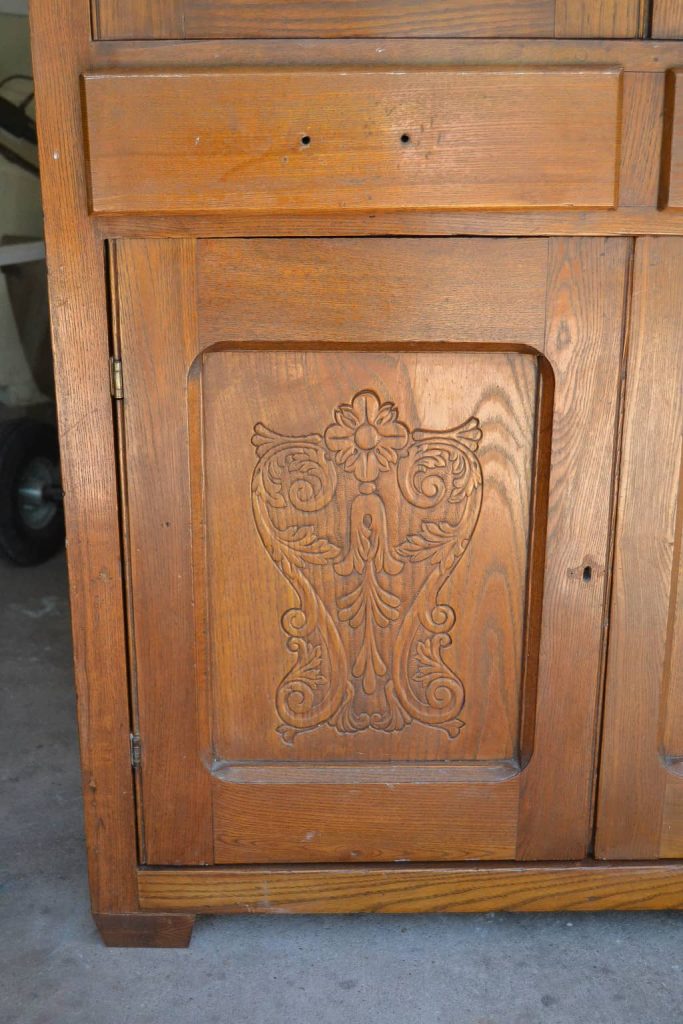
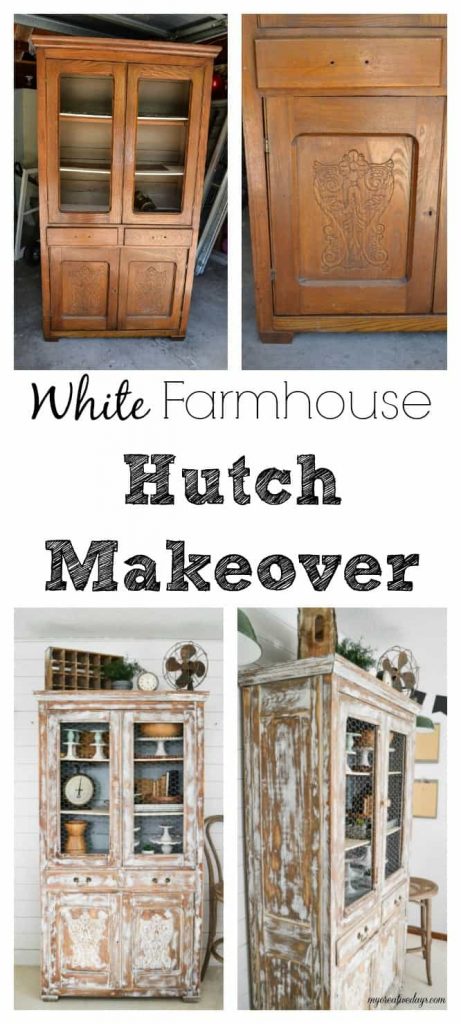
Once I saw that, I started inspecting the piece a little more. I wish the outside looked like the inside. Someone did a horrible job staining the outside an orange color. Not good. The inside made my heart race though. The old wood, even with the old paint color was so good.
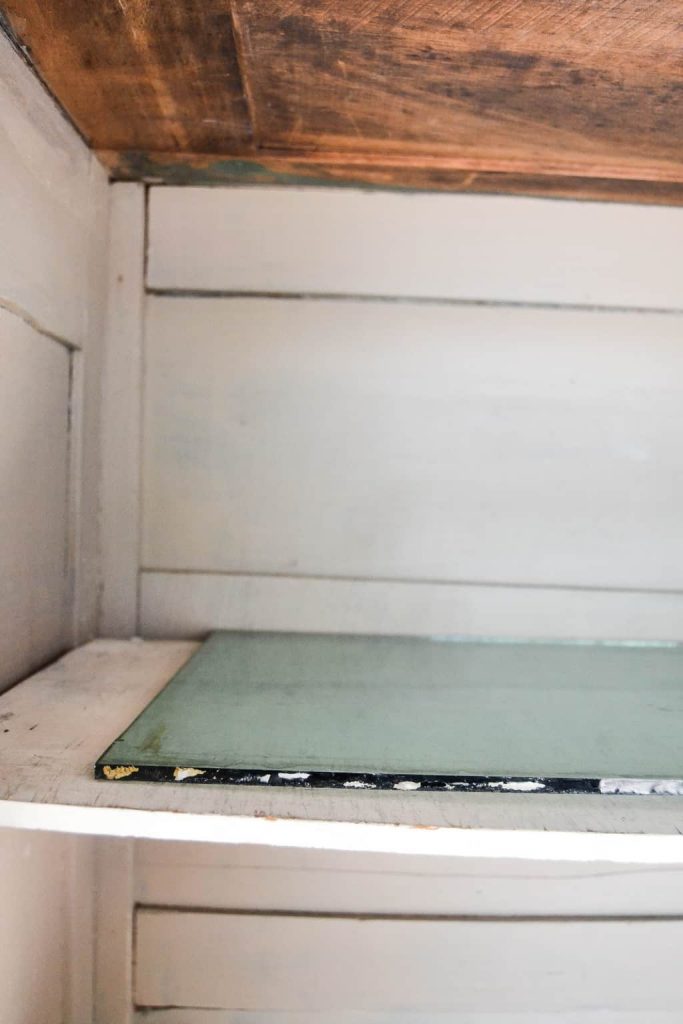
The hutch had blue/green glass in the doors. One of the pieces of glass was broke in half so it really only had one intact. The glass was not pretty at all.
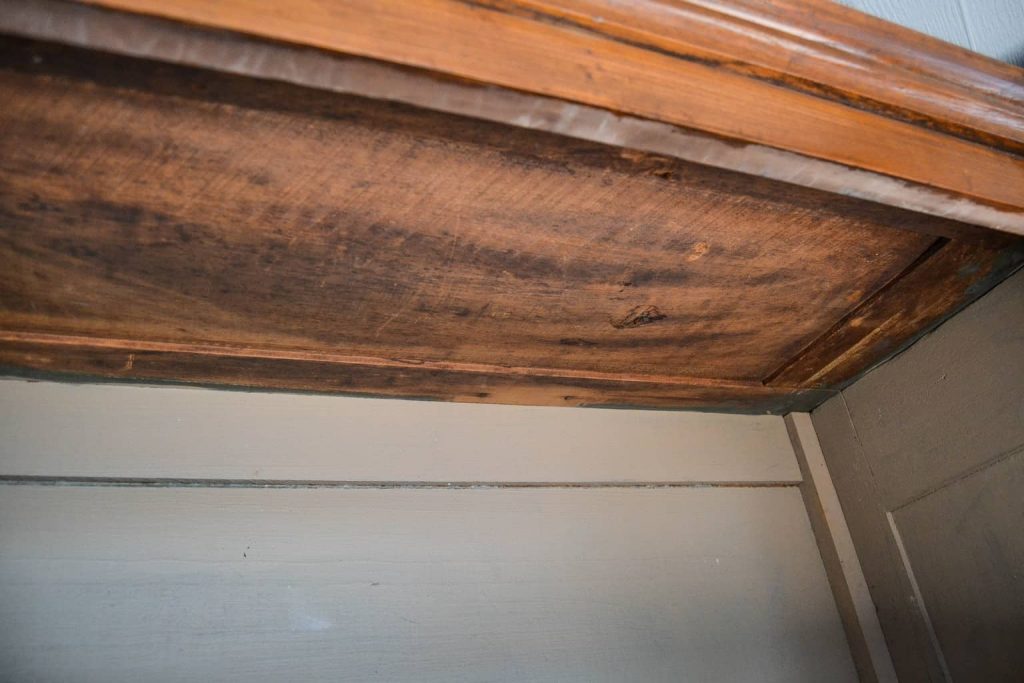
The top of the inside was the game changer for me. I was going back and forth about bringing it home and then I saw the top. SOLD! I had to bring it home and breathe new life into it.
The design on the front of the bottom doors was not my favorite thing either. But, I knew once I had paint on it, the doors would look better.
{Affiliate links are used in this post. You can read my disclosure here.}
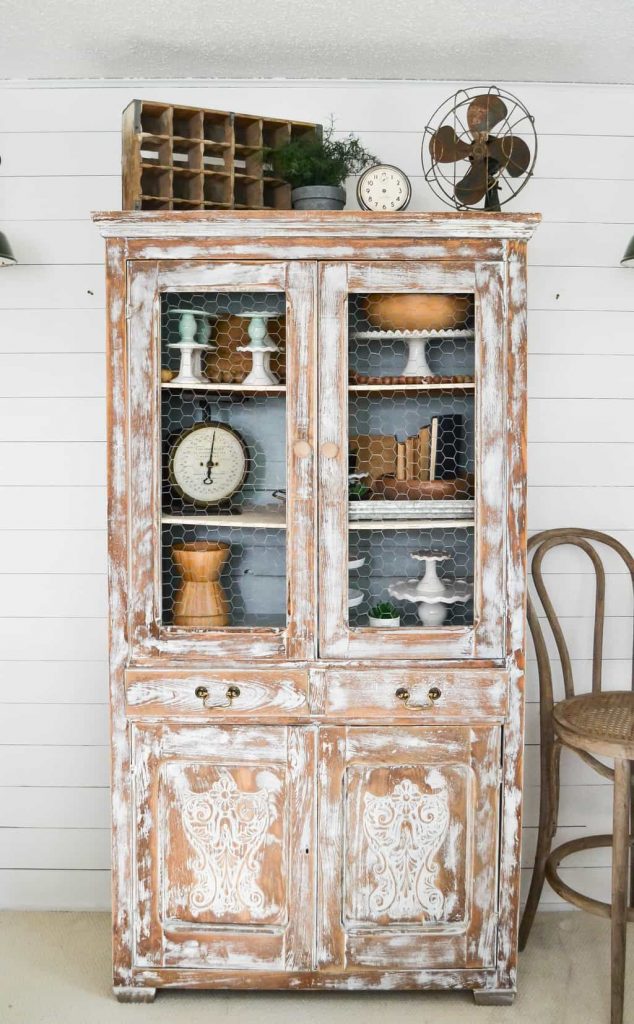
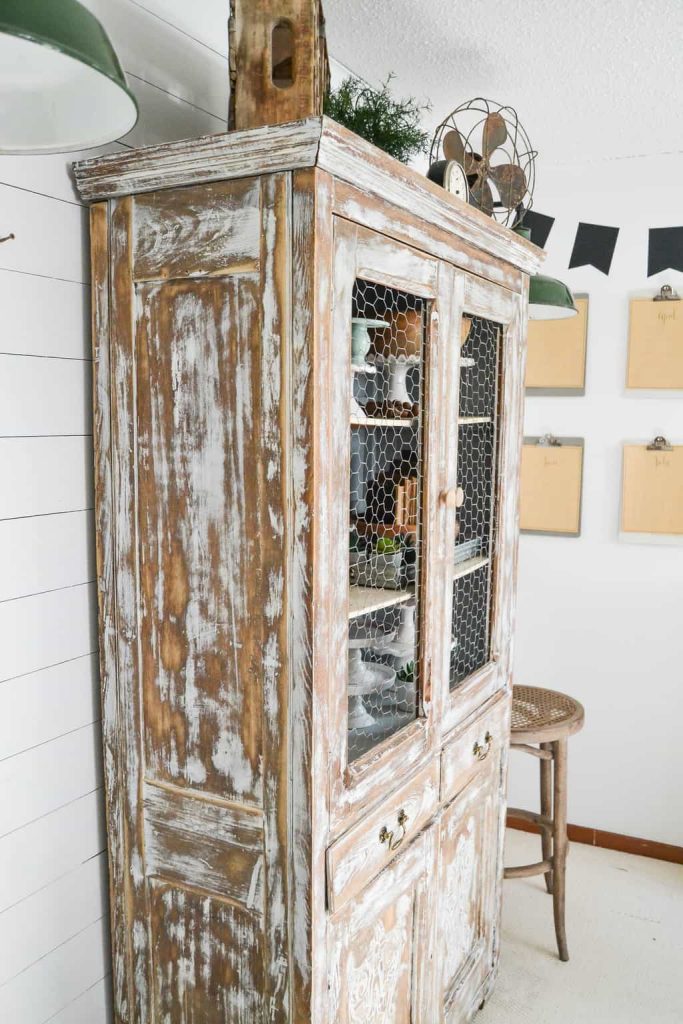
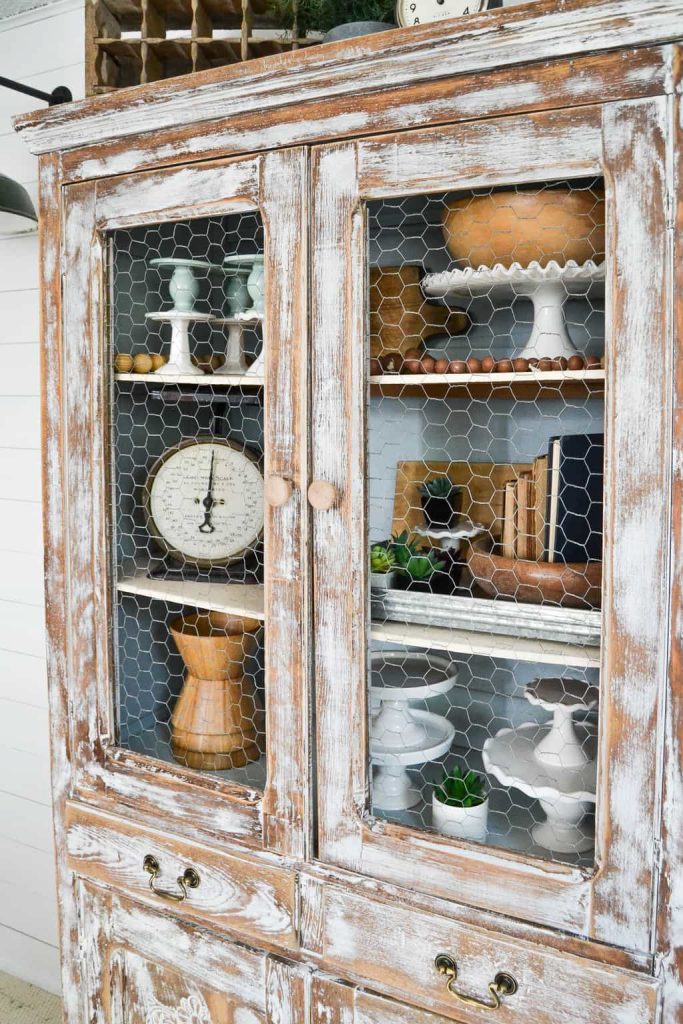
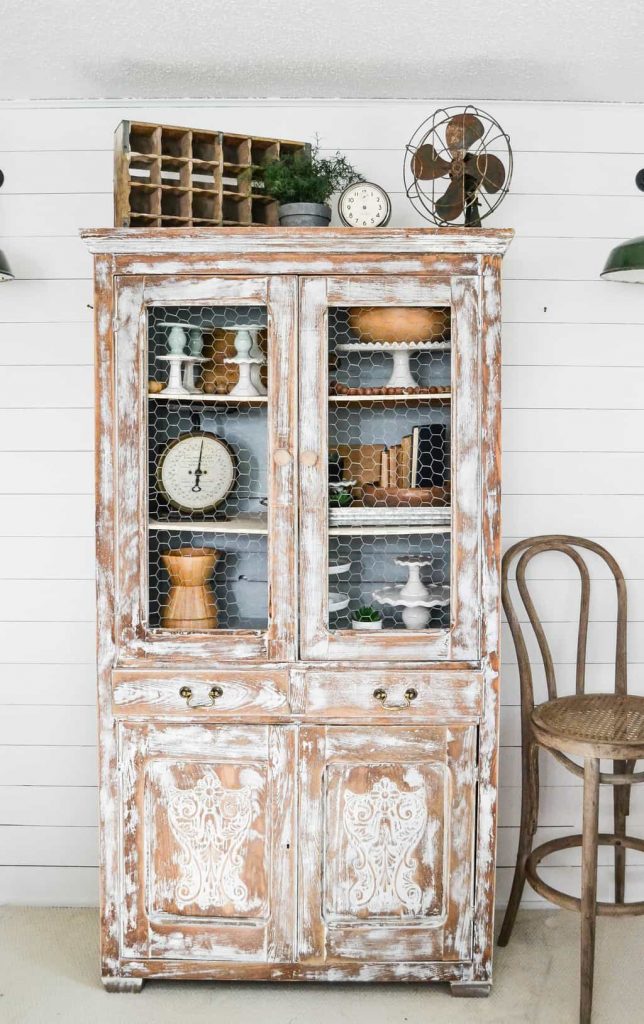
This makeover could not have been easier. I removed the glass from the doors and started painting the outside in “Picket Fence” Fusion Mineral Paint. Once that dried, I used my orbital sander all over the hutch. I wanted the hutch to look like it just had hints of white paint on it. When I started sanding, the old wood that was underneath the orange stain popped out behind the paint. I couldn’t have been happier!!!
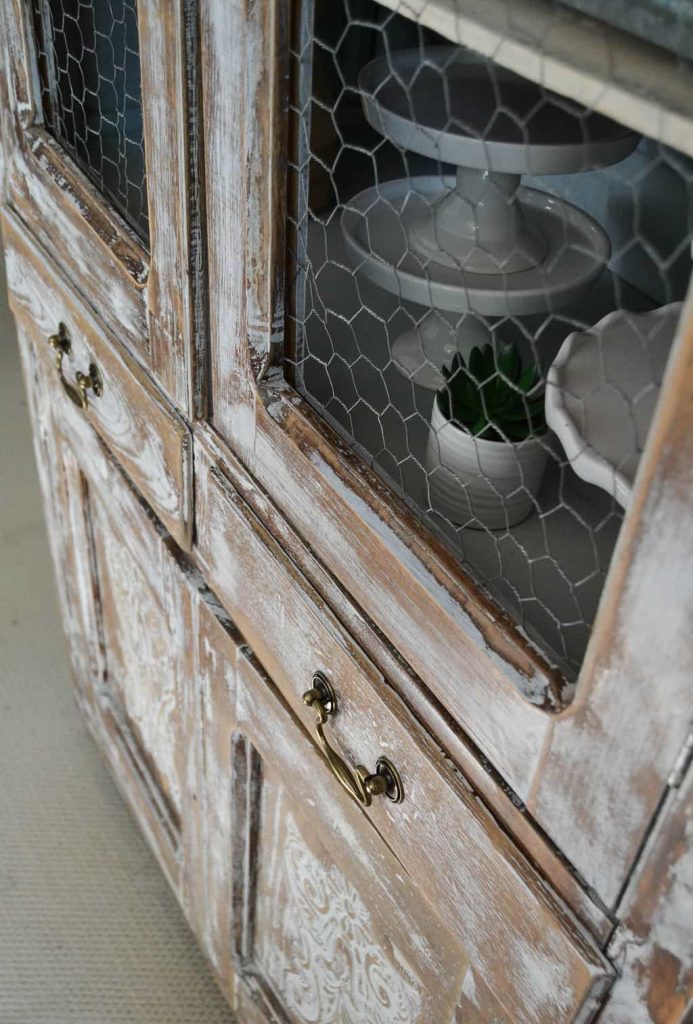
AHHH! Look at it! The bottom doors look great now. The detail on them look a lot better with the white paint.
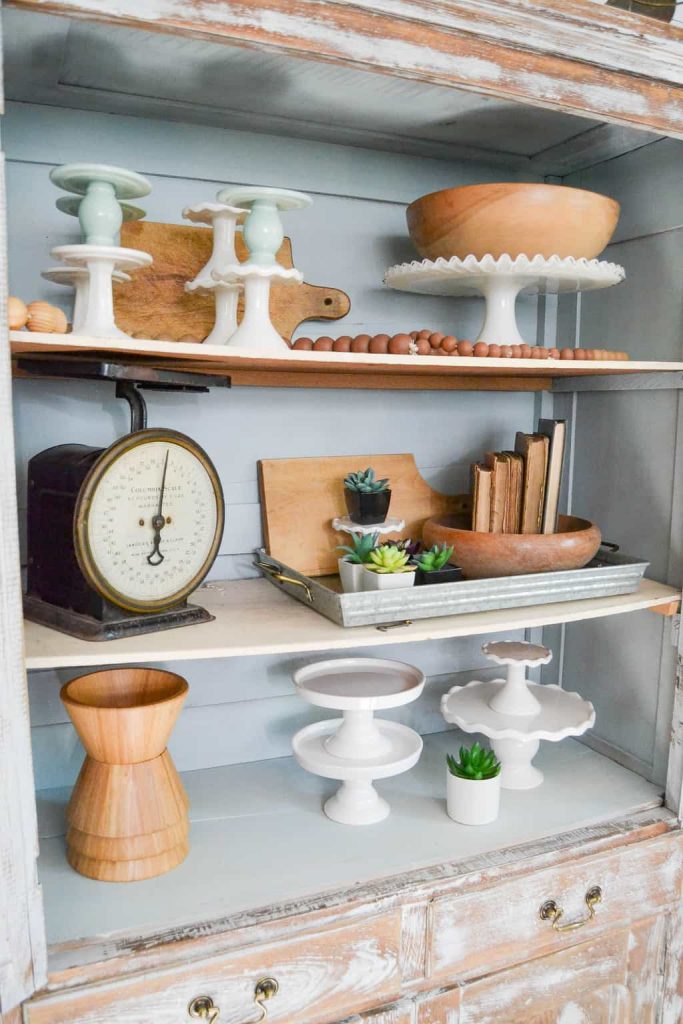
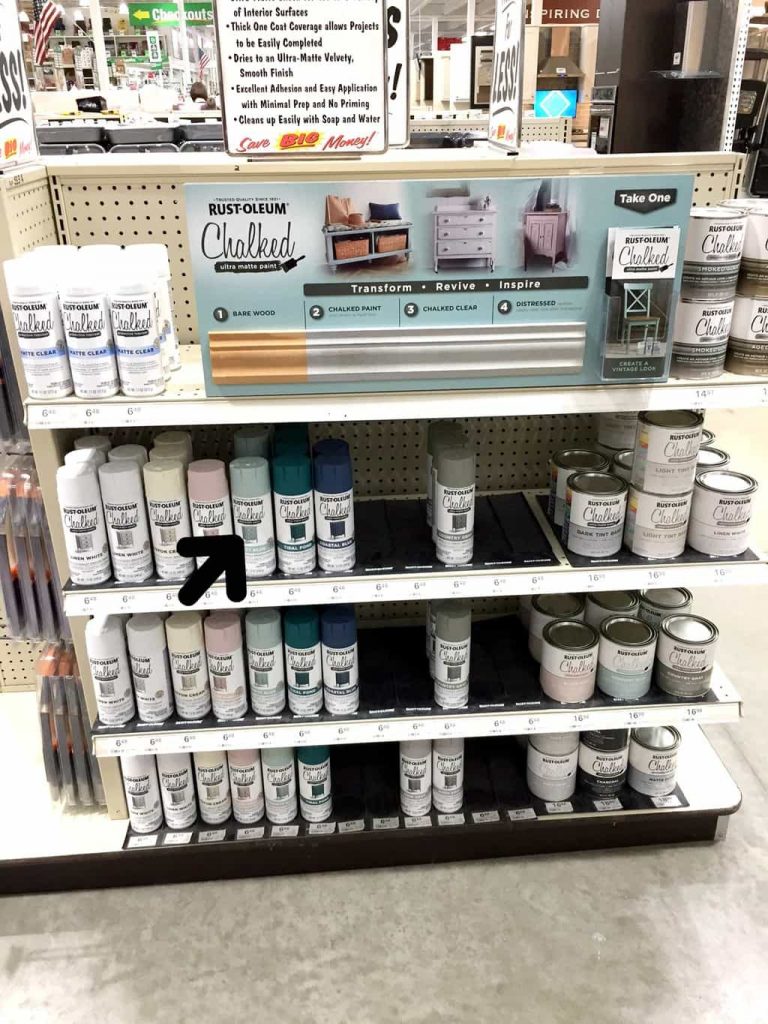
I wanted to add a pretty color on the inside of the top of the hutch. I have been passing this display at my local Menards for some time and thought the “Serenity Blue” Rustoleum Chalked Spray Paint would be perfect in the hutch.
It is so pretty!
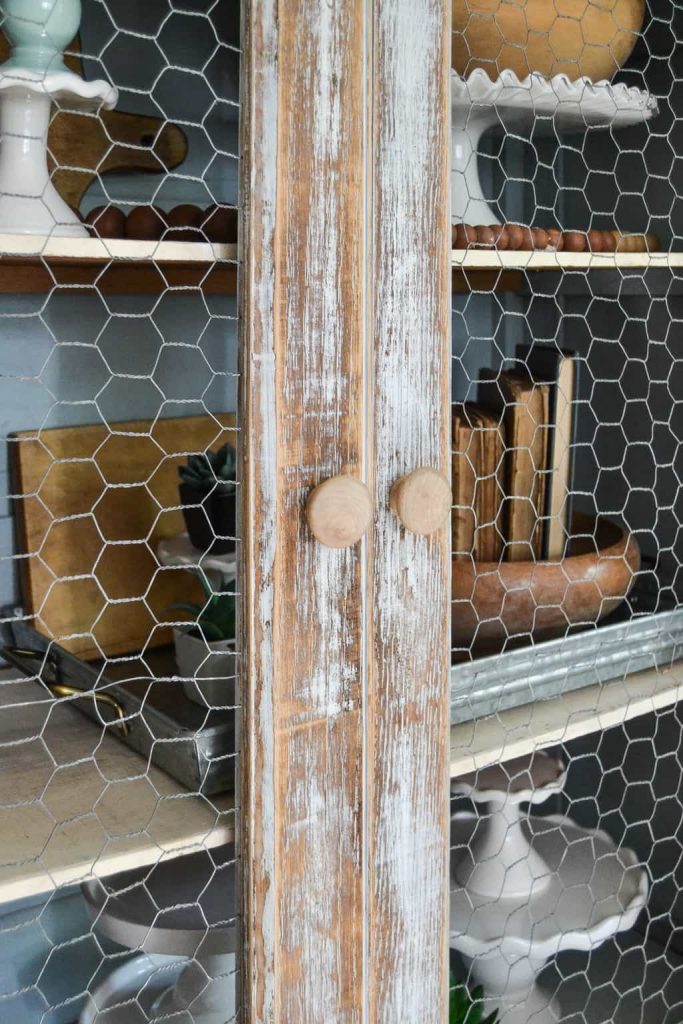
I stapled chicken wire to the inside of the doors in place of the glass. It is an inexpensive way to add farmhouse charm and still have the doors covered, yet open.
I added wood knobs to the top doors and left them unfinished. The drawers got the Bail Pulls from Hickory Hardware.
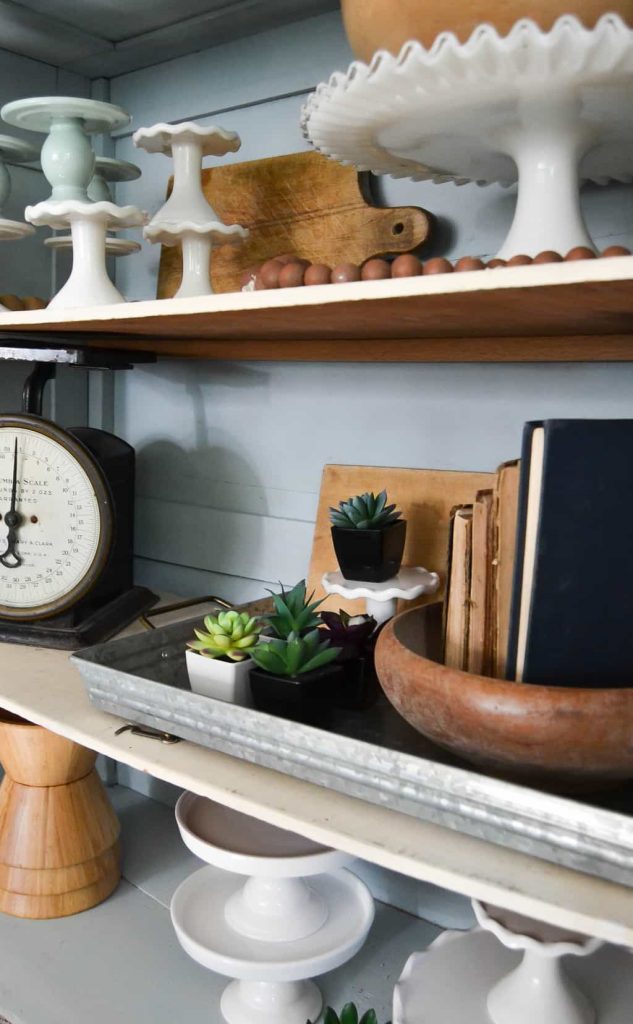
Of course I had so much fun staging this DIY farmhouse hutch. White cake stands and cupcake stands are multiplying around here fast. I like bringing like items together like this to make a statement. This farmhouse hutch holds them well.
When I brought the hutch into the office to take the pictures, I really wanted to keep it. It looked so great against the shiplap wall, but we don’t have room for it. This beautiful piece will have to find a new home.
Besides the chicken wire, this hutch only needed some paint to make it over. Paint is my #1 DIY tool. It does not cost a lot of money and it transforms whatever you put it on.
What would you store in this hutch?
Supply Recap For This DIY Farmhouse Hutch Makeover:
“Serenity Blue” Rustoleum Chalked Spray Paint
“Picket Fence” Fusion Mineral Paint
Bail Pull from Hickory Hardware
PIN THIS POST!
If you liked this DIY farmhouse hutch makeover, you will also love these makeovers:


It’s gorgeous!!! You did a beautiful job!
Thank you!
Gorgeous!!!
Thank you!
WOW! This is a showstopper. I absolutely love the makeover you gave it! Great job!
Thank you Bre!
What an upgrade! As I read this, I thought of weathered tin sheets to cover those lower doors, but I agree with you – the design looks 100% better with the paint. I’d store fresh pies in this puppy.
🙂
I’m sorry but I think you went alittle overboard with the sander.It looks better but I think ,and it’s just my opinion,and I could be wrong!,it’s really patchy .
Thanks for your opinion!
love how it turned out the sanding really brought out the design in the doors. Another great job
I love the look except for the bottom doors where for some reason it looks like the sander went around in a circle around each door. But overall it’s great. I see this is an older post but still a good look.
Thanks
if you grew up in the days that furniture looked that way because it was the best you could do, now I’m talking about the 50’s, so that’s telling my age, then you don’t want anything in your house that remotely resembles that. you did a great job for the look you wanted to achieve, but I don’t understand how someone could love this look, though many do. It’s certainly not for this gal. I’ve been there & not going back. Beautiful wood should be shown, even if painted, but not like it was pulled from a trash bin. Just my opinion. For the look you wanted, you did a nice job. I apologize for I certainly don’t want to offend you.