This DIY Metal Cabinet Makeover is part of the project mayhem going on around here. Now that we are solely concentrating on the projects in our garage, we are getting through them pretty quickly. We will be having a HUGE yard sale at the beginning of October so I have been a mad woman cleaning out all the things that we don’t love or use anymore. That includes our garage. After this fall yard sale, we will be parking both of our cars in the garage and not looking back. Matt and I have agreed that we need to find storage space for future projects. I don’t know if that means we will rent a storage garage or what, but we are going to change how the process looks around here.
Now, to the latest makeover that happened from the garage stash.
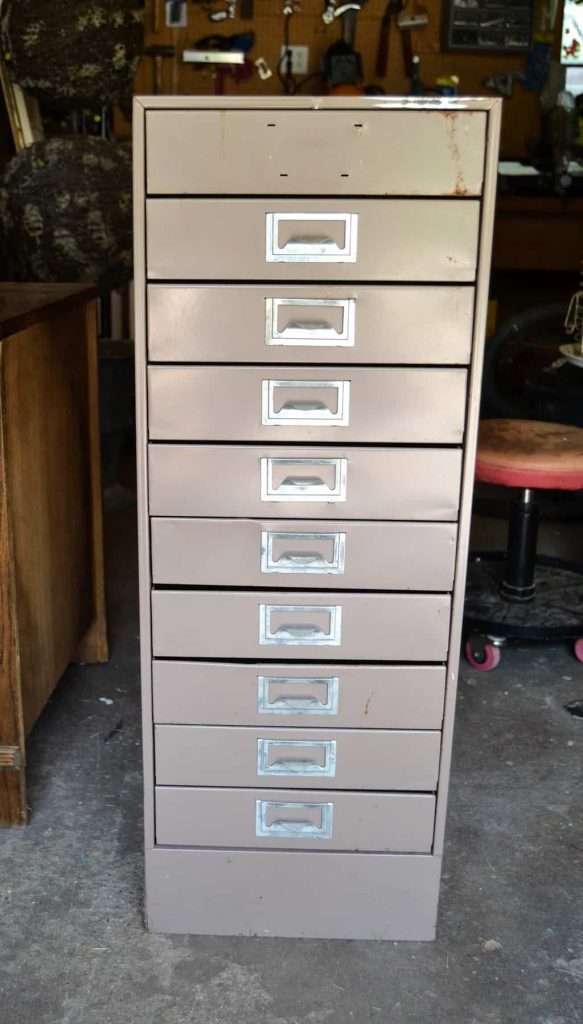
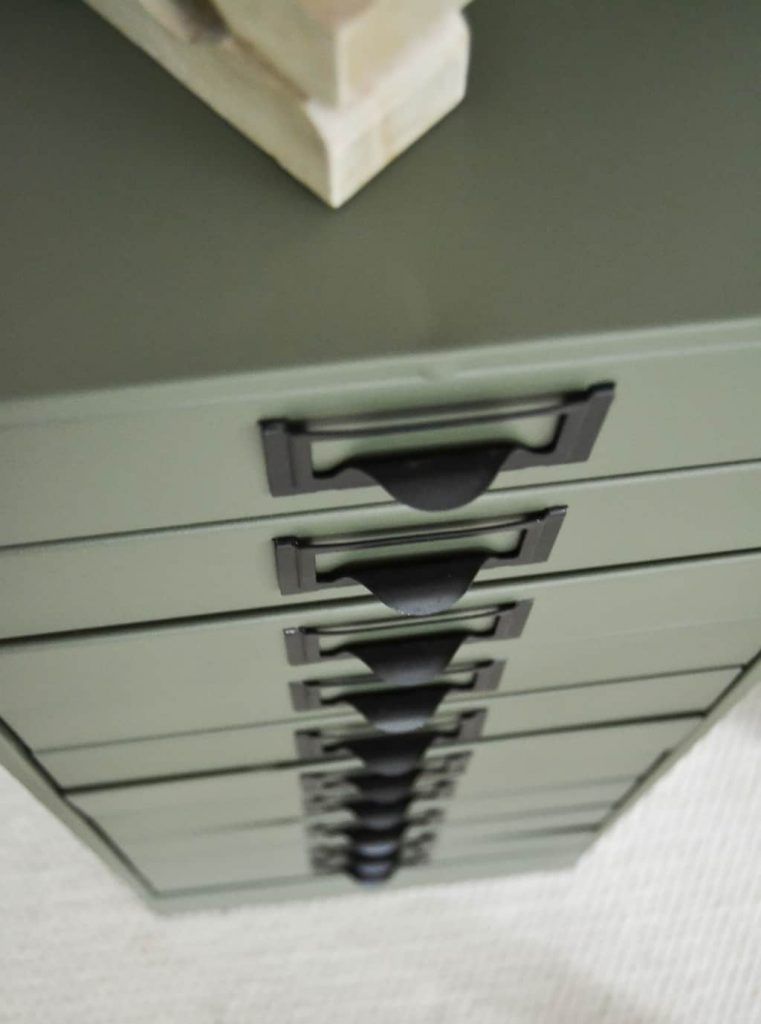
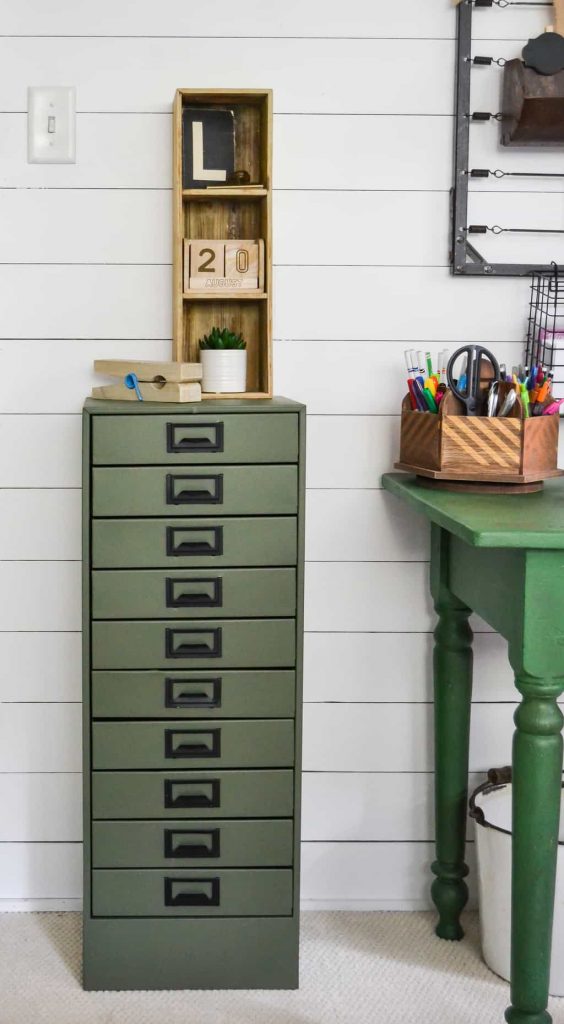
I picked up this metal cabinet because of the drawers. Anything with a lot of drawers or cubbies will always come home with me. Not only did this metal cabinet have a lot of storage, but it had all of the label handles still on it (we removed the top one before I had a chance to take the before photo). The size of the cabinet is also great. It is small enough to fit in any space and yet big enough to give you ample storage.
{Affiliate links are used in this post. You can read my disclosure HERE.}
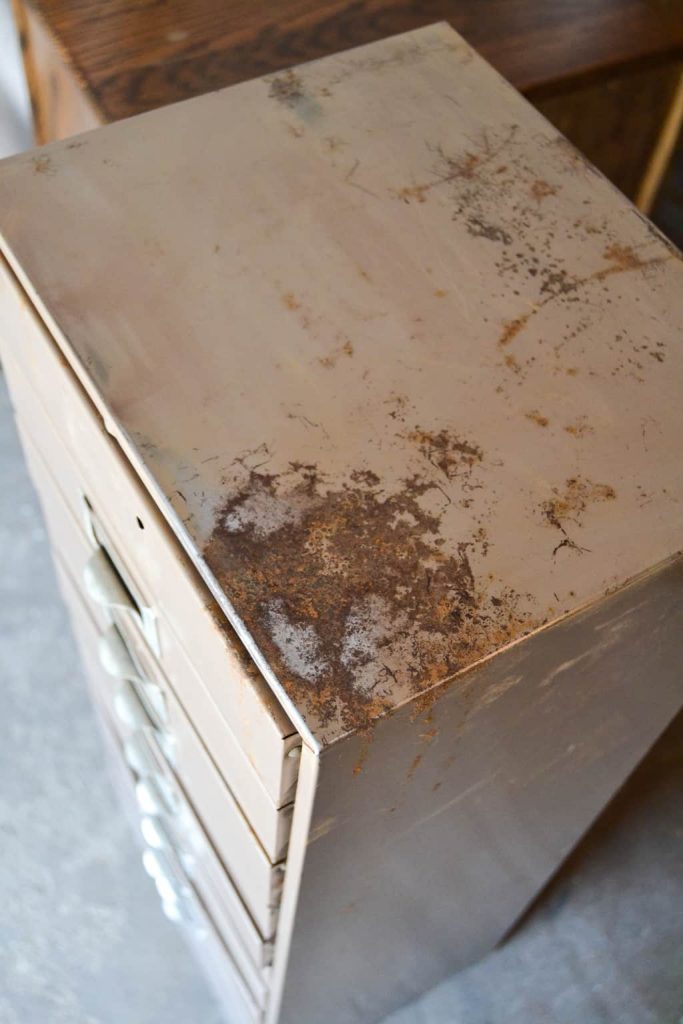
The piece did have some rust. Rust never scares me. It wasn’t horrible on this cabinet and I knew I could work with it.
I was really excited to get started on this metal cabinet makeover.
Supply List For This DIY Metal Cabinet Makeover:
“BayBerry” from Fusion Mineral Paint
HomeRight Finish Max Paint Sprayer
Rustoleum Flat Black Spray Paint
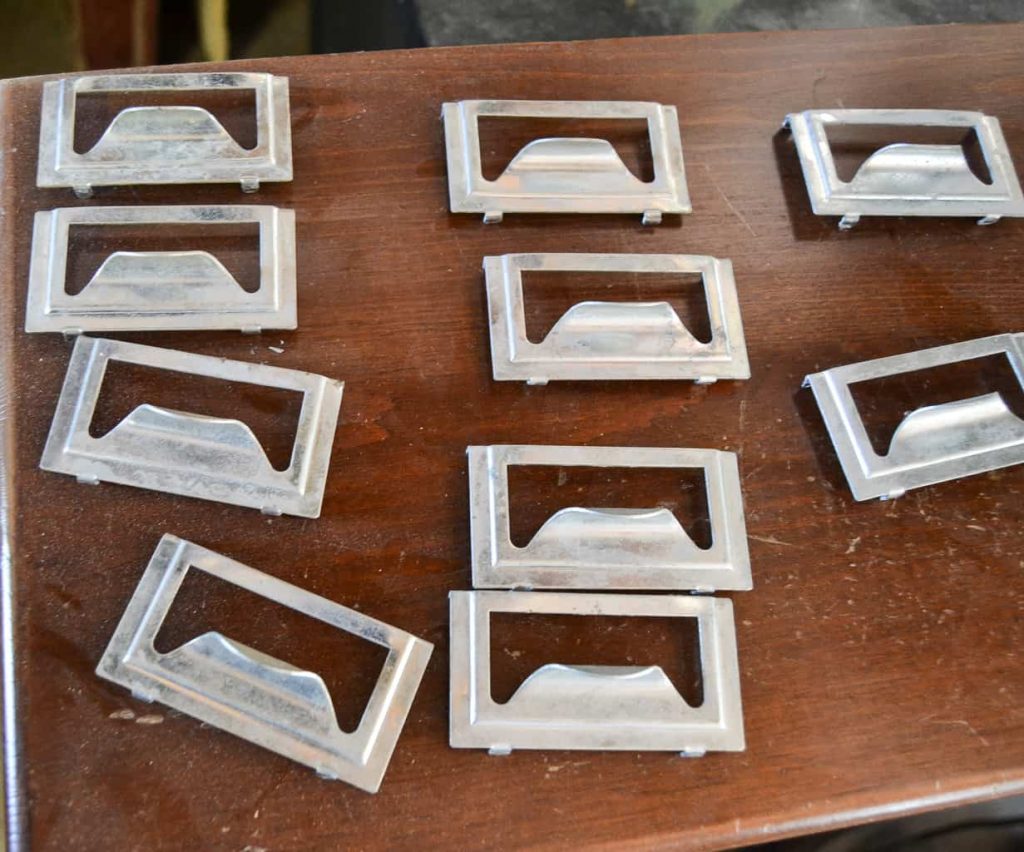
The first thing we did was remove all of the handles from the drawers.
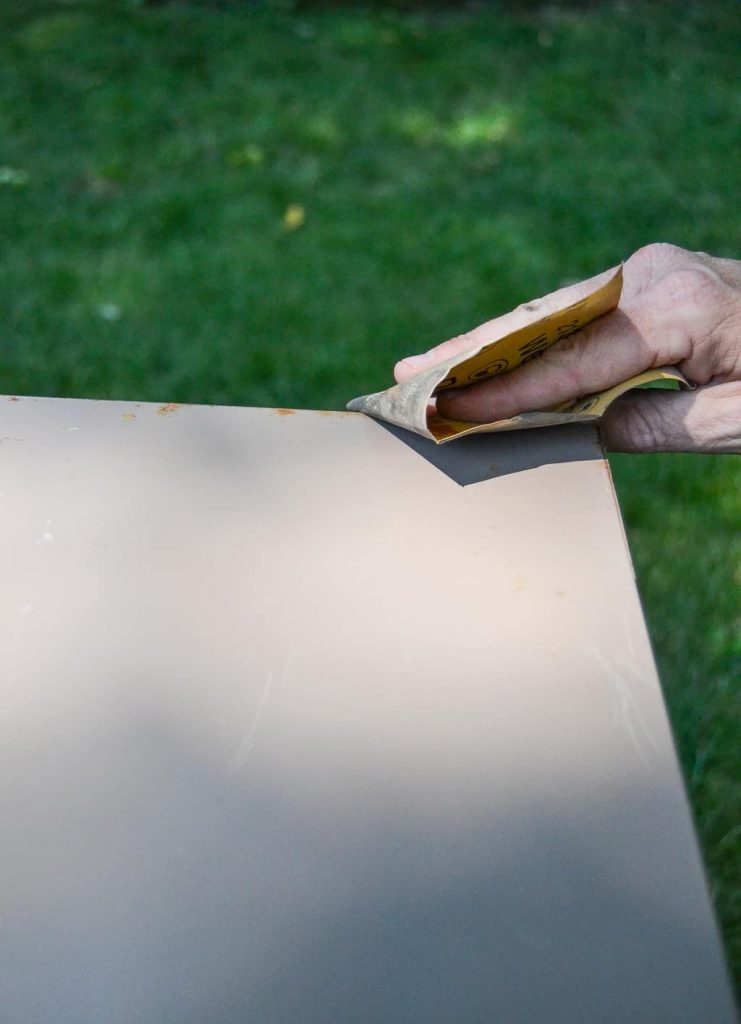
Then, we used 400 Grit Sandpaper all over the rust spots on the metal cabinet.
The sandpaper really smoothed out the rust and made the metal cabinet ready for paint.

I really wanted to paint this metal cabinet in “BayBerry” from Fusion Mineral Paint, but I didn’t want to use a paintbrush because I knew the strokes would show up on the metal.
Welcome Slick Stick. It is the solution for conquering the challenge of painting glossy and slippery surfaces. From PVC and glass to Formica, laminate, and metal. You can achieve long-lasting results on even the most challenging surfaces.
After I got the canine sanded and cleaned off, I applied a coat of Slick Stick. I let it dry for 2-3 hours and then I applied a second coat and let it dry overnight.
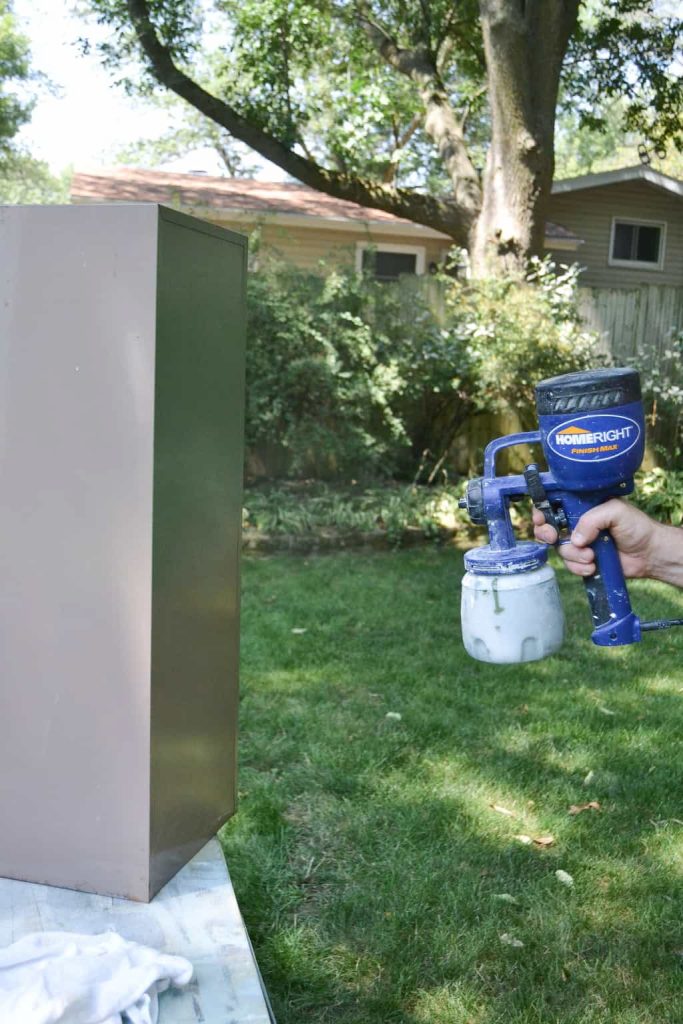
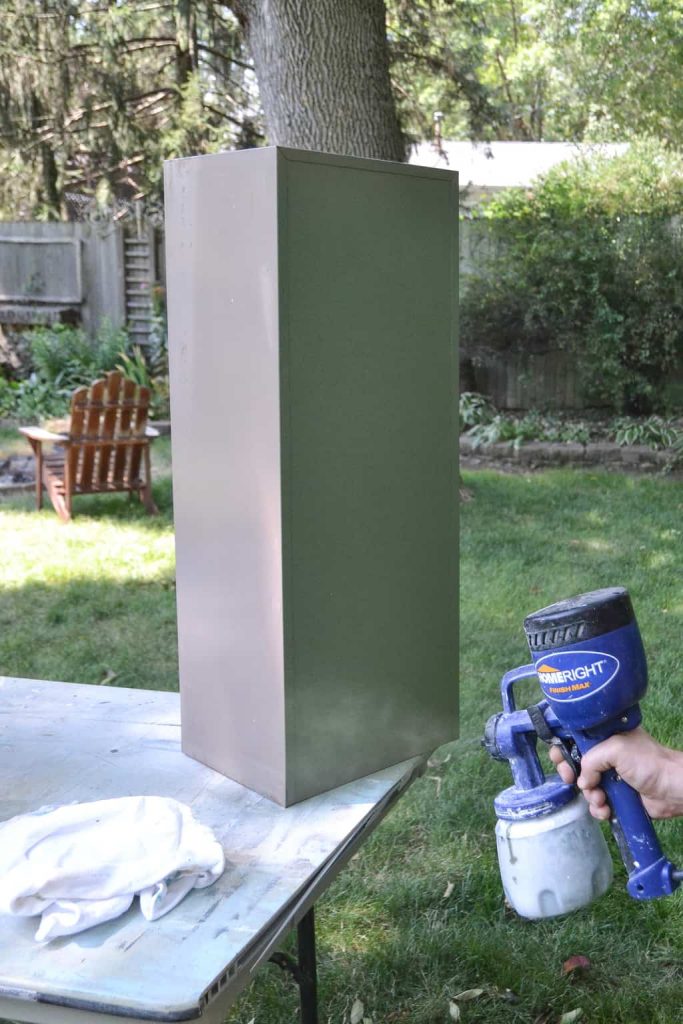
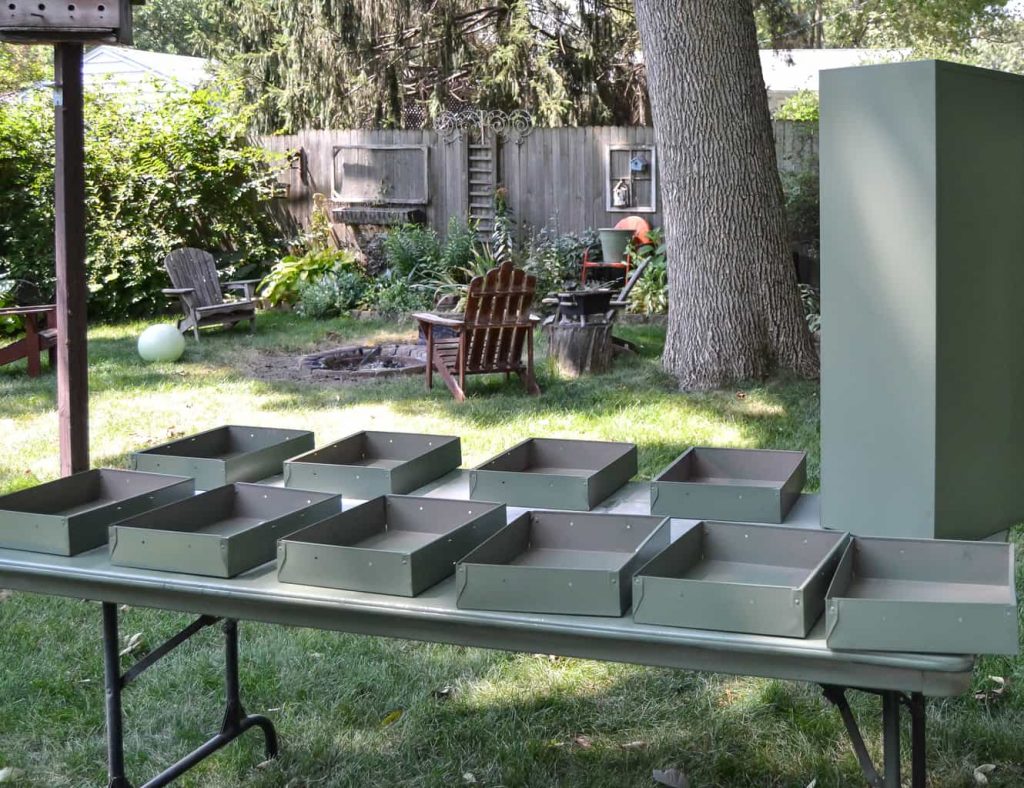
I put the paint in my HomeRight Finish Max Paint Sprayer and watched as the cabinet turned into something amazing.
The Slick Stick worked perfectly and the sprayer put the paint on it like butter.
I love it when a DIY plan comes together.
As soon as I saw the green color on the metal cabinet, I was swooning. It looked like a brand-new piece already.
I spray painted the handles with Rustoleum Flat Black Spray Paint.
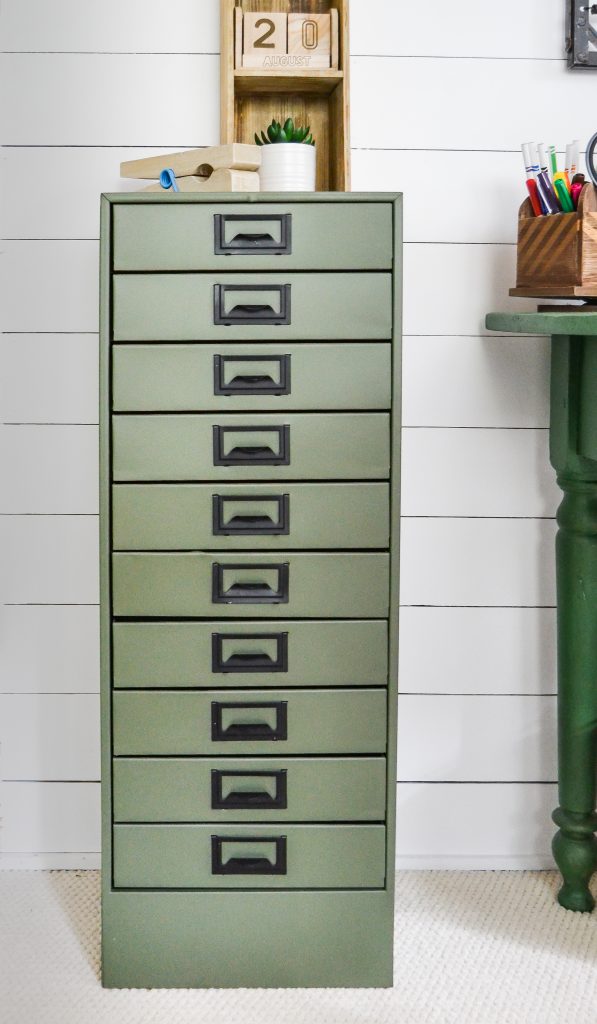
The black hardware was a great compliment to the green metal cabinet.
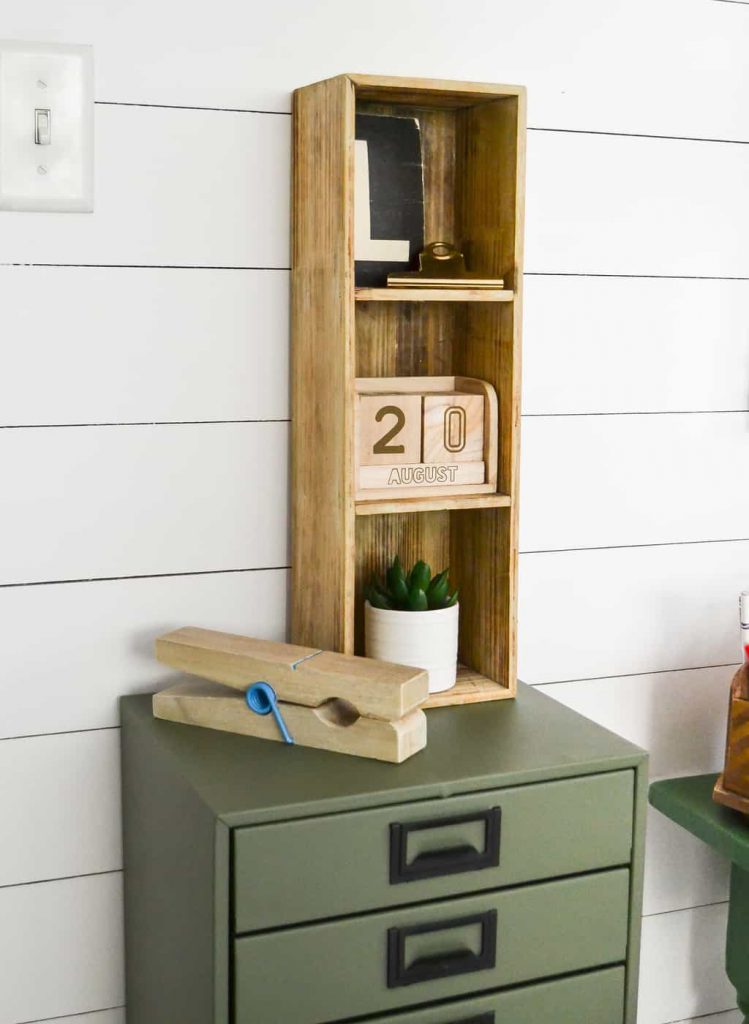
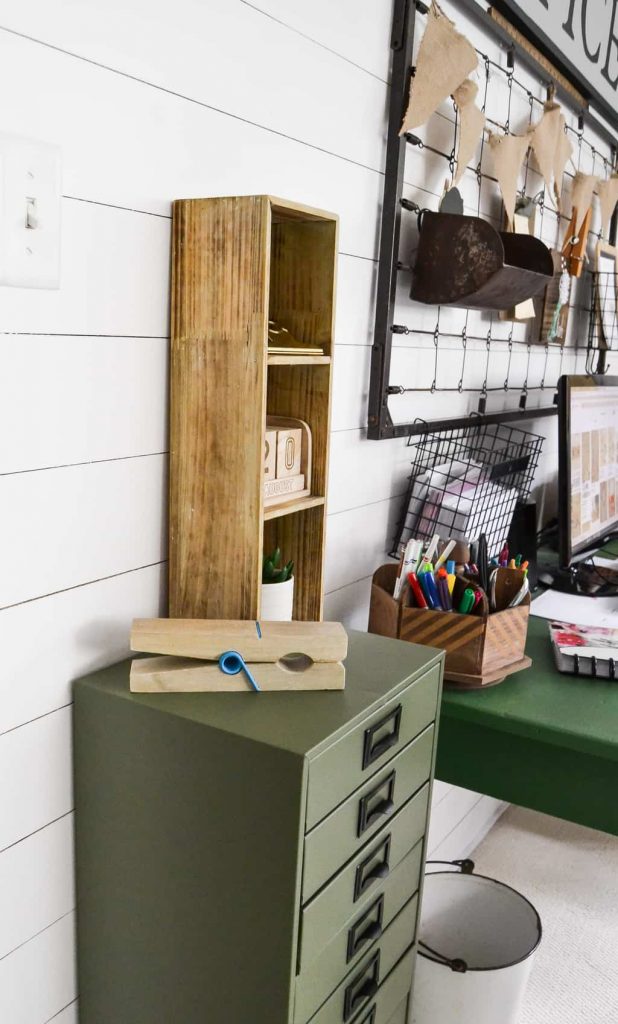
Hasn’t this cabinet come a long way?! I think it is staying in my office. With the other piece I added for more organization, I have no excuse to keep everything in its place.
It is funny how a new piece like this can make me want to be in my office getting tons of things done.
For me, it is the simple things every. single. time.
Would you have rescued this metal cabinet?
Don’t have time to search for a metal cabinet? I found some similar pieces that fit the bill.
Do You Want To Make Money Flipping Furniture?
After twenty years of doing this, I am still picking up pieces when I can find them because I love the creative outlet, but I am now coaching other furniture flippers on how to make more money in their business. If you are someone who is looking to start and/or grow a furniture flipping business, I would love to help you. There are ways to make money in your business beyond painting a piece of furniture. Once I learned that, my business flourished. Don’t waste your time trying to figure it out on your own.
To help other flippers, I created The Furniture Flipping Academy! The academy includes everything you need to start, grow, and/or scale a furniture flipping business. It includes courses, resources, templates, a social media planner and guide, a private community, and so much more. It will ensure that you are doing the steps that will lead to success and not wasting your time on things that won’t.
You can find all the information about the Furniture Flipping Academy HERE.
Let’s get your business started and/or moving in the right direction. The Furniture Flipping Academy is for any flipper, from beginner to experienced. If your business is stagnant, there is a reason for that. Let me help you grow it into a flipping career that is profitable and fits the lifestyle you want to live.
Pin This Post!
If you liked this Metal Cabinet Makeover, check out more of my furniture makeovers!
Back To School Organization For Mom
Piano Bench Turned Farmhouse Bench
Furniture Repair: How To Fix A Broken Dresser Drawer



WOW so neat, love your fire-pit area too, the plants are great, looks like a good family area
Thanks!!! 🙂
this looks great Lindsay! LOVE the green and the label holders. I will definitely keep my eye out for an amazing cabinet myself!
Thank you!!!
Hi, Lindsay.
I’m writing about your children growing up too fast. Warning: it doesn’t get any better. My granddaughter turned 14 in June. Ouch! It doesn’t seem that my daughter should be more than a couple of years old! And to see my granddaughter start high school this year….!!!
Enjoy every minute! No matter how hard I pray, the Lord doesn’t give me any “do overs”. (Now see what you’ve done! I’m leaking tears!)
Your children are beautiful! And I bet they are as proud of their mother as you are of them.
Have a blessed day.
BJ
Thank you so much for this! I know!! I wish I could slow it down! It makes me teary eyed too!
I LOVE how this turned out. Great job. Love that color combination.
Thank you so much Chelsea!
Most definitely I would of rescued this metal cabinet. It turned out beautiful! Love the color, and glad to hear that it found a home in your office. I have a small file cabinet that I dug out of the garage the other day when I was trying to clear out some things. I am wanting to repaint it and use it in my craft/office, but haven’t started yet because I’m afraid I’m not very good at spray painting. I get in a hurry and it runs everytime. Guess I need to just jump in and do it.
Yes! Just do it. The more you do it, the better you will be. Practice on some cardboard or scrap wood first.
That is beautiful and such a great addition to an office. I guess Ill have to get rid of the “basket organizers” because I cant find anything after I’ve filled it in the basket. LOL
Exactly! I was doing that too!
I am so glad that I checked out your Pinterest post about refinishing a metal cabinet. How neat! The colors are so crisp & clean looking. I have a cabinet very similar to this that has rust & I wasn’t sure what I could do with it. Well I know now. Thank you for including all the steps to what you did. I’ll be refinishing mine soon.
YAY! Thank you so much for letting me know! Good luck!
So impressive, gorgeous
Thank you!
Great makeover. Pinned
Thank you!
Hello! I’m wondering if you sanded the whole cabinet down or just the part with rust? Thanks!
Scuff sand it all.
I have a filing cabinet that’s similar to yours. I can’t figure out how to remove the hardware before starting. Mine doesn’t look like it has screws. What did you do to remove yours?
If I remember right, they were more like grommets and we used a tiny screen driver to pry them off? I can’t remember for sure.
I was wondering – if you wanted to pain the inside of the drawers, too, would you sand the inside of the drawers first? Also, since it’s just the inside and won’t be seen often, would you use a brush there? Thank you for any help you can give me on this! You do beautiful work!!!!!
Thank you. I never paint the inside of drawers. I use salve on the inside of drawers. If you wanted to paint them, yes, I would tell you to sand them first.