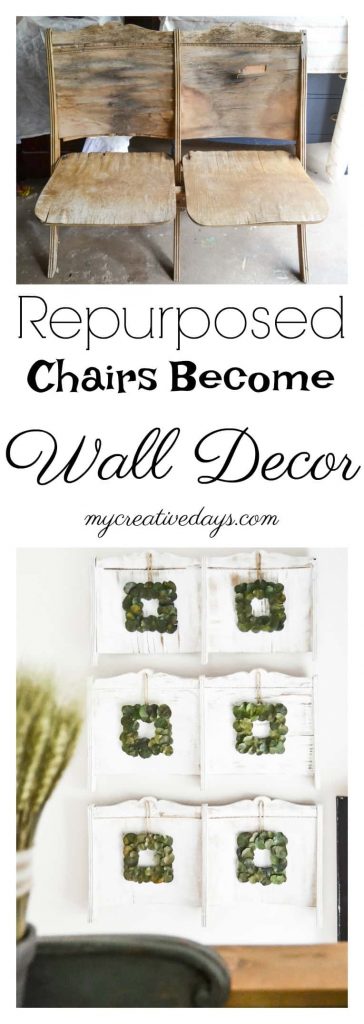
I hope you all don’t think I have lost my mind. I have been waiting and waiting to share this Repurposed Chairs Wall Decor idea with you for so long. Today, is finally the day! We have busy with a lot of random things and we finally had time to finish these this past weekend. I have had these theater chairs in the garage for some time and seeing a vision come to fruition is one of my favorite parts of this DIY blog.
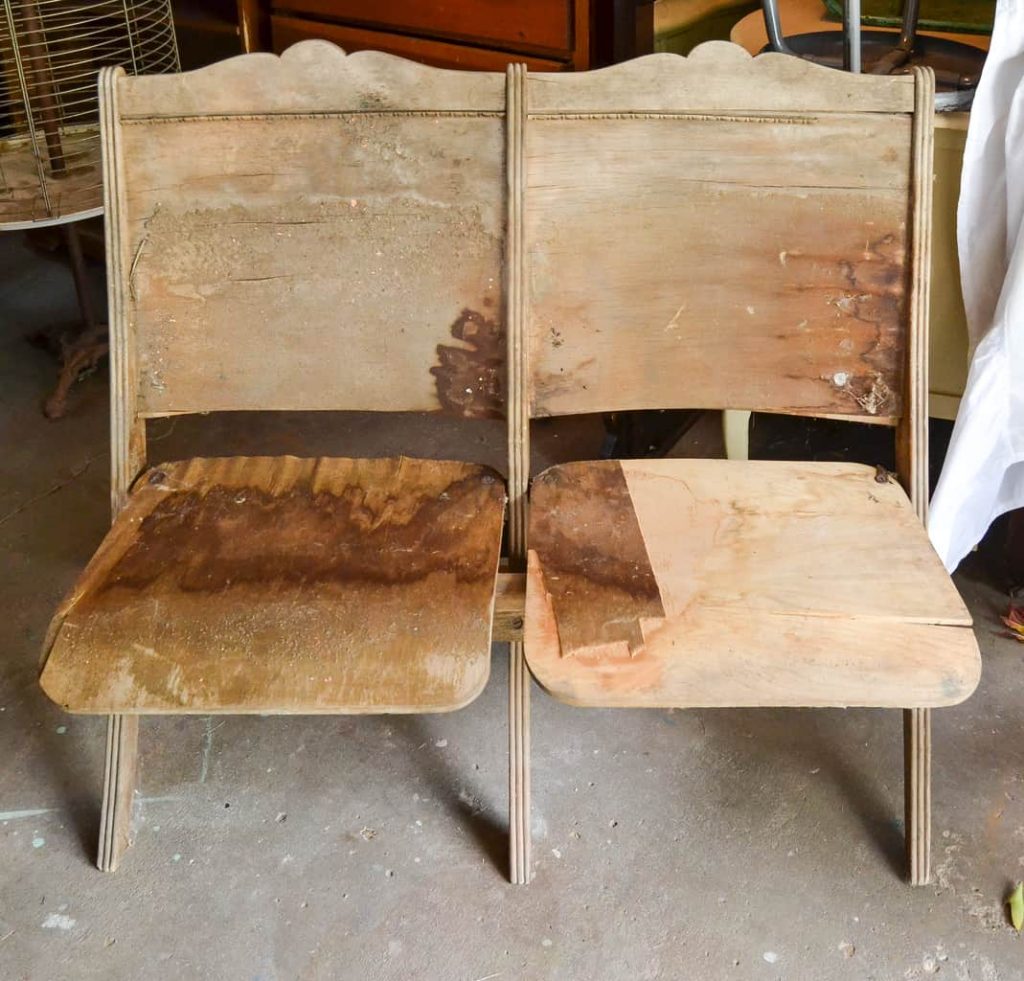
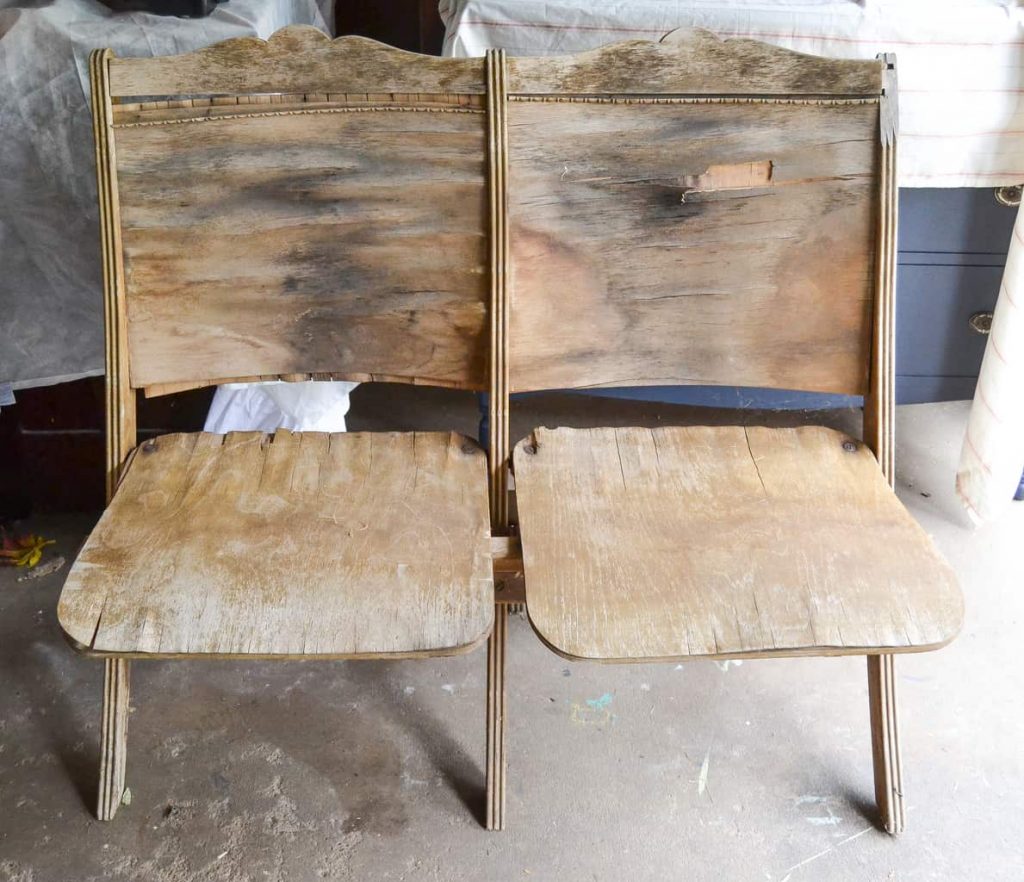
The reason you might question me is because I saw so much potential in these dilapidated vintage, wood chairs when we pulled them from a barn last year.
Do you see the potential?
Okay, let’s be honest. When I first saw them, I didn’t know what we could do with them, but I loved them; the shape, the wood and the detail.
When Matt and I went to this barn pick, we had no idea how much fun we were going to have. The barn was MASSIVE! The lady told us that we could come early and get a head start before other people showed up. #winning
We had a surprise 40th birthday party for one of our good friends the night before and then we were up at the crack of dawn to get to the barn. (You know you are getting older when you have to leave a party early so you are able to get up early to pick a barn the next morning.)
Nothing was priced in the barn so as soon as we stepped in it, we started making a pile of the great pieces we were finding. I HATE shopping like this. I like to see prices on things so I know if I am in the ball park of what people want for things. I didn’t have time to think about it. There was so much stuff to look through and other people started showing up so I had to just make a pile and keep forging through.
It wasn’t until I got to the back of the barn that I found the wood chairs. The roof of the barn was not in good shape so the chairs has been through the elements. They weren’t functional the way they were, but I still saw something in them so I had to have them.
When we got everything home, I took a closer look at the theater chairs. They were warped beyond repair, but I didn’t want to give up on them. My favorite part about them was the backs. I wanted to see if we could repurpose them. I had been wanting to change the things on our entry wall and the thought came to me to hang these on the tall wall. Matt wasn’t sold, but I said if we try it and it fails. we at least have some great wood for the fire pit? 🙂
I am so glad he is always game to make my vision come to life. These repurposed chairs were the best addition to our entry.
{Affiliate links are used in this post. You can read my disclosure HERE.}
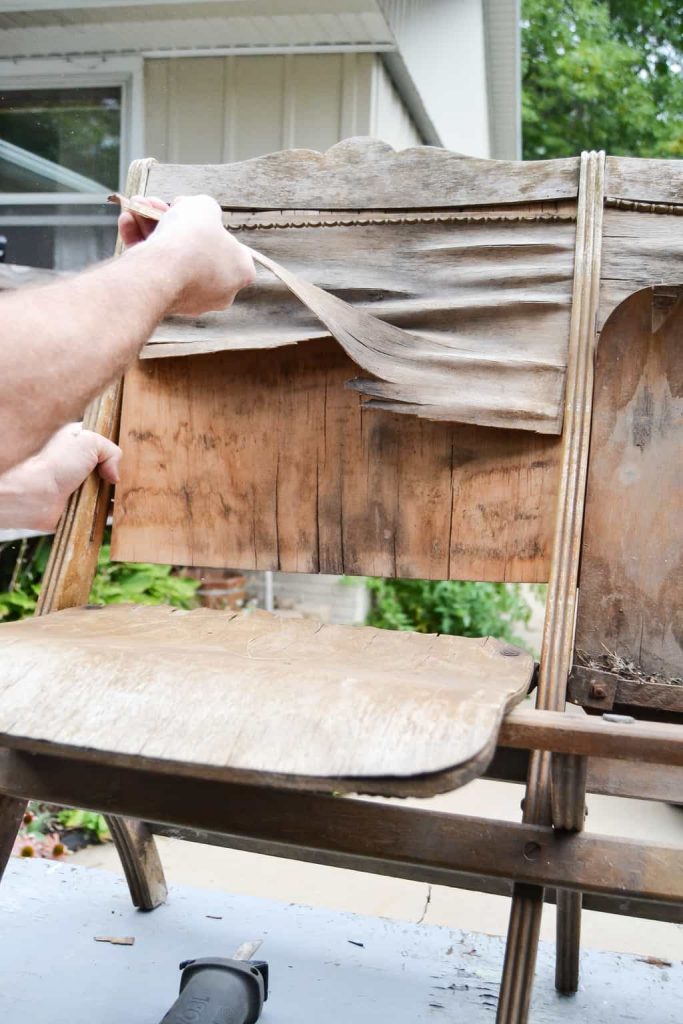
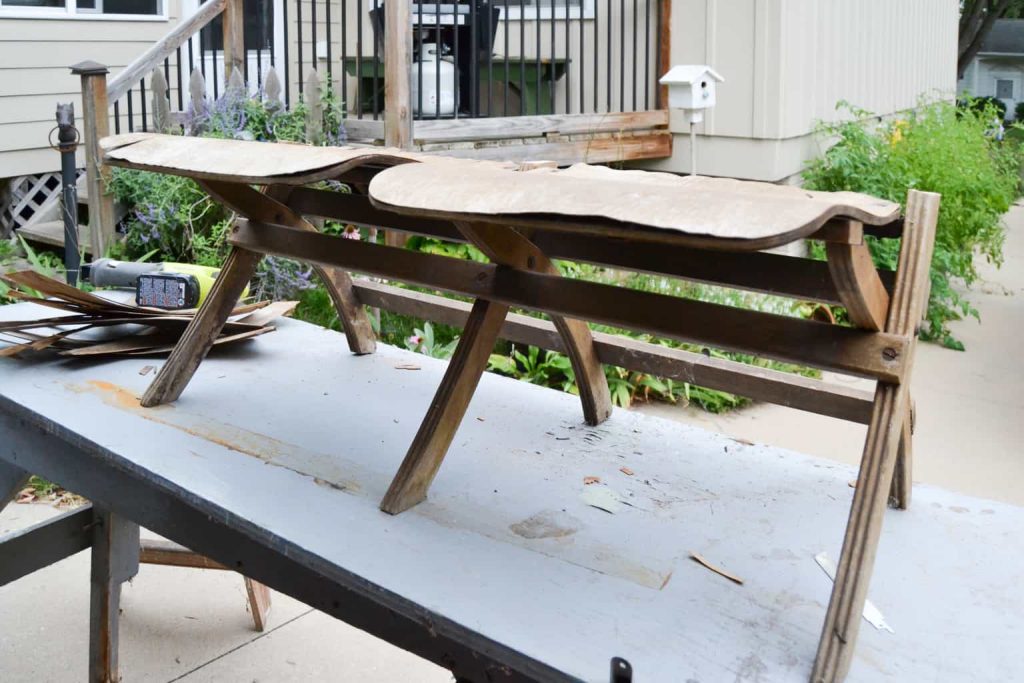
To start the repurposed chair project, we had to remove all the loose layers of wood.
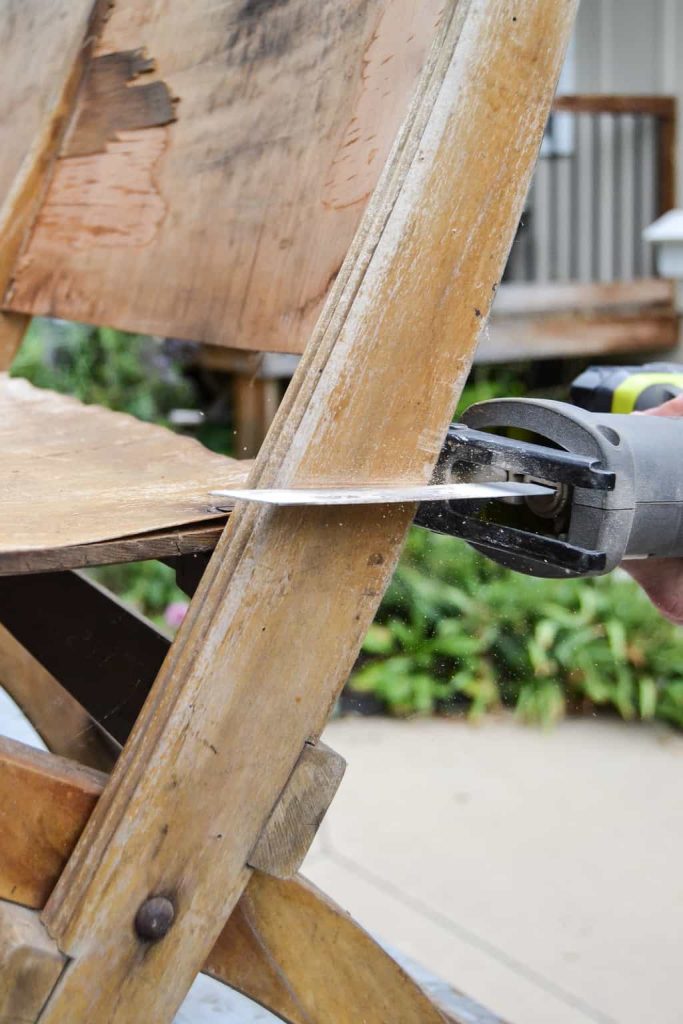
Then, Matt used his Reciprocating Saw to cut the backs of the chairs off the base.
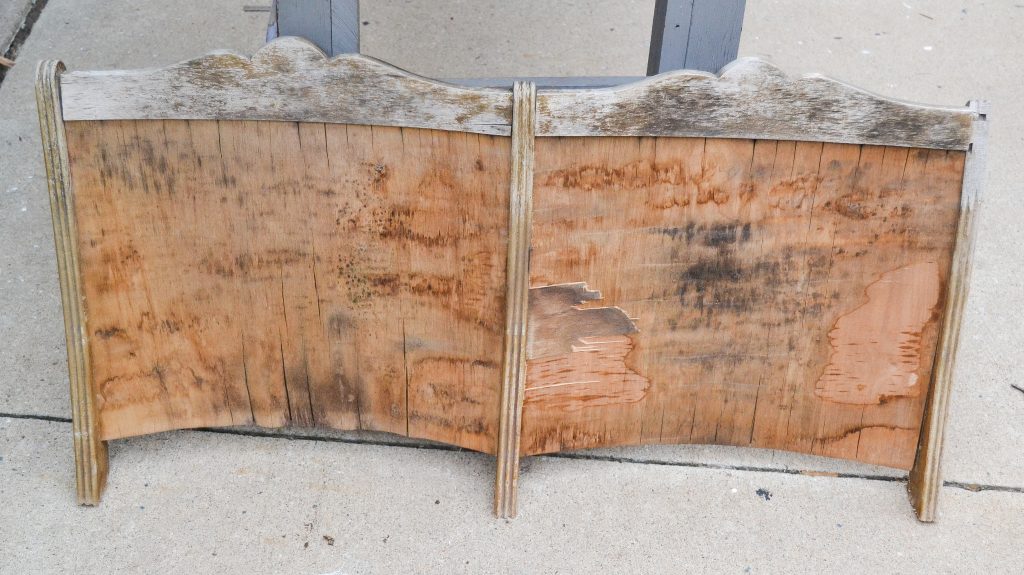
When Matt got the backs off the base, we were left with my favorite part!
I removed the wood detail trim under the top of the chairs (what was left of it) because I really wanted to salvage as much of it as we could. The curve the of top of the chairs and that small piece of detail wood trim were the best part of the chairs.
To remove every last piece of the wavy veneer layers, I used my Orbital Sander with rough sandpaper. That took off the rest of it.
Once I had everything sanded off, I washed the chairs with bleach water and set them outside to fully dry in the sun for a couple of days.
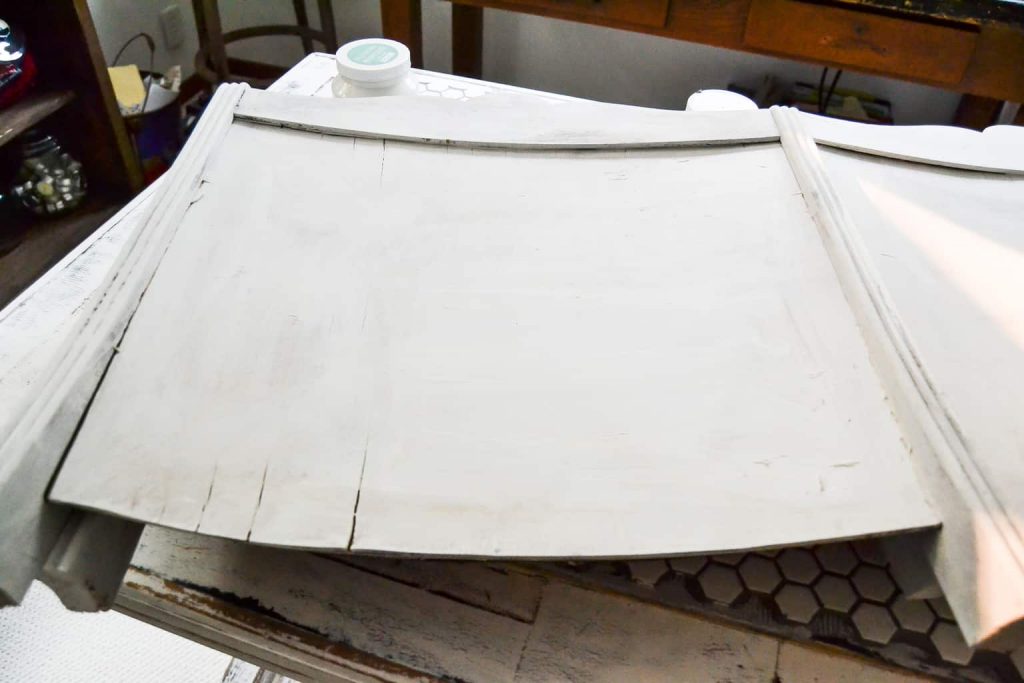
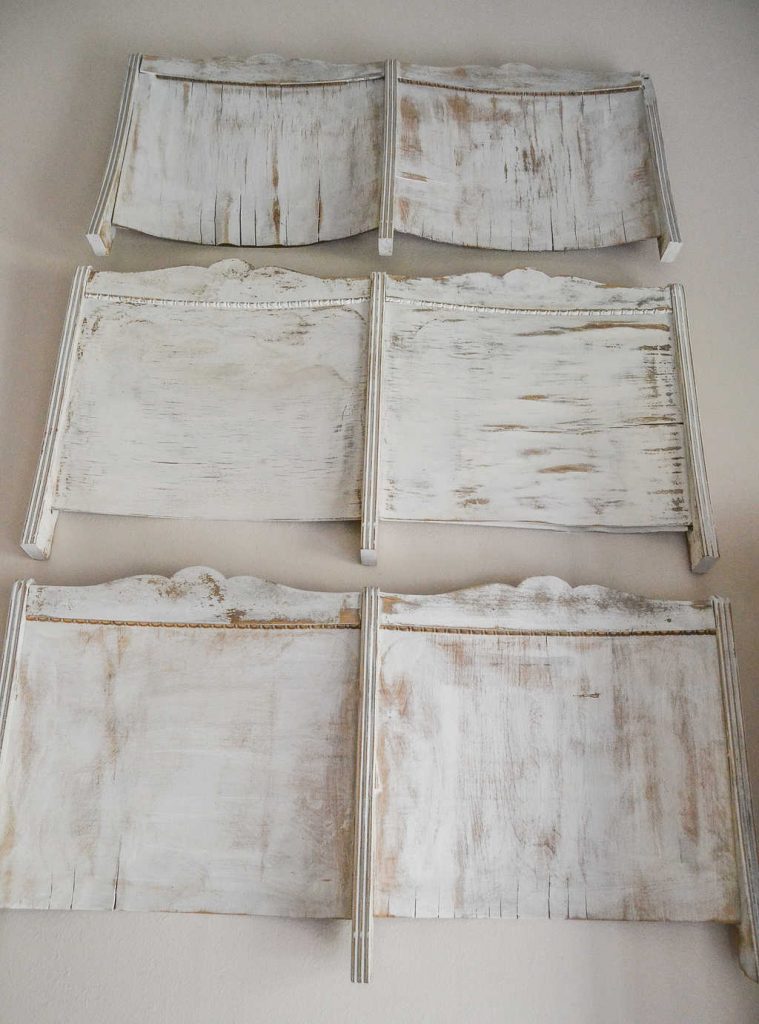
Now, it was time for paint. I painted the repurposed chairs in “Picket Fence” by Fusion Mineral Paint and sanded them to distress them.
Look at the dilapidated chairs now!
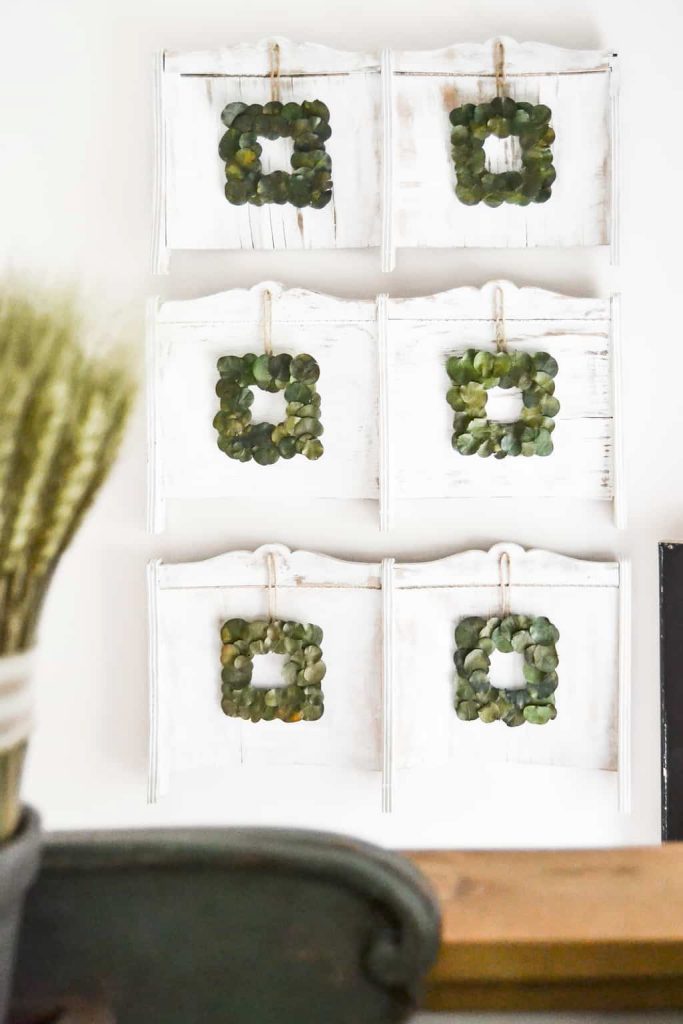
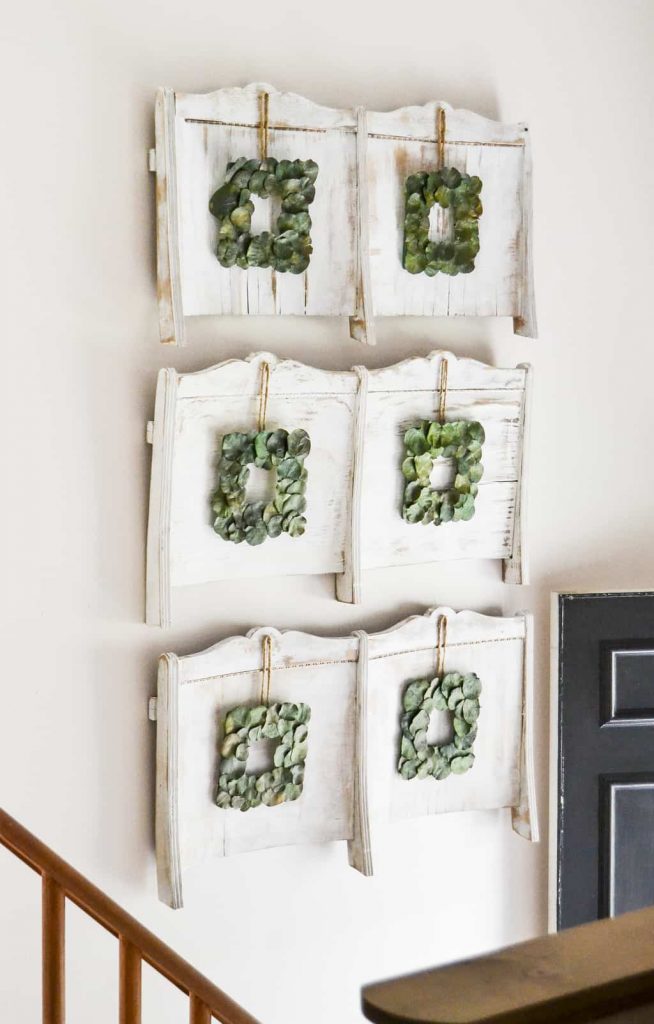
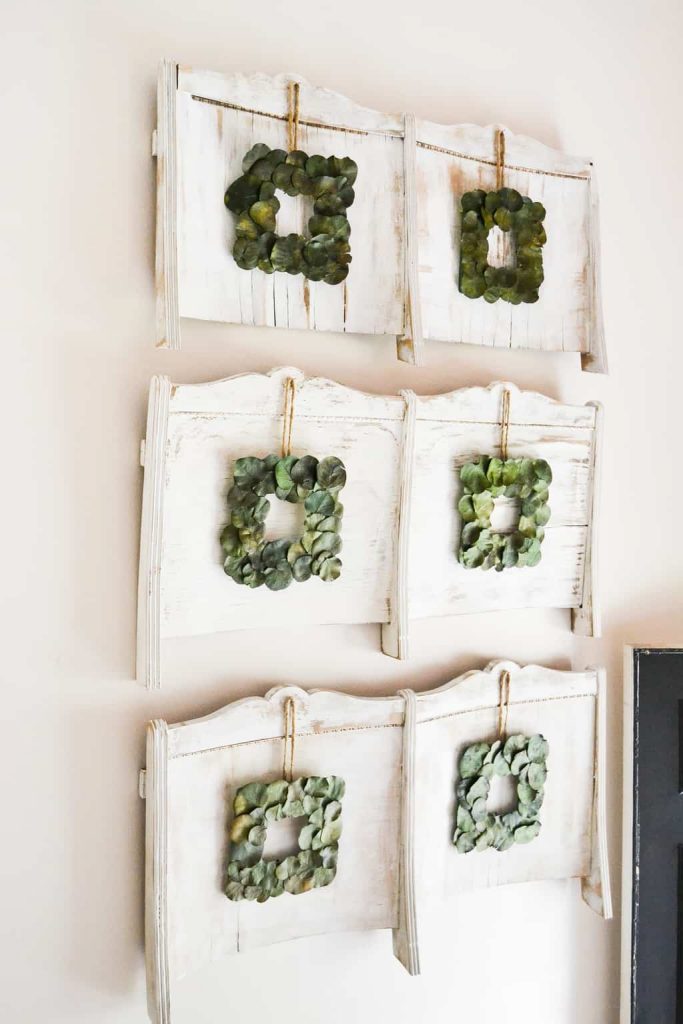
They make a statement in the entry and they have already started many conversations right as people come in.
Once we got our repurposed chairs on the wall, I told Matt that they needed something else. Being the patient husband that he is, he knew I would need some time living with them on the wall to figure what that “something else” was.
The next day as I was coming around the corner from the kitchen, I saw them an envisioned little green wreaths hung on each one.
When I started looking for small wreaths, I was blown away by how much they were! I just wanted small, green wreaths that didn’t cost a ton of money. I searched online and went to store after store. I was not spending over $15 per wreath because I needed 6 of them. It wasn’t worth it to me.
Coming up empty-handed meant that I had to get creative. How could I make small wreaths inexpensively?
I finally found a way!!! (Well, Matt helped me with half of it so I should really give him half credit, but since he may not see this post, we will just stick with being all my idea.) 🙂
I will be sharing how I made the wreaths for under $2 a piece next week.
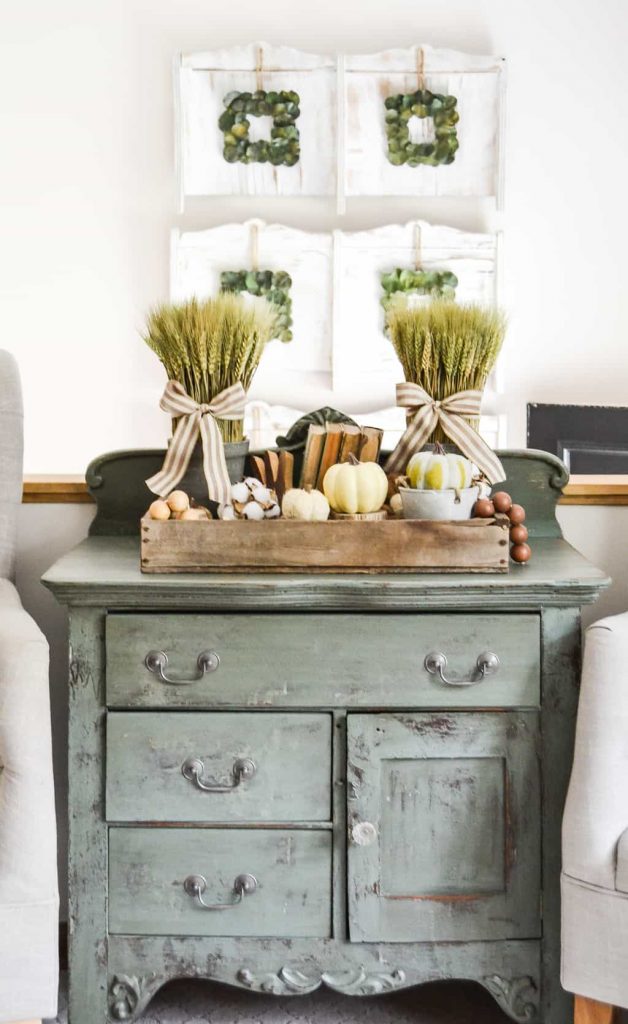
I have been thinking about changing up this wall for a long time. When you sit on the sofa in the living room, you see this wall and I just felt like it needed something more substantial than what we had there. These repurposed chairs fit the scale I was looking for and they feel like us.
Who knew a couple of worn out chairs could look so pretty.
Would you have grabbed these from the barn?
Supplies Used To Make Repurposed Chairs DIY Wall Decor:
“Picket Fence” by Fusion Mineral Paint
Don’t have repurposed chairs to hang on your wall, but would like some different options than pictures hanging on your wall? I found some great options:
Pin This Post!
If you liked this repurposed chairs post, you will also love these projects:
Antique Chest Of Drawers Makeover
How To Paint Furniture Without Sanding


Okay now that’s a brilliant idea! When I saw your post on IG I had no idea that these were backs of chairs! That’s so creative!
Love your style!
Jodi Carless
Thank you so much!
I can’t resist an old chair + love a re-do! The idea to hang just the backs (with wreaths, too!) is pretty genius.
These look SO great as wall hangers; what a great barn find! It makes me happy that you had the vision to save them!
Wow I love this so much. They we’re just sitting there waiting for you to come along. I am always blowed away at all the creativity you all come up with. Women like you have made me a DIY addict….
YAY! I just love it! When I see something that draws my attention, I just can’t walk away from it! 🙂
A GREAT repurpose! I’m jealous you have barn sales where you are! But what I’m lusting after…. is that sweet little green chest !! awesome!
Thank you! I found it at a yard sale. I painted it and then put stain over it! Wrote about the process on the blog: https://mycreativedays.porch.com/cabinet-makeover-with-stain-over-paint/
It was not pretty when I brought it home! 🙂
Brilliant. Love, love, love.
Thank you!
What a clever repurposing idea. They make a Great Wall display. Super cute. These are one of my favorite how-tos. Thanks for sharing.
Your welcome!
You ask? I give an honest opinion………..To me they look like a mirror frame on a dresser…….a mirror on each one…….Maybe line your wall…..across or add a couple to a dresser for a young girl? That is what I see…..I like your little green dresser, btw…….Just enjoy what you’ve made……good job!
Thank you!
Wow! i disnt expect to see this at the end!! Great idea!!
Thanks!
Totally in love with these chairs AND the arch window display!! You have such great ideas!
Love repurposing and recycling old pieces!
Repurposing is so much fun!!! It is probably my favorite projects we do.
Beautiful end result. Each piece has the same top element. How did you get six matching pieces out of two chairs? What am I missing? Thank you.
There were 3 sets.
Absolutely LOVE your posts and am an avid follower !!! Your creative imagination helps me to look and think in abstract “farmhouse” ways of re-doing FARMHOUSE decor !
This made my day! Thank you for taking the time to leave a comment!