This Repurposed DIY Tiered Stand tutorial could not be easier.
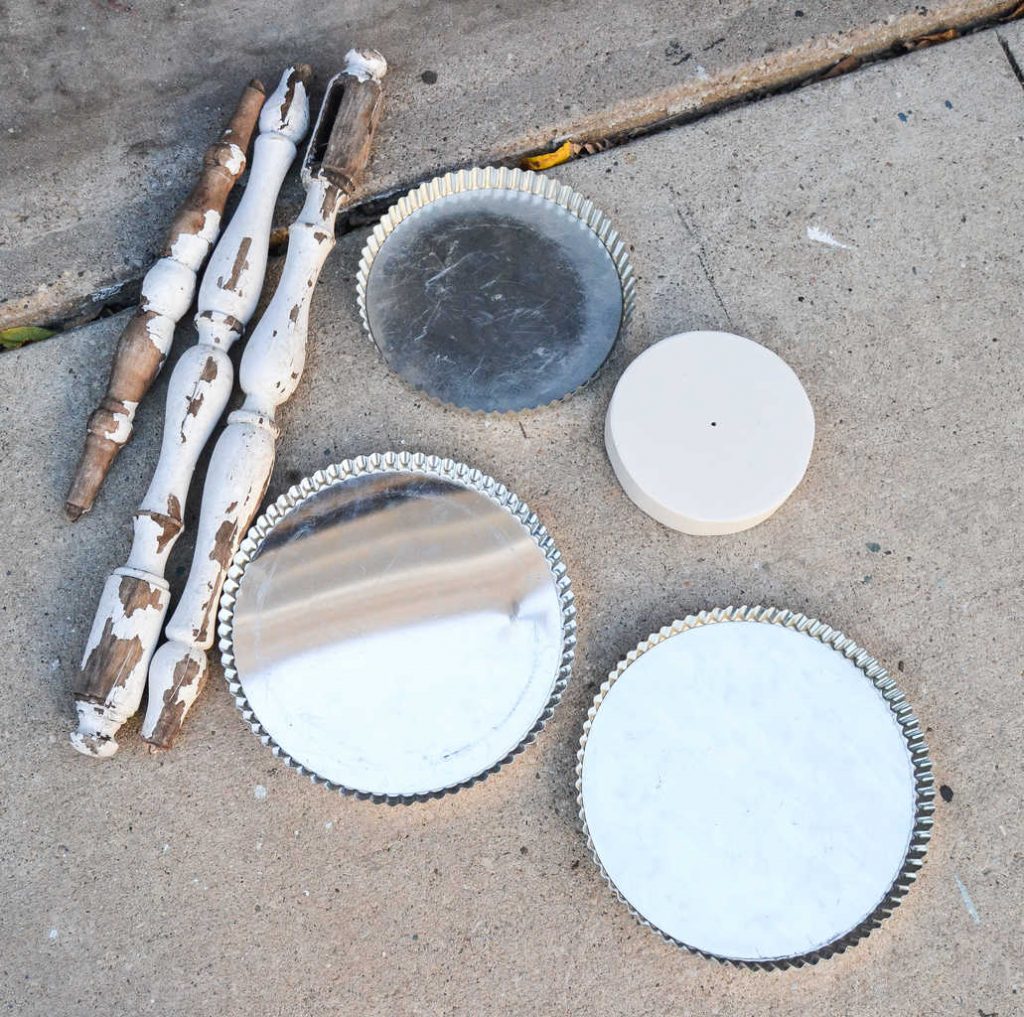
The hardest part of this project is finding the different sized tart pans if you aren’t buying them at the store.
When we were at our last picking adventure, the lady had done the hunting for me and already had the pans. The hard work was done so all we had to do was put this Repurposed DIY Tiered Stand Tutorial together to show you how easy it is to do!
{Affiliate links are used in this post so you can find products used in this project easily. You can read my disclosure HERE.}
We brought them home and started working on putting them together.
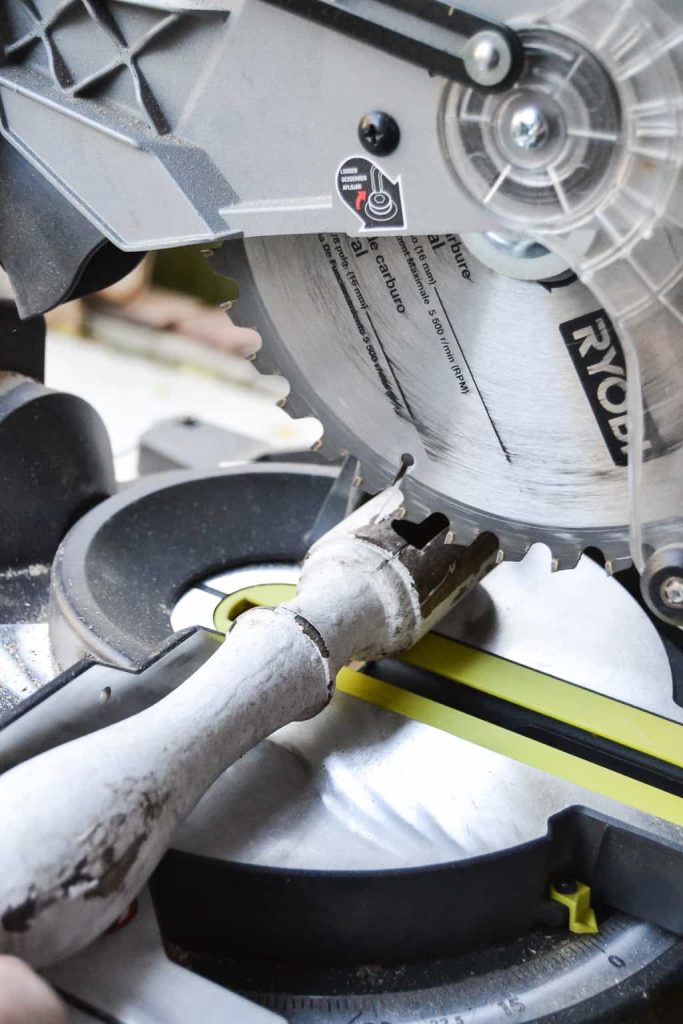
The first thing we did was cut one of the chippy spindles down to use between the tart pans. We LOVE our Ryobi Miter Saw for these projects. It makes them done so fast and efficiently.
I told Matt where I wanted to spindle cut and he had it done in minutes.
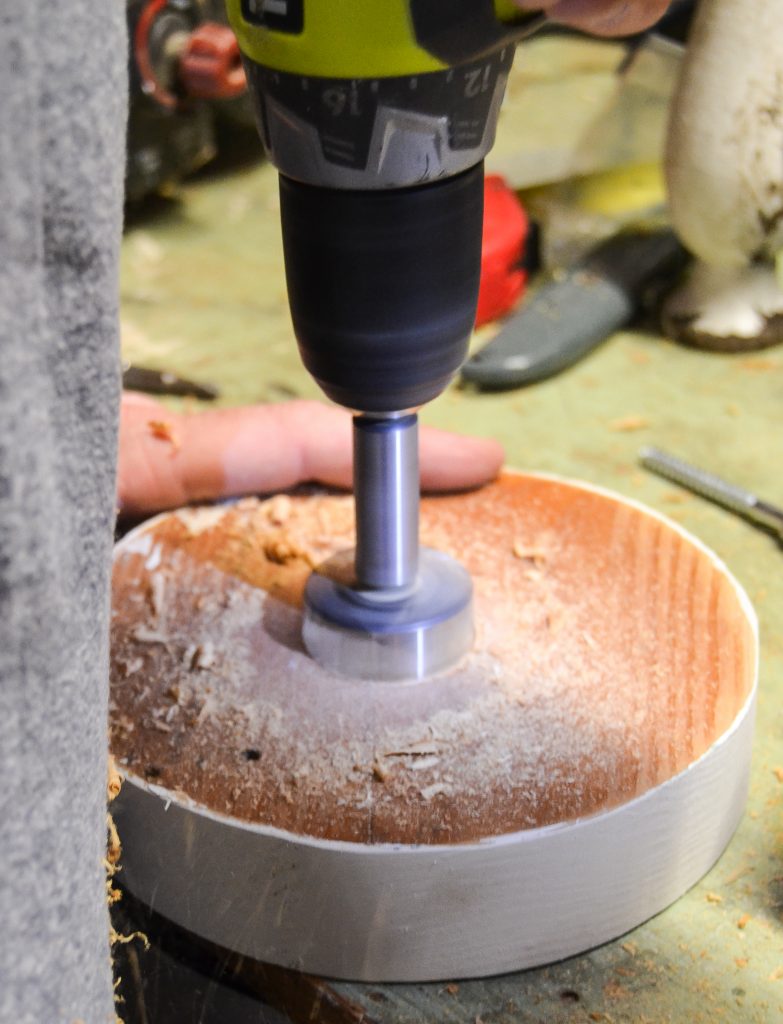
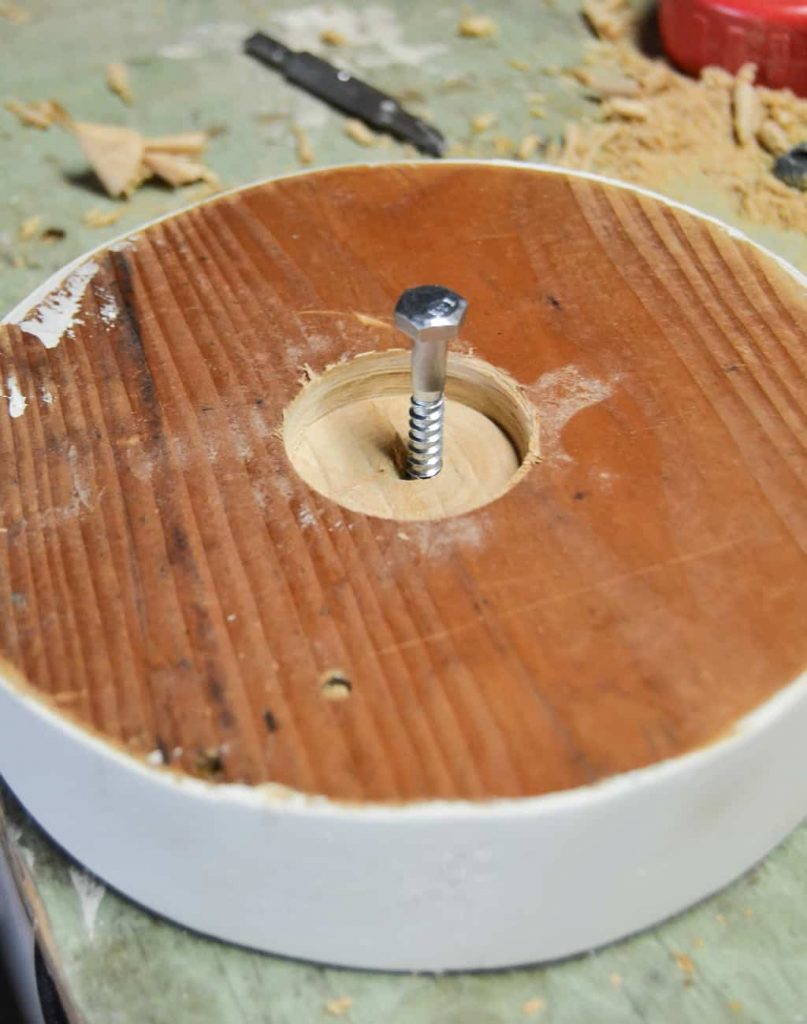
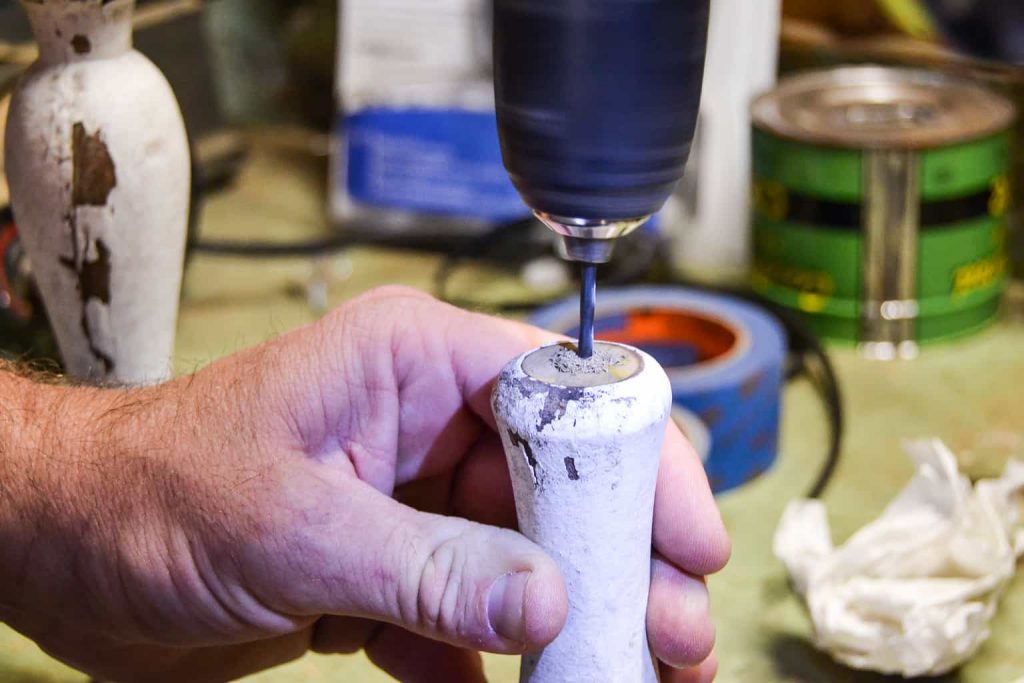
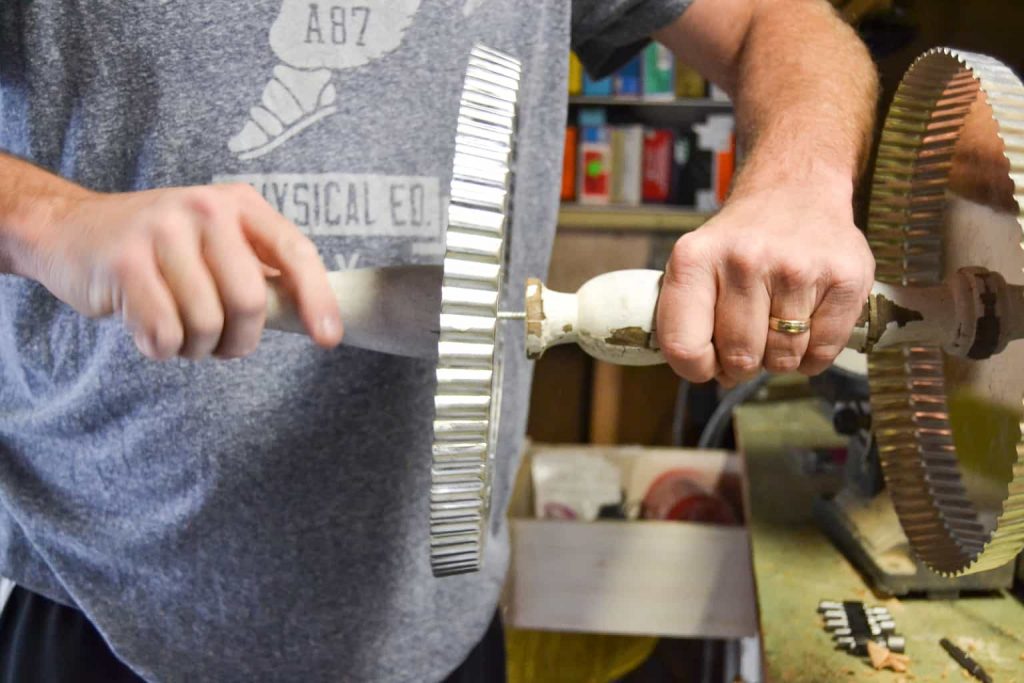
As you can see from the first photo, there is a round piece of wood painted white. Matt cut that out because we needed a strong base under the tart pans to anchor the stand once it was done. To make that piece work, Matt had to use this circle drill bit to make an indent on the bottom of it. (I know there is a technical term for these bits, but circle bit is what I call them.) 🙂
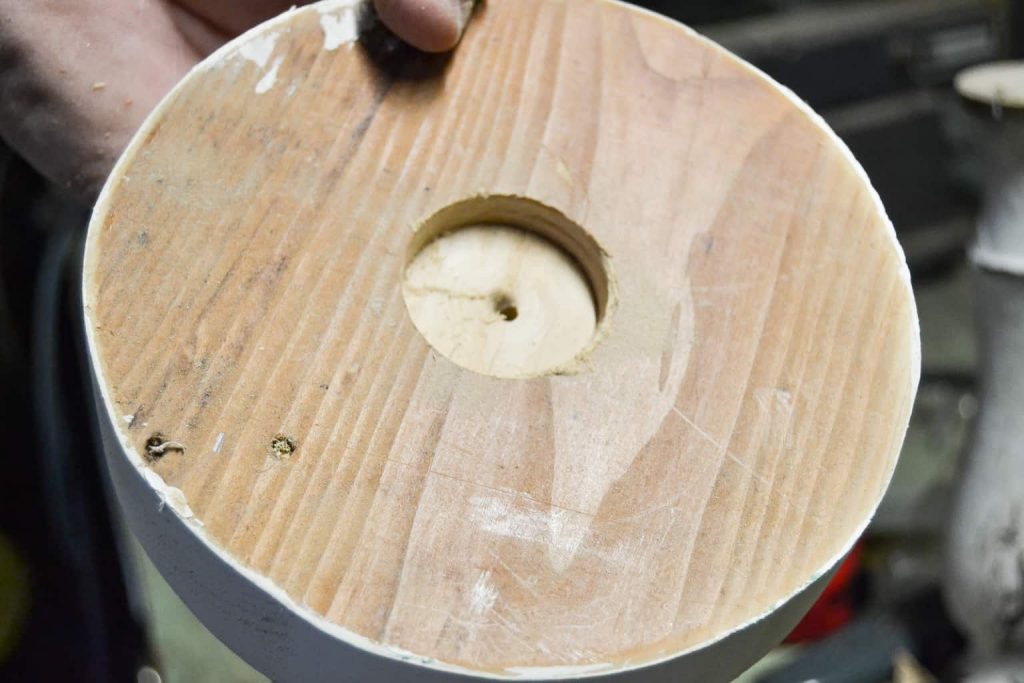
He didn’t go all the way through the round piece. He just needed an indent big enough so the lag bolt he was adding to the bottom wouldn’t hinder the tiered stand standing straight.
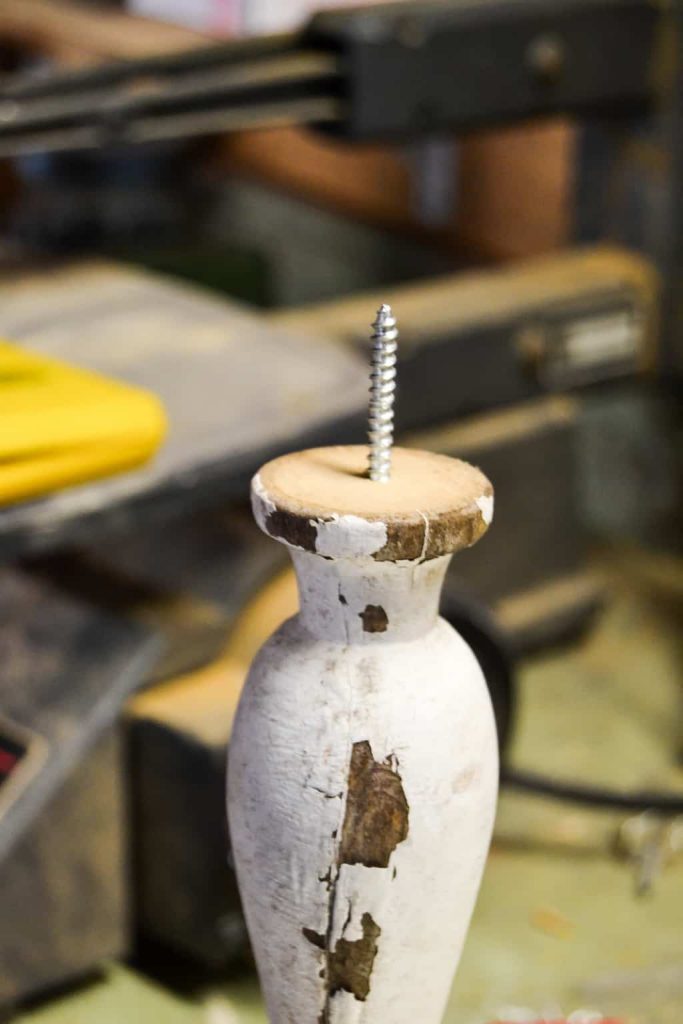
Matt used a lag bolt on the bottom to attach the first layer of the tiered stand.
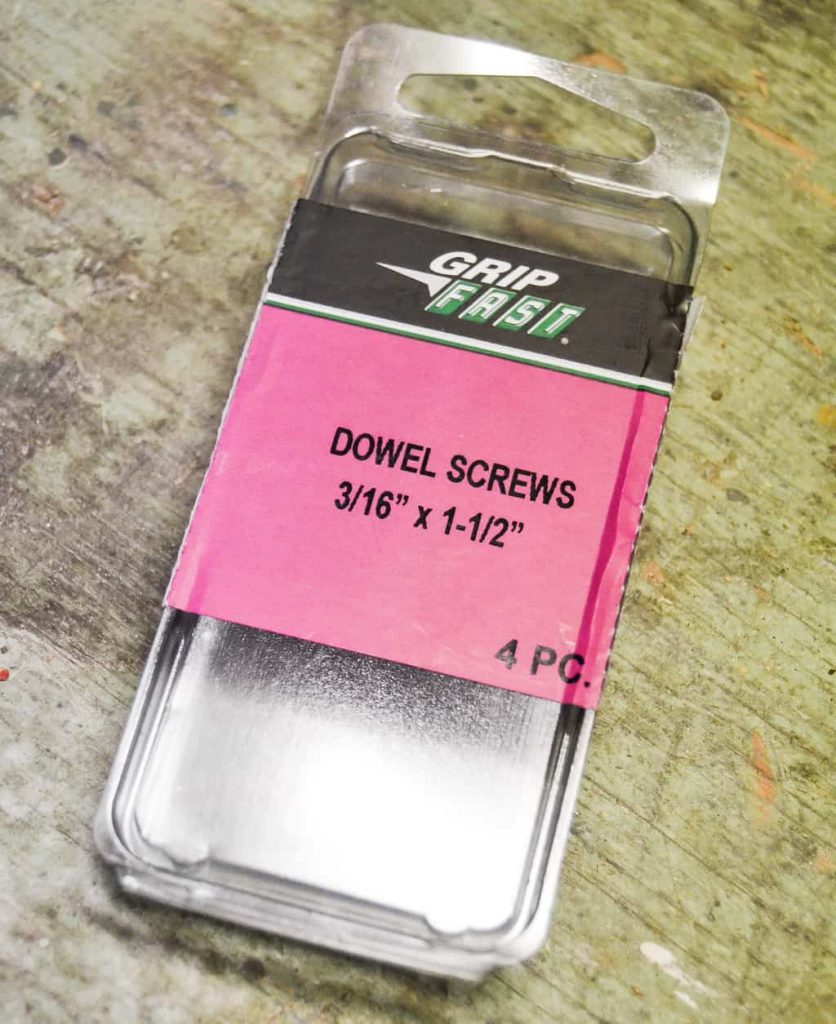
There is a drill hole started on the other side of this wood base. That way, Matt could use dowel screws to attach each layer of the stand.
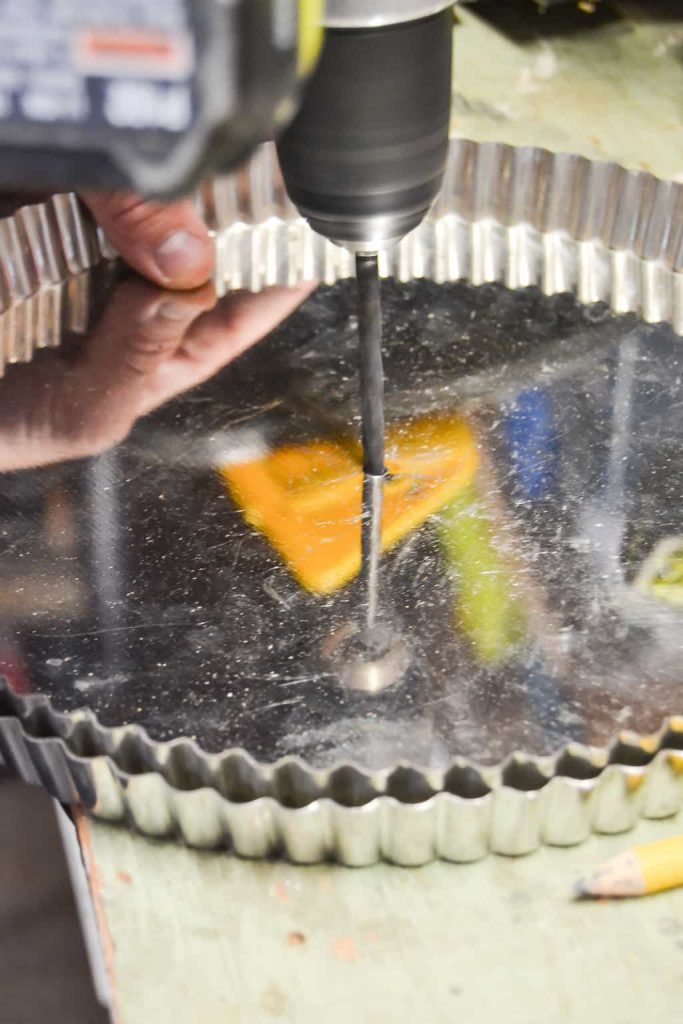
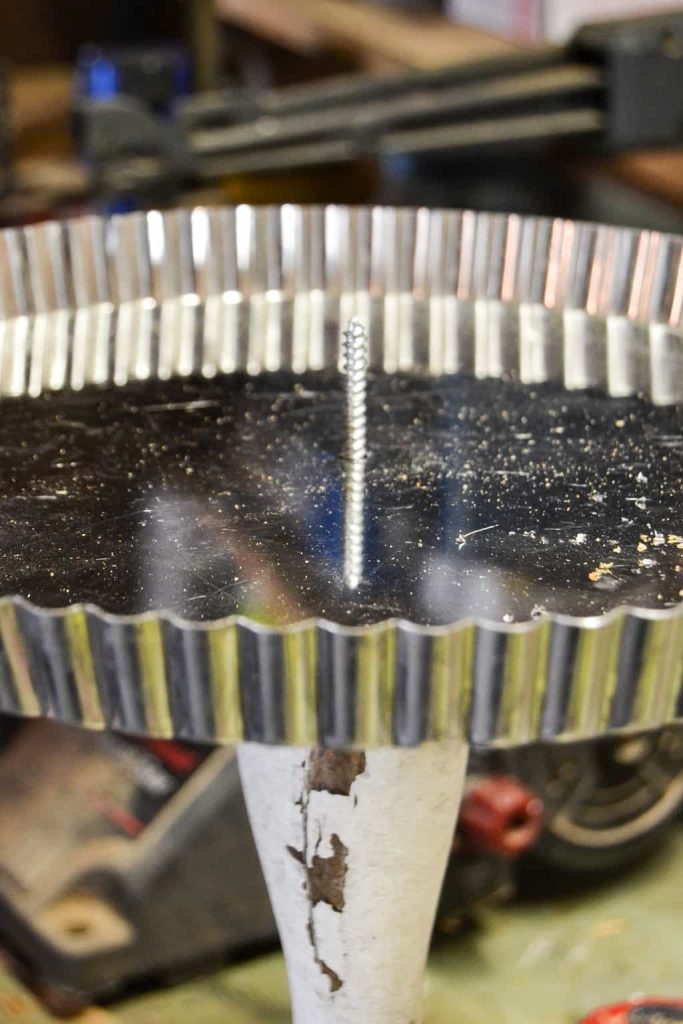
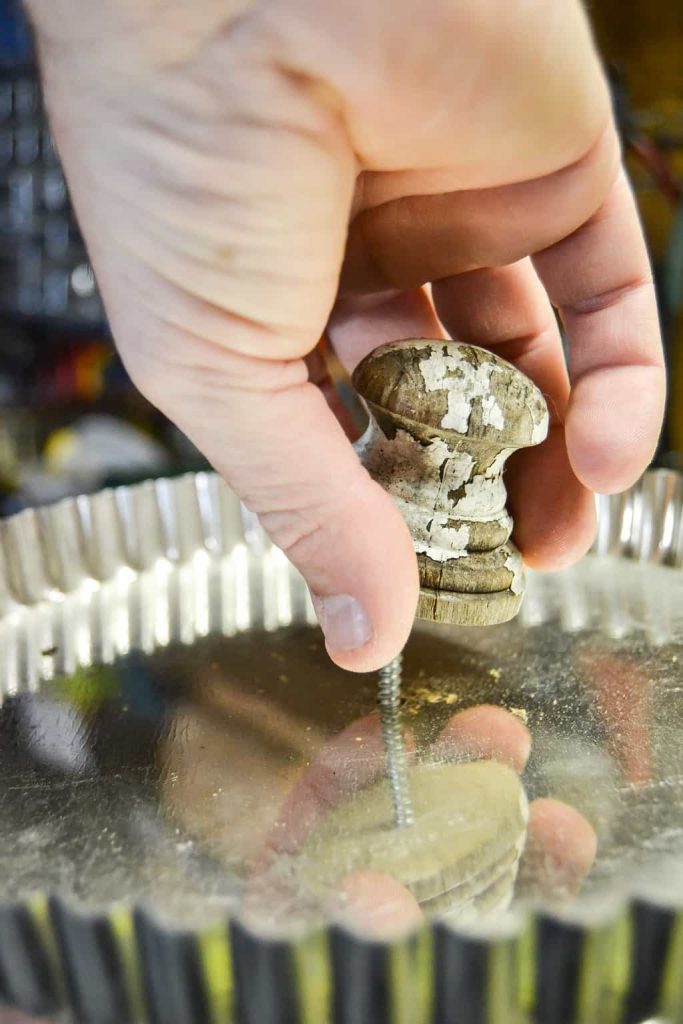
He just used the drill to make holes in each of the tart pans.
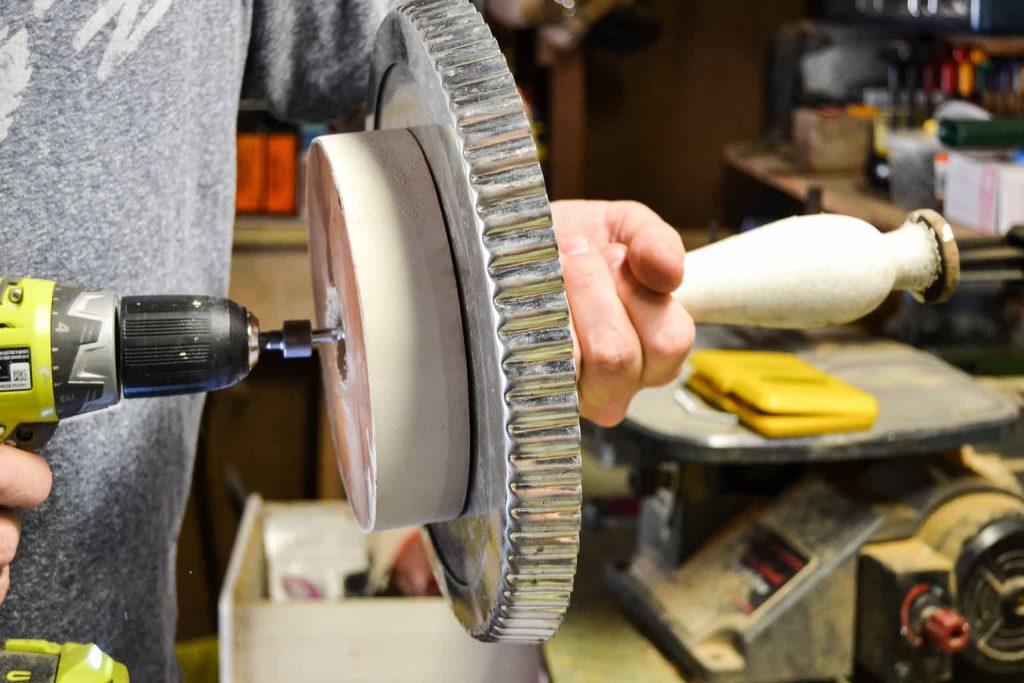
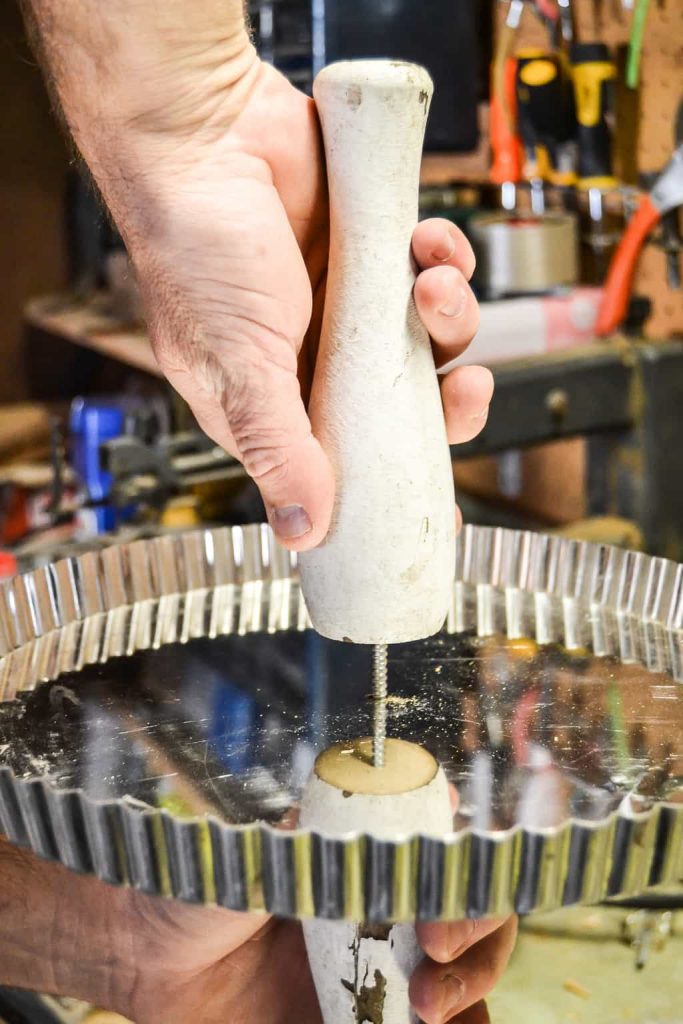
We put the pieces of spindle between each layer. The dowel screws attach every layer securely.
Once the tart pans were put on with the dowel screws, he just turned the spindles between the layers until they were tight.
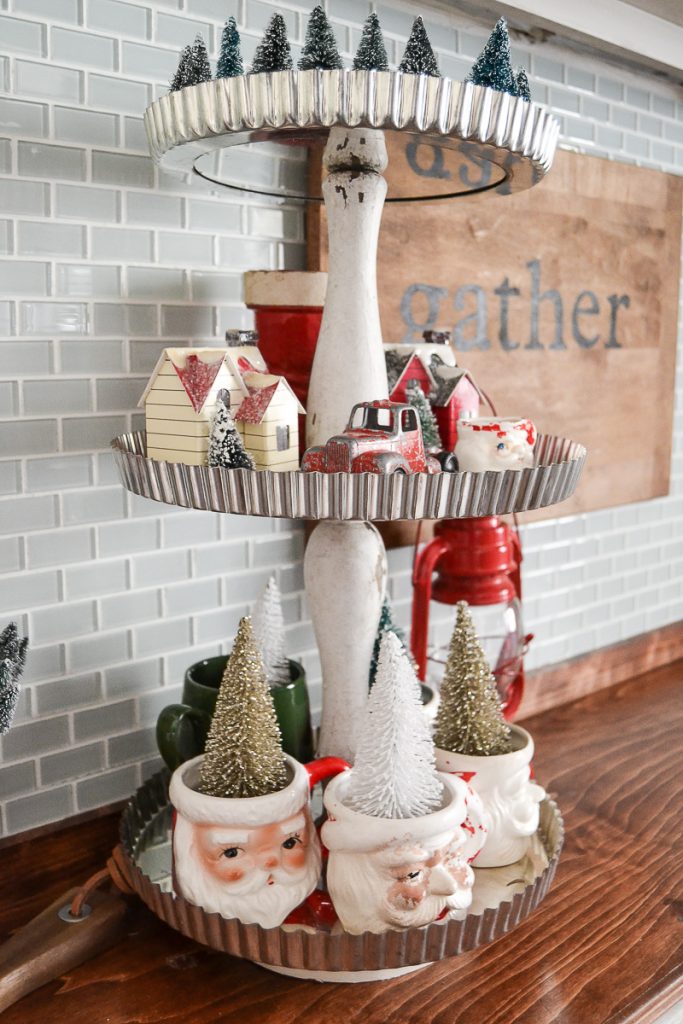
At the end, we used the top of the spindle for the top of the tiered stand. It was the perfect finish.
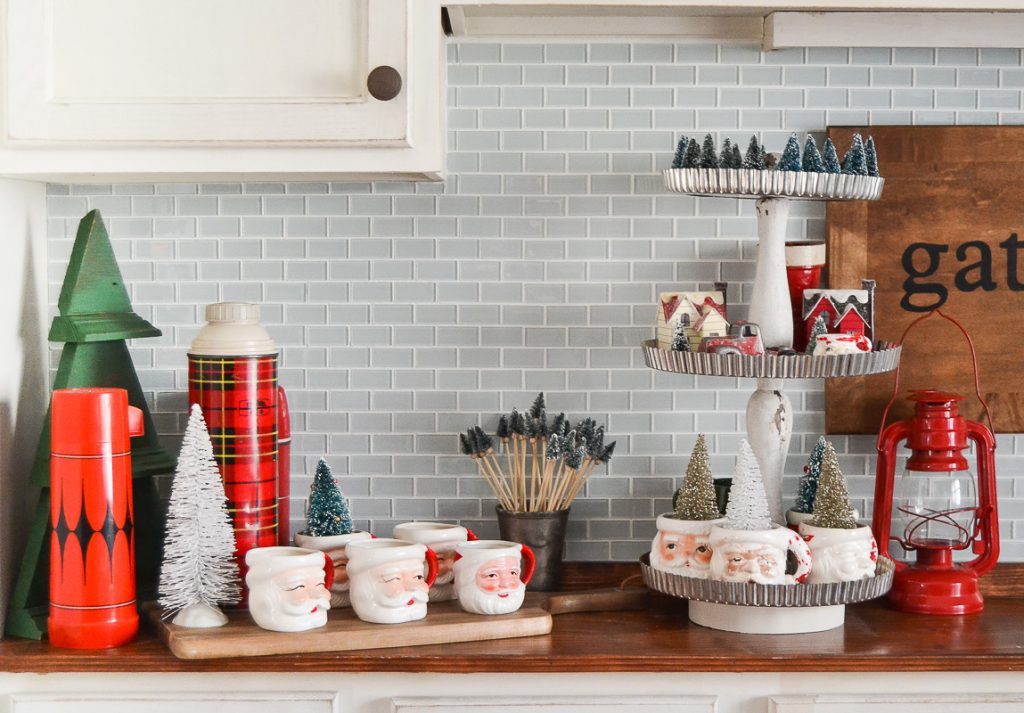
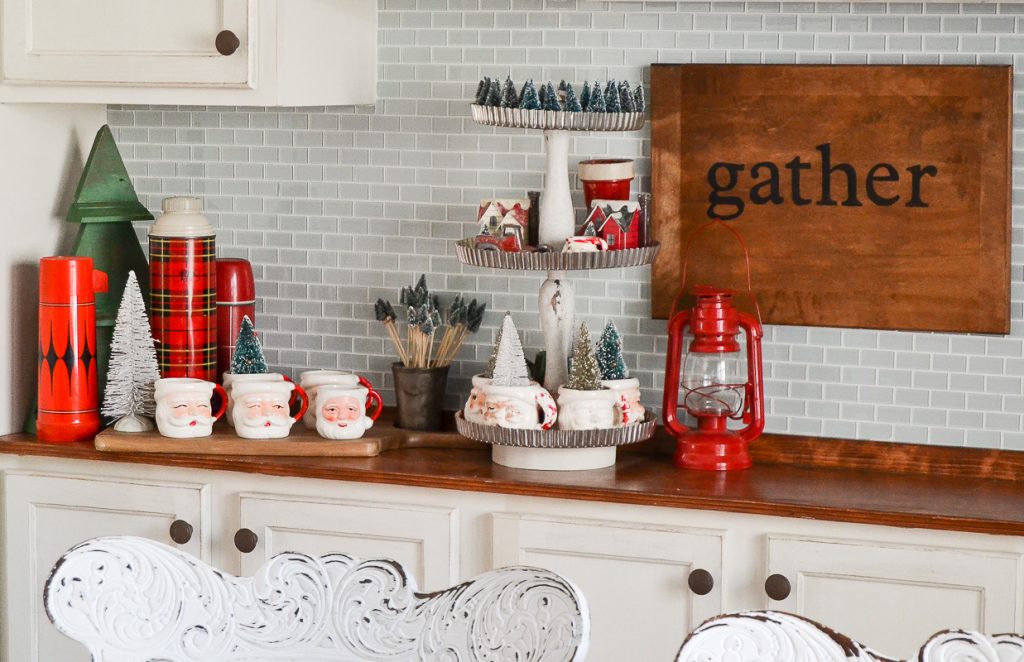
I have never met a tiered stand that I didn’t love to decorate! This stand is a lot different from the three-tiered stand we made with wood boxes.
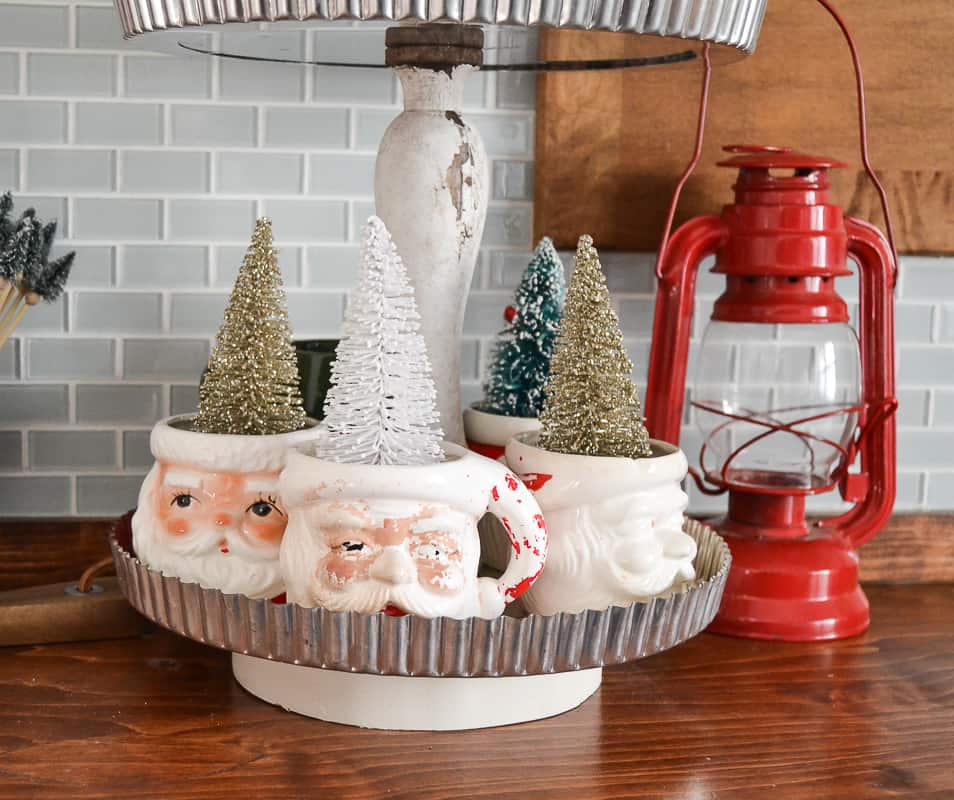
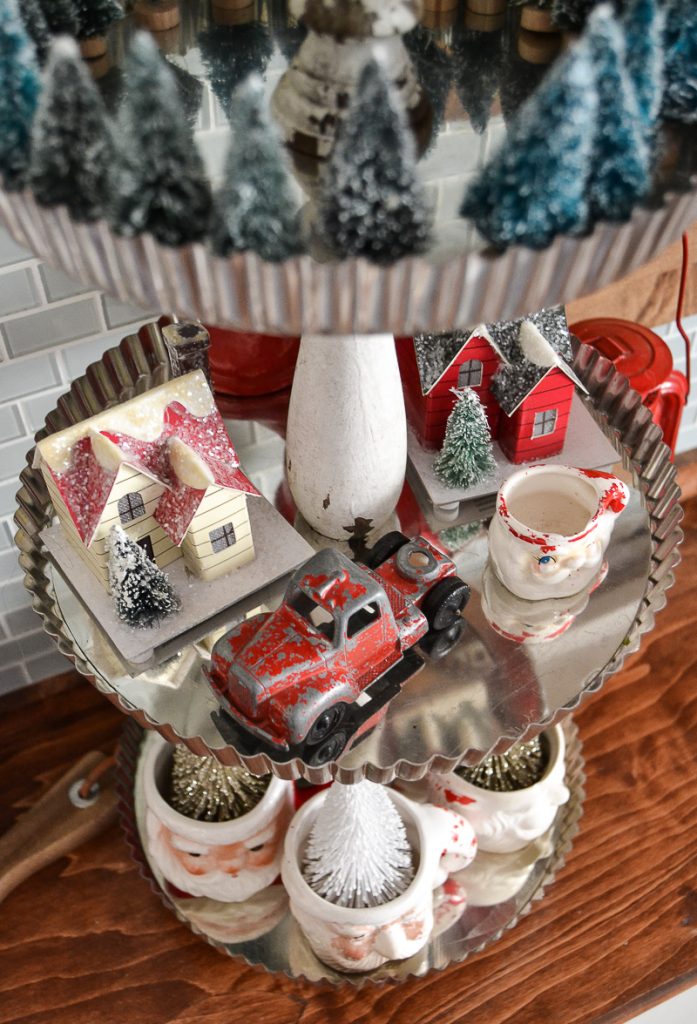
This one is perfect for the holidays because the silver adds a little bling to whatever is in it.
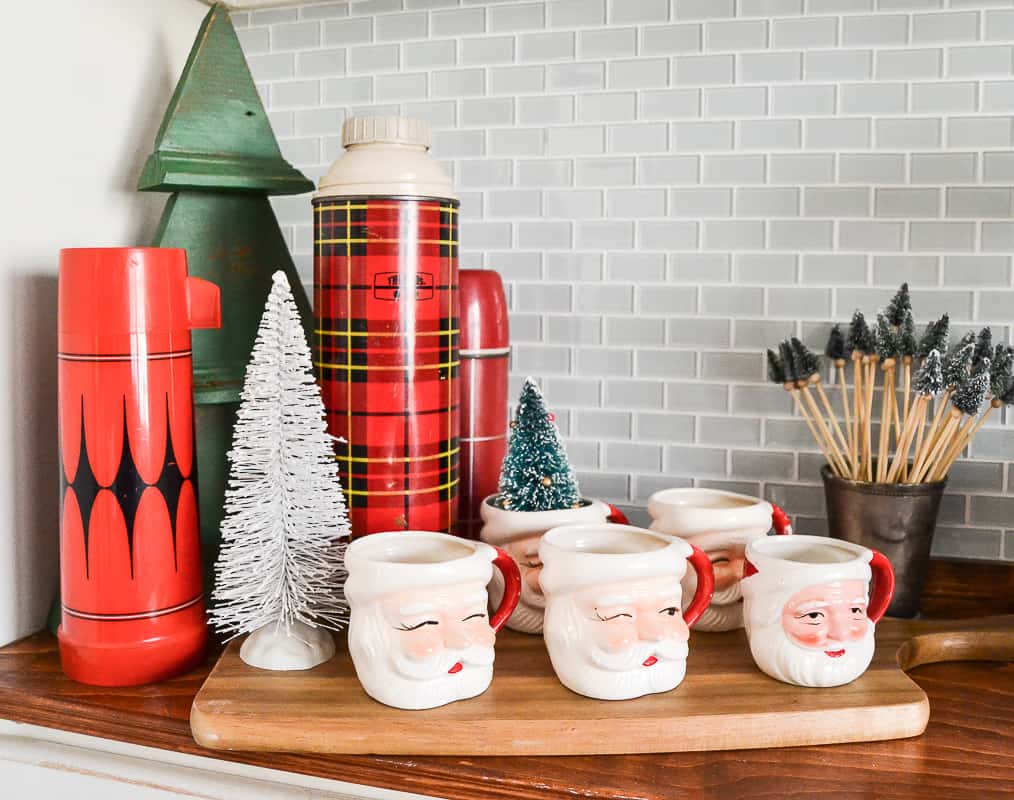
My Santa mugs are some of my favorite things to bring out during the holidays. I will be putting them inside the hutch in the living room while we aren’t using them.
It is crazy to have the house ready for the holidays already, but I have to say it is fun to get it done early and then we have the entire season to enjoy it. Blogging is super busy from October-December, but since we have to have everything done so early, the actual holidays are even better because all we have to do is enjoy the time with family and friends.
What would you use this tiered stand for?
PIN THIS POST!
If you liked this Repurposed DIY Tiered Stand Tutorial, you will also love these projects:
Faux Reclaimed Wood Wreaths
90 Homemade Christmas Ornaments



Love, great idea!
Thank you!
This looks so cute! Love the idea!
Thank you!
Christmas is such a lovely time, right? I love the decor around it, there’s so much we can do! Your idea is awesome!
Thank you!
I have some of those little santa mugs. I have kept them packed up but i may have to start putting them out. Very cute. Do you know anything about them? Whether they are valuable or not? Mine were my mom’s and idk anything about them. I am not selling them but i still would like to know about them.
I don’t know anything about them. I think some of them are worth something though. You should get them out for sure!!!
Very cute idea. And what a lovely mix of vintage and classic. I am still settling in my new house but have plans, dreams, hopes for next year!
Congrats on the new house! Thank you!