This Office Organization project is a great example of how you can repurpose items to help you stay organized.
I have a new addition to my work station! This Office Organization project I just completed is giving me much needed storage on my craft table. This little piece was just the right size and fit for my home office, but it was in need of a little makeover if it was going to stay in my office.
I am a stickler for having my home office functional and looking great because if I want to spend time in it, it has to be both. If my office (or any part of our home, really) is unorganized and thrown together, I will not be productive. I am a little OCD about that. I will not get anything done if it isn’t put together because I will be thinking about the mess and not the work at hand.
So, when this little guy came about, I knew it would work great in my office, but it wasn’t until recently that I was able to make it over.
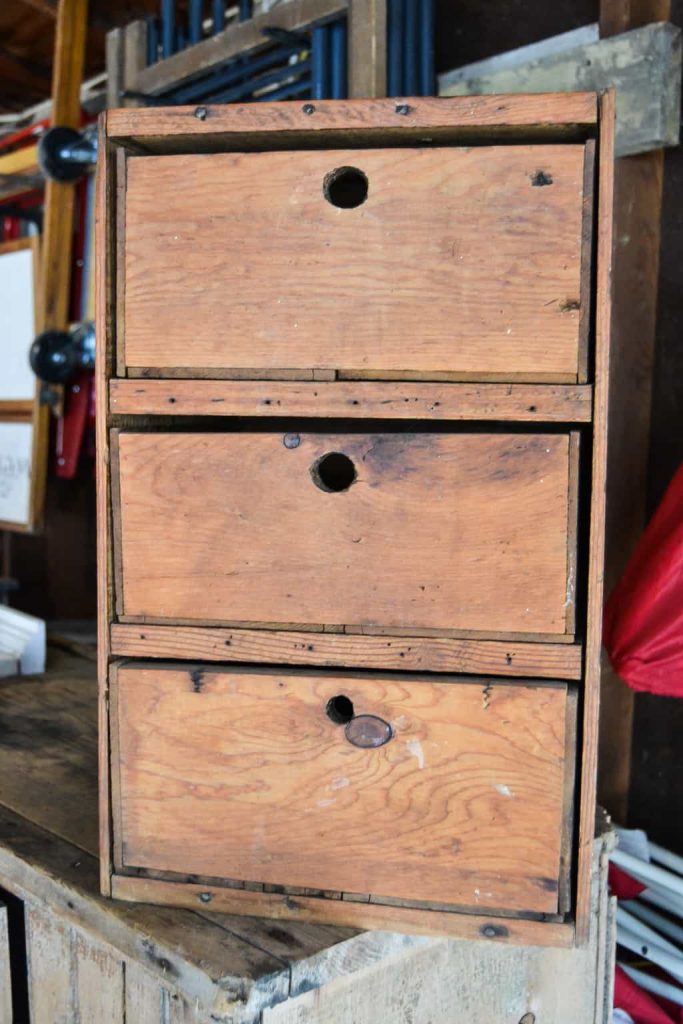
This past summer, a friend of mine was having a yard sale. I wasn’t able to go to it, but she sent me a picture of something her aunt was selling at the sale.
Her text read, “This looks like you. Do you want me to hold it back for you?”
{Affiliate links are used in this post. You can read my disclosure HERE.}
You know you have great friends when they send you pictures like this.
I couldn’t text her back fast enough. “Yes!!! Mark ‘sold’ on that thing! I love it!”
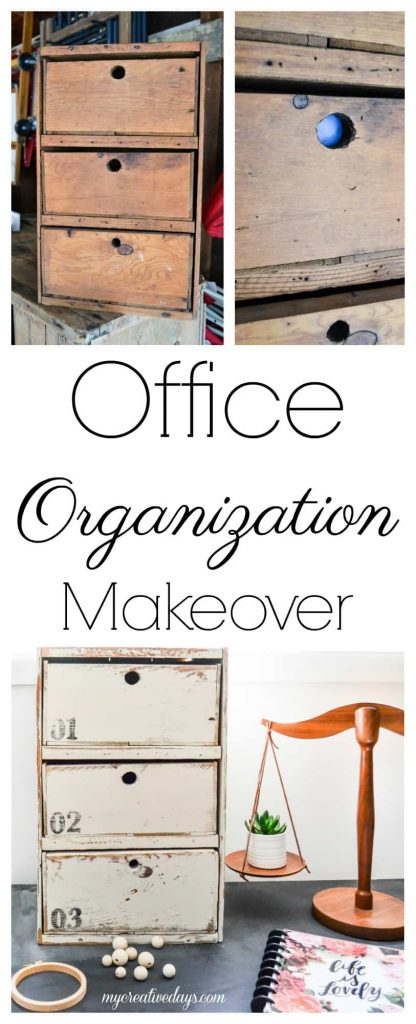
When I picked it up, I was so happy to see that it really was handmade. The drawers weren’t perfect. The holes in the drawers weren’t the same size. There were knicks all over it and the nails were rusted.
As the DIY blogging life goes, we have had many projects to finish since I brought this guy home so it has been sitting on my craft desk waiting for its makeover.
That came a few weekends ago.
After I finished my latest curbside find, I was inspired to give this piece its makeover. I loved the “Drop Cloth” paint color from Dixie Belle Paint I used on the curbside find and I wanted to add it to this office organization piece.
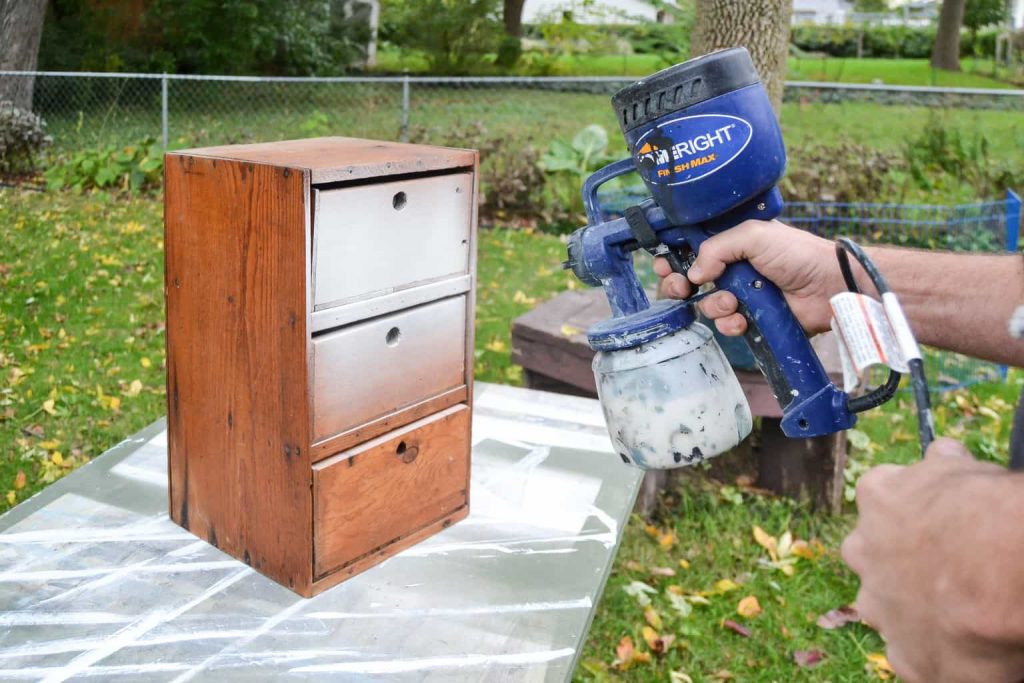
To paint this piece, I used my HomeRight Finish Max sprayer.
I wanted to cover up the orange color of the wood with a light paint color.
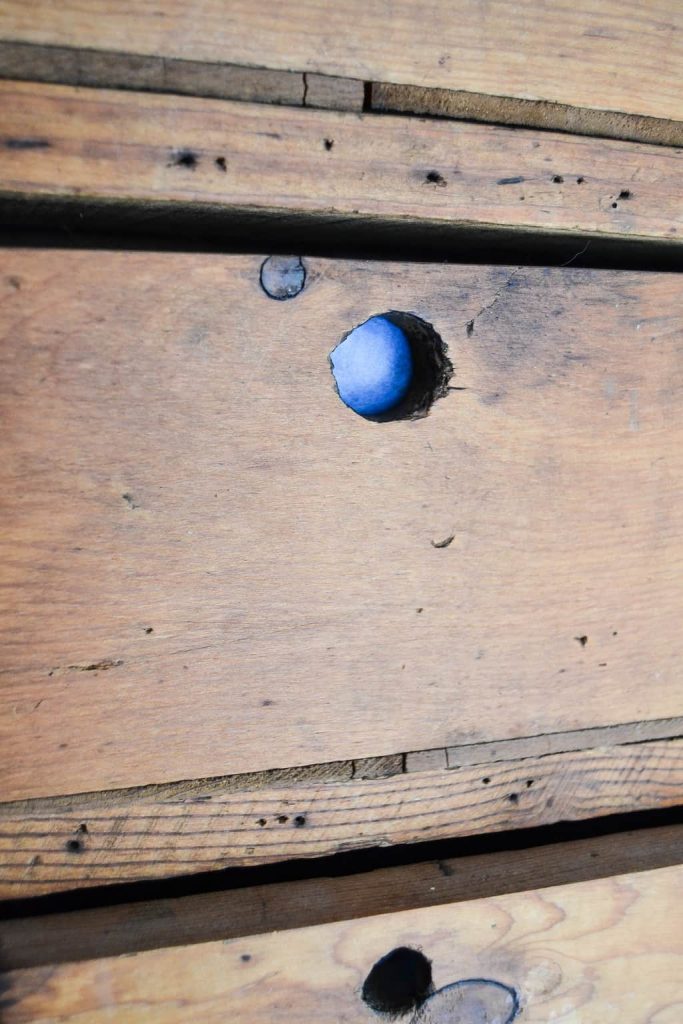
I didn’t want to get any paint inside. So, I covered the holes on the drawers with painter’s tape from the inside.
Once we got a few coats of the paint on, we let it sit outside to dry.
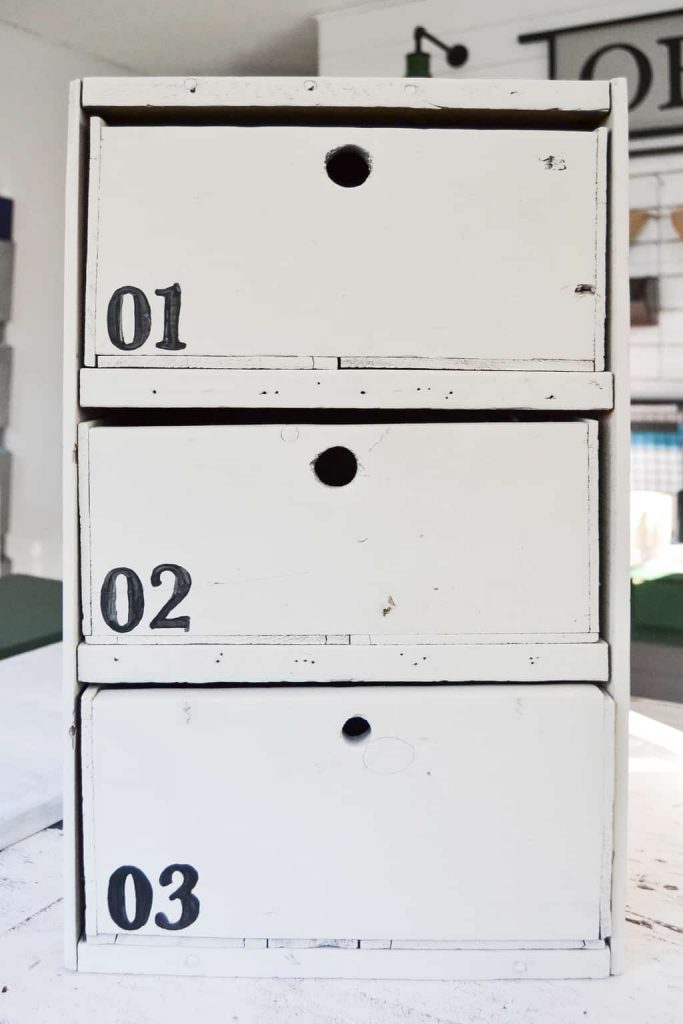
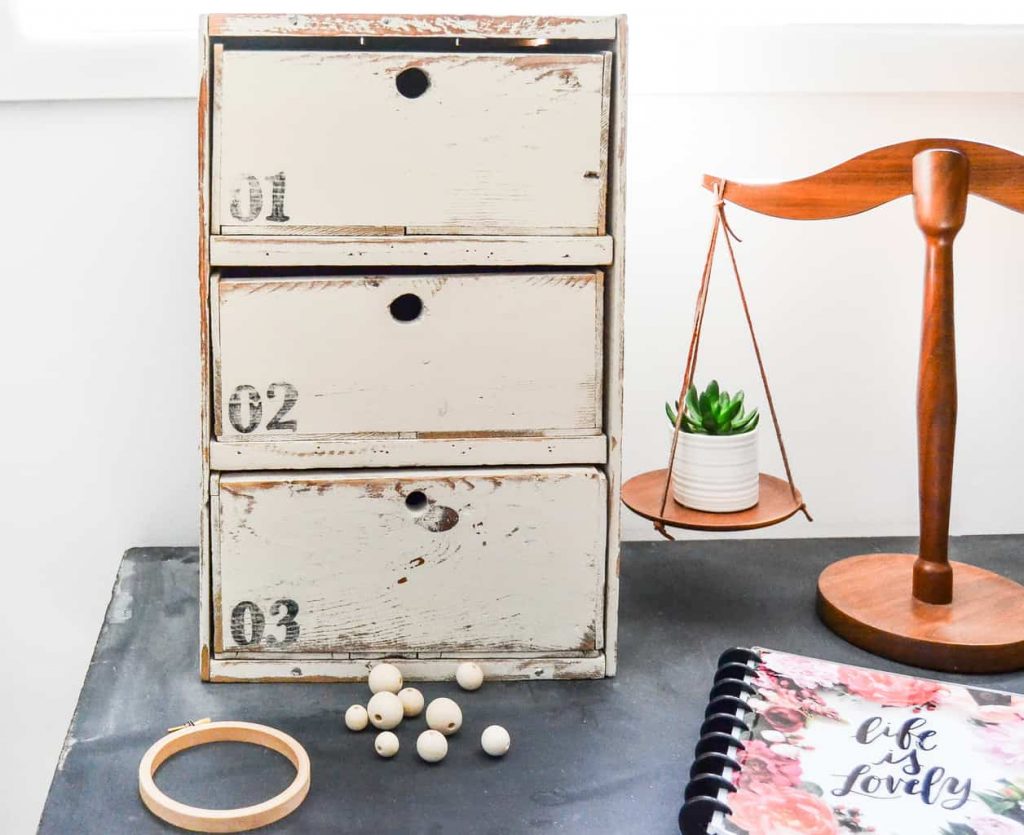
Once it was dry, I brought it in and stenciled numbers on the front of each drawer. I used my Hazel & Ruby Stencil Masks and black craft paint to put the numbers on.
Whenever I plan to distress a project after I have stenciled something on it, I never worry about the stenciling being perfect. That is the joy in distressing! You will be removing some of the paint anyway so perfection is thrown out the window! Projects like these are my favorite! No stress involved. 🙂
Once the numbers dried, I used my orbital sander to distress the entire piece.
This little guy sits on my project desk in my office. It holds supplies and other things I use at this desk. I don’t like a ton of things out when I am not working so having closed storage is a must in my office.
Office organization doesn’t have to be tricky or ugly. I have added a lot of storage to my office with pieces I brought home to breathe new life into. (My last addition was a metal cabinet that looks like a million bucks now that I made it over. Check it out HERE.)
Do you have an office space in your home? What are your tricks for keeping it organized?
Supplies Used in this Office Organization Project:
PIN THIS POST!


I love this office organization, it looks awesome! The distressed look is super stylish. Thanks for the details!
Thank you!
I know what throws me with this piece–the numbers on the LEFT!!
?????