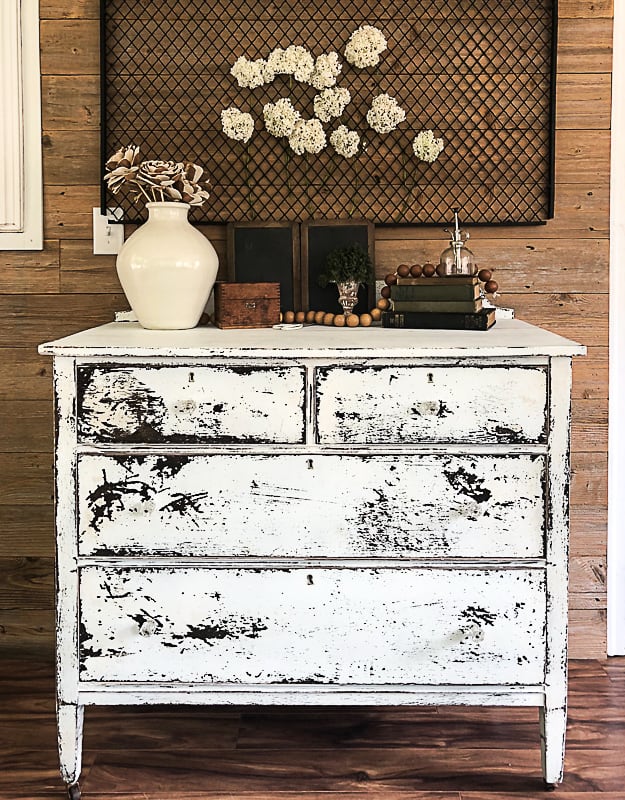
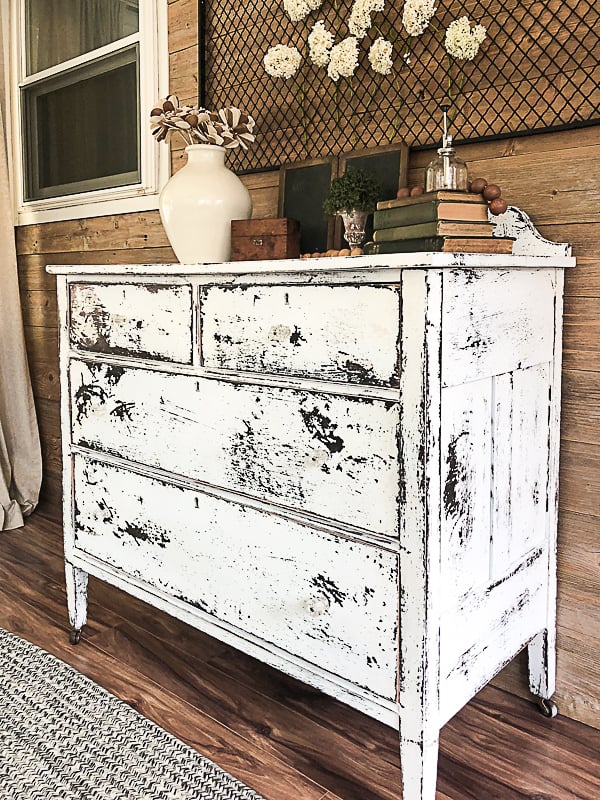
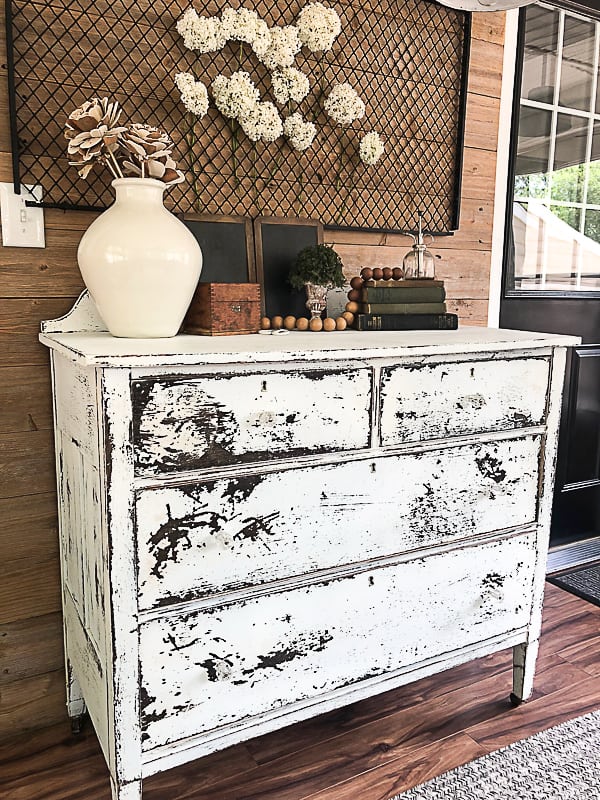
This 4 drawer dresser makeover was so simple that I had to share it. I am passionate about teaching and sharing how to decorate a beautiful home, in the style you love, without spending a lot of money. There is no need to spend a ton of money decorating your home if you are willing to put in a little work and creativity.
I am always on the hunt for furniture pieces that have loads of potential but are really inexpensive because they aren’t “pretty”. This 4 drawer dresser was just that. The owners didn’t see any potential in it but I knew better so I got it for a great price.
I wasn’t able to get a before photo of this dresser because Matt started fixing it and painting it when I was staging another project. (Not mad about it either. Always happy to get projects done.)
(Affiliate links are used in this post. You can read my disclosure HERE.)
When I bought this dresser it was dark wood and in good condition. It had been sitting on a porch for many years so it had the regular wear and tear from that, but overall still had loads of potential. The knobs were not original and there were a couple missing so I needed to add new knobs when I got it done. Again, nothing that scared me away.
The first thing I did was clean the entire dresser. Matt sanded down the drawers to make them work better and then it was time to paint.
We used the HomeRight Paint Sprayer to paint the dresser. I chose the color, “Cotton” from Dixie Belle Paint because the wood on the dresser was so dark.
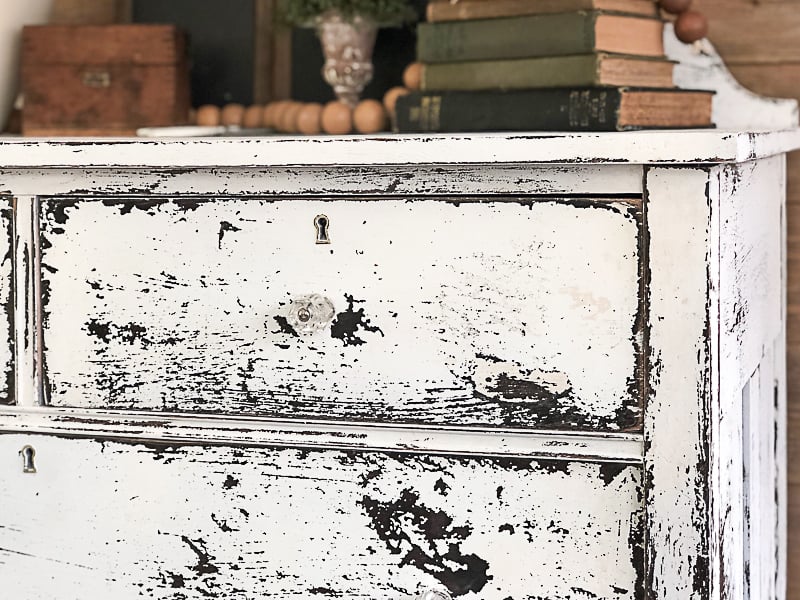
I love the look of dark wood popping through paint on pieces of furniture. The dresser was so dark that I knew if I painted it a light and then distress it, it would be beautiful with the dark wood peaking through.
After I had a few coats of paint on the dresser and it dried, I used SandNet Sandpaper to distress it. This sandpaper is something new to me. It is reusable!!! I used it to distress this 4 drawer dresser and then I rinsed off the sandpaper and used the same piece on a cabinet I started working on! Reusable sandpaper….. GENIUS! We go through so much sandpaper so to have some that is reusable will save us so much money!
After I had the 4 drawer dresser distressed like I wanted, I shopped our hardware cabinet and found some beautiful glass knobs to put on it. I picked up the knobs at a yard sale last year and they were perfect for this dresser.
They were the perfect final touch!
This 4 drawer dresser has come a long way, but it wasn’t hard. I get a lot of messages from readers who are scared to tackle projects like this. They think they will take too long or be difficult to do. I am here to tell you they aren’t. My advise would be to make sure you have the right tools (I have an entire page devoted to what we recommend every DIYer to have in their toolbox HERE) before you start any project.
When you try to get by with what you have on hand it costs more money and time in the long run. We learned that the hard way. Once you make the investments in the right tools, you will save so much money decorating your house. The right tools will enable you to create pieces instead of buying new.
Supply Recap For This 4 Drawer Dresser Makeover:
“Cotton” Dixie Belle Paint
HomeRight Paint Sprayer
SandNet Sandpaper
Glass Knobs
What color would you have painted this 4 drawer dresser? Would you have distressed it?
PIN THIS POST!
If you like this 4 drawer dresser makeover, you will also love these transformations:
Reclaimed Workbench Made From Underbed Drawers


