I have found out how to create aged copper patina on wood and metal! The best part, it takes minutes and turns out perfect every time!
I have been DIYing, crafting and creating things since I can remember. When I was younger, you would catch me out in the back yard drawing in my sketch pad and writing notes about animals from my encyclopedias. (I think it is so crazy that kids today don’t even know that an encyclopedia is. Times have changed so much!). I truly enjoy all kinds of projects, but easy projects are my jam. Projects that let me get the look I want without a ton of time or work are making me so happy right now. Does that make me a lazy creator? I don’t think so. I love all projects and there is a time for projects that take a lot of energy, time and money and there are times when I just want to get a creative fix without having to spend a lot of time to do it.
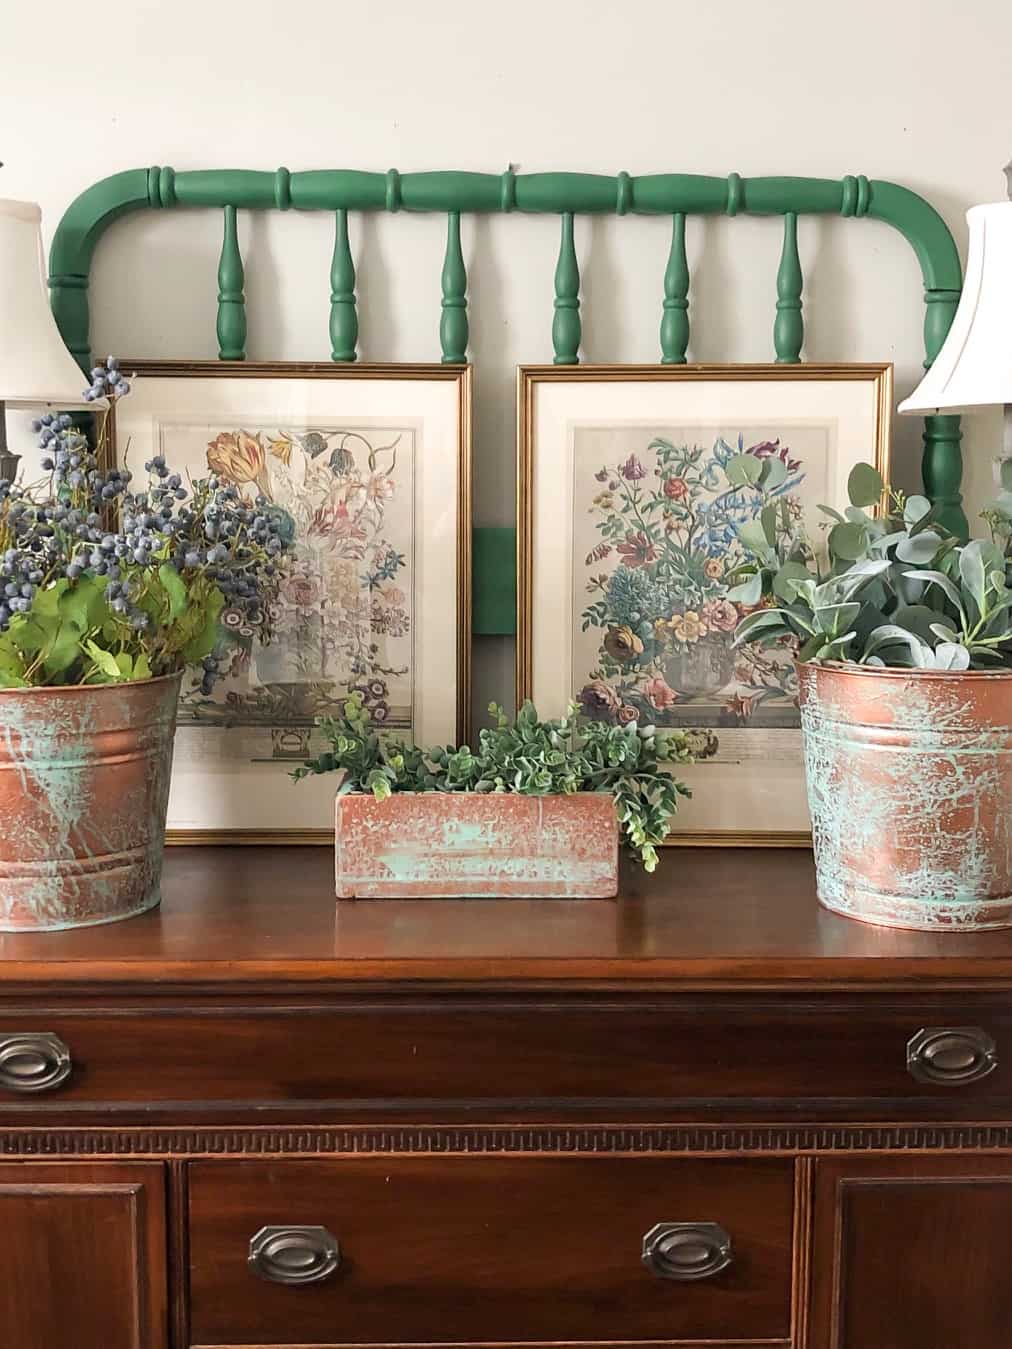
The project I am sharing with you today, blew me away. I hope it blows you away as much as it did me. I could not believe how easy the process was and how beautiful the outcome was. The best part…. it worked the first time I did it! There was no guesswork, no “do-overs”, no back-up plan. NOPE! None. Zilch. Nada.
There is nothing more satisfying than having a project come out better than you imagined without any blood, sweat or tears to get it. and believe me, we have had our share of those kinds of projects. This project was so easy and I loved the finished product so much that I will be doing this over and over again. I am obsessed.
I was able to create an authentic, aged, green copper patina in only a few steps.
And (drum roll please), it works on metal AND wood! Can you even imagine how many projects I can use this on? As soon as I saw how well it worked, my mind started racing with possibilities. The aged copper patina game is strong over here and I nothing is safe from it. Once the weather warms up, I will be searching our garage for different pieces I can put this patina on and turn into beautiful home decor.
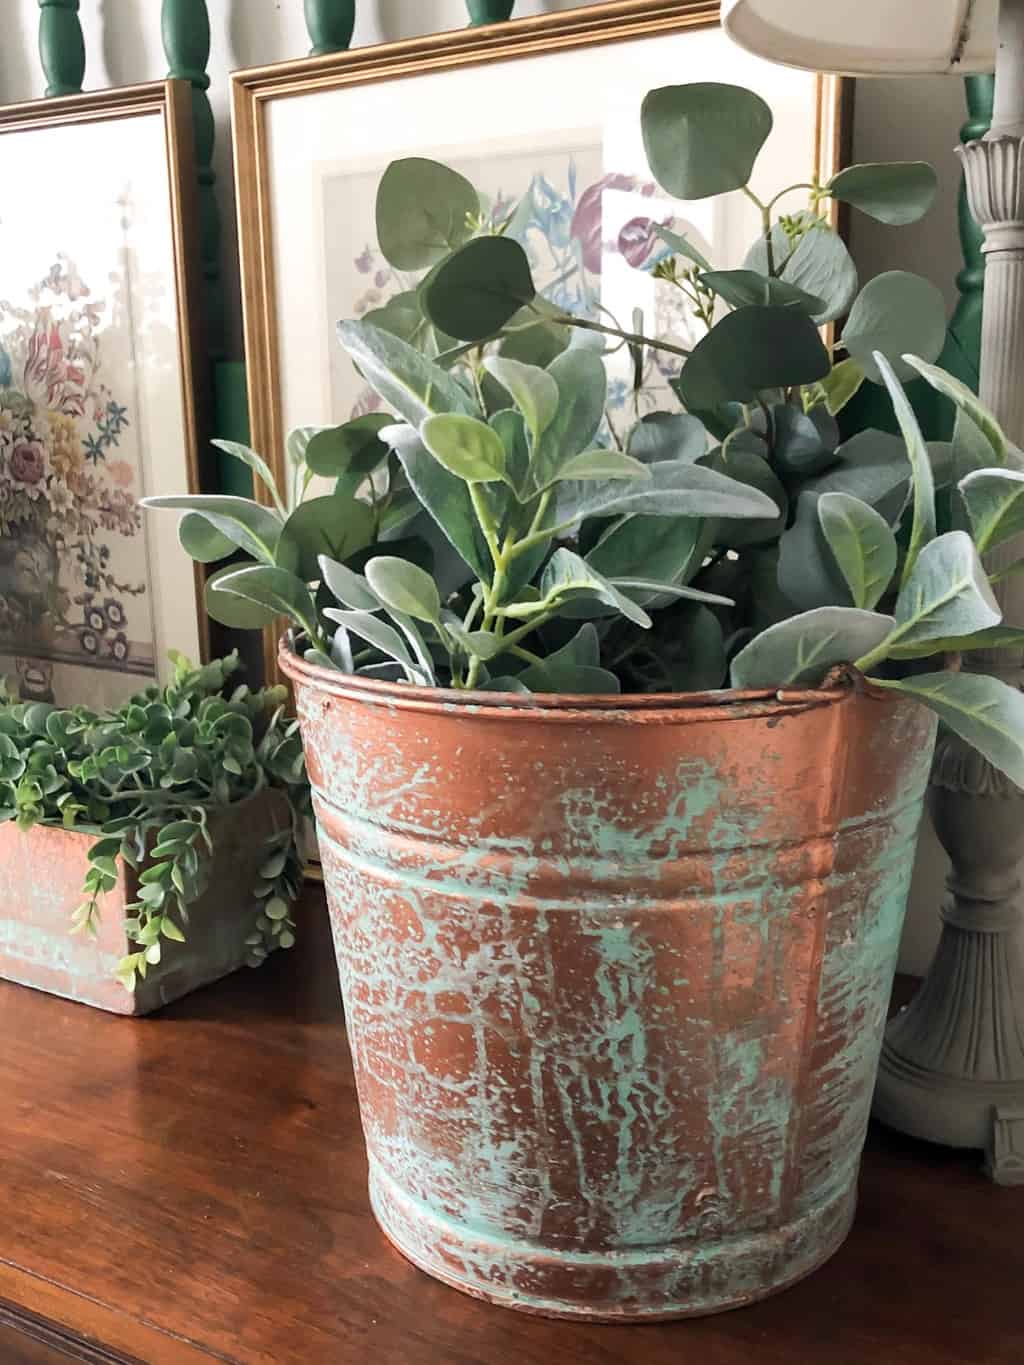
Until then, let’s get to the project that started my love and obsession with the copper patina technique.
{Affiliate links are used in this post so you can easily find these products. You can read my disclosure HERE.}
Supplies Used To Achieve The Green Copper Patina Look:
Green Patina
Primer
Reactive Metallic Copper
Paint Brushes
Spray Bottle
Paper Towels
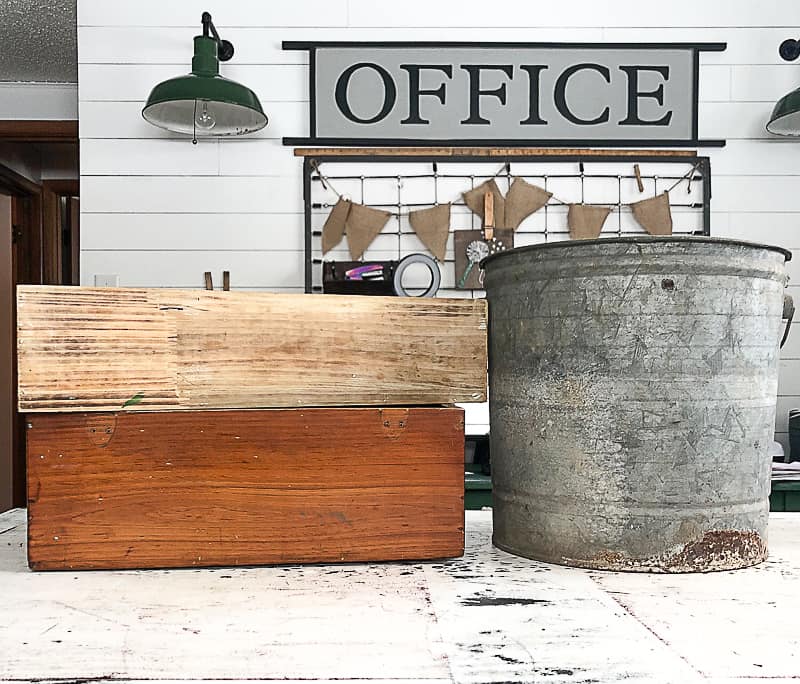
I am always picking up old wood boxes and galvanized buckets when I find them at yard sales and thrift stores. Not only are they are great for storing things, but the galvanized buckets make great planters on our front porch in the spring, summer and fall.
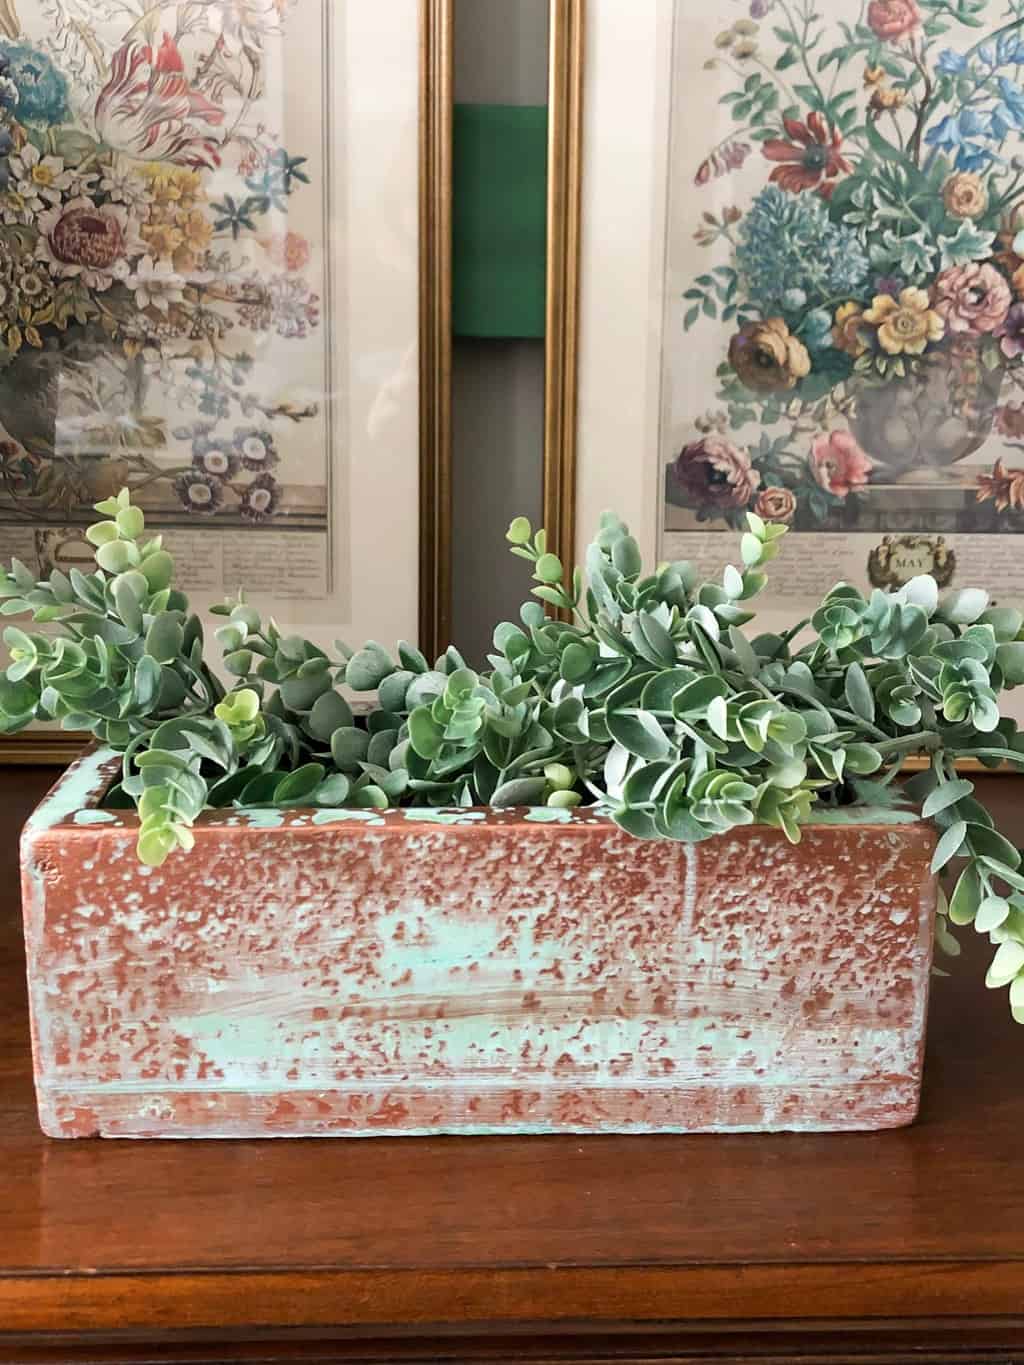
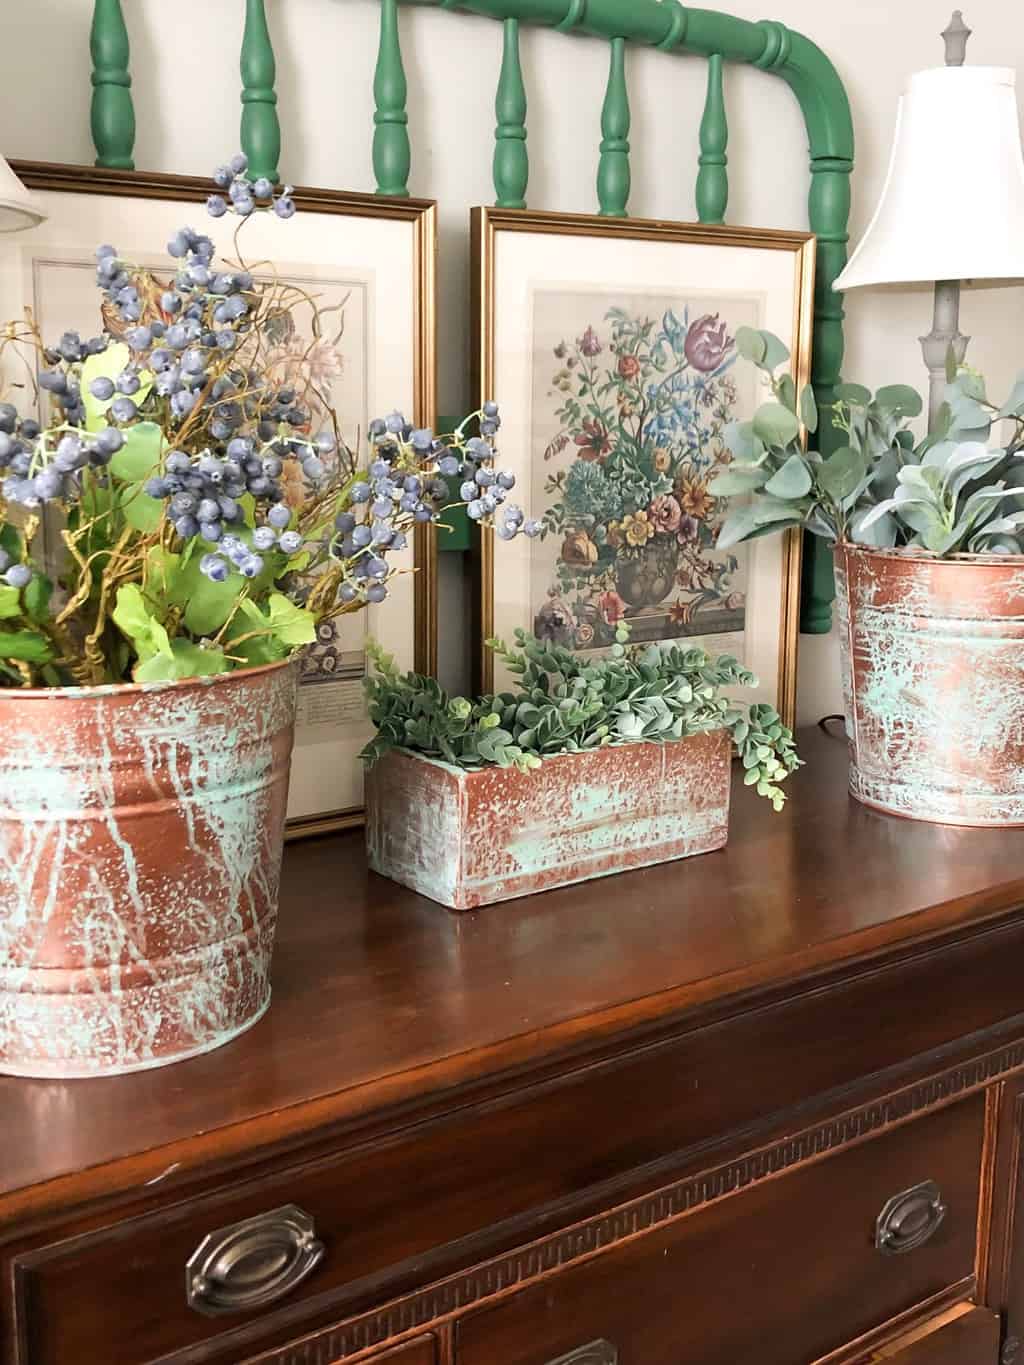
When I received the shipment from Modern Masters, I knew right away that I was going to make over a couple of my galvanized buckets and one of my favorite wood boxes. I wanted them to look like they were made of copper and have been around for a long them. The green color that comes from aged copper is so pretty and I was able to recreate that look on these pieces.
Below is a step-by-step video of how I created the green copper patina on the wood box and the galvanized buckets:
How To Create An Aged Copper Patina on Wood and Metal:
The first thing I did was pour the Modern Masters Aging Solutions Green Patina into a spray bottle. I found that it was easier to apply this way. Next, I applied two coats of the Modern Masters Metal Effects Primer on the buckets and the box. I made sure the first coat was dry before I added the second coat. Once the second coat of primer was dry, I painted the buckets and the box with Modern Masters Reactive Metallic Copper paint.
Again, I made sure the first coat was dry before I applied the second coat. For the second coat, I worked in smaller sections because I needed to spray the Modern Masters Aging Solutions Green Patina over the copper paint while it was still wet.
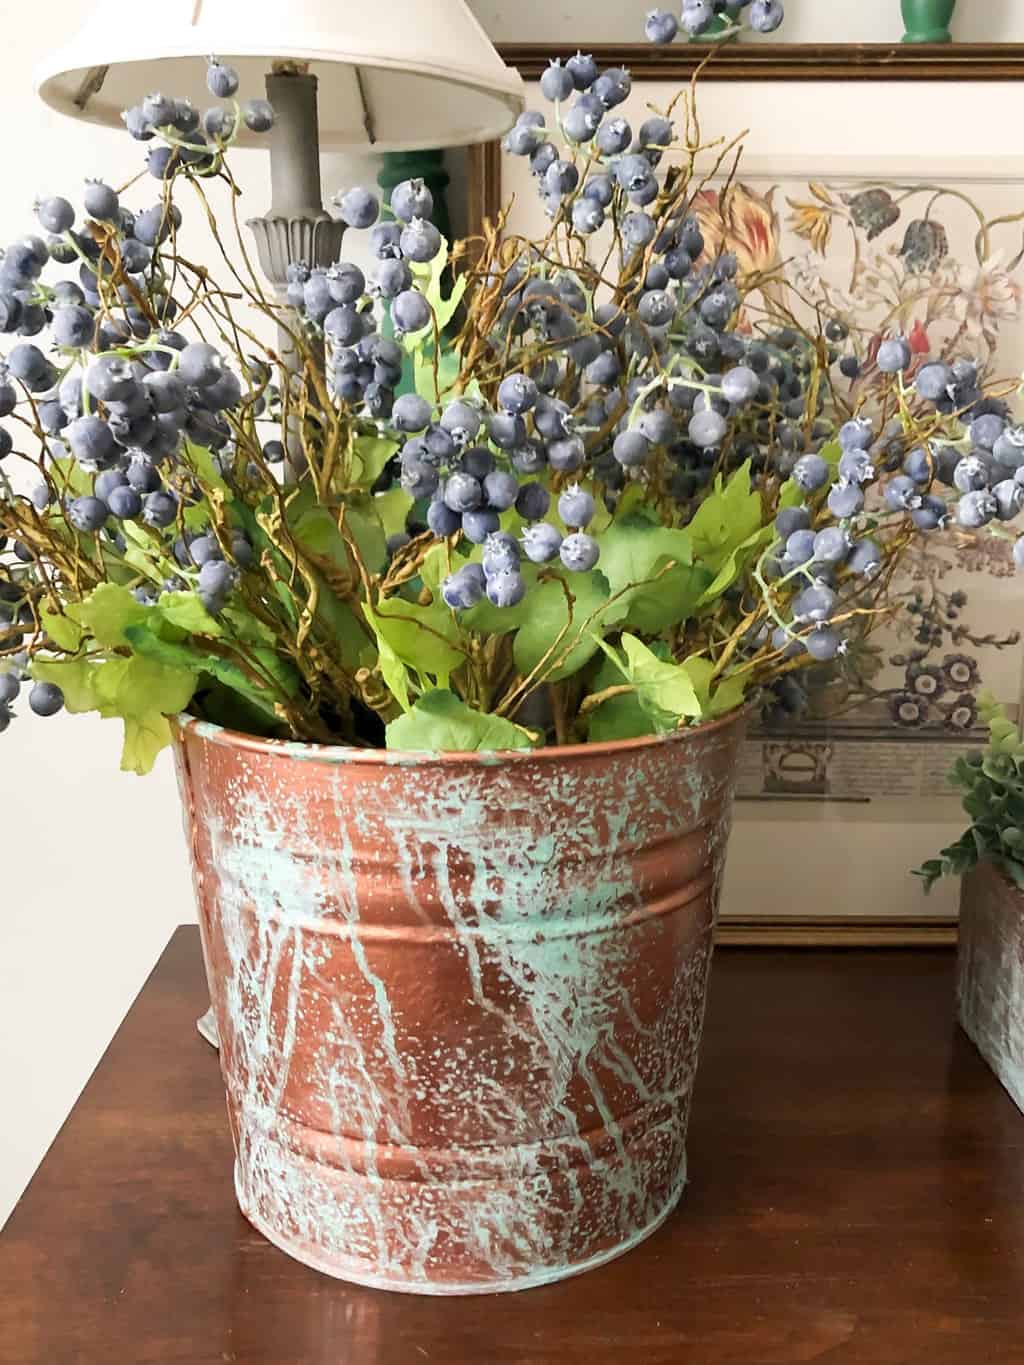
Once I had the wood box and the buckets sprayed, I let them sit for a couple of hours and came back to find them looking like old, aged copper pieces that were absolutely beautiful!
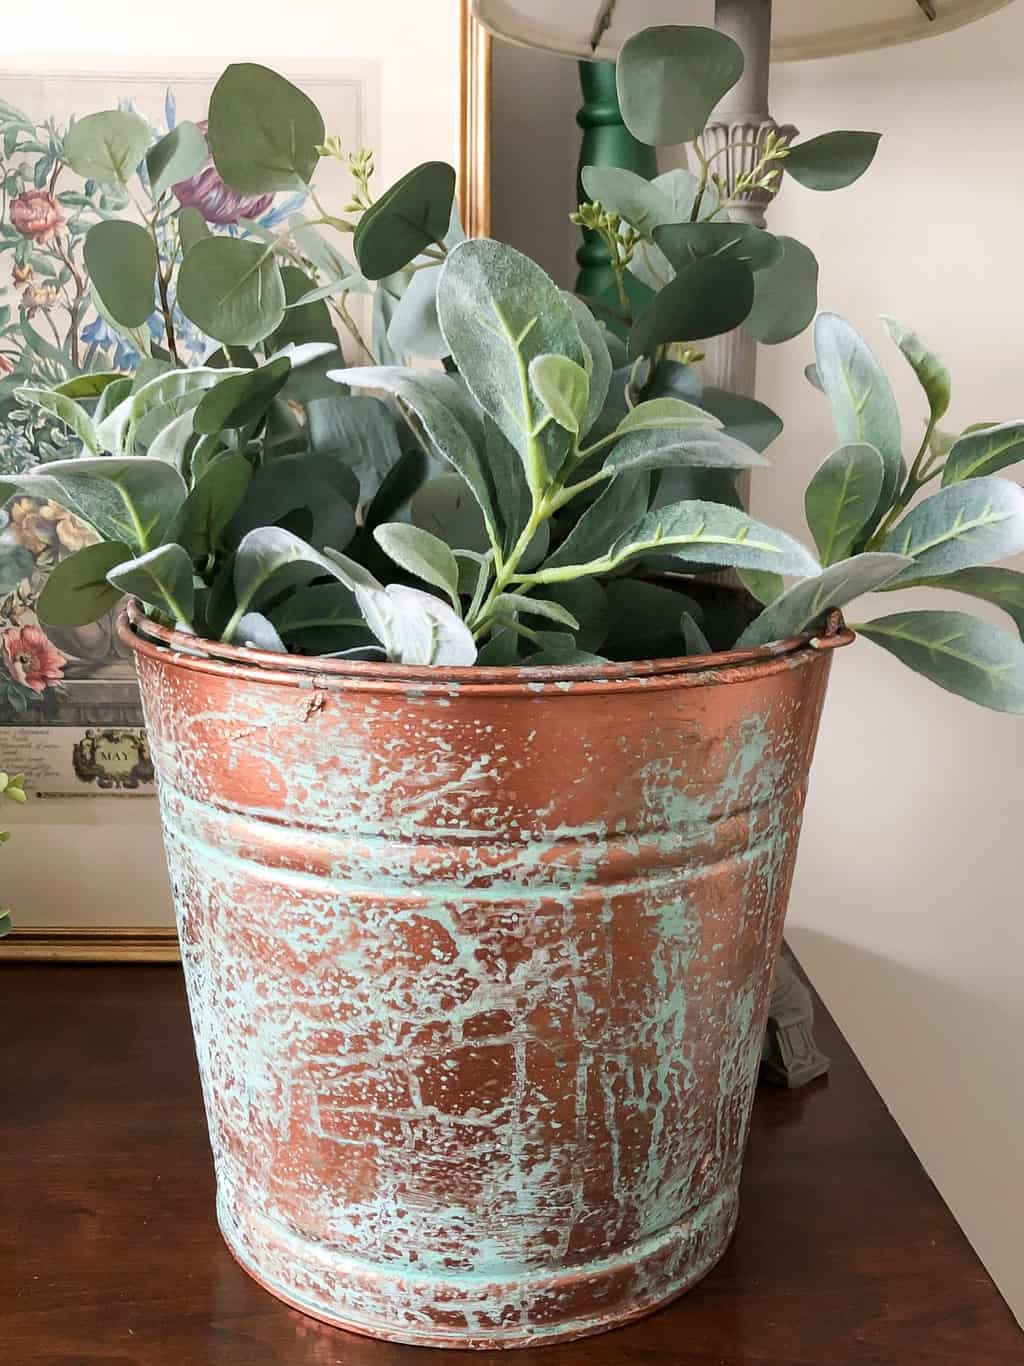
I was blown away when I saw the outcome of this project! It looks like the real thing and it didn’t take days to do it. I am already thinking of all the ways I can add this patina to different projects. Since I finished this project, I haven’t stopped talking about how amazing and easy it was. I have to say it again – I WAS BLOWN AWAY WITH THIS PROJECT!
After doing a million projects over the years, I really can appreciate products that work well and that make my job easier. When I find a product that I love this much, I tell everyone I know about it and I will be sharing more ideas with it here. If you are looking for an easy project that makes a BIG impact, this is the one. You can turn any old metal or wood piece you have in the garage or attic into a stunning piece you would actually use in your decor. That is a win-win project in my eyes.
I filled the copper patina pieces with faux stems I had in the house, but this spring and summer, the bucket will be even more pretty with live plants in them. The wood box will find a permanent home in the antique hutch we have in our living room.
What would you make over with this copper patina?
PIN THIS POST!

If you liked this copper patina project, you will also love these DIY projects:
DIY Glazed Blue Dresser Makeover
20+ DIY Rustic Decor Projects For Your Home


Oh my! Cannot wait to try this on everything!
I know, right!
Wish I could find the tutorial on the jack o lantern that I watched on Instagram! It turned out Much more realistic than either one of these metal or wood. A $1 plastic trick or treat bucket!!! I must find out more!
It will be live tomorrow morning. It is the same process as this project, I just did it on the plastic pumpkins. Same exact process at the wood box and metal pail. The post for the pumpkins will be up tomorrow morning though.
The post keeps saying “PIN this” but where and how do you pin it? It used to have a little box in the upper left hand corner of the pic but I’ve tried clicking everywhere and cannot “PIN” this.
Do you see the “pin” button when you hover over a photo? When you see that, click on it and it will go to your Pinterest page and pin them.
Would this work on plastic planters /pots??
I haven’t tried it on plastic so I am not sure. You could click the link to check out the product and see if it says it will.