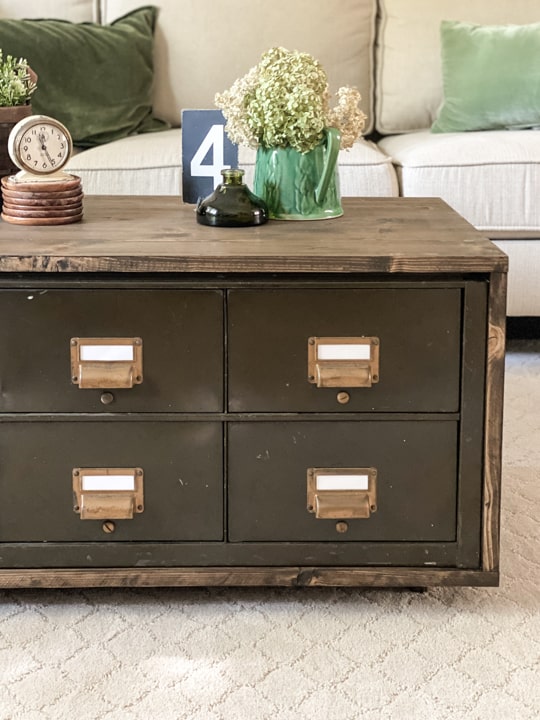
When people ask me how to find pieces to makeover, I always tell them that the easiest way is to tell family and friends that you are looking for pieces. We have gotten so many great pieces from family and friends. This DIY Industrial Coffee Table was made from a piece a friend’s mom gave us when we were working on our 5th flip house.
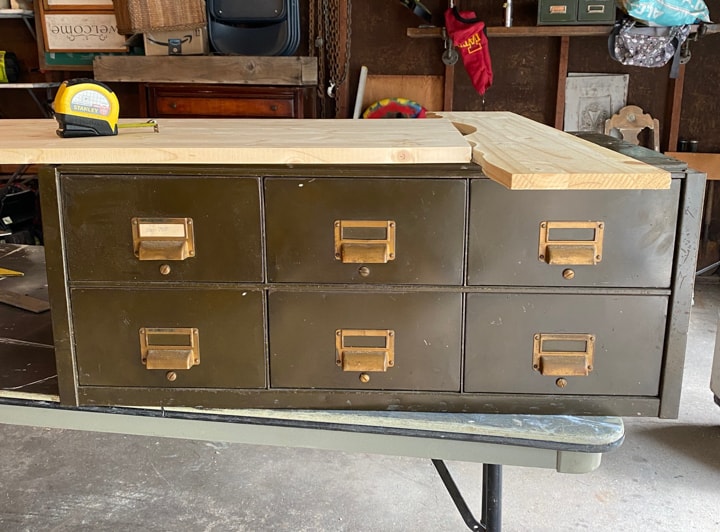
I mean! Who wouldn’t love to get this piece the way it is?! If you have been here for some time, you know I love anything with drawers and drawers with vintage brass hardware is even better.
{Affiliate links are used in this post. Click on any of the underlined links to find the products I am talking about. You can read my disclosure HERE.}
This piece is heavy, but I love that about it. It is great the way it is, but I wanted to make it more usable and hopefully have it in Landen’s bedroom. He has the smallest bedroom in the house and any amount of storage is a good thing. I thought if we could put this piece on casters and create more of a table out of it, it would be so much better for his room.
This is how we did it.
Supplies Used In This Project:
Wood Project Panel Boards (or scrap wood you have in the garage)
Gel Stain in “Walnut” from Dixie Belle Paint
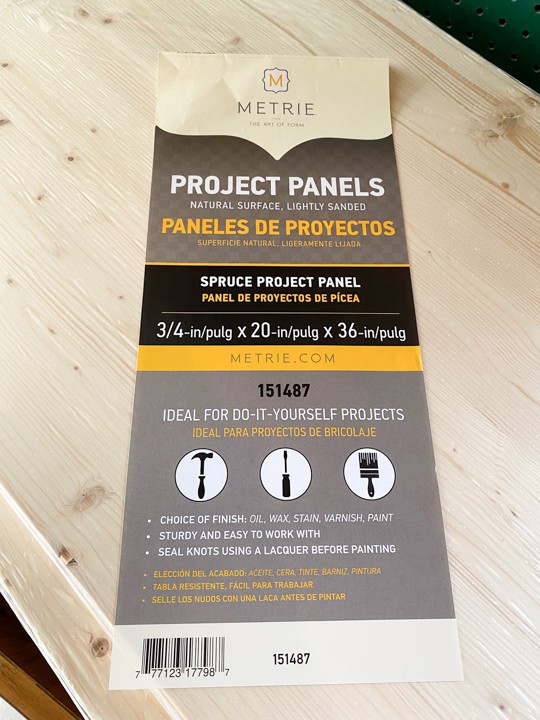
There wasn’t any scrap wood in the garage that would work for this project, so we bought 3 project panels. We always want to use older wood when we can, but if we don’t have it, these boards are so good and you can make them whatever color you want. We only had to use two of these boards (in a bigger size) when we made the mantel in the flip house.
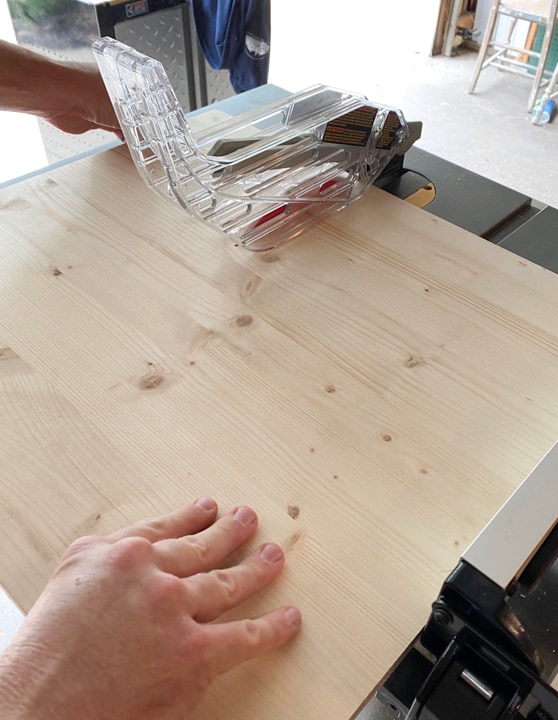
Matt measured the outside of the metal cabinet and cut the panel boards to size with the table saw.
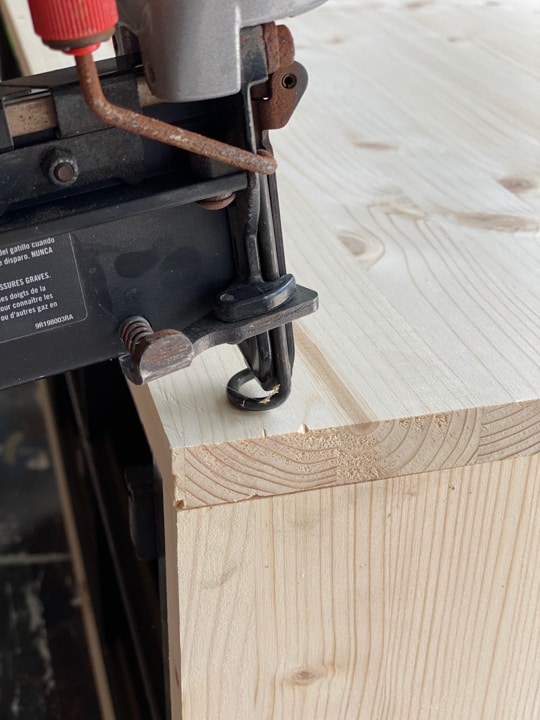
Use Clamps To Hold The Sides In Place
To put the sides and top on, Matt used 2, 4′ clamps to hold the sides in place. Then, he used a nail gun to attach the top board to those sides boards as seen in the photo above. If you don’t have bigger clamps, just hold one side in place (or ask someone to hold it in place) and nail the top on, one side at a time. Matt uses different sized clamps all the time, so if you are looking for gift ideas for a DIYer or to add tools to your arsenal, we would definitely recommend clamps of different sizes.
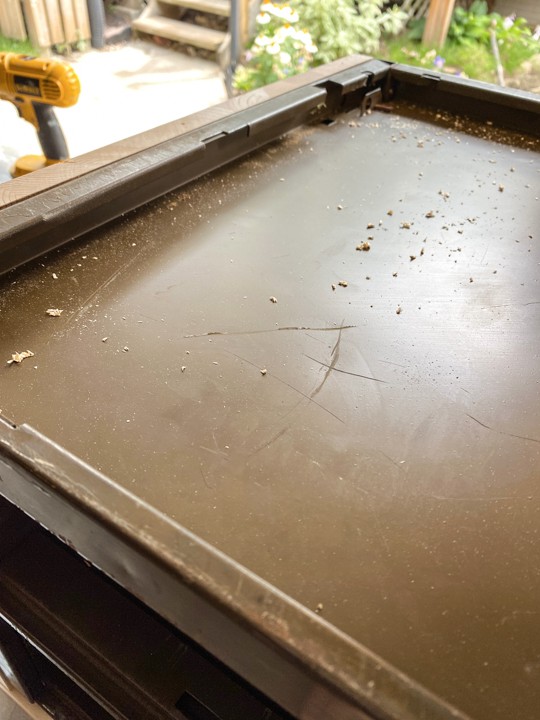
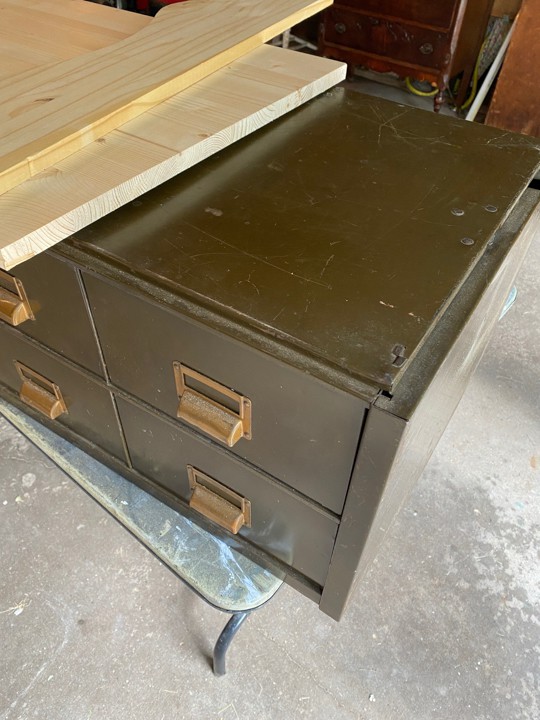
Once he had the top and sides on, we flipped the piece over and added the bottom.
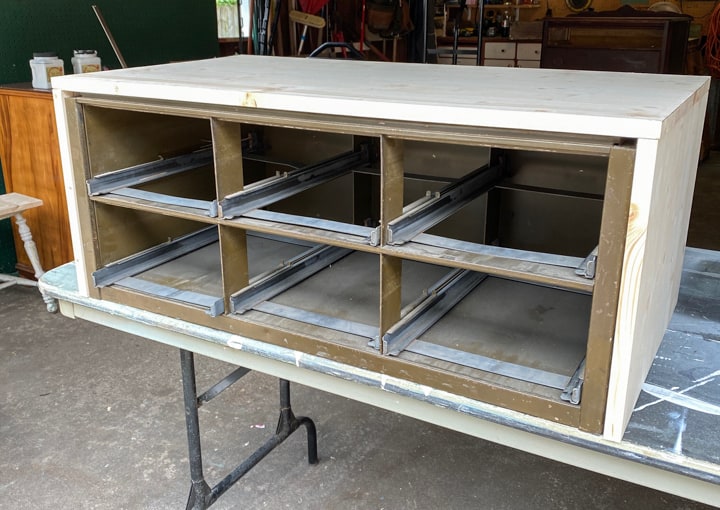
Now, the bottom piece was a little different. There is a gap on the bottom (shown in photo above) and since I wanted to add casters, Matt said we needed more support between the bottom board and the bottom of the metal piece. So, he just cut some of the scrap pieces from the other boards and nailed them under the bottom board where the casters would line up.
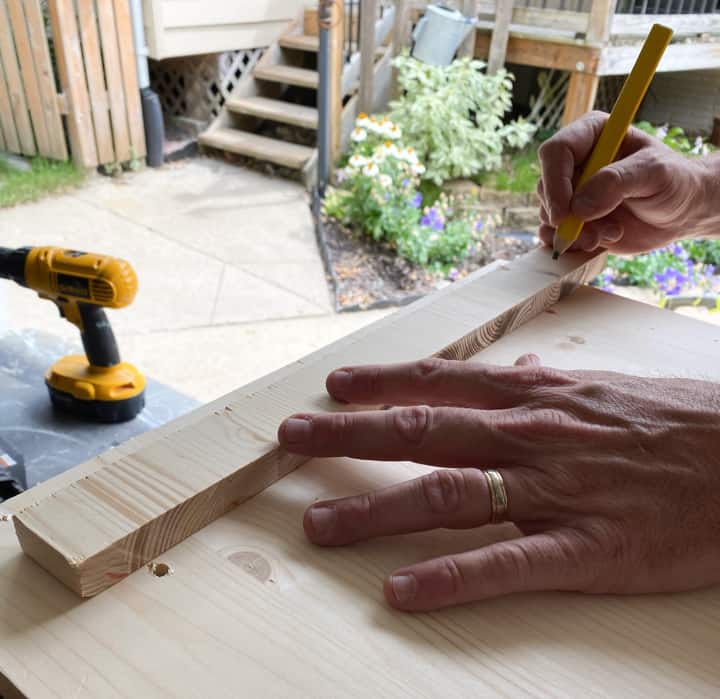
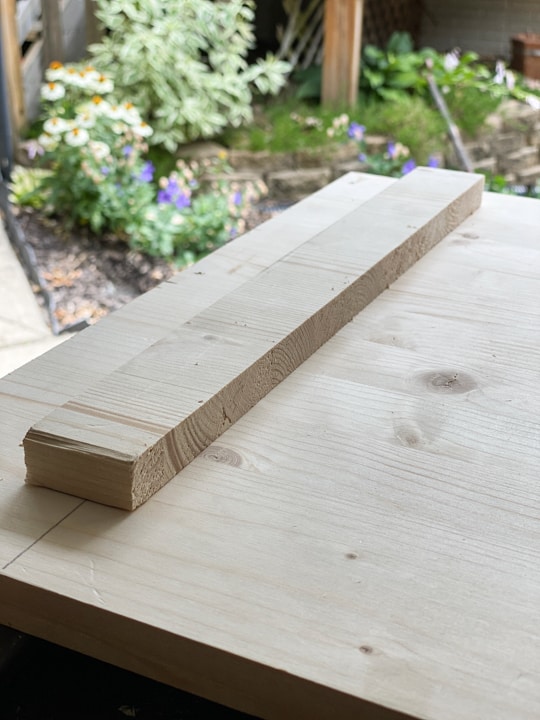
This piece of wood filled in the gap right where the casters were going to be screwed in. Easy solution.
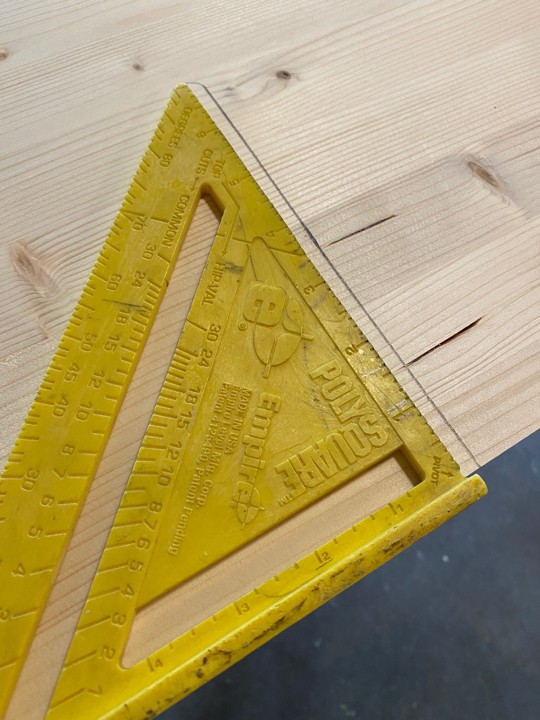
Now, it was time to measure were we were going to put the casters.
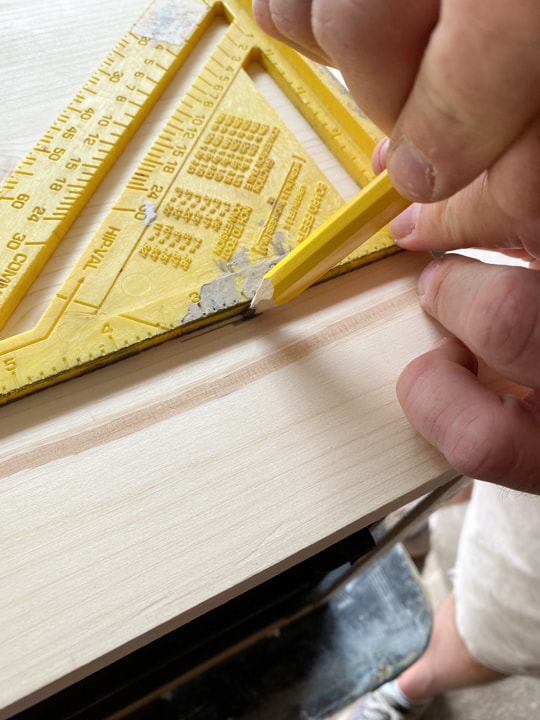
Matt uses a square for a measurement like this. This tool is shaped like a triangle but is called a square.
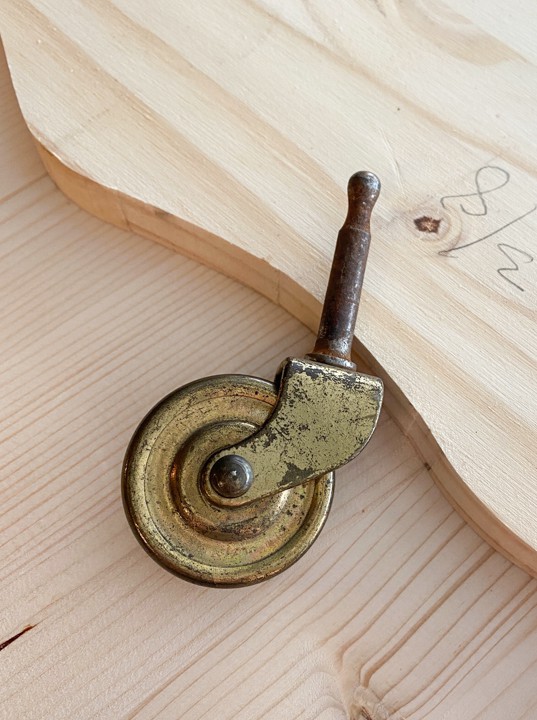
Add Casters To Pieces To Add Height & Movement
We had these casters in our stash. They match the hardware on the drawers so well. I knew they wouldn’t really be shown once we got this piece done, but I still wanted to use them.
To add them to the bottom of the “box” Matt created around the metal cabinet, he drilled holes with a slightly smaller drill bit than the size of the caster insert piece (that is what I am calling it because I don’t know what else to call the piece that will go up into the wood).
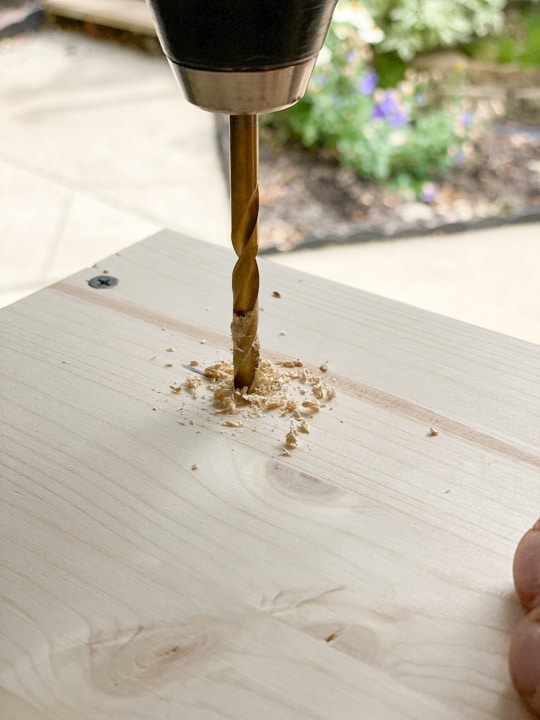
Once he had all the holes drilled, he sanded all the wood down with the orbital sander. He started with 80 grit sandpaper and then finished with a 220 grit to give it a smooth finish for the gel stain.
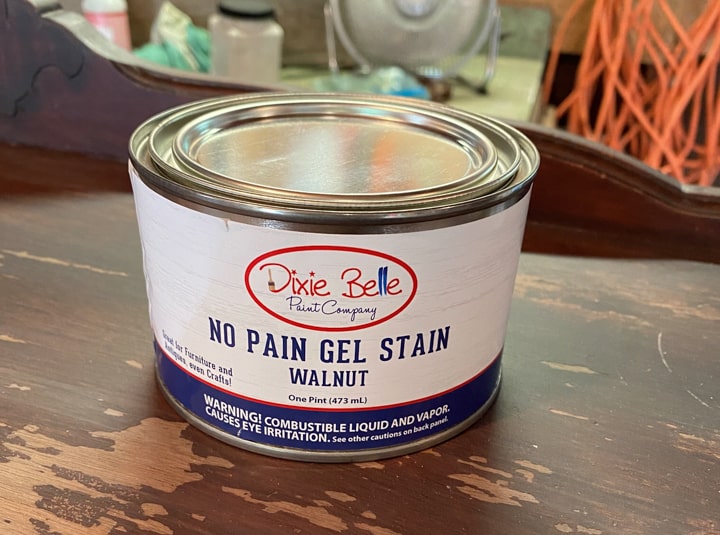
I have never used the gel stain from Dixie Belle paint. I was excited to use it on this DIY industrial coffee table. The “walnut” color is beautiful.
We just used an old rag to apply the gel stain.
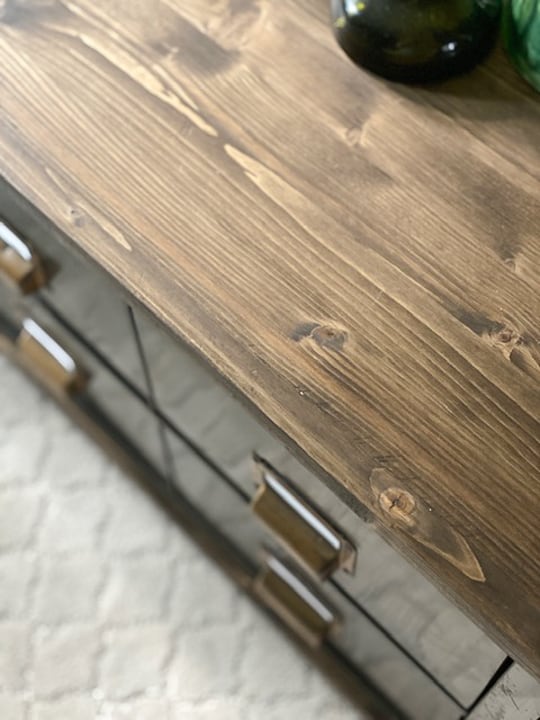
Once the stain was dry, Matt put the casters on the bottom and the DIY industrial coffee table was complete!
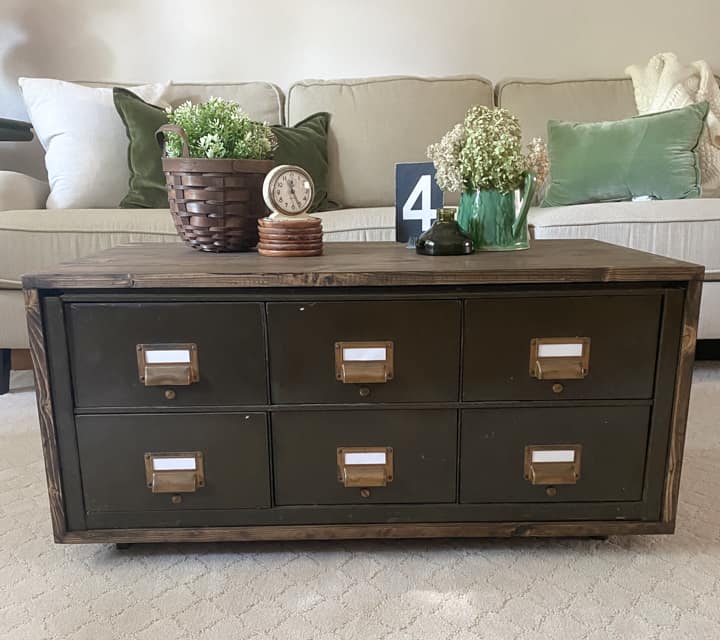
I added some white paper inside the pulls.
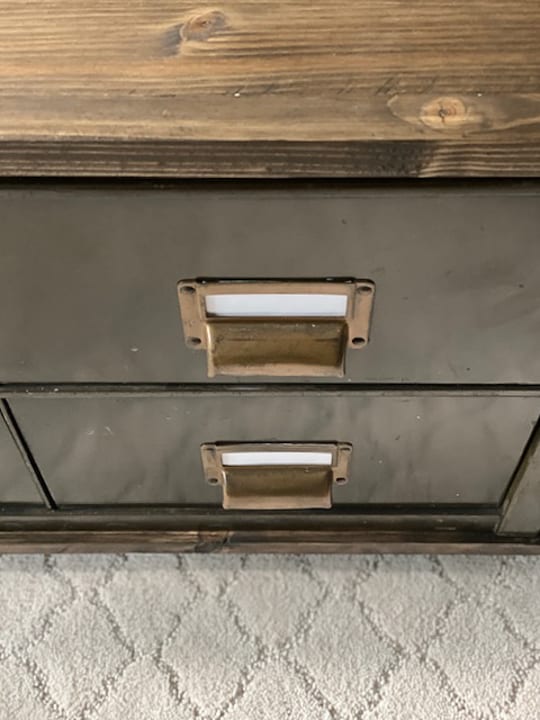
The stain color is beautiful!
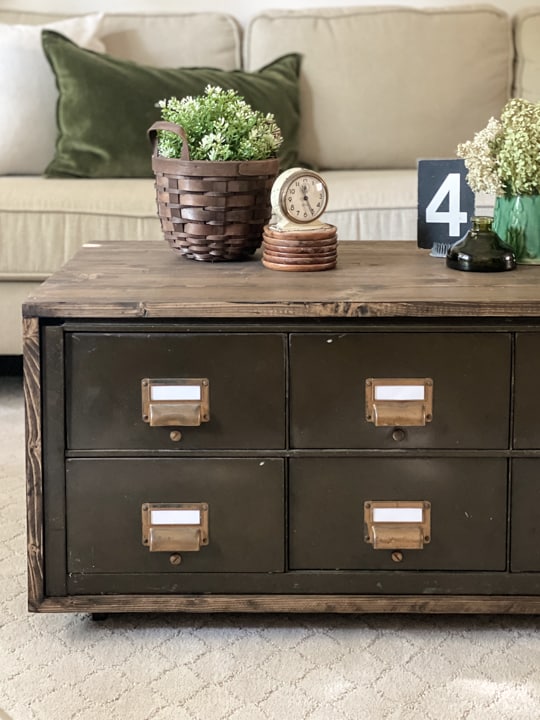
I think this project was the perfect way to showcase this piece and make it even more functional.
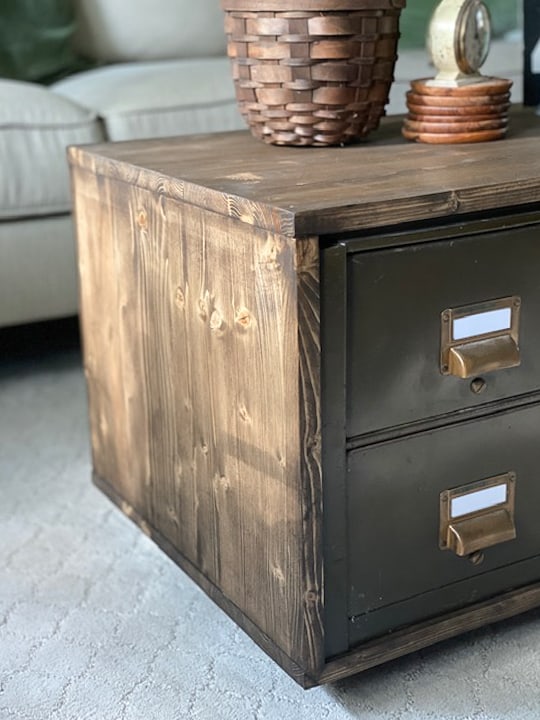
Not only does this piece have a lot of storage, but it is strong enough for someone to sit on. That is a bonus when you have kids. 🙂
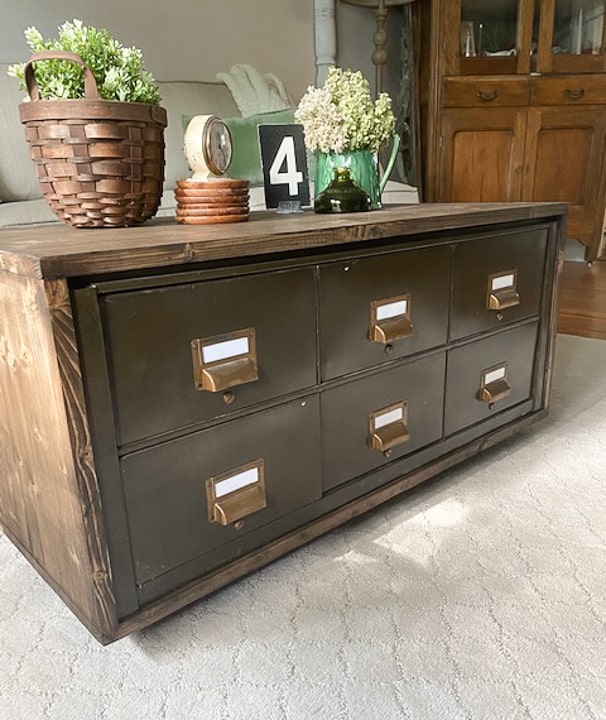
I am hoping this will fit in Landen’s bedroom. We will have to do some rearranging to make it work.
If it won’t work in his room, I know I will find it a good home.
What would you store in a piece like this?
PIN THIS POST!


Awesome repurpose, Lindsey!
Thank you!