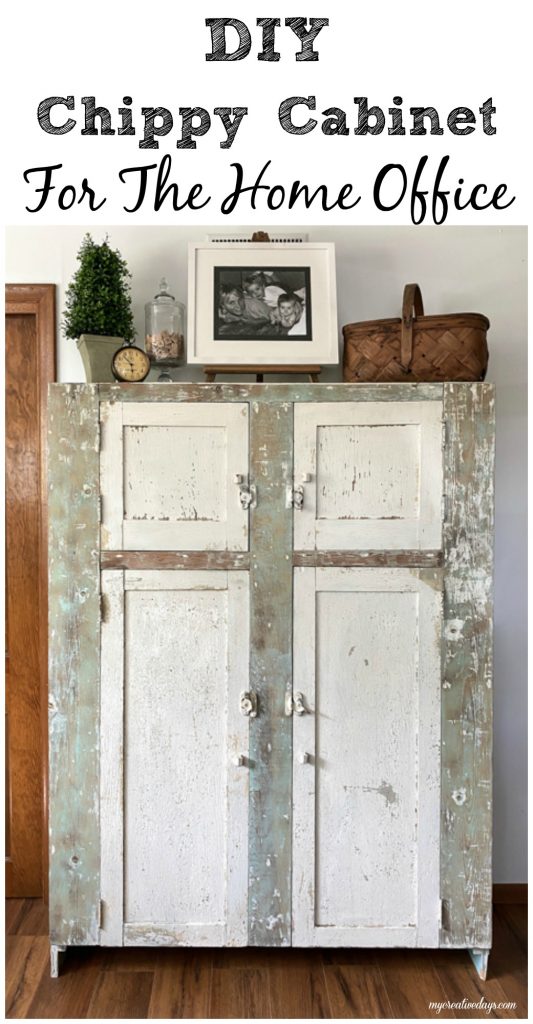
This DIY chippy cabinet was a free find that has added so much character, charm, and storage to my home office!
There is nothing better than a friend calling you and telling you that they think I would like a piece they are getting rid of. These are my favorite calls because my friends always know I am looking for a good project and they know what I like. I wasn’t sure what this one was, but when I saw it, I about fell over. I have the best friends!!!
Looks at this piece!
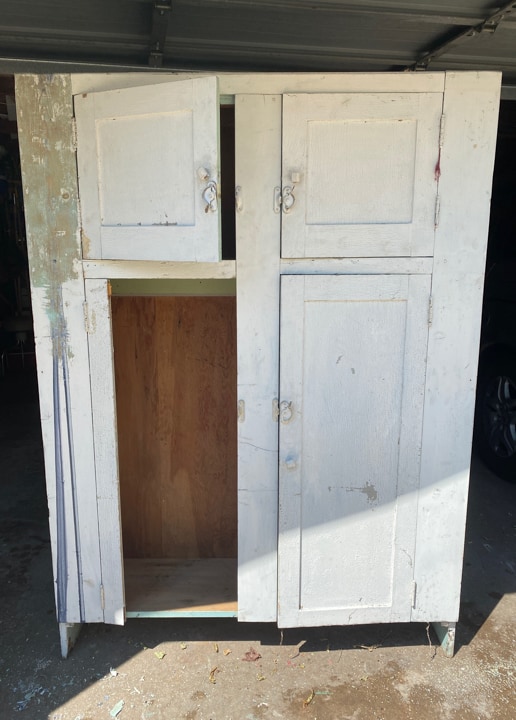
I didn’t get a true “before” photo because I couldn’t wait to get started on this piece. The left door on the bottom was broken, but we still had it. It was an easy fix that Matt had done in no time. You can’t tell in the photo above, but the paint on the outer shell of this piece was smooth, but the paint on the doors had the most amazing crackle!!
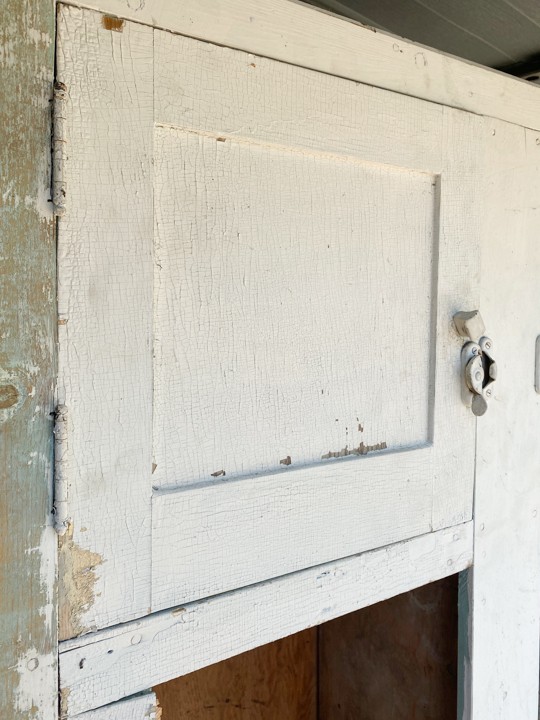
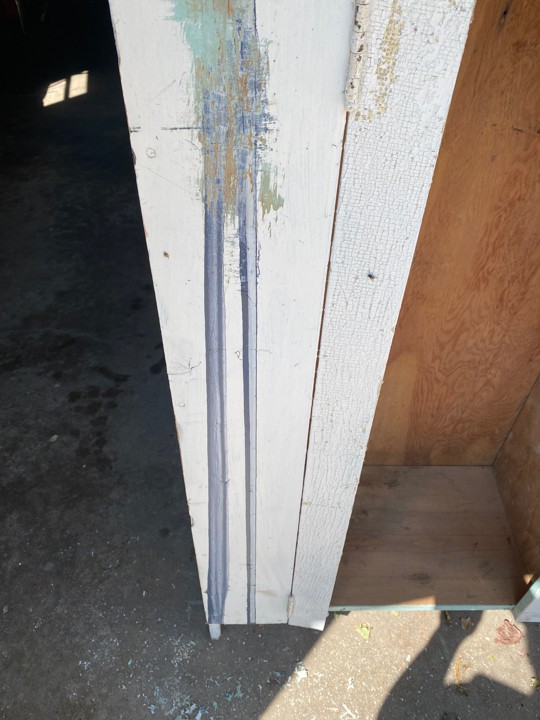
I didn’t want to touch the doors, but since there was a blue paint spill down the left side of the cabinet, I was going to have to do something with the outer part.
{Affiliate links are used in this post. Click on any of the underlined links to find the products I am talking about. You can read my disclosure HERE.}
I started by seeing if I could use my heat gun to remove the blue paint spill.
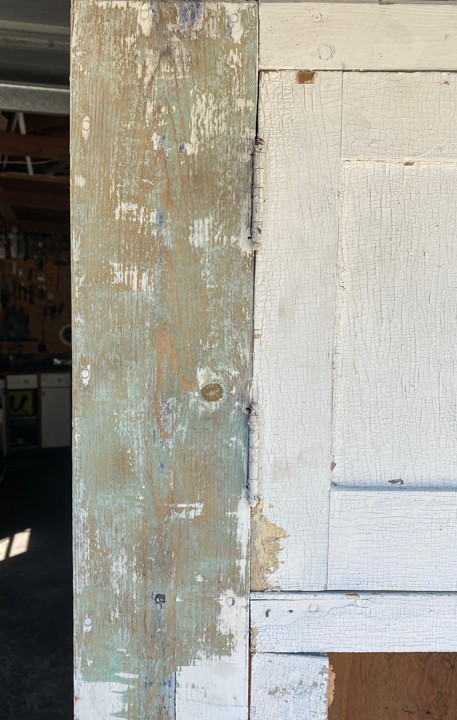
The heat gun was lifting the blue paint, but it was also lifting the white paint and uncovering this amazingness underneath!!!
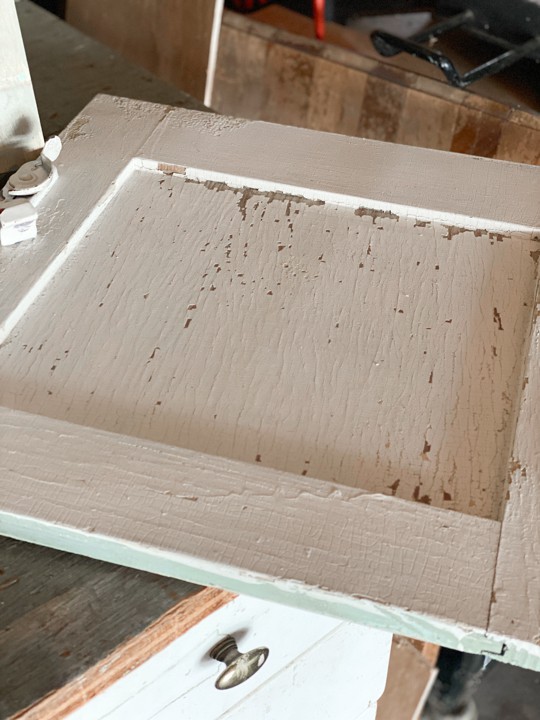
Once I saw the green color underneath, I didn’t stop. I removed all of the doors and used the heat gun on the entire outer shell of the cabinet.
I also used the heat gun on the inside of the doors. They were painted an ugly green color (is there even a thing? 🙂 ) that I wasn’t a fan of.
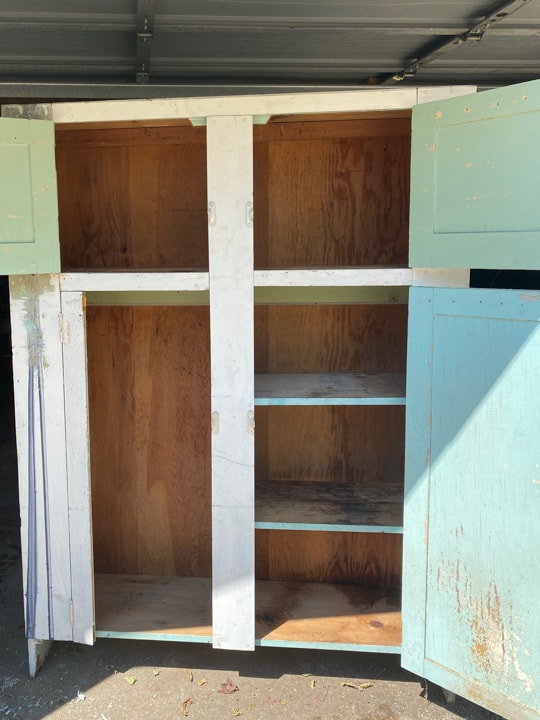
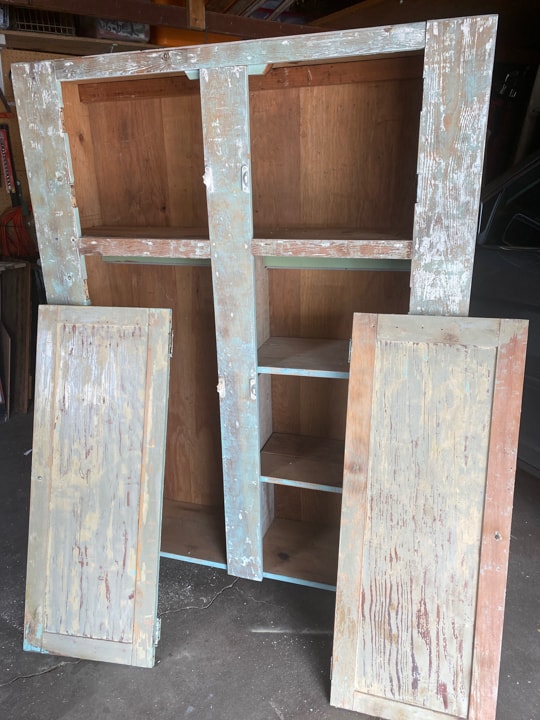
While I was working with the heat gun, Matt cleaned the inside of the cabinet really well. Dish soap and water was all it needed. Look at all of that storage!!!!
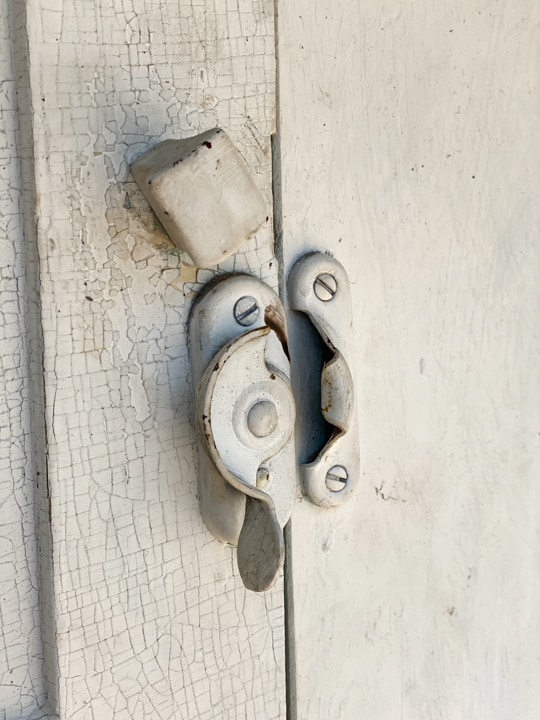
This cabinet still had all the original hardware on it. The latches and the wood knobs!!! It’s like winning the lottery when that happens!
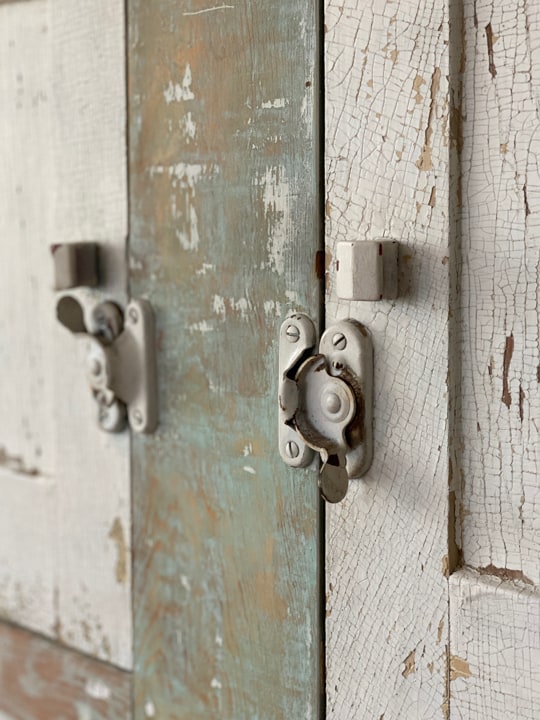
Once I had all the paint off that the heat gun could remove, Matt sanded everything. Well, not the front of the doors, but everything else.
I did clean the front of the doors and lightly ran a small putty knife over the chippy paint to remove any loose paint chips.
I wasn’t sure if I was going to leave the doors chippy and white, but when I put them back on the cabinet after I had the outer part done, I LOVED the look.
The chippy, white doors were staying.
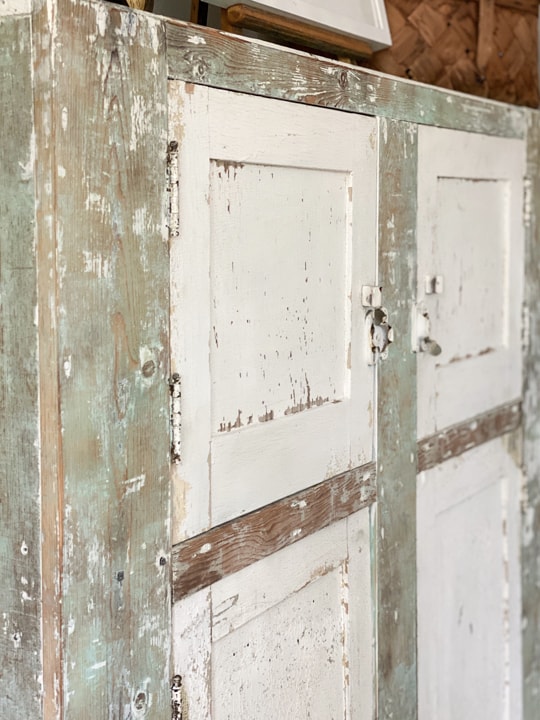
To make sure the white paint would stop chipping and falling off the cabinet, I applied the Dixie Belle Paint “Flat” Topcoat over the doors.
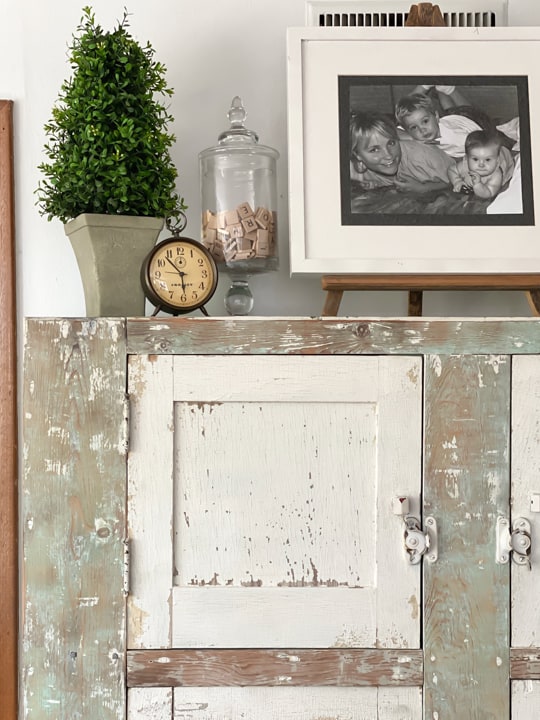
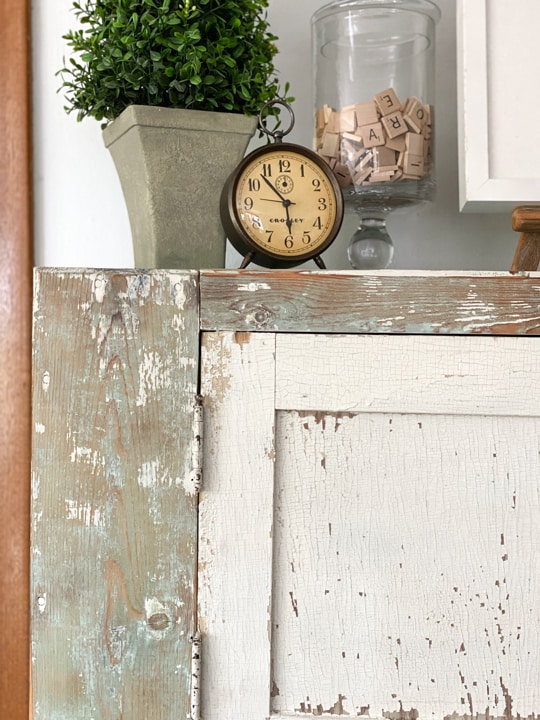
Then, I wanted to make the green parts of the cabinet deeper and richer (if that is even the way to describe it). I applied Restor-A-Finish in “Natural” all over the green part of the cabinet. It made it look so much better and completed the look (I sound like a fashion stylist here).
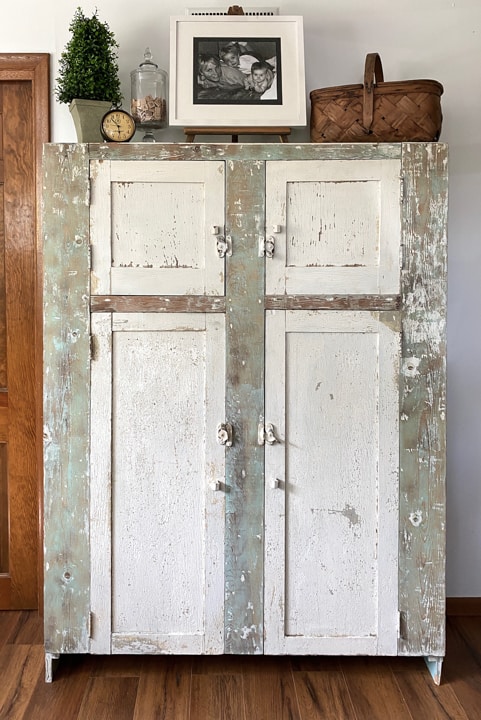
I couldn’t be happier with the way this piece turned out.
Tools & Supplies We Love And Used In This Project:
Dixie Belle Paint “Flat” Topcoat
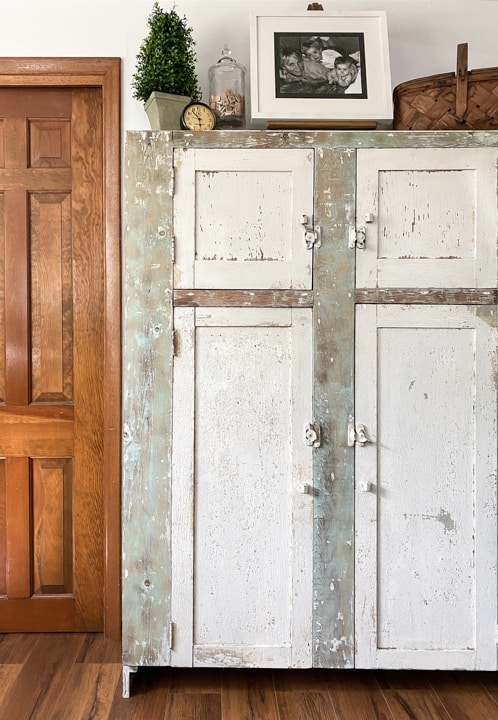
We weren’t sure how this piece would fit in my office, but when we got it down there, it fit the space perfectly!!!
I will need to sell the other cabinet that I had in this spot, but this new cabinet gives me a lot more storage and has a lot more character and charm.
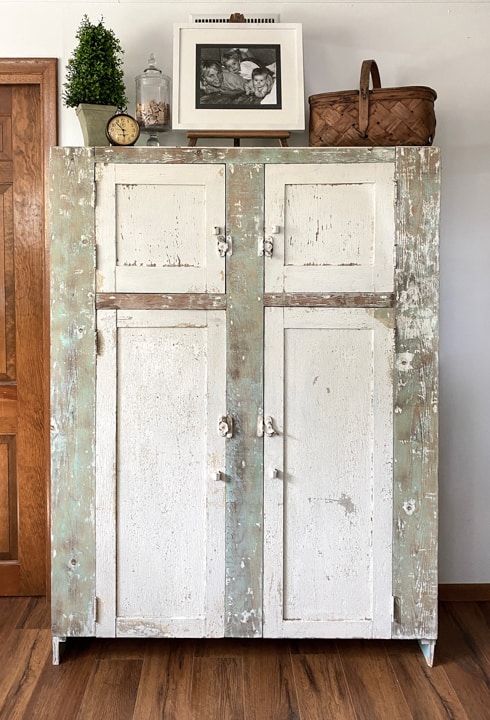
I am smitten with this piece. Matt is going to add more shelves on the inside when he has the time. There is a lot of unused space inside so I want to capitalize on that and get as much storage out of it as I can.
I would love to know what this DIY chippy cabinet was used for back in the day. Was it part of a kitchen? A workshop? My mom and I were trying to figure it out. We think it came out of a kitchen, but we aren’t sure. If you have any idea, please leave it in the comments. It would be fun to know.
PIN THIS POST!


It is so cool…
I was so happy it worked!
I was so happy it worked!
conference room chairs
hanging chair
leather chair
modern coffee table
chaise lounge sofa
Me too!