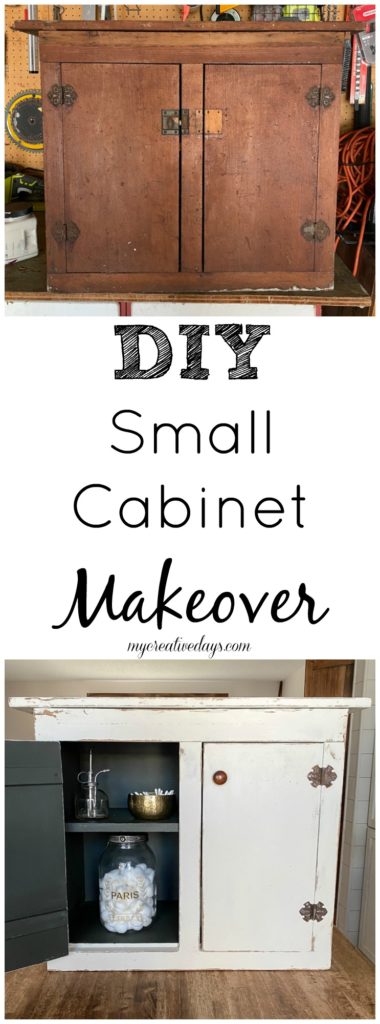
Not all of my furniture flips are big pieces of furniture. I have the most fun finding smaller pieces that I can make over and bring back to life for different uses and spaces. Smaller pieces are sometimes even more fun because they don’t take as long as a larger piece of furniture. This small cabinet makeover was complete after some cleaning, a couple of coats of paint, and some sanding.
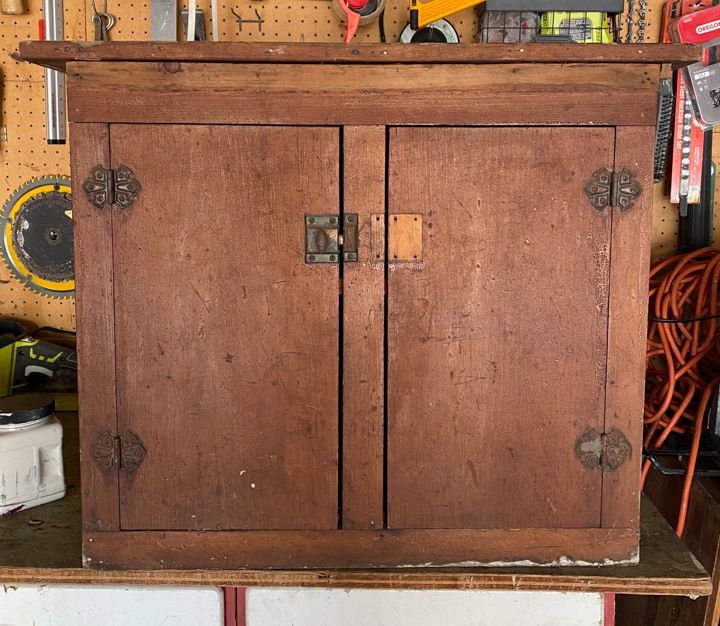
I found this piece at my local Restore. It was part of cabinetry at some point. I am not sure if it was for a kitchen originally or not? I think it was used in a garage before I brought it home.
{Affiliate links are used in this post. Click on any of the underlined links to find the products I am talking about. You can read my disclosure HERE.}
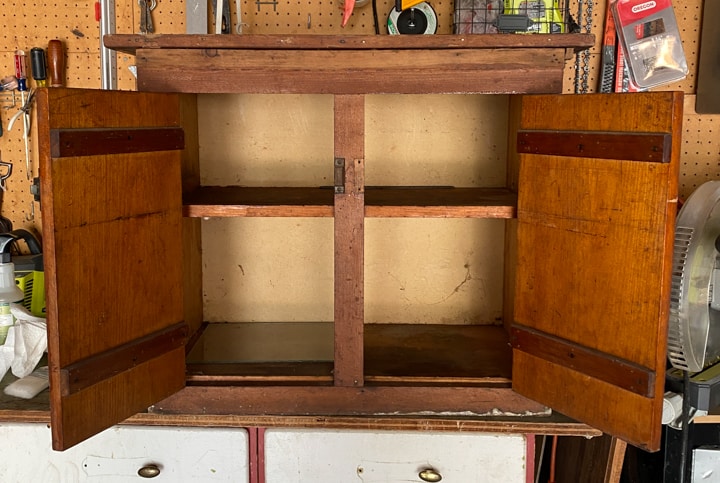
It is such a good size, it isn’t huge so it can work in many spaces, it offers lots of storage for all kinds of things, and it is made from old wood that makes my heart sing.
Supplies Used For This Small Cabinet Makeover:
“Drop Cloth” – Dixie Belle Paint
“Collard Greens” – Dixie Belle Paint
The first thing I had to do with this cabinet was clean it.
It was full of dirt and cobwebs. Since I am not one who is going to scrub out cobwebs, I just ran the hose all over it. I didn’t dunk it in water and didn’t let it sit in water. That would ruin the wood. I sprayed it really well with the hose and then used a Magic Eraser on the top where something had sat on it. I rinsed it off and let the sun dry it fully.
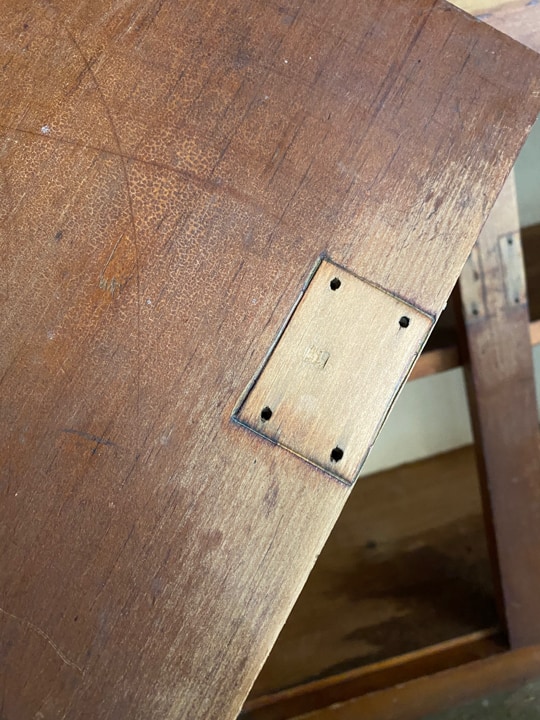
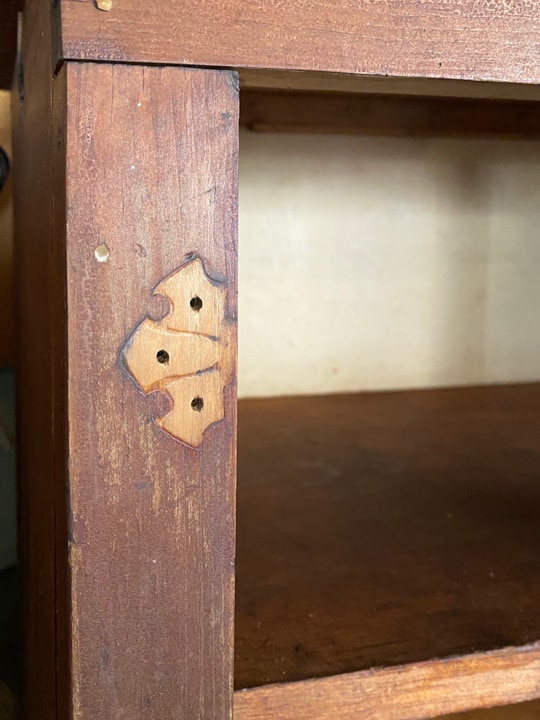
After it was dry, I took all the hardware off the cabinet.
Then, I used my sander to smooth out the areas where the hardware was. I didn’t want any areas where an old stain or topcoat was left around the hardware before I painted it.
The sanding dust was removed with a damp cloth and it was time for paint.
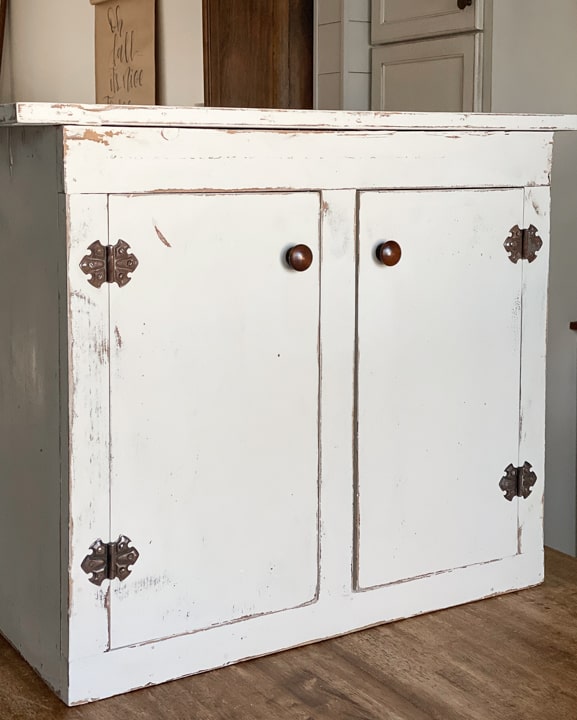
I chose to paint the outside of the cabinet my favorite creamy white color – “Drop Cloth” from Dixie Belle Paint.
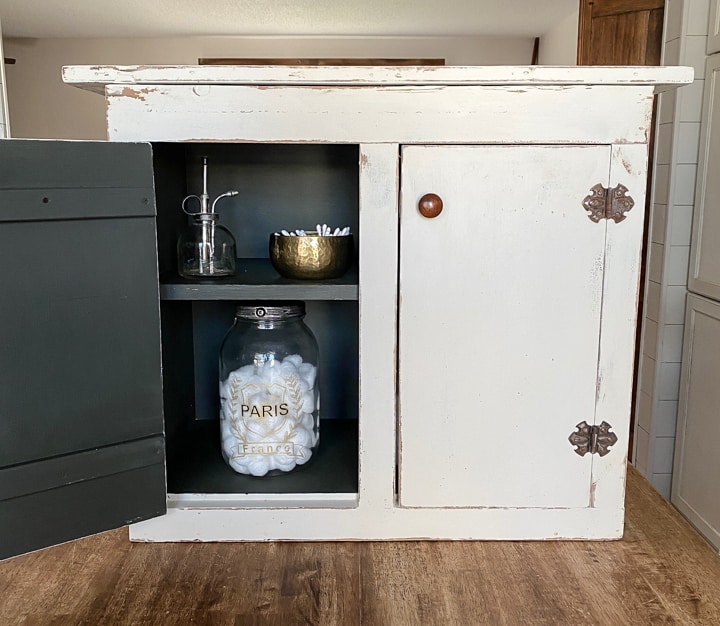
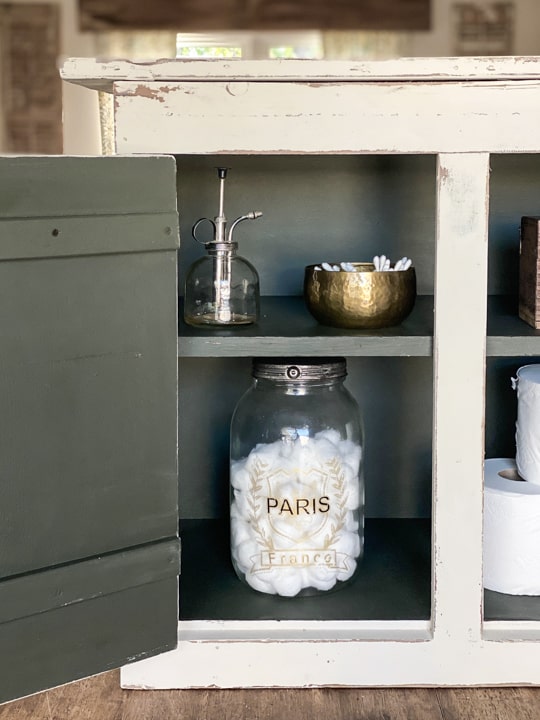
While I was painting the outside, I thought it would be fun to paint the inside a different color. Since it is a small cabinet makeover, painting the inside wasn’t a horrible job. I chose one of my favorite green colors for the inside – “Collard Greens” from Dixie Belle Paint. I love the green inside this cabinet!!! It is perfect!
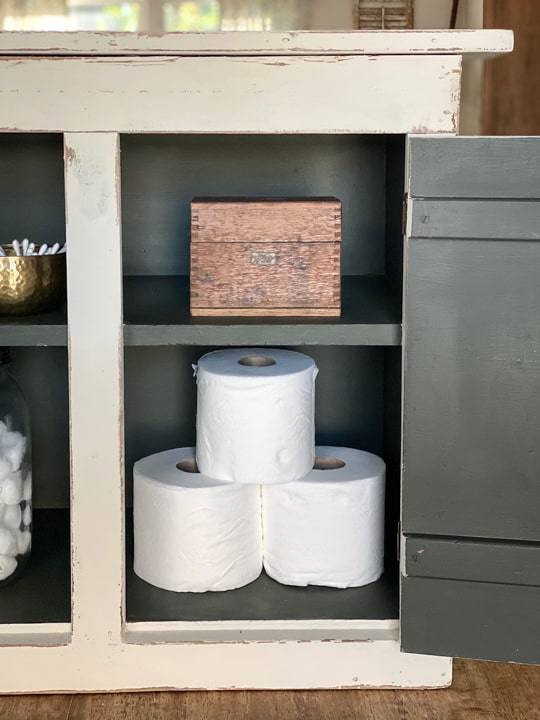
I distressed the outside of the cabinet with my orbital sander to give it some dimension, character, and charm.
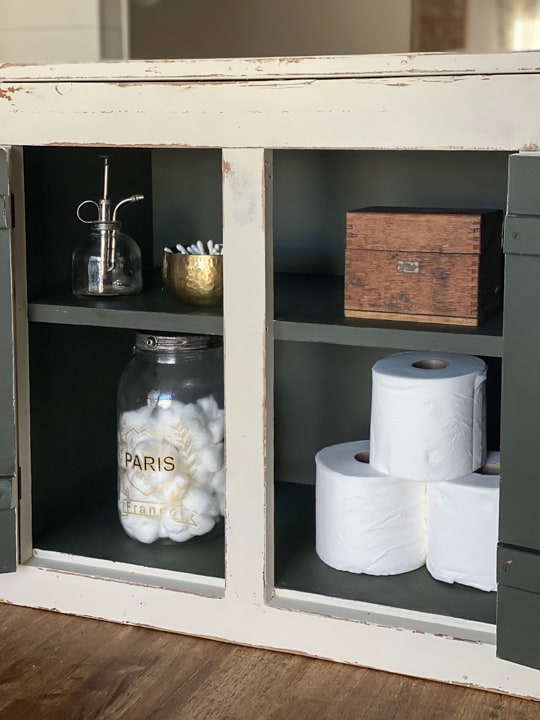
The rusty hinges went back on. I was going to use the original latch and then add another one that we thought we had in our stash of old hardware.
We didn’t have one. So, I had to move on to Plan B.
***If I have said it once, I have said it a thousand times. If you are doing any kind of DIY, you need to be open to multiple plans. You don’t have to know what all of those plans are upfront, but DIY requires being flexible to move in different directions when the initial plan doesn’t work out.***
Since we didn’t have a latch, I filled in the holes from the original latches with “Mud” from Dixie Belle Paint. This is one product I always have on hand. It is so easy to use and I use it on all kinds of projects. I use a plastic scraper to fill in any holes or indents and wait for it to dry. Once it is dry, I used a 120 grit sandpaper and go over it easily to make it smooth and flush with the surface it is on. Then, I wipe away any dust and paint right over it.
You can’t even tell there were holes and latches on this piece!
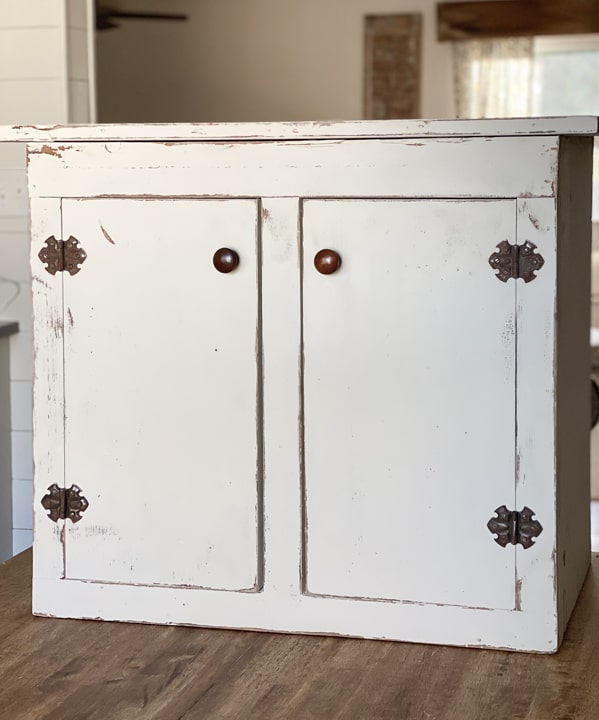
I had some small wood knobs in our stash that completed the makeover.
I think this would be so cute above a toilet in a small bathroom. We have been thinking about giving our bathroom a makeover and may just have to see if this will fit in there.
How would you use this cabinet?
PIN THIS POST!
If you liked this makeover, you will like these makeovers:
DIY Chippy Cabinet For The Home Office


It turned out great! I agree… It would be so cute in a bathroom remodel!! ☺☺