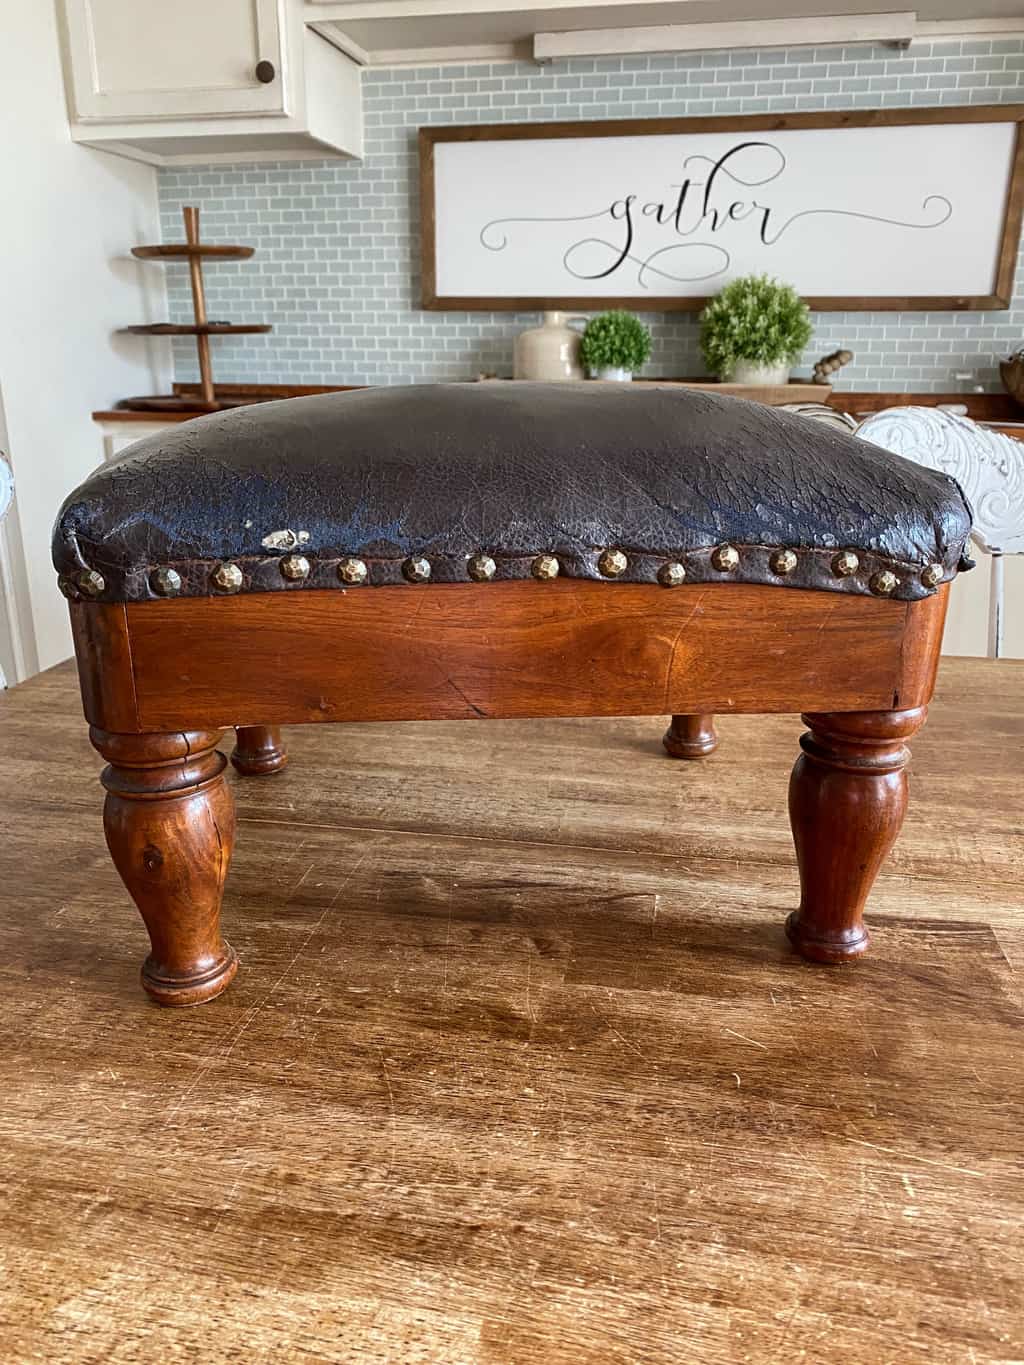
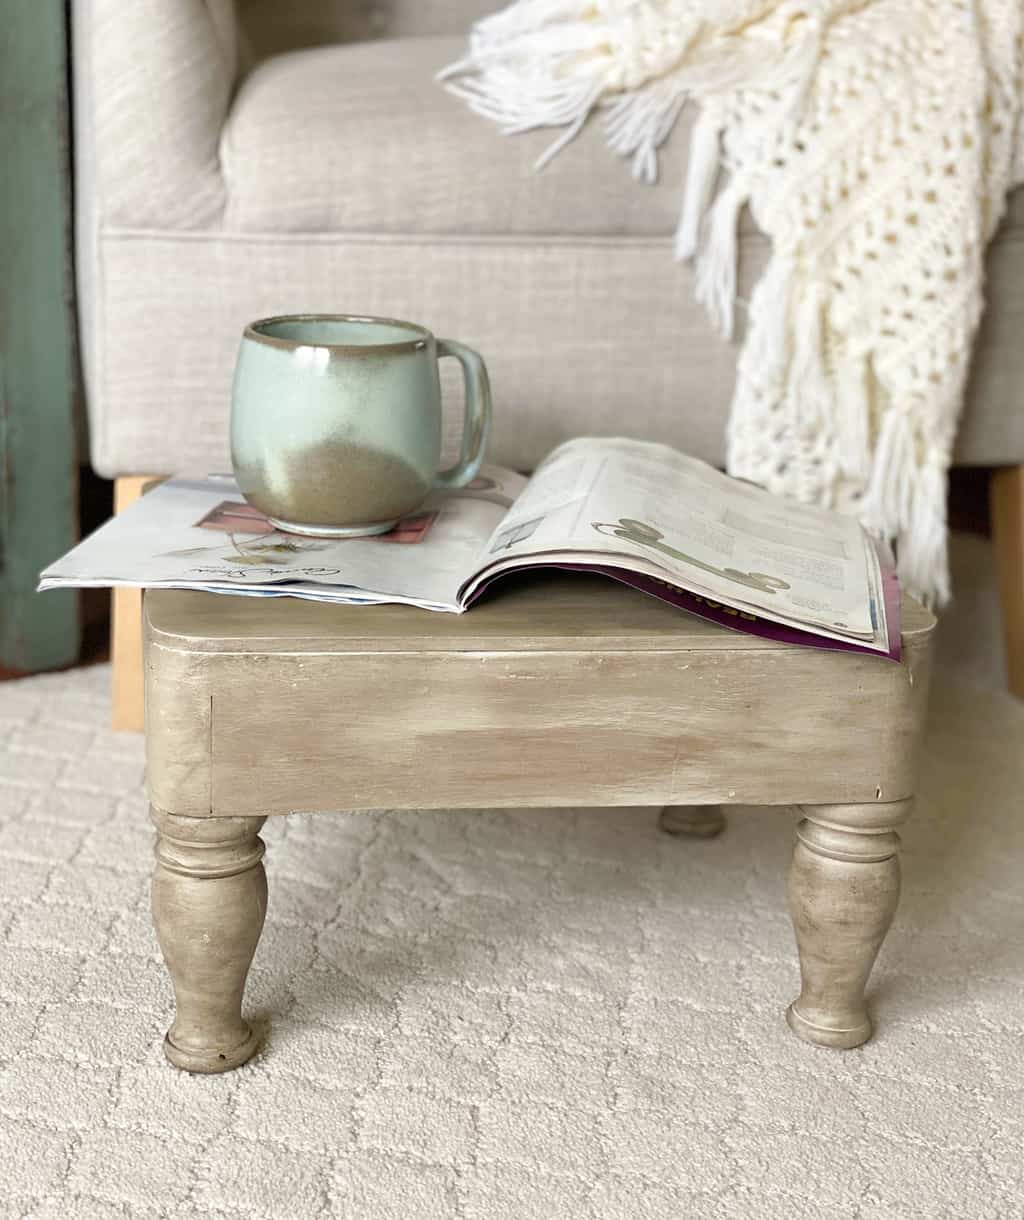
This is a fun project because it is so easy to do and a great way to update an outdated piece of furniture. I found this little stool at a yard sale for $1. As soon as I picked it up, I knew it was old and that it was very sturdy. I have a stool obsession. I am always picking them up because you can use them for so many things. This one is a good size for a footstool. I also like to use small stools as risers for decor. This one is too big for that but great to put our feet on when sitting in the living room or back porch. Today, I am going to show you how to get a weathered wood look easily by only using paint and stain.
How To Get A Weathered Wood Look
This stool needed a lot of prep before I could start the easy process of giving it a weathered wood look.
The first thing I had to do was take it apart and see what I was working with.
I removed all of the furniture nails.
THERE WERE A TON!
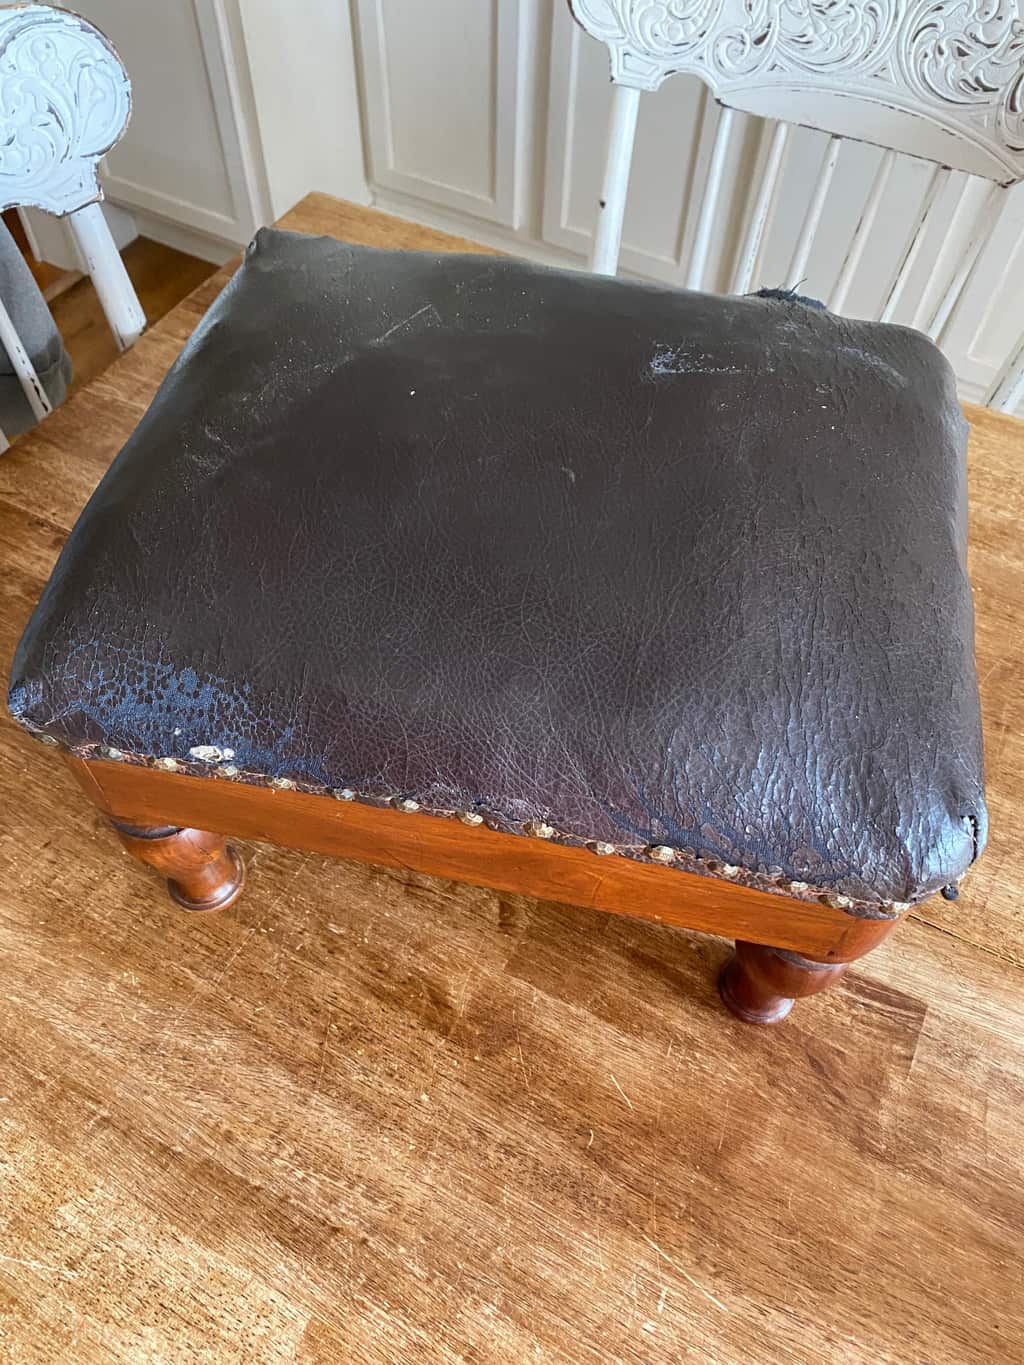
I thought the first layer of fabric was old leather, but it was too far gone to really tell.
Then, there was a layer of fabric under that. I had to remove the smaller nails that were holding that fabric on.
Then, there was another layer of the black (what I thought was old leather) fabric under that.
Once all of that was removed, I was left with horsehair and hay. It always amazes me when I find old pieces like this. As I am taking them apart, I think about the time period when furniture was made like this. They stuffed it with horsehair and hay! So cool. They definitely don’t make things like they used to. When I got to this point, I was even more assured that this stool was a good, solid piece.
Once I removed the horsehair and the hay, I knew I didn’t want to make it an upholstered stool. I wanted to give it a wood top.
Matt took it to the garage and used a scrap piece of thin plywood to cut a new top for the stool.
He nailed it on and then, I started prepping it for paint.
Here is a short video showing you the process of this makeover:
{Affiliate links are used in this post. Click on any of the underlined links to find the products I am talking about. You can read my disclosure HERE.}
Supplies Used To Get The Weathered Wood Look
“Sawmill Gravy” Dixie Belle Paint
Walnut Gel Stain Dixie Belle Paint
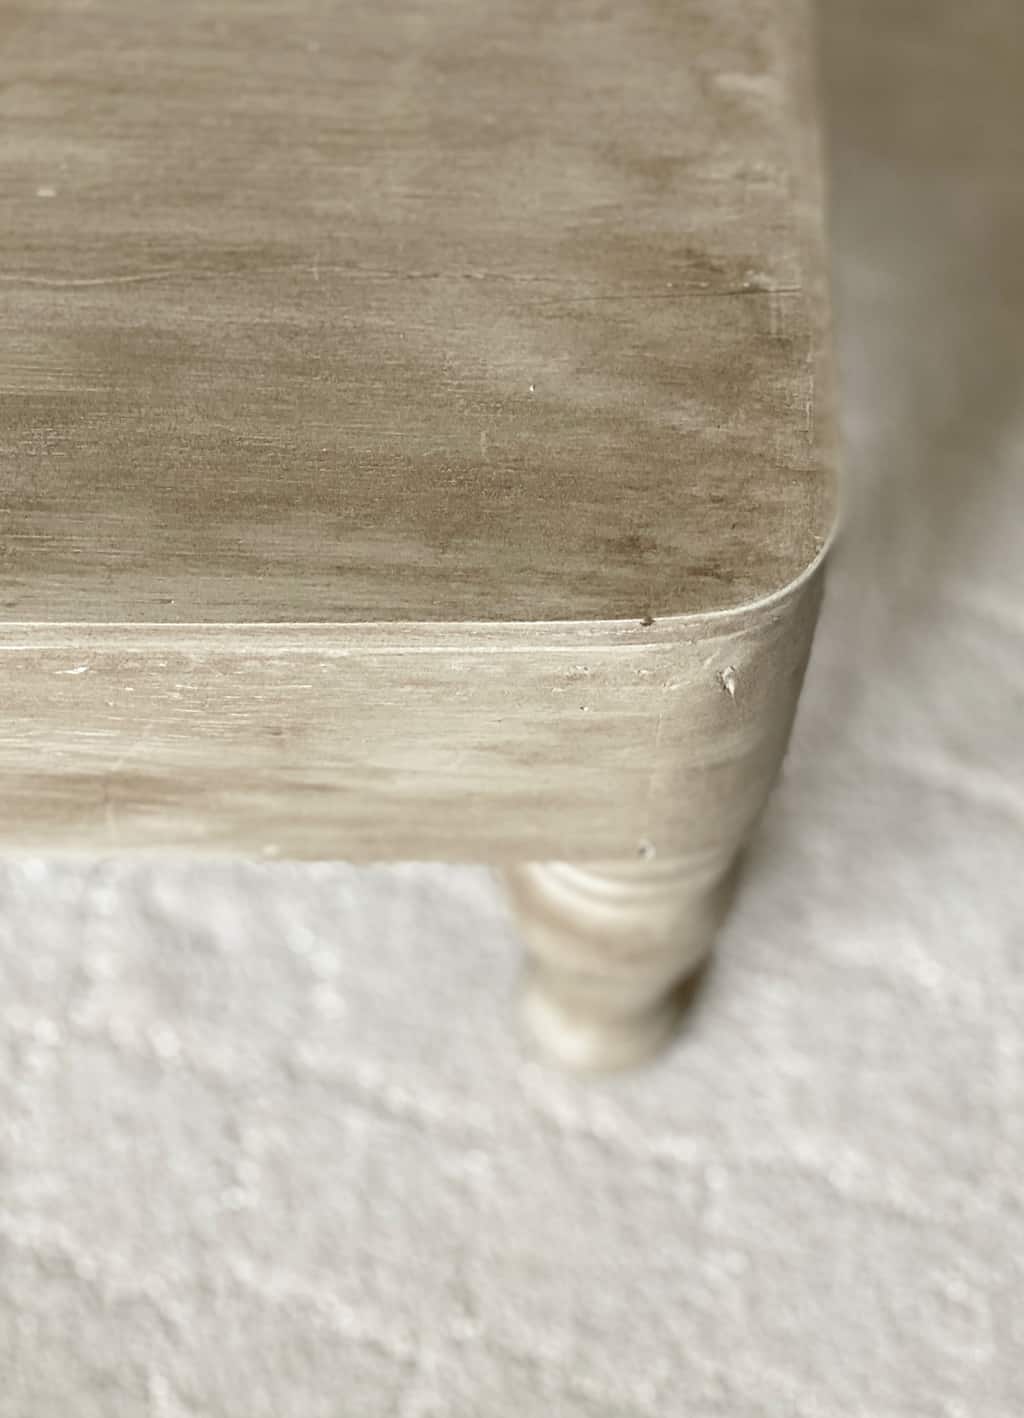
After I used the MUD to cover all of the nail holes, I let it sit to dry.
Then, I sanded it down so it was smooth and ready for paint.
Once it was ready for paint, I applied two coats of “Sawmill Gravy”.
After that was dry, I applied Walnut Gel Stain over the paint with an old rag and then rubbed off the excess right away.
When the first coat of the stain dried, I wanted to go a little darker so I did the same application one more time with the stain to get the look and color I was after.
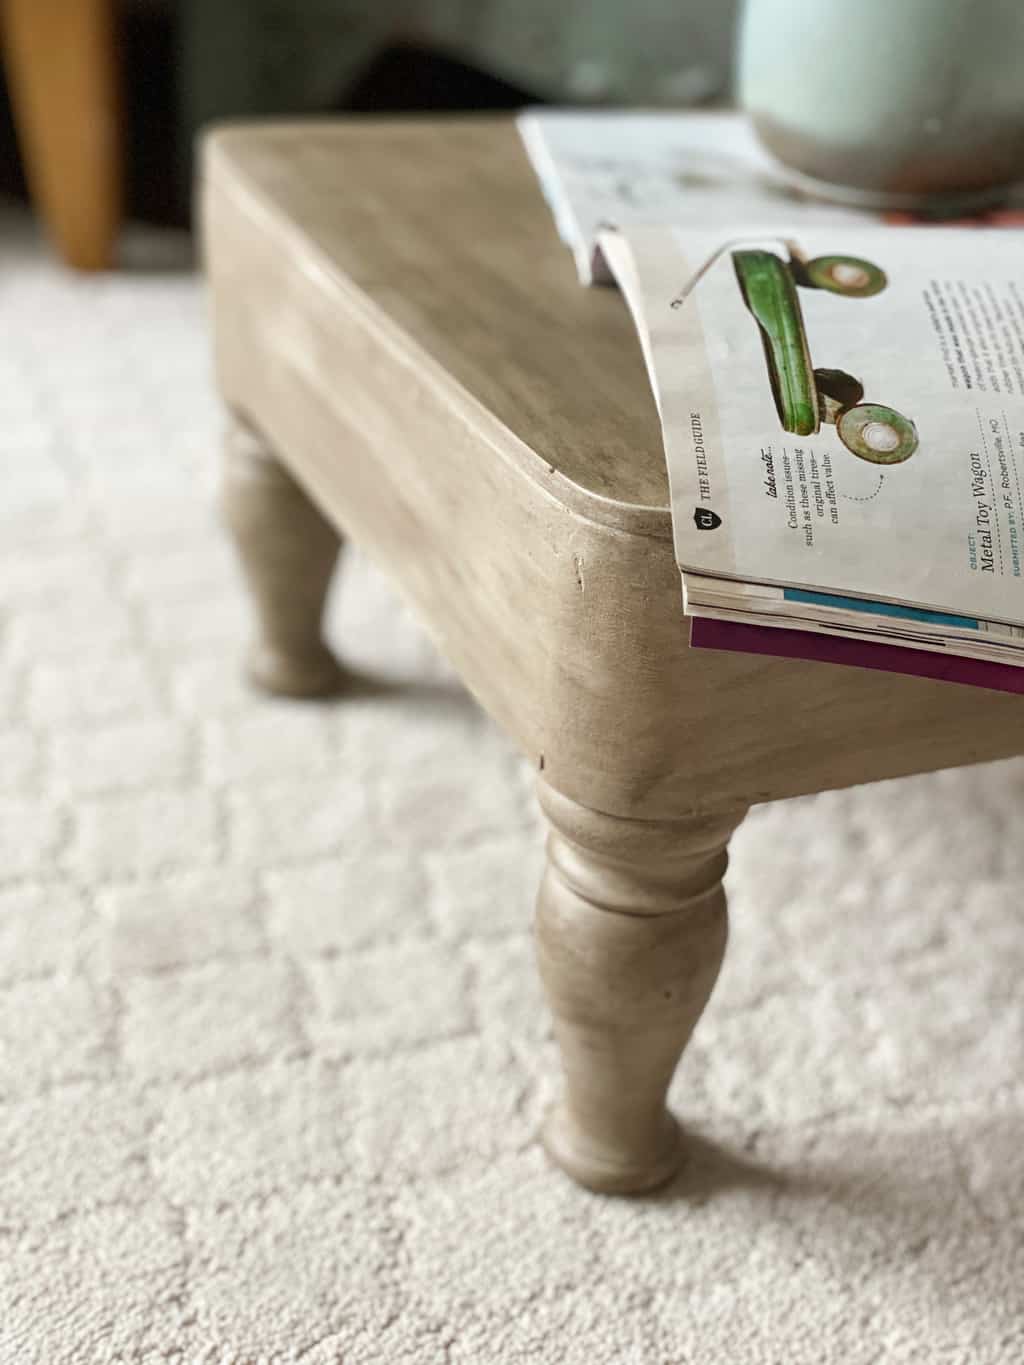
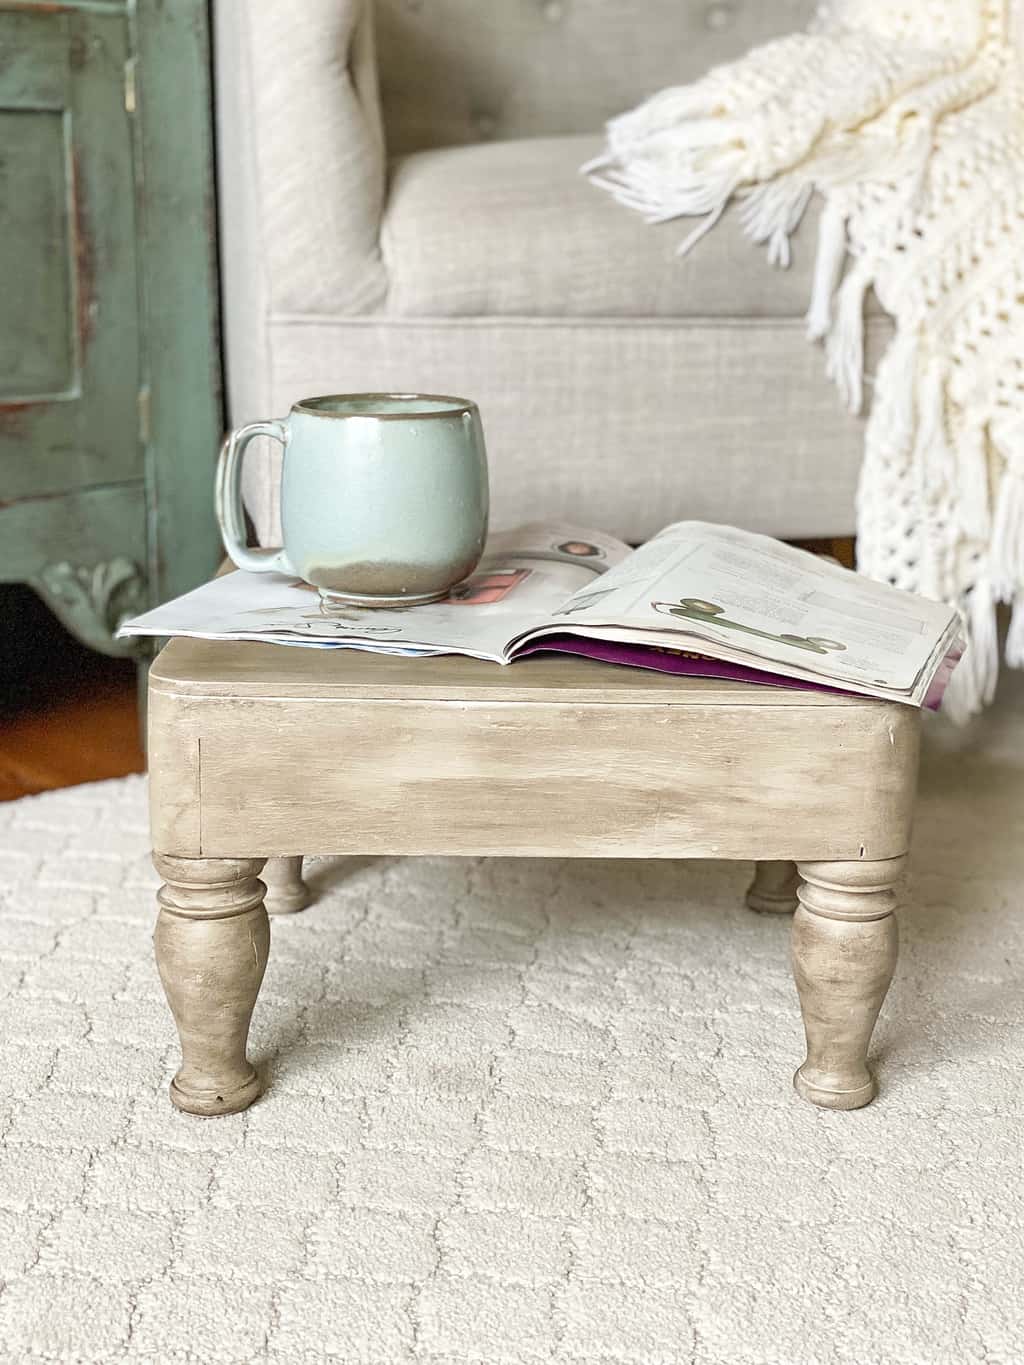
THAT’S IT!
Whenever I do this technique on pieces, I let them sit for a few days before I set them anywhere or use them. I want the stain to settle in and cure well before using it in any way.
This stool is the sturdiest piece of furniture. It is a great example of how furniture was made back in the day. It was such a good find and the makeover updated it to fit in our home a lot better.
This is another great example of how you can decorate your home exactly how you want it without spending a lot of money to get it.
If you try this technique, I would love to see it! Share a photo on Instagram and tag me @mycreativedays!
PIN THIS POST!
If you liked this easy project, you will love these transformations:
Small End Table Makeover With Wise Owl Products
10 Supplies You Need To Paint Furniture
DIY Glazed Blue Dresser Makeover

