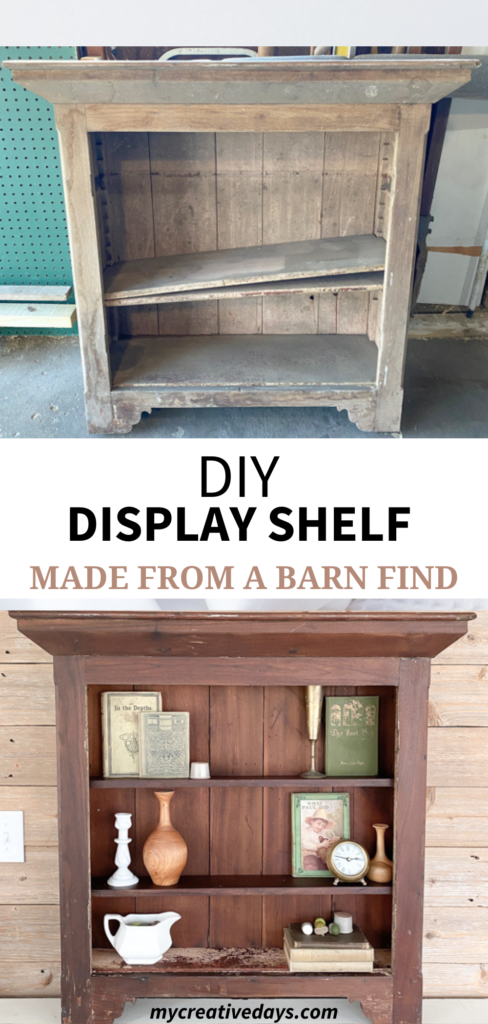
This DIY Display Shelf is a great example of how to repurpose a barn find into something that can be used for many years to come.
We found this piece in an old barn. It was under a lot of stuff but we saw enough of it to know it was amazing.
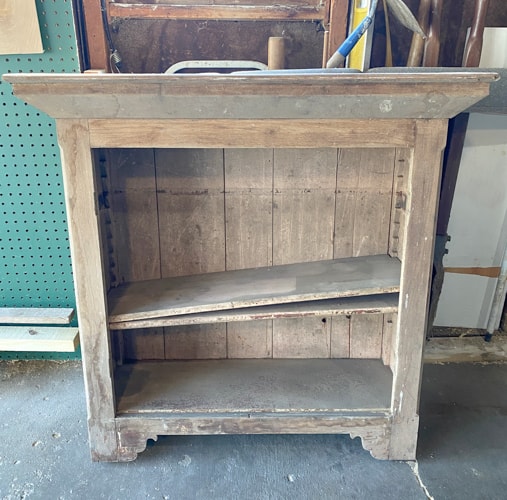
Once we got it out of the barn, we could see that it used to be a part of something else.
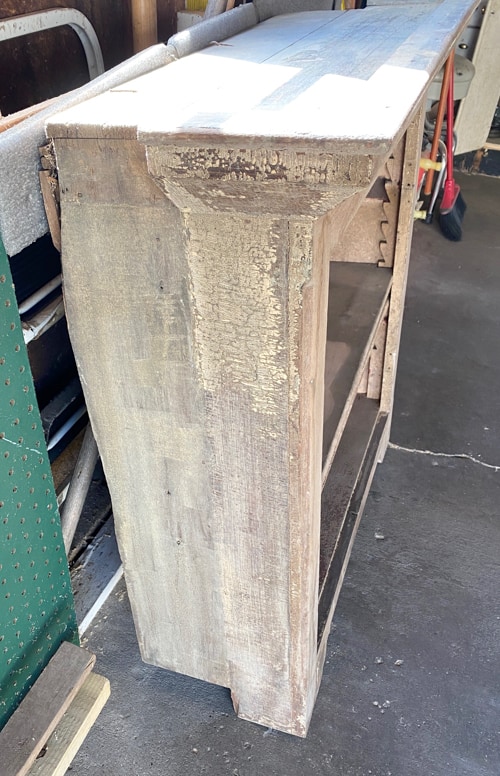
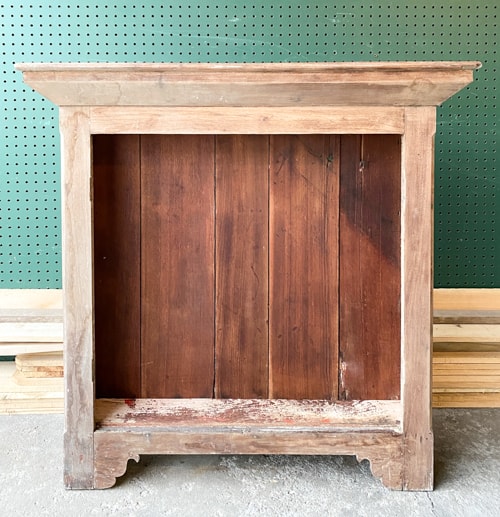
The front of it was trimmed out on top. The back wasn’t. The bottom of the piece had different levels – the back sat higher than the front.
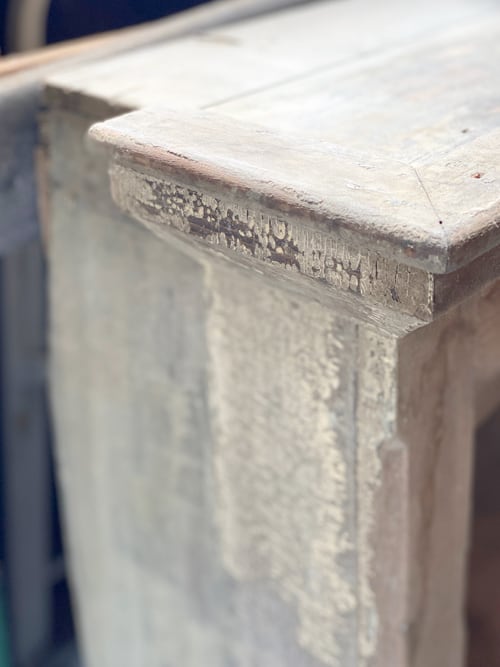
With all of that, there was chippy paint, old wood, and a project we were excited to tackle.
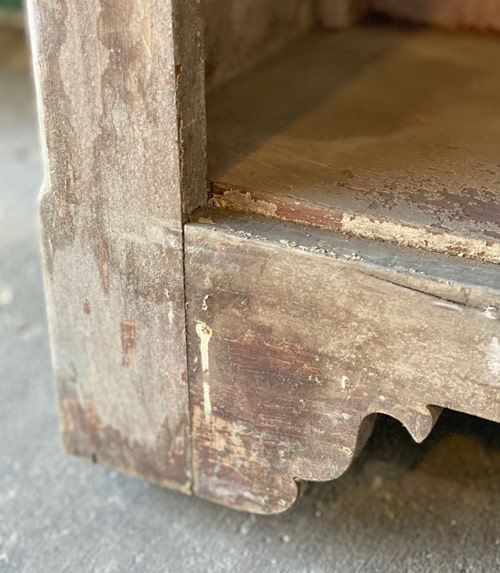
We were excited to get it home and figure out how we could make it work.
{Affiliate links are used in this post. Click on any of the underlined links to find the products I am talking about. You can read my disclosure HERE.}
Supplies Used In This Shelf Makeover
Steps For This Makeover
The first thing I did with this piece was clean it. It had layers of dirt on it from being in the barn for so long.
It was DIRTY! I didn’t even get any cleaner out in the beginning. We scraped the layers of dirt off first and then I used this scraper to remove the finish. You can see a video of the scraper working its magic on this piece HERE.
After it was scraped, I sanded everything to clean it even more.
Then, I used some cleaner. I share how to clean a piece of furniture HERE.
After it was clean, it was time to plan what we were going to do to make it work.
For the piece to stand on its own or to be hung on the wall flat, we had to cut it in half.
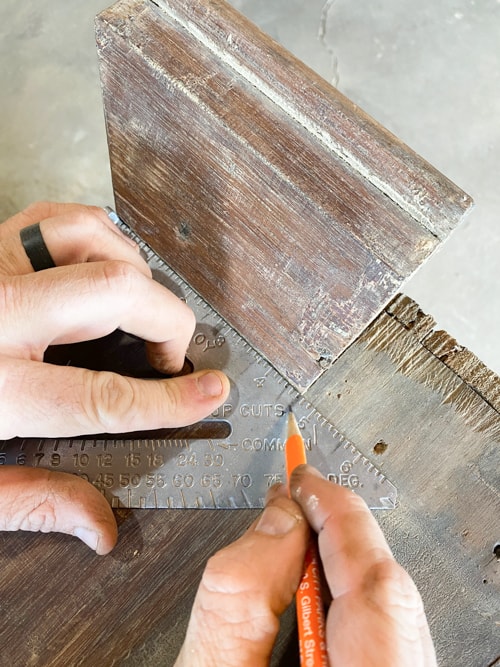
To cut it in half:
Matt marked where to trim ended on top on both sides.
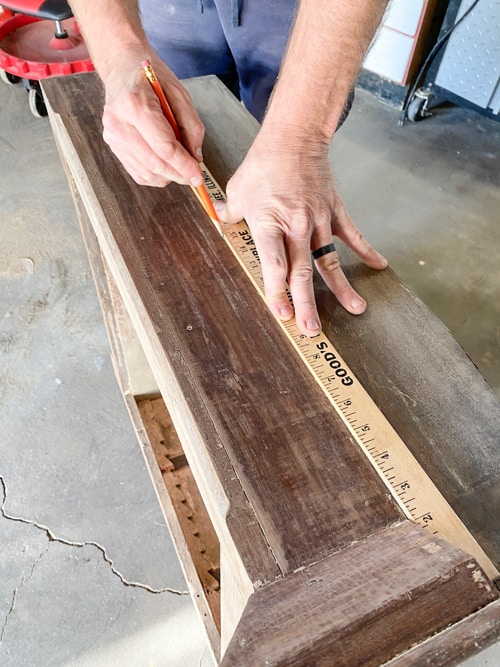
Then, he connected those marks with a yardstick to get a straight line.
Then, it was time to cut.
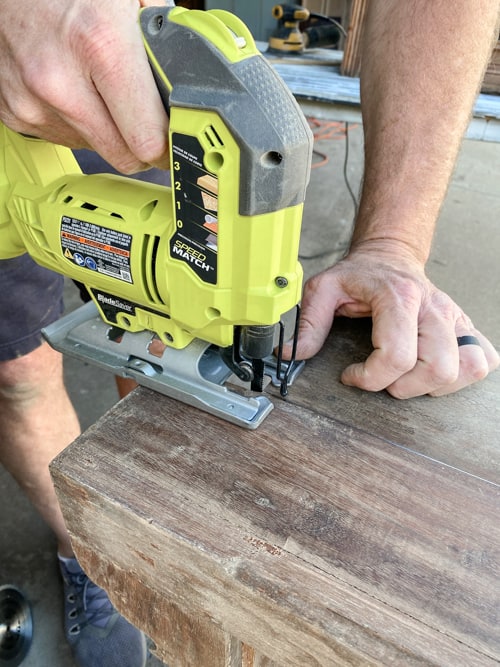
Matt ended up using a jigsaw, circular saw, and a reciprocating saw in different areas to get this piece cut in half.
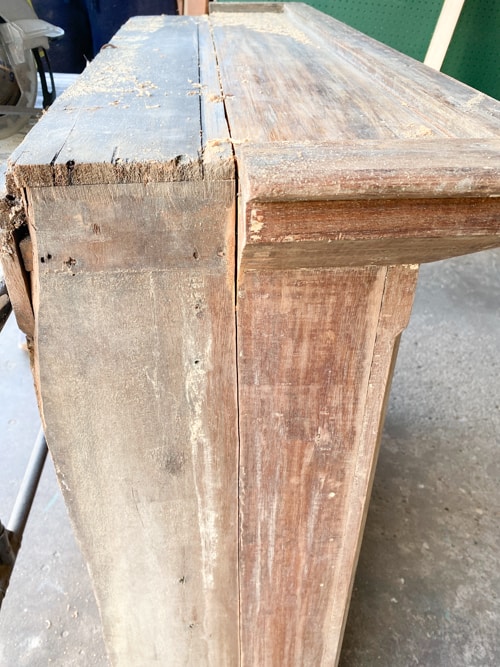
He made the cut all around the piece.
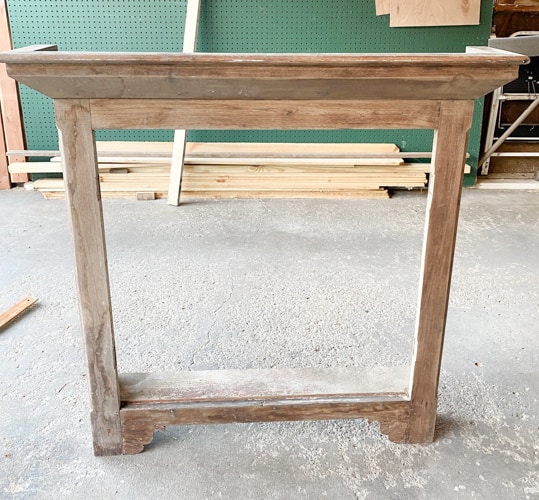
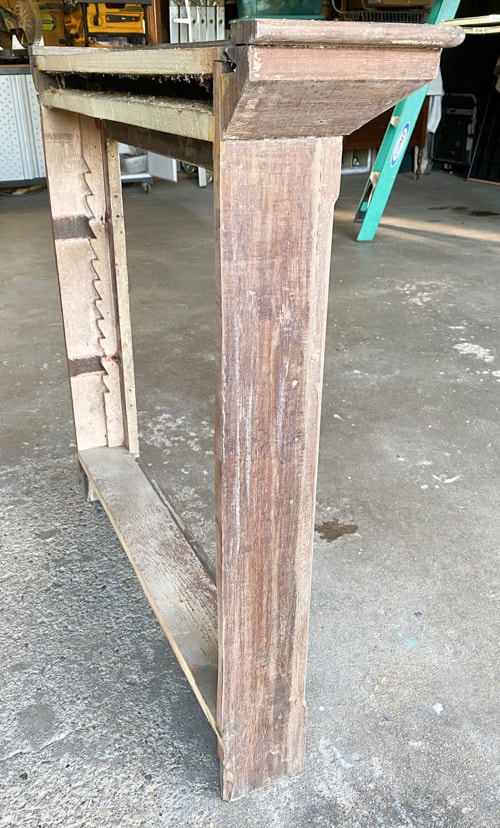
The photos above show what we were left with after it was cut in half.
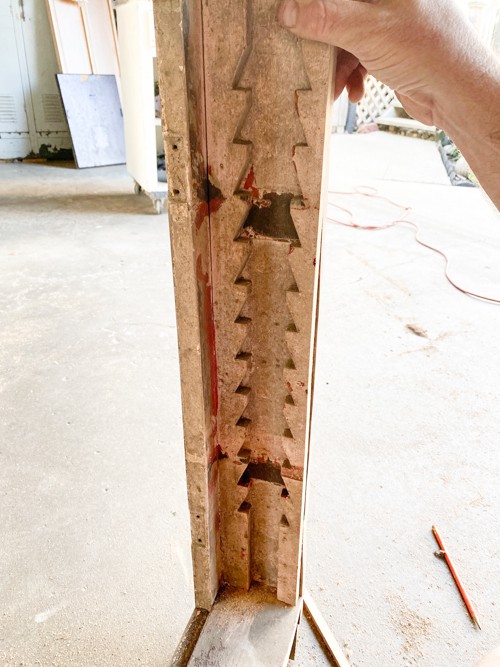
I love how the inside was cut out to fit the shelf holders in place. We were not going to hide that. We had to remove those pieces and put them back in after we got it cut in half.
On to the back.
I wanted to reuse the back panels. There was a layer of red paint on the panels that we found after I sanded. I didn’t love the red and it was a pain to try and sand it away so, I just decided to flip the back panels and put the red back on the back and the wood part on the inside. Easy peasy fix for that problem.
We flipped the panels, held them in place with 48″ clamps and attached them with a brad nailer.
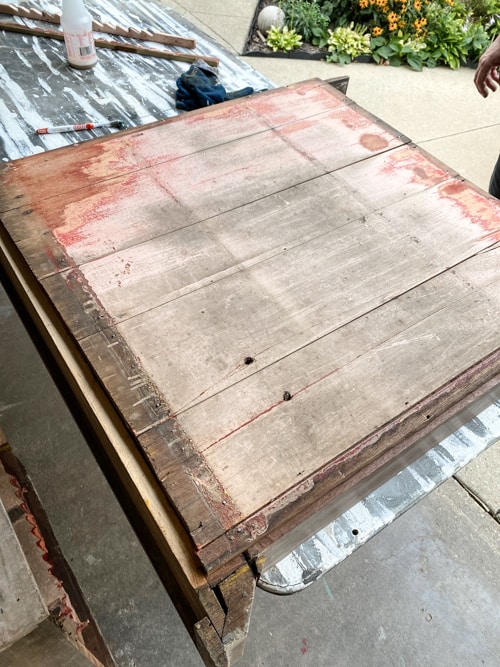
I used some Restor-A-Finish on the back panels inside.
Look how well the back panels look now!
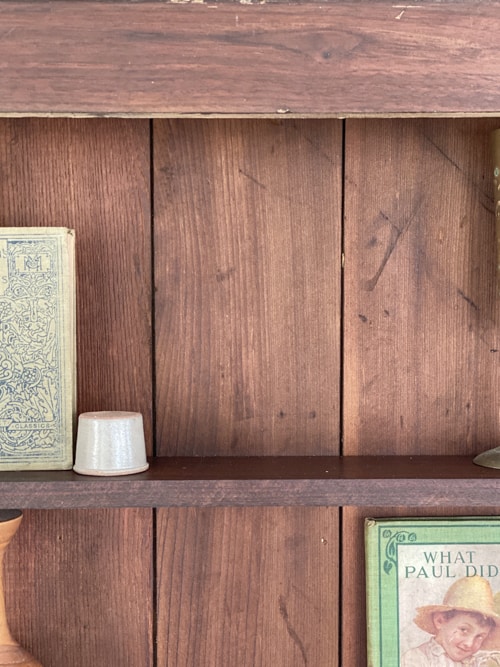
We reused the shelves that were originally there but they needed to be cut down to fit.
Once we had the shelves in, I used my favorite salve to revive the rest of the wood on this DIY display shelf.
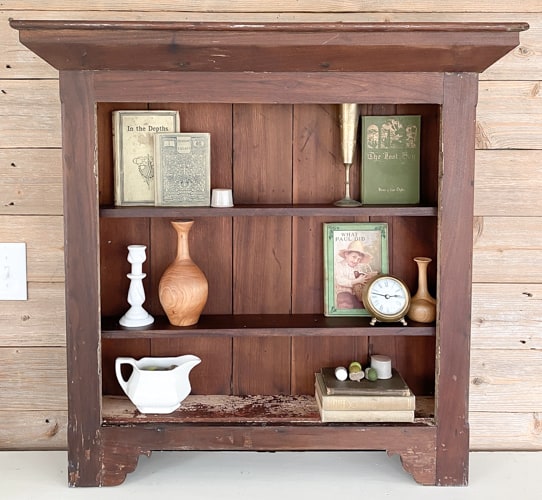
I am smitten with this project!
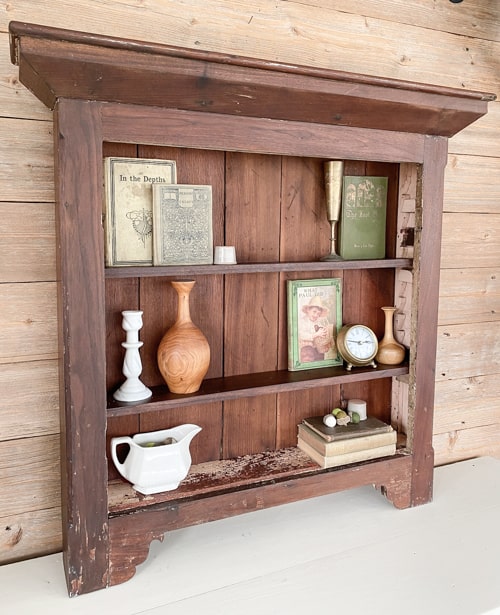
I kept the chippy paint in some areas.
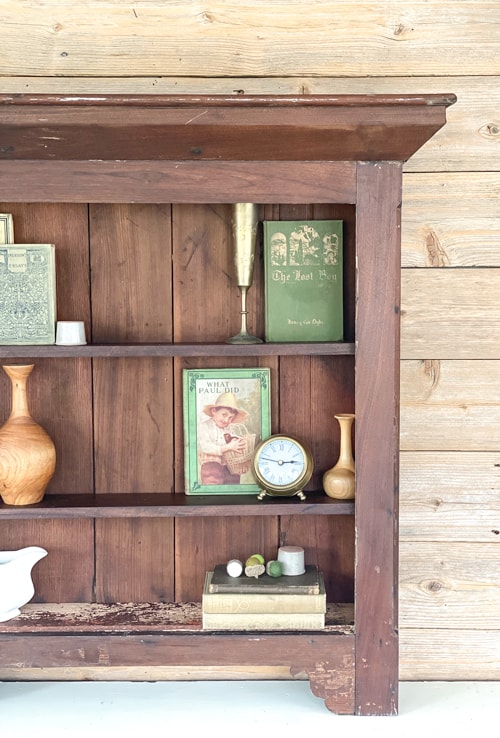
This is such a conversation piece now. It has a great story and the makeover is an additional story to tell.
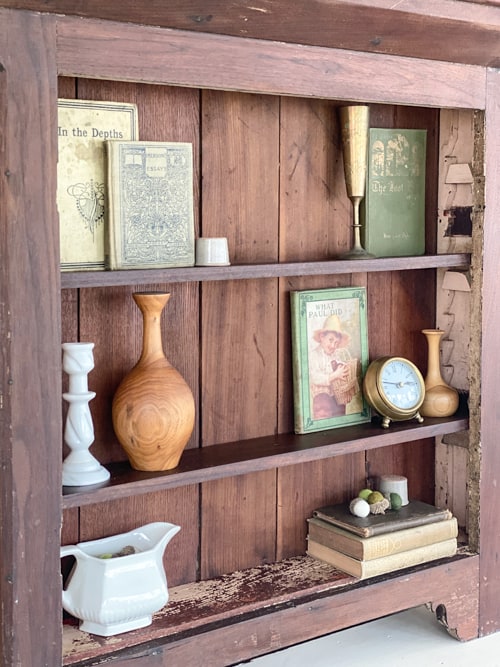
Finding ways to repurpose furniture is a great way to furnish your home on a dime!
Cutting the entire thing in half to make it work was the best way to get many more years out of this barn find.
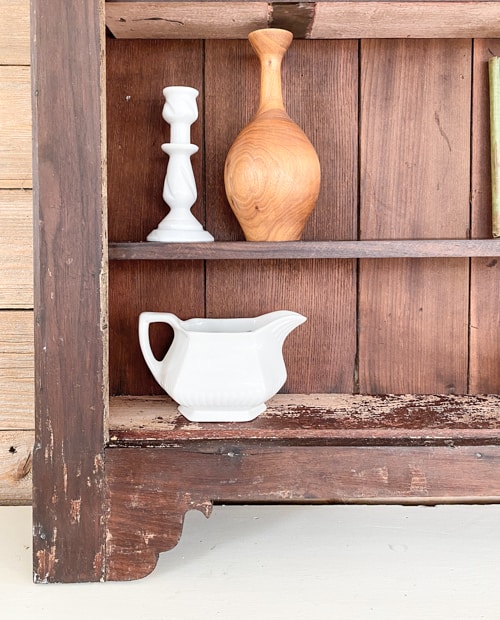
All the original details and trim are still intact.
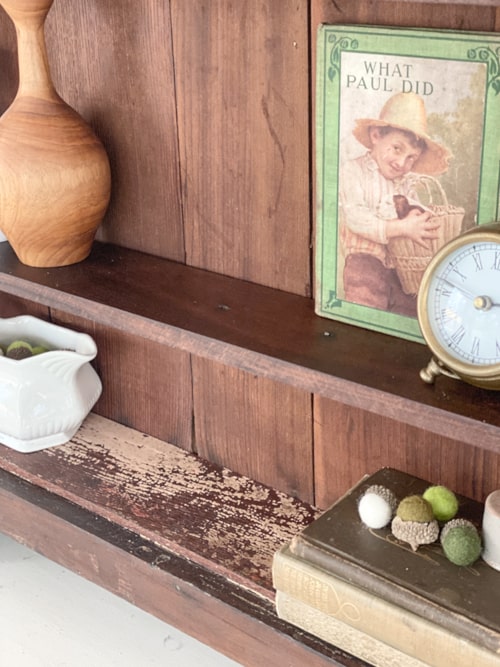
This piece is now a great piece to display all kinds of things.
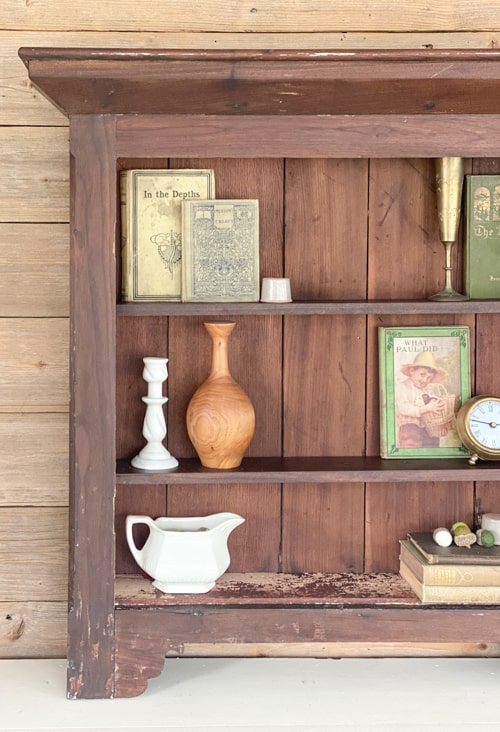
It would make a perfect shelf in a bathroom if you had the room.

Would you have rescued this piece from the barn?
What do you think of the makeover?
PIN THIS POST!
If you liked this DIY Display Shelf, you will also like these repurposed projects:
How To Build A Bench From An Old Door


I love how narrow it now, much more usable in my home