This wood stool makeover shares how a little DIY can create pieces for your home that fit your style perfectly for a lot less than buying new.
Matt found this stool at Restore. I LOVED it when he brought it home.
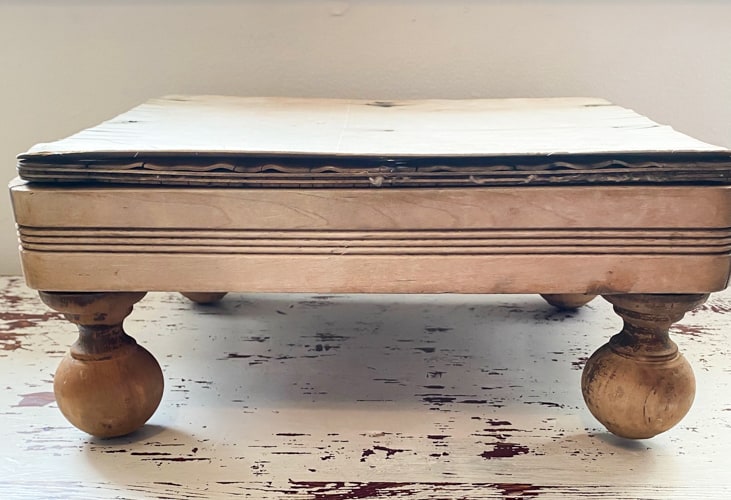
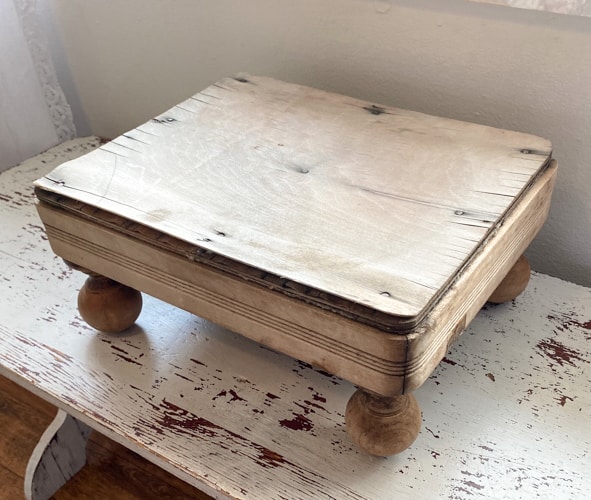
The top was warper a bit. That didn’t bother me. The feet, the size, and the shape are perfect. I have seen pieces similar to this in stores for a lot of money! I knew we could make this stool amazing in a few short steps with supplies we had on hand. The best part… it only cost $4!!!!
{Affiliate links are used in this post. Click on any of the underlined links to find the products I am talking about. You can read my disclosure HERE.}
Supplies Used On This Wood Stool Makeover
Screws
Steps In This Wood Stool Makeover
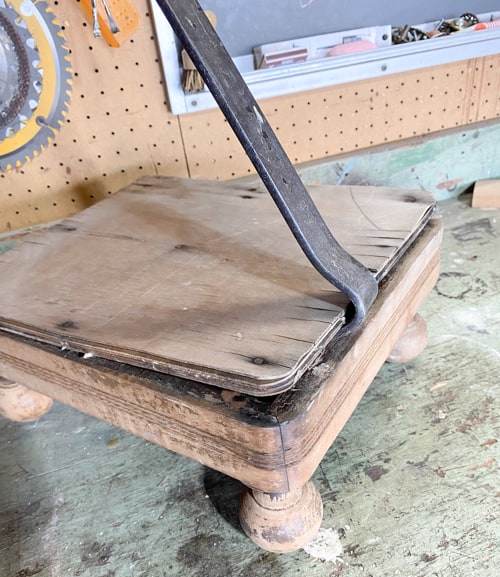
The first thing we had to do was remove the top. A crowbar is your friend for this.
Once the top was off, I needed to decide what I wanted the top to look like.
We had some scrap boards in the garage. I knew I wanted the top to be bigger than the base so there was a “lip” that hung over the edges of the base of the stool.
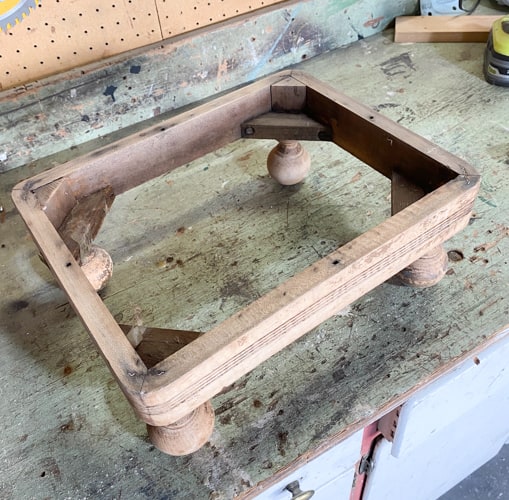
We measured the base of the stool and added half an inch to each side to get a measurement for the top.
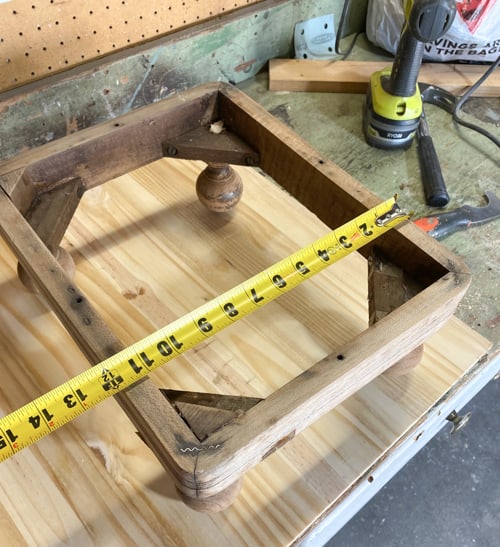
We measured that new measurement out on the scrap board we had in the garage.
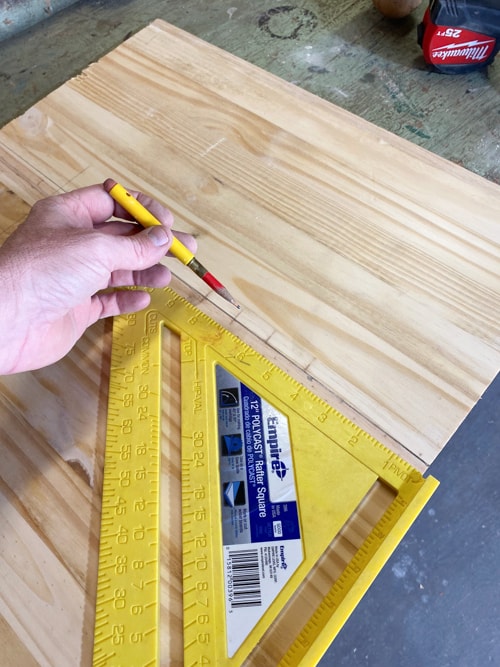
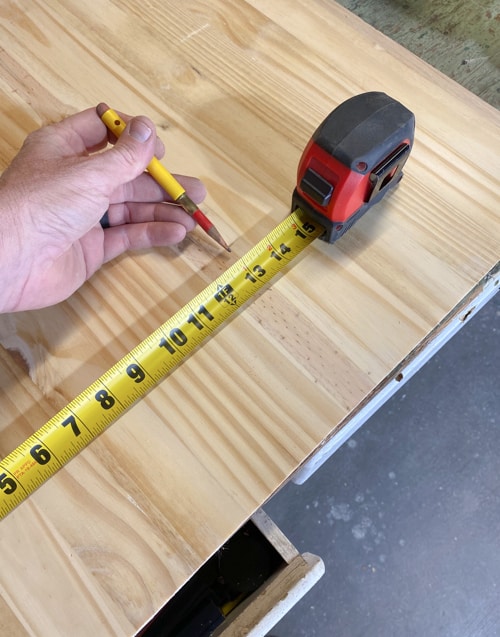
Matt used a square and a tape measure to get the top measured out.
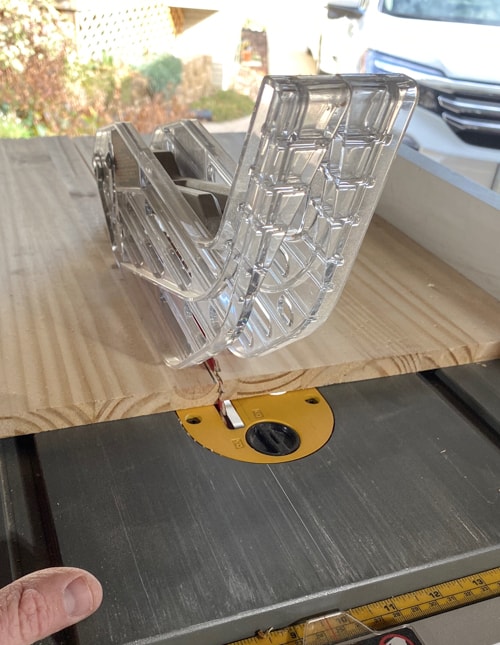
He used the table saw to cut it out.
Then, he used a router around the edge of the cut board to give it a decorative edge.
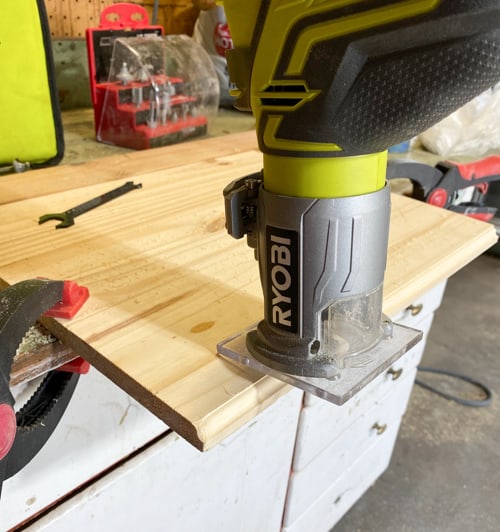
Once the edge was routered, I sanded the entire piece with the orbital sander.
We attached the top with some screws and a drill from the underside where there were holes from the previous top. (Forgot to get a photo of that step).
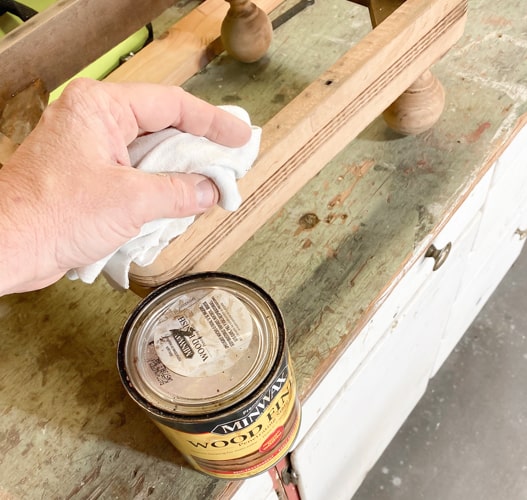
Once the sanding was done, I used a damp cloth and wiped away all the sanding dust.
Then it was time for stain.
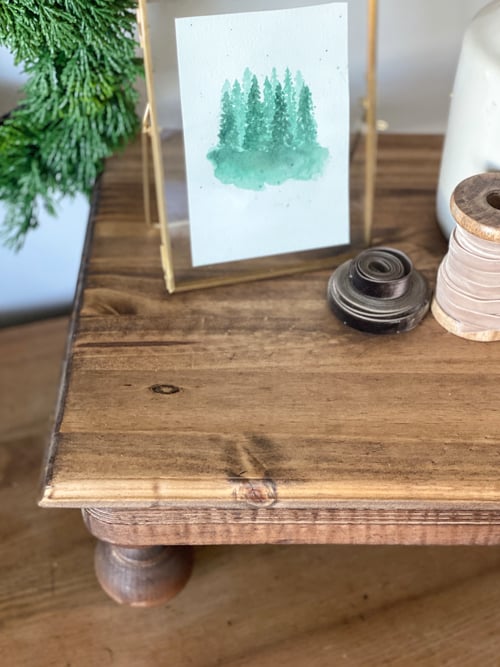
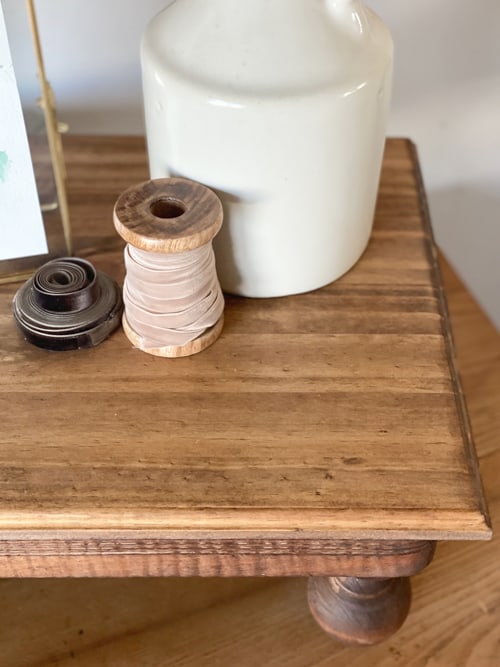
I chose the color “Early American”. It made this stool amazing again.
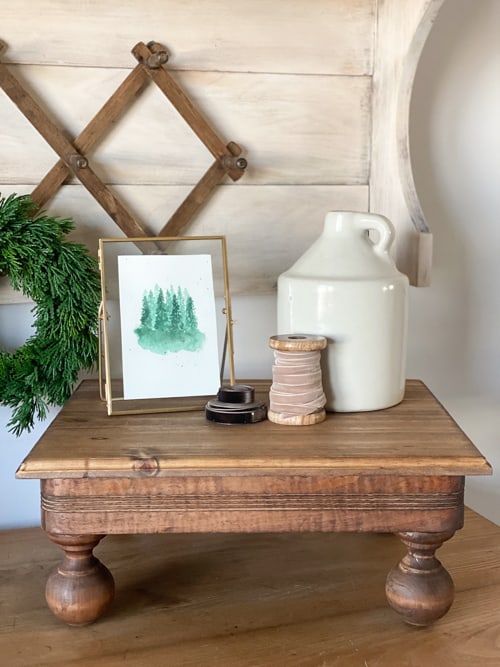
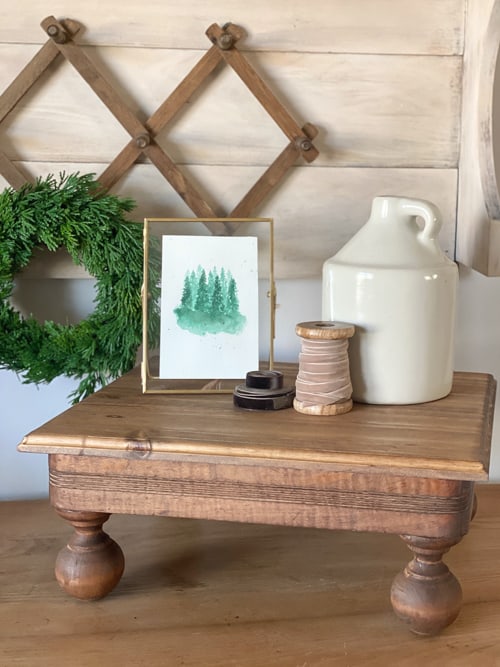
LOOK AT THIS WOOD STOOL NOW!!!!
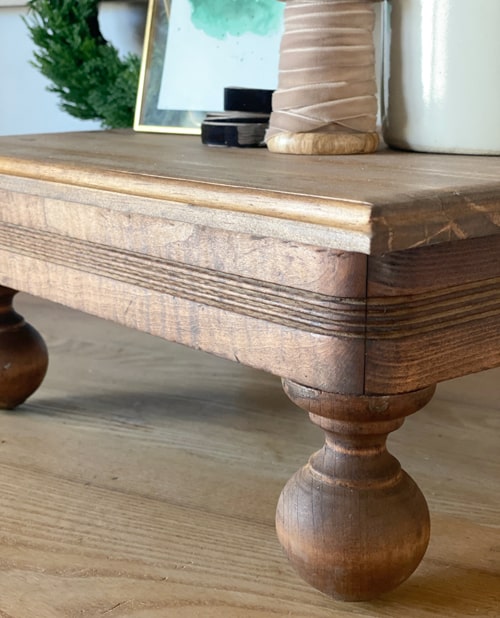
All of the details in the side are still there and those beautiful feet are highlighted even more!
I love what a router tool can do. If you are looking for the next tool to add to your stash, get a router. We love the one I linked above.
It would make a great gift for the DIYer on your list too.
I love sharing small projects like these because they fit everything My Creative Days stands for. You can decorate your home exactly how you want it without breaking the bank. Some thrifty shopping and a little DIY really do save you so much money and will make your home exactly how you want it.
Investing in tools will also save you so much money decorating your home because you will be able to make items for your home instead of buying them. My Creative Days is all about easy projects to create fabulous decor for your home.
If you are more of a visual learner and like seeing videos of projects like these, make sure to head HERE and SUBSCRIBE to my YouTube channel. I am sharing DIY projects, easy decorating tips, and so much more over there every week!
Now, I have to know – would you have picked up this piece in the condition it was?
PIN THIS POST!
If you liked this makeover, you will also like these projects:
DIY Display Shelf Made From Barn Find
Antique Headboard Turned Bench


Soo pretty! Even better in person
Thanks!