You can make this DIY mantel with scrap wood in the garage and some decorative pieces from Architectural Depot.
This tutorial will take you step-by-step on how to put this together.
Supplies Used:
3″W X 3″H X 1/2″ P Standard Sedgwick Bullseye Rosette
3″W X 3″ H X 1/2″ P Standard Sedgwick Rosette With Square Edge
5 1/2″ H X 3/4″ P X 94 1/2″ L Legacy Fluted Panel Moulding
3″ H X 3″ P X 4 1/4″ F X 94 1/2″ L Palmetto Smooth Crown Moulding
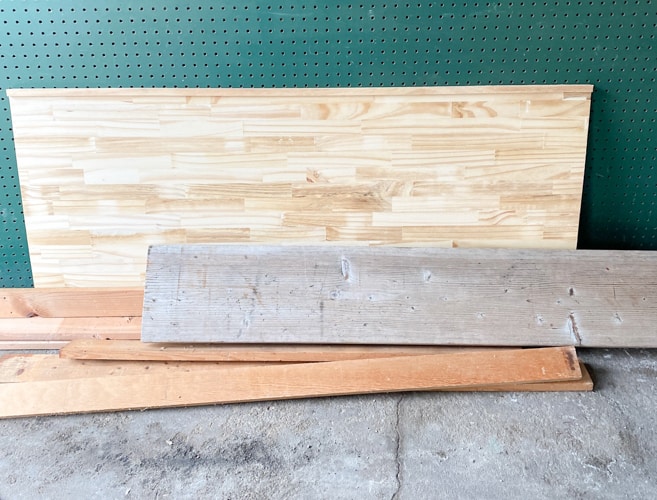
Scrap Wood & Boards (measurements below)
Steps For This DIY Mantel
- Start with the “shell” of the mantel. We based our measurements on the scrap wood we had. We had 7, 1x4s that needed cut down to 1.5″.
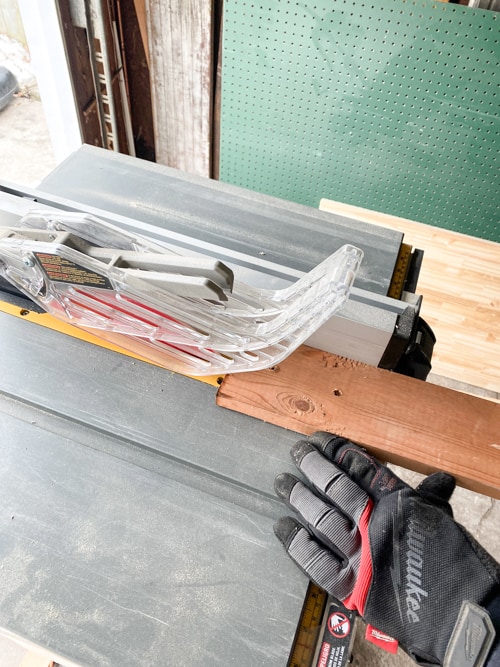
- Once we had 7, 1.5″ pieces, we cut these lengths: 4 – 40″ pieces, 2 – 28″ pieces, and 15 – 4.5″ pieces. As we cut boards we were using in this build, we sanded them as well.
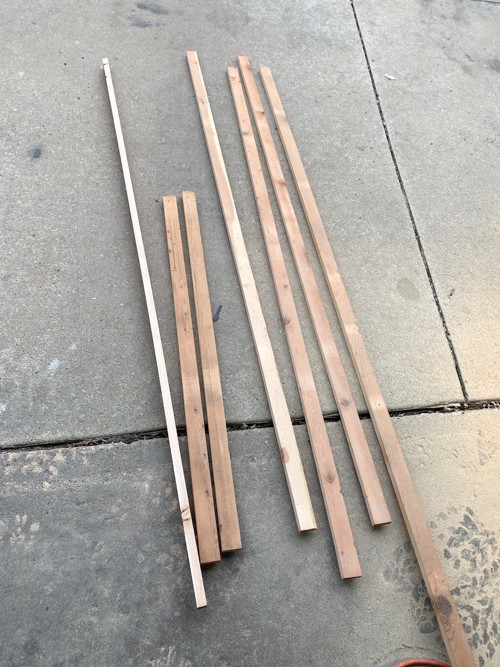
- All the pieces were cut for the shell. We used a nail gun to put it together.
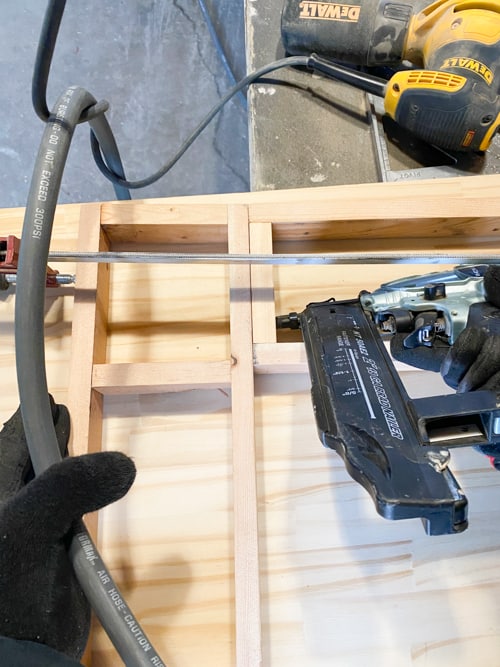
- The photo below shows the shell together.
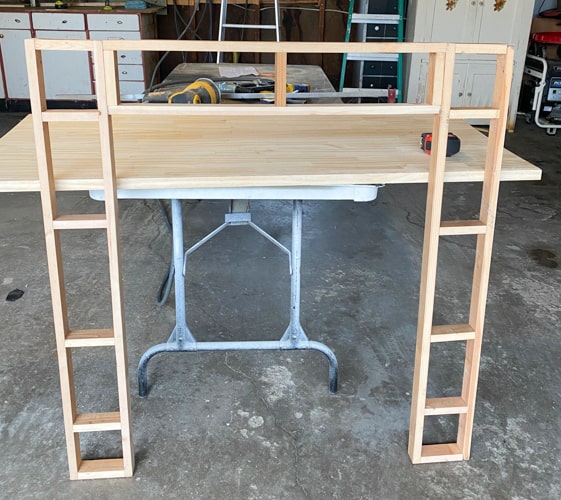
- Time to create the back.
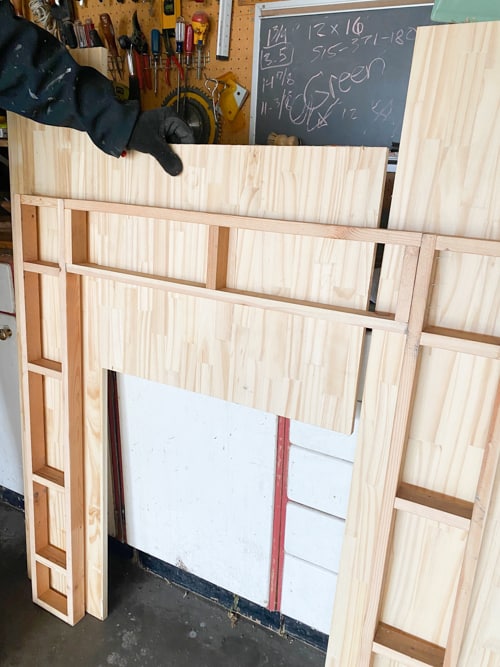
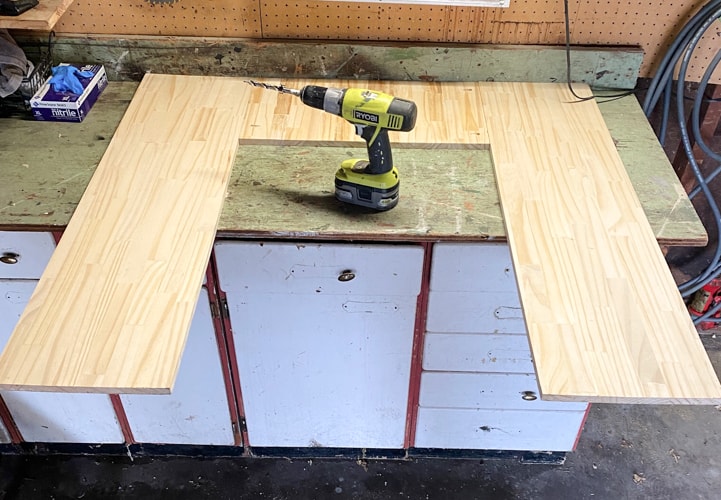
- We used two longer boards for the sides and a shorter board in the middle.
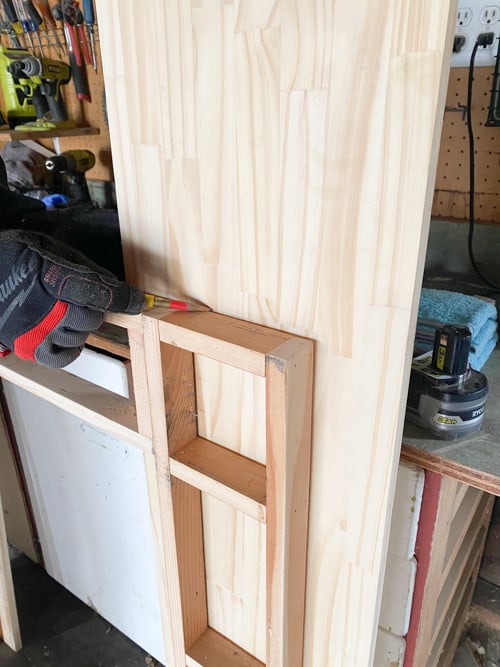
- We used the shell to mark where the boards needed cut.
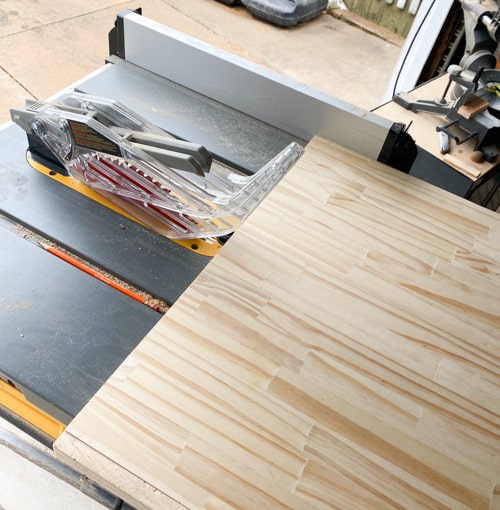
- The table saw cut the boards to size.
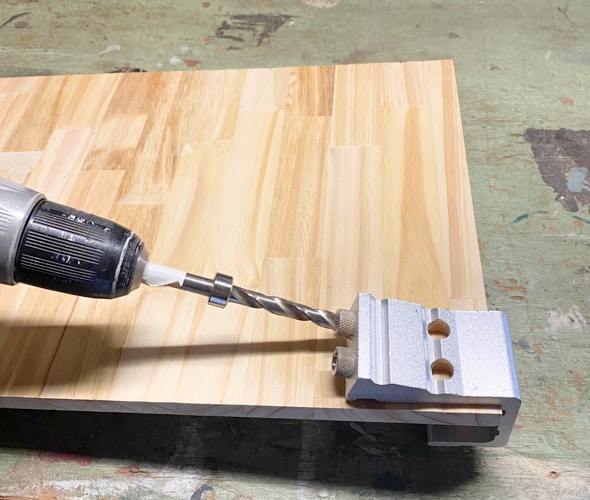
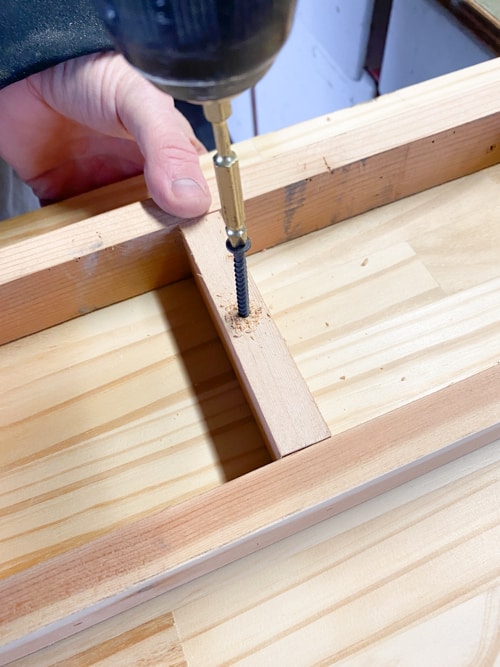
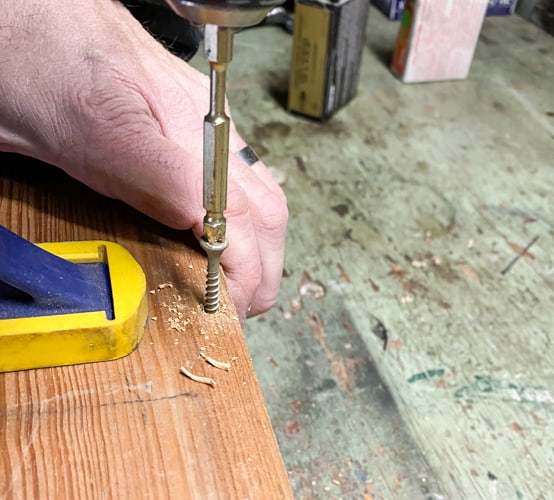
- Once cut, we used our pocket hole kit to create four holes on the middle board where we would attach it to the two side boards.
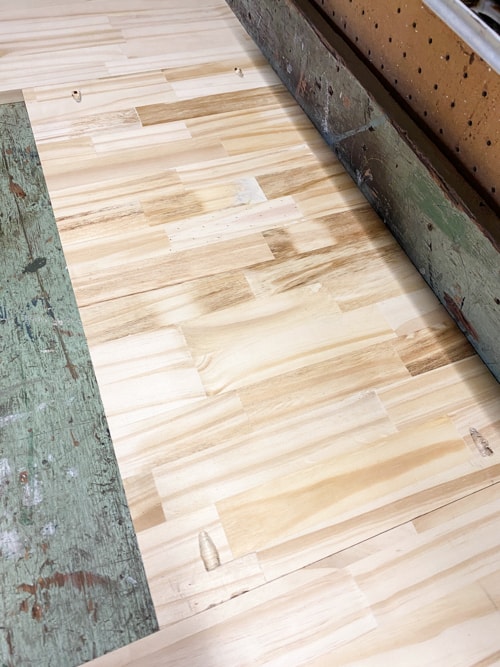
- We screwed them together and the back was done.
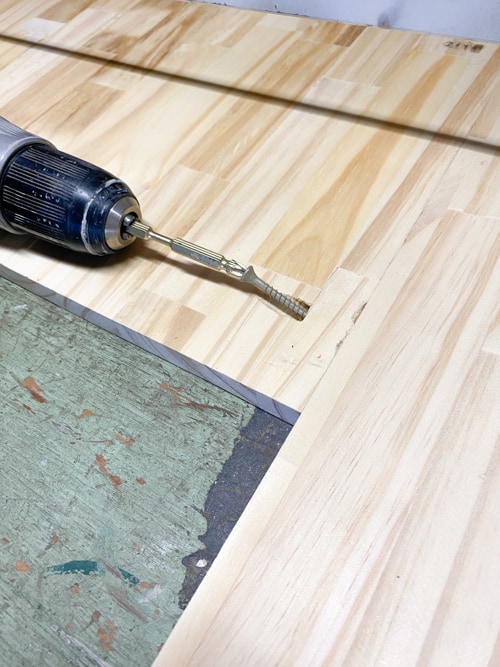
- The measurements for our back panels are: sides – 11.25″ wide, 40″ tall, and the middle piece is 22.75″ wide and 11.75″ tall.
- Next, we screwed the “shell” to the back.
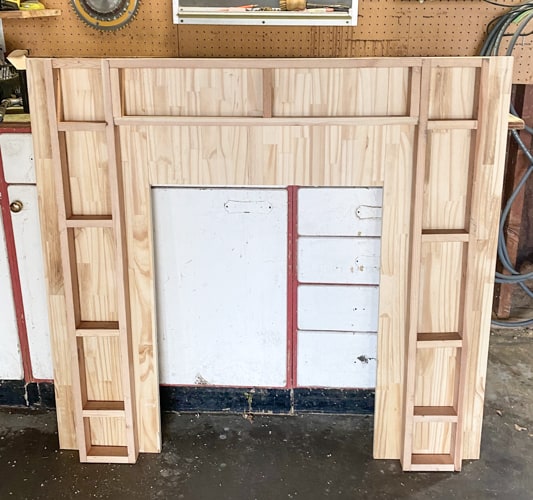
- Here it is together.
- Now, the mantel top.
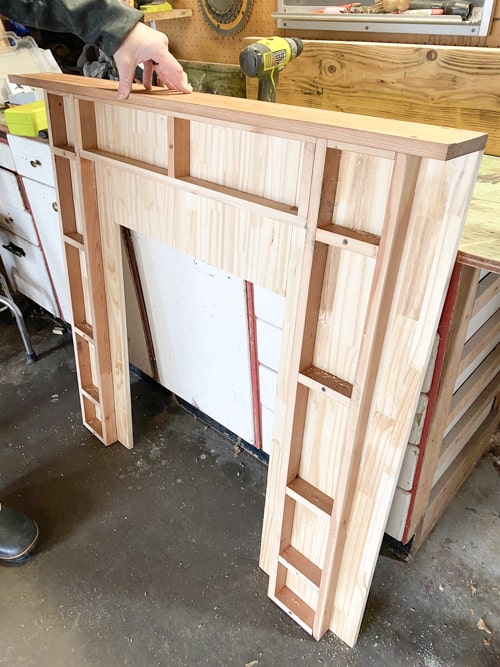
- We measured, cut, and secured a board to the top.
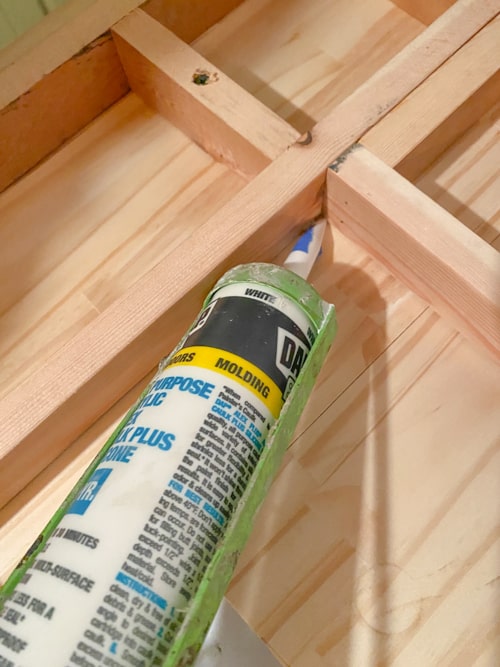
- We used paintable caulk to fill in corners, edges, and any gaps to give it all a seamless look.
- Next, we started on the top of the mantel.
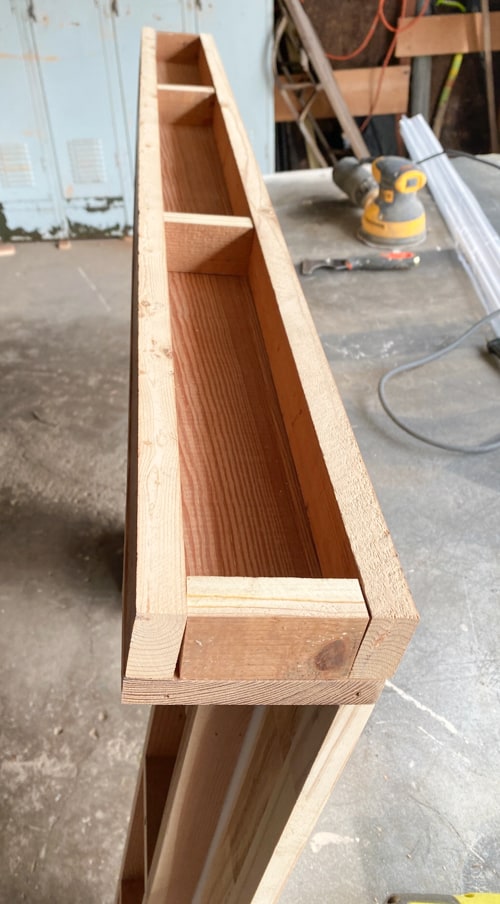
- To “raise” the top of the mantel to fit the decorative pieces from Architectural Depot, we created a “box” and screwed it to that top board we just added.
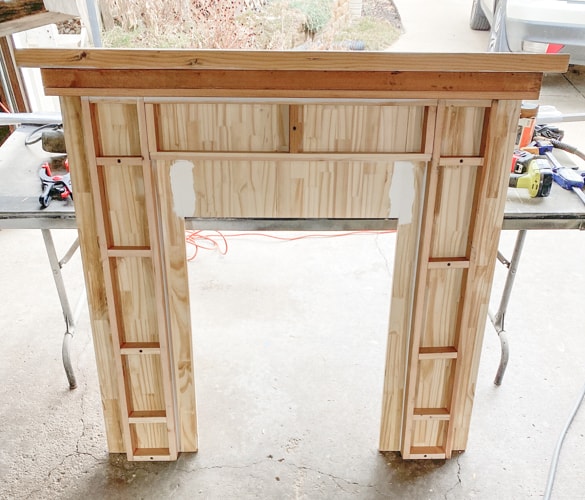
Always keep scrap wood for other projects!
- Then, we used a thick board that we had in our daughter’s room at one point. This was the perfect board to use to create thicker mantel top. We secured that to the “box” we made.
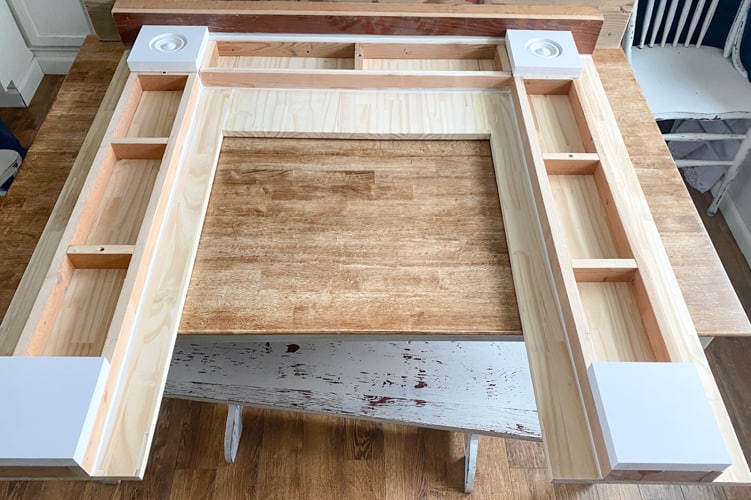
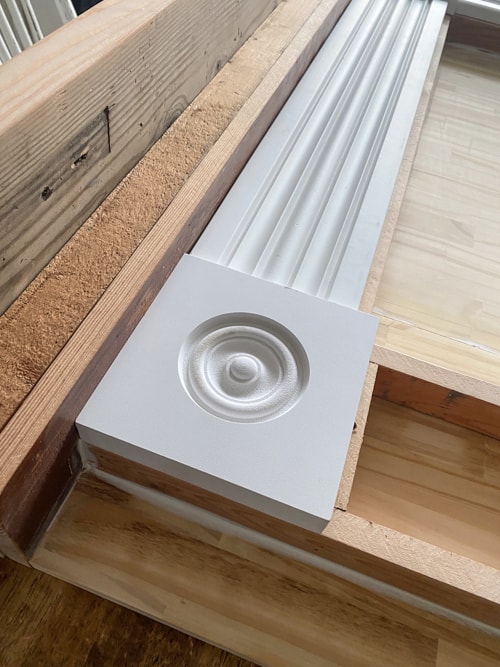
- Now, it was time to add the “decorative” pieces we got from Architectural Depot. We added the rosette pieces to the top corners.
- Then, we added the square pieces to the bottom of the mantel.
- Then, we added trim and moulding to finish it off.
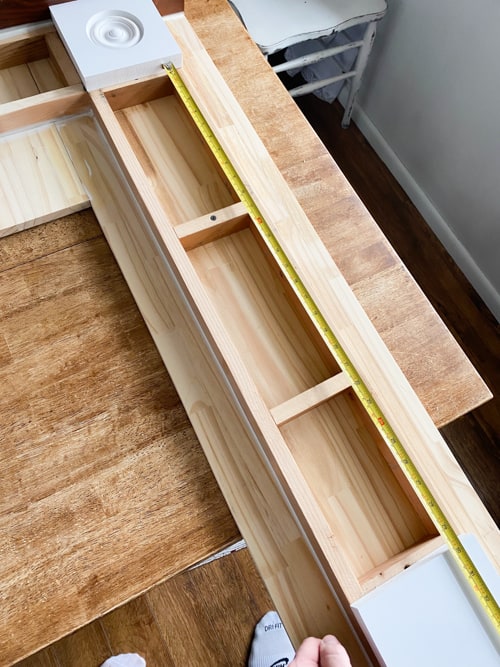
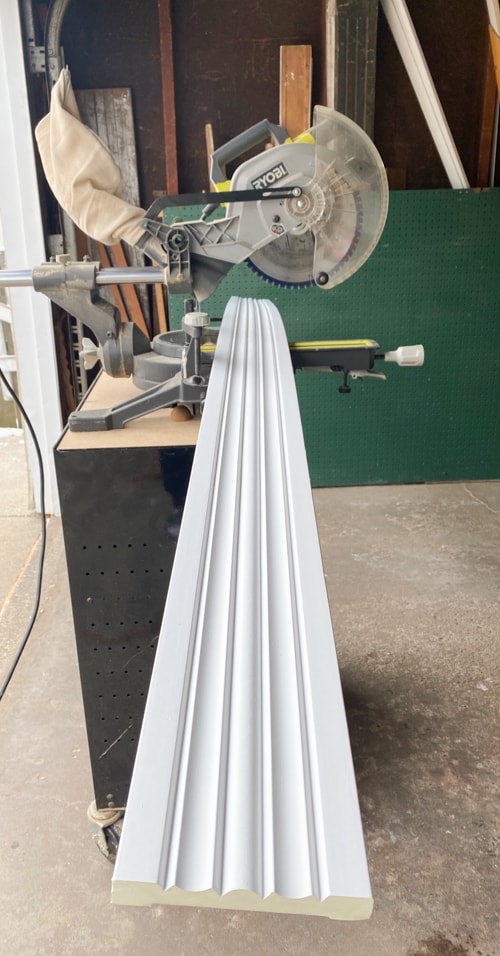
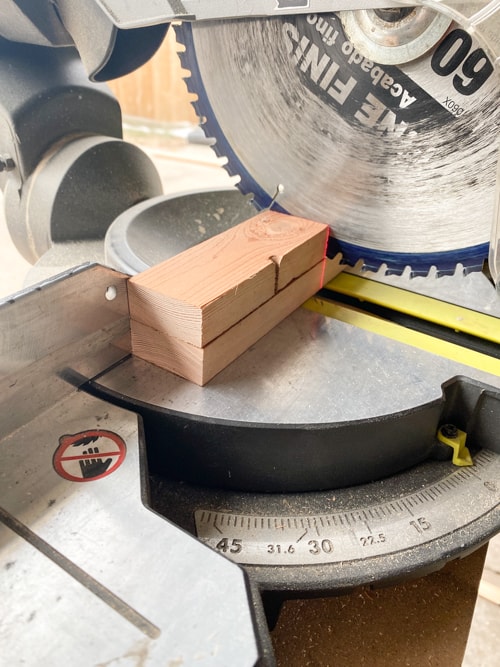
- The moulding was so easy to cut with the miter saw.
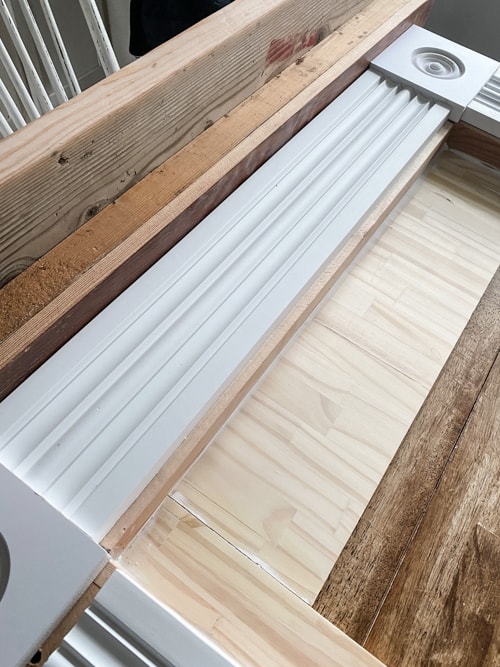
- We used a construction adhesive to attach them to the mantel.
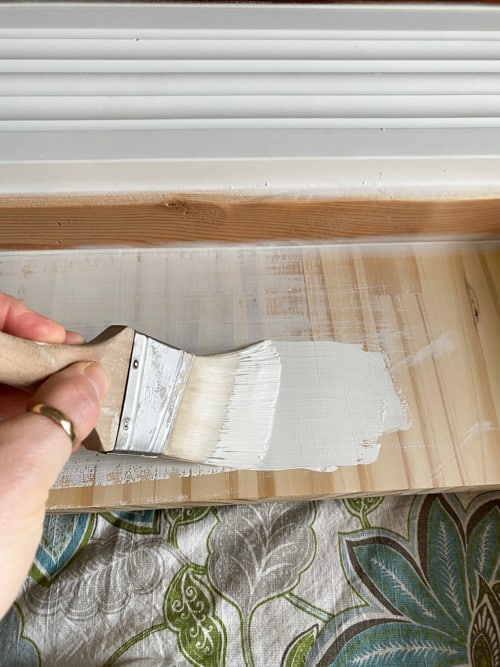
- Once everything was on, I painted everything in a crisp white.
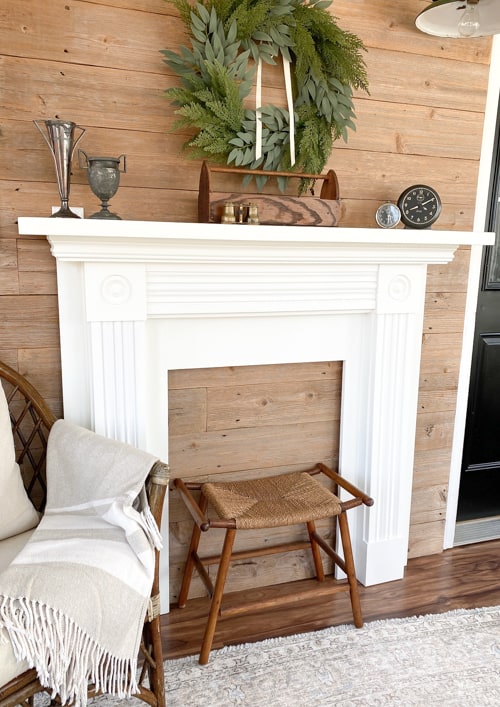
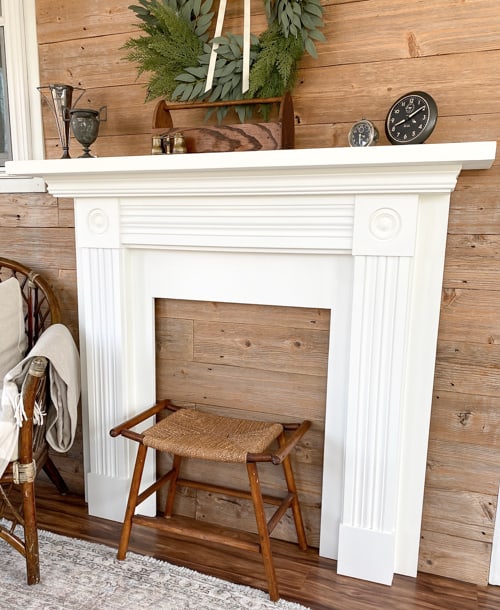
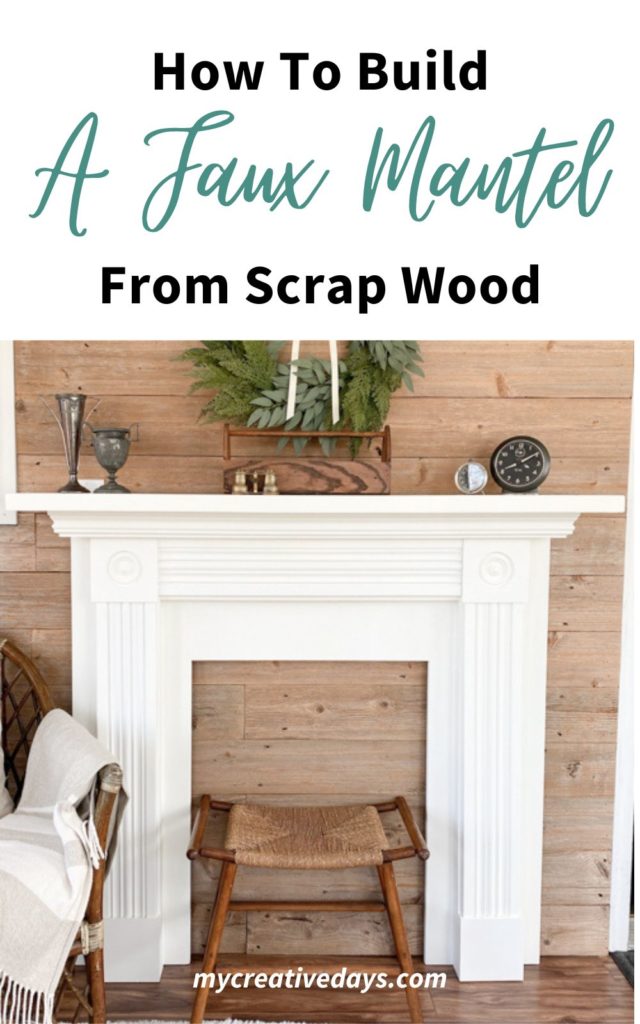
Look at this DIY mantel!
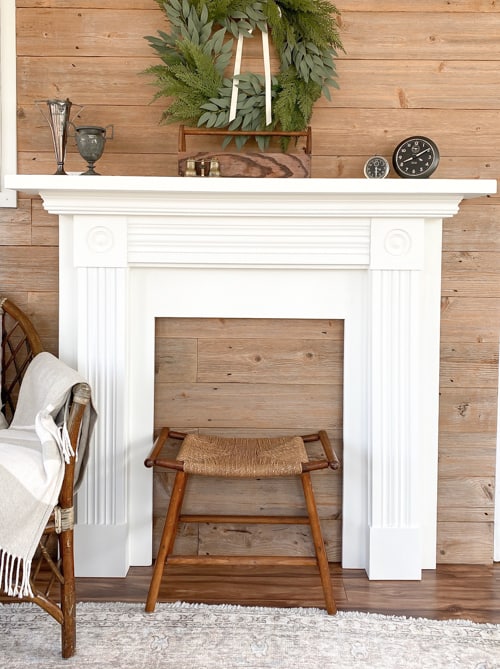
I am so happy with the outcome.
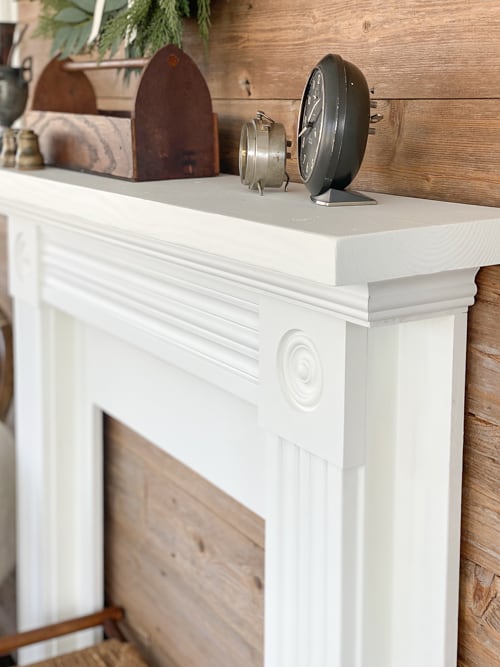
I love what you can do with scrap wood. To see 21 Scrap Wood DIY Projects For Your Home, head to my post HERE.
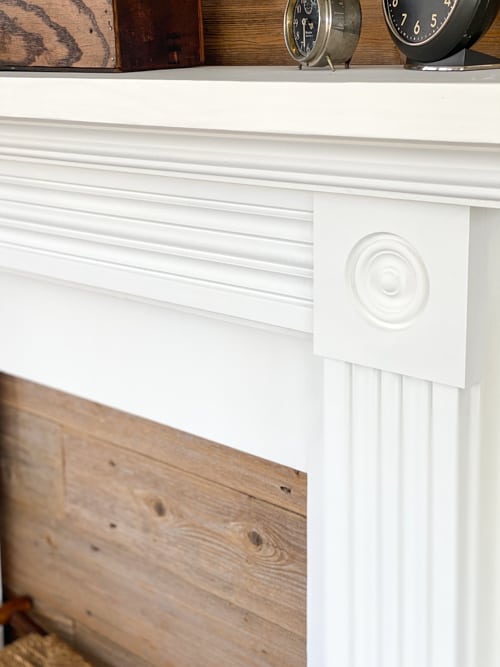
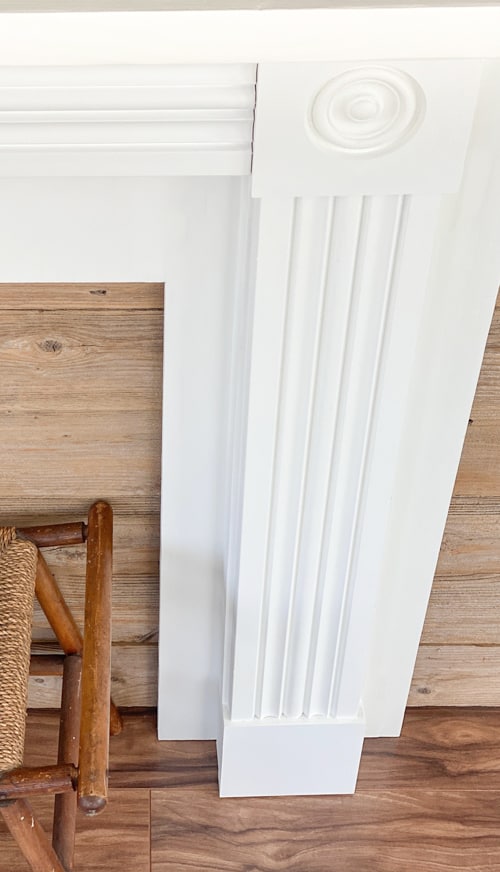
We have made so many different kinds of mantels out of so many things. This one is one of my favorites so far.
Do You Want To Make Money Flipping Furniture?
After twenty years of doing this, I am still picking up pieces when I can find them because I love the creative outlet, but I am now coaching other furniture flippers on how to make more money in their business. If you are someone who is looking to start and/or grow a furniture flipping business, I would love to help you. There are ways to make money in your business beyond painting a piece of furniture. Once I learned that, my business flourished. Don’t waste your time trying to figure it out on your own.
To help other flippers, I created The Furniture Flipping Academy! The academy includes everything you need to start, grow, and/or scale a furniture flipping business. It includes courses, resources, templates, social media planner and guide, a private community, and so much more. It will ensure that you are doing the steps that will lead to success and not wasting your time on things that won’t.
You can find all the information about the Furniture Flipping Academy HERE.
Let’s get your business started and/or moving in the right direction. The Furniture Flipping Academy is for any flipper, from beginner to experienced. If your business is stagnant, there is a reason for that. Let me help you grow it into a flipping career that is profitable and fits the lifestyle you want to live.
PIN THIS POST!
If you liked this DIY mantel, you will also love these mantel ideas:
How To Make A Faux Mantel Tutorial

