If you have an old door, you can create a bench fairly easily. In this DIY bench tutorial, I am going to share how we take amazing old doors that are headed for the landfill and turn them into functional benches to be used for years to come.
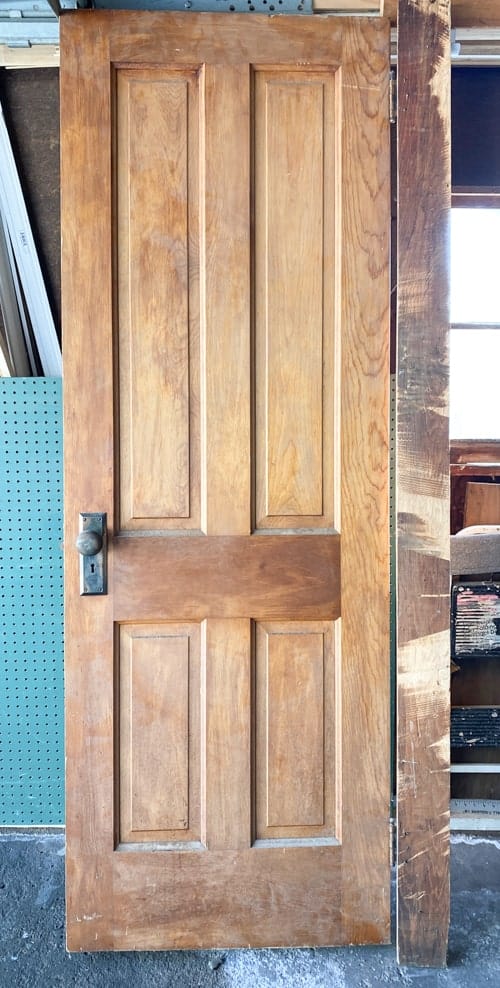
I found this door at my local Restore.
{Affiliate links are used in this post. Click on any of the underlined links to find the products I am talking about. You can read my disclosure HERE.}
Supplies Used In This Makeover
Old Door
Surfprep Sander (code “mycreativedays10” will save on your order)
Screws (you do get some screws in the pocket hole set)
DIY Bench Tutorial
- Remove doorknobs and hinges.
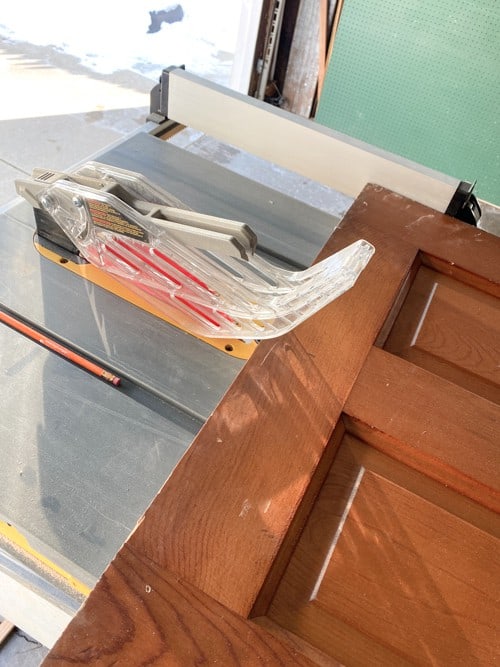
- Cut the door in half vertically with the table saw.
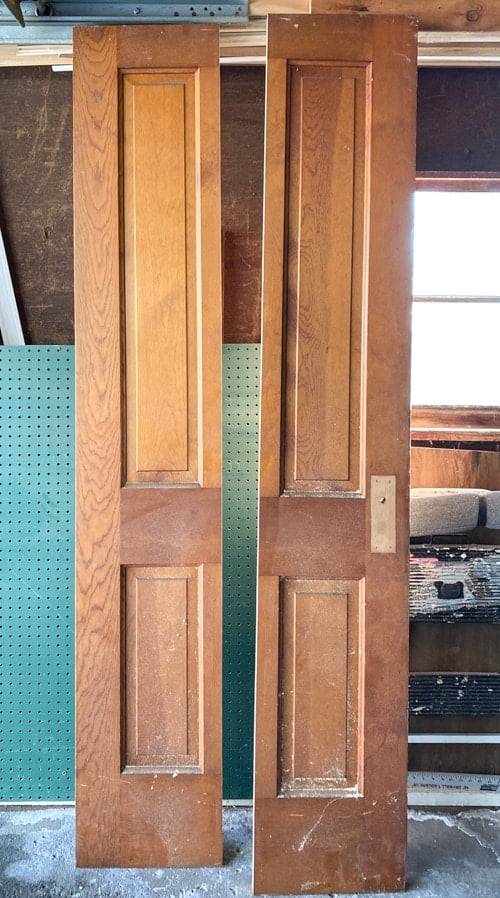
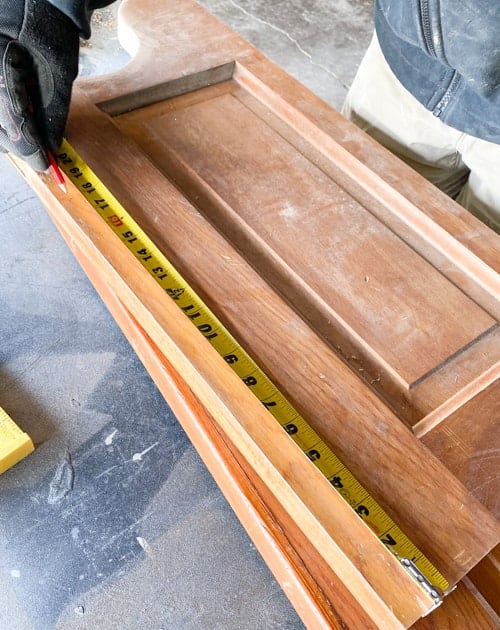
- Next, we measured the space at the top of the doors to get a measurement of where we needed to cut them in the middle. We wanted those measurements to be the same. It was 3.5″ on the top, so we measured 3.5″ below the indented top section of the door. The bottom portions of the door halves will be the sides of the bench and the top portions will be the seat and the back of the bench.
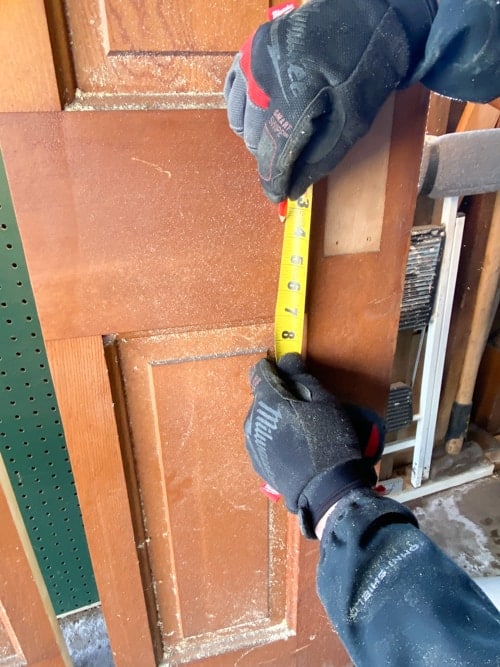
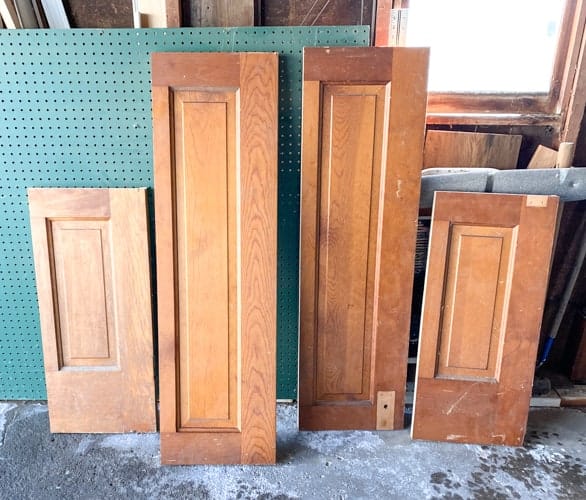
- I wanted this bench to be 18″ tall.
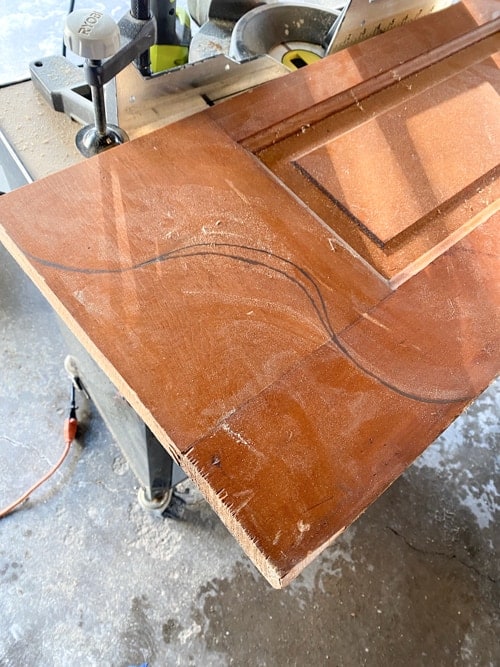
- Next, I drew the curve I wanted the arms to have.
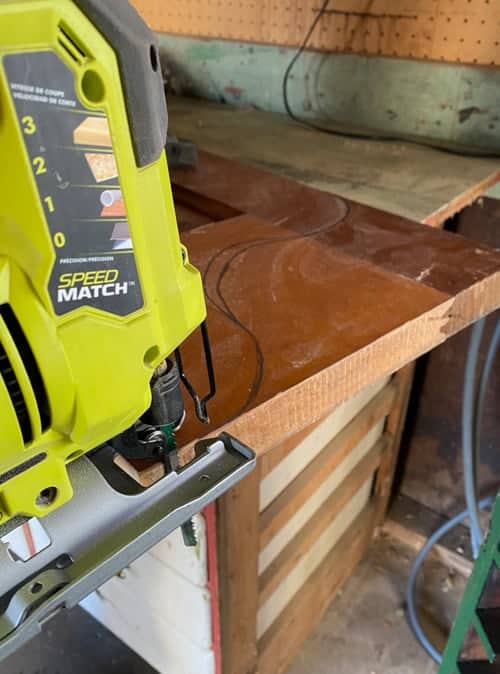
- We cut the curve on both sides with a jigsaw.
- Then, sanded the edges smooth.
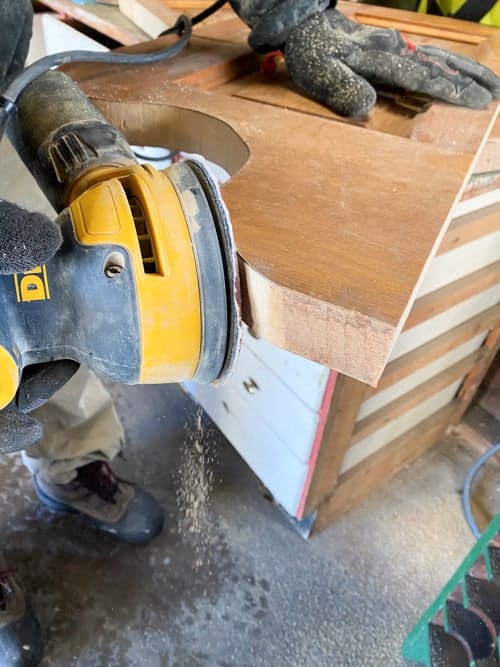
- Next, it was time to work on the seat of the bench.
- The door came with the trim board attached to it so we used that on the front of the seat.
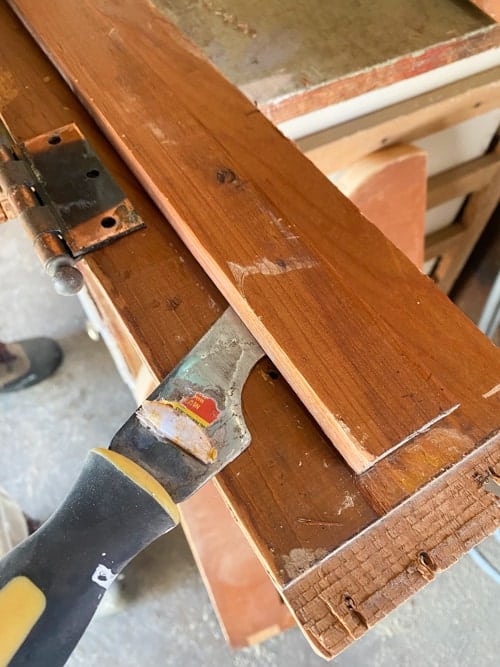
- We measured the seat of the bench that we cut to cut the trim down to fit.
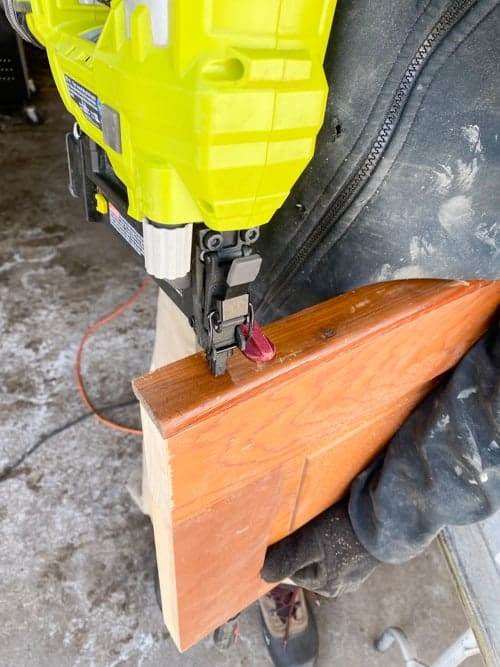
- The trim got attached to the front of the “seat”.
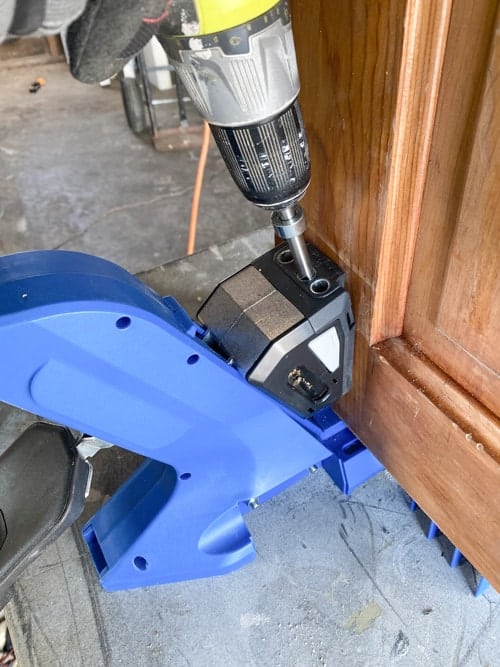
- We used a Kreg Pocket Hole Jig 720 to add the pocket holes to the seat and the back of the bench.
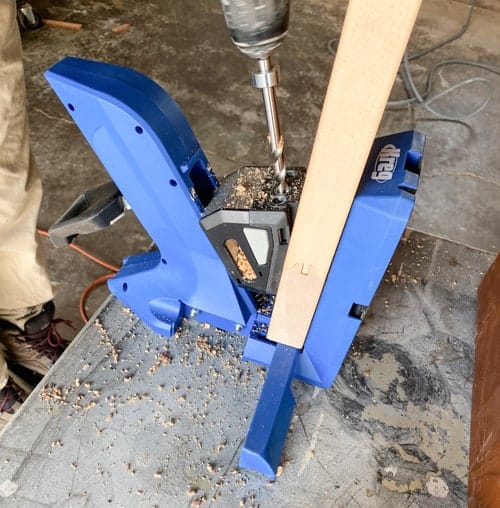
The Kreg tool makes this project easy!
- Once the holes were in the seat and arms, it was time to put them together.
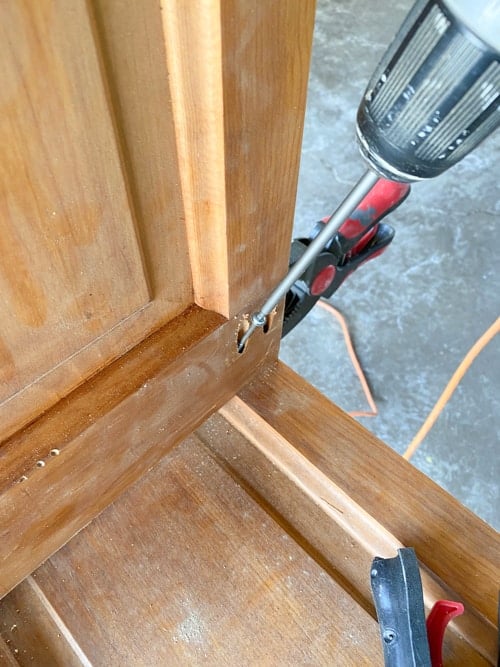
- The photo below shows where the pocket holes are and that is where we drilled the screws in to hold it all together.
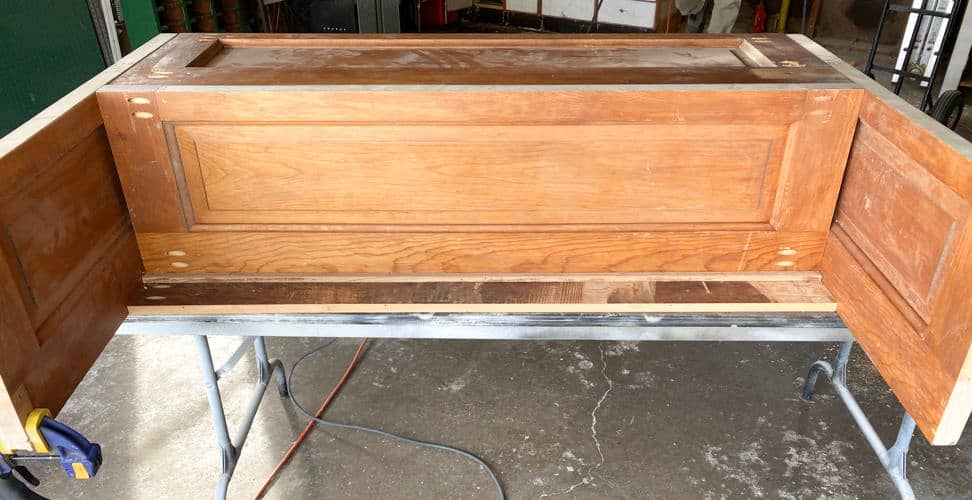
- After the seat was attached to the arms, it was time to add the back.
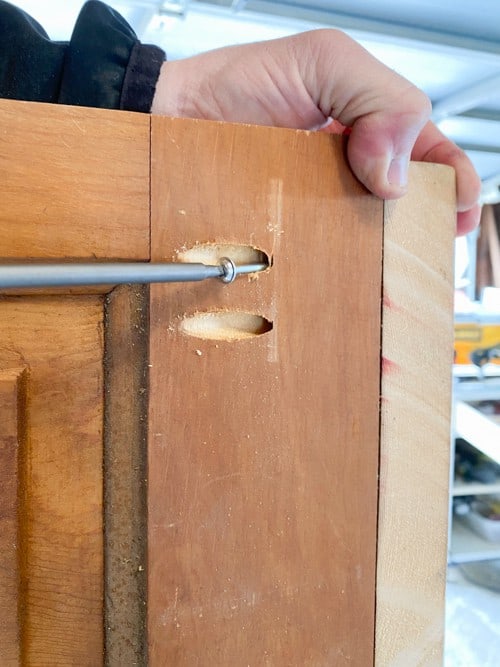
- The bench is put together.
- We used another piece of trim that came with the door to create a “skirt” on the front of the bench.
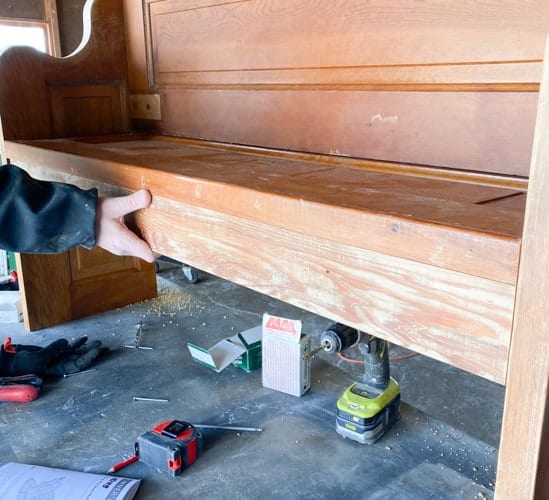
- I scuff-sanded the entire piece with my Surfprep. If you want to know how to scuff-sand the right way, head to my post HERE.
- I applied Restor-A-Finish all over the bench.
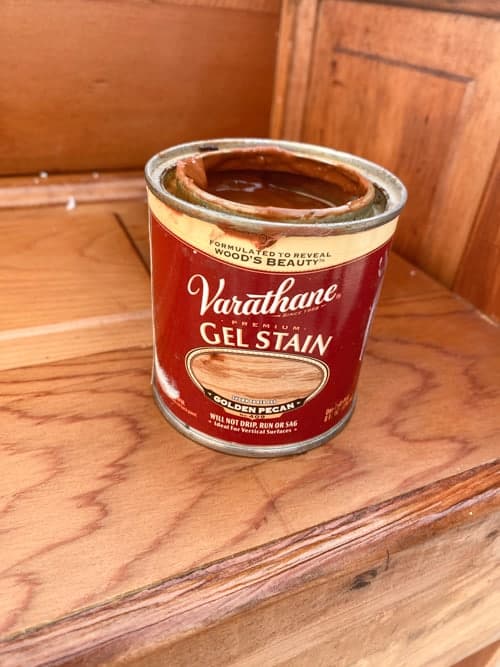
- I applied gel stain in the areas we cut that showed raw wood.
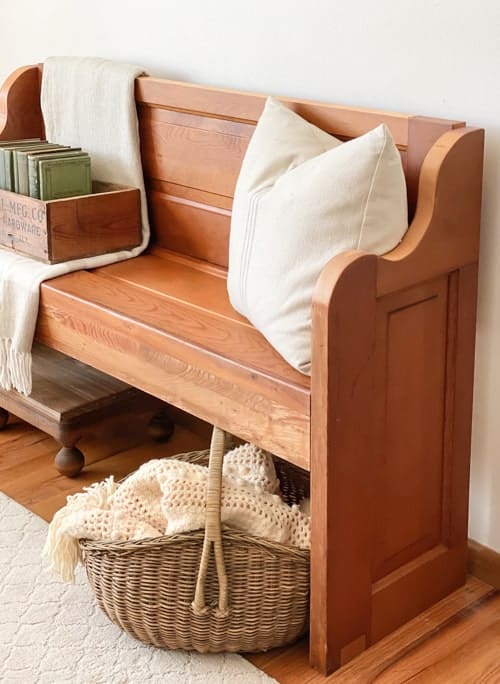
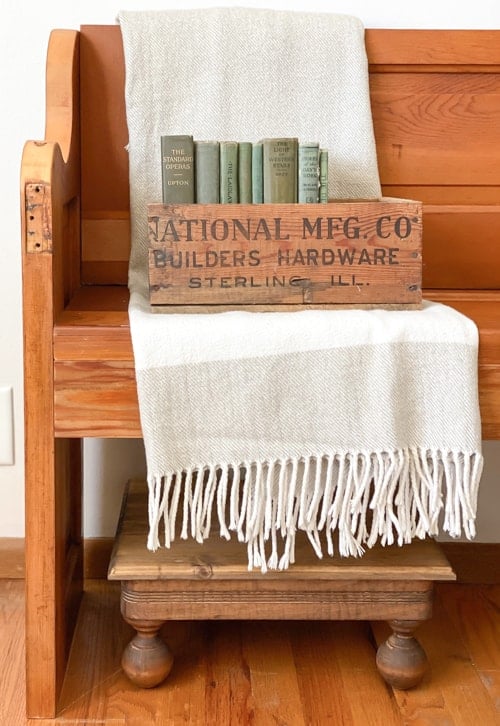
The bench is complete!
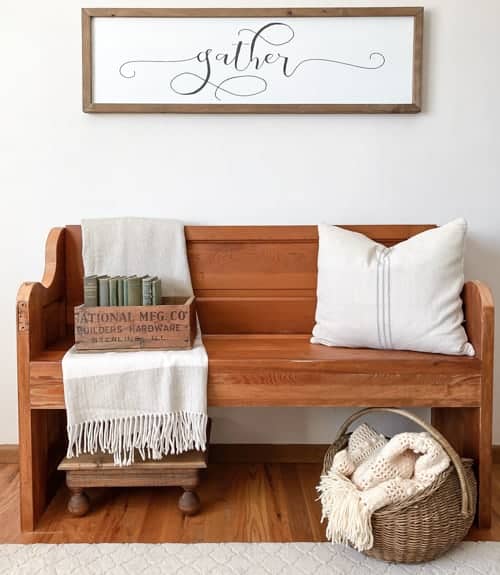
Restor-A-Finish covered all the scratches in the wood.
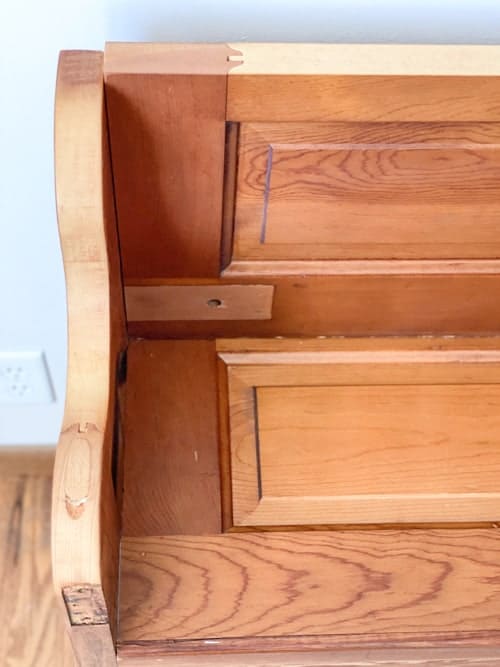
It still has hints of the old door but functions and looks like a beautiful bench.
What do you think of this project? Would you try it after seeing this tutorial?
Do You Want To Make Money Flipping Furniture?
After twenty years of doing this, I am still picking up pieces when I can find them because I love the creative outlet, but I am now coaching other furniture flippers on how to make more money in their business. If you are someone who is looking to start and/or grow a furniture flipping business, I would love to help you. There are ways to make money in your business beyond painting a piece of furniture. Once I learned that, my business flourished. Don’t waste your time trying to figure it out on your own.
To help other flippers, I created The Furniture Flipping Academy! The academy includes everything you need to start, grow, and/or scale a furniture flipping business. It includes courses, resources, templates, social media planner and guide, a private community, and so much more. It will ensure that you are doing the steps that will lead to success and not wasting your time on things that won’t.
You can find all the information about the Furniture Flipping Academy HERE.
PIN THIS POST!
If you liked this DIY Bench Tutorial, you will also love these projects:
DIY Industrial Coffee Table From A Metal Cabinet
How To Make DIY Lanterns From Scrap Wood

