This DIY Fall Centerpiece gives the look of a terra cotta pumpkin vase for a lot less by using paper mache, paint, and baking soda!
I love the look of terra cotta and pumpkins in the fall. Some of the pumpkin pieces in retail stores are very expensive. I wanted to get the look of a terra cotta pumpkin vessel without the heft price tag I have seen in stores. I was able to do it in the easiest and most inexpensive way.
{Affiliate links are used in this post. Click on any of the underlined links to find the products I am talking about. You can read my disclosure HERE.}
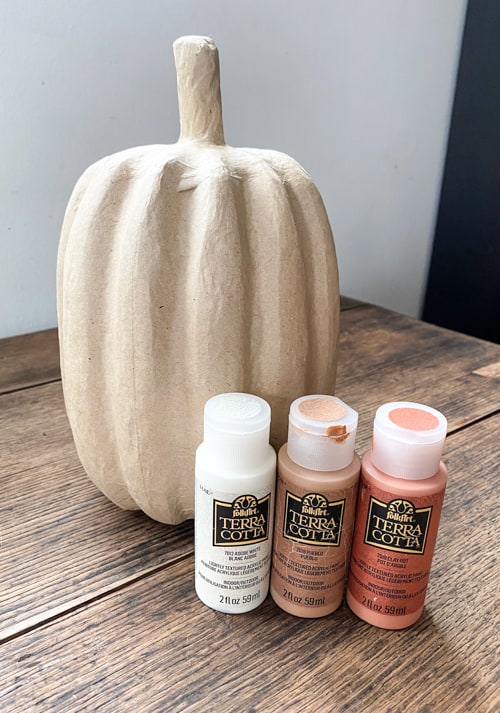
Supplies Used To Create This DIY Fall Centerpiece
Paper Mache Pumpkin (you can make these any size)
Terra Cotta Paint (this is the set I got)
Baking Soda
Paintbrushes
4 Easy Steps To Creating This Centerpiece
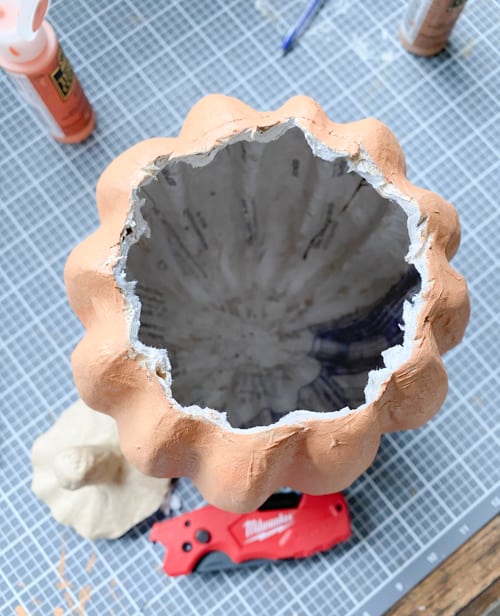
- First, you want to use a utility knife to cut off the top of the paper mache pumpkin.
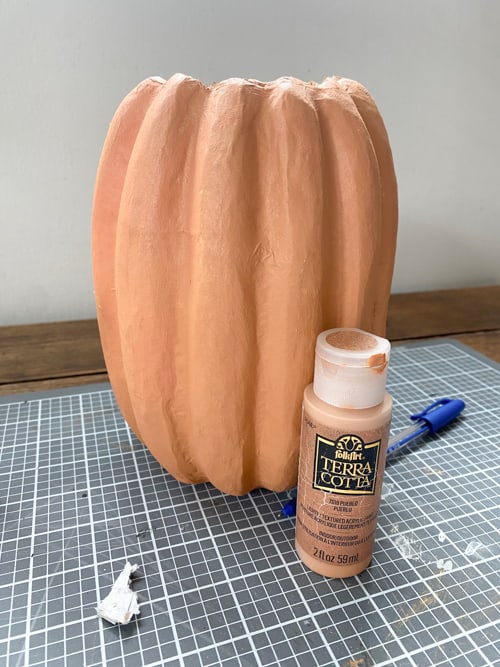
- Next, paint the pumpkin. You can paint it any color you like. I was going for a real terra cotta look.
- If you are going for the terra cotta look, once the paint is dry, use a smaller paintbrush and add some extra paint (or glue) to the crevices of the pumpkin. Then sprinkle with baking soda.
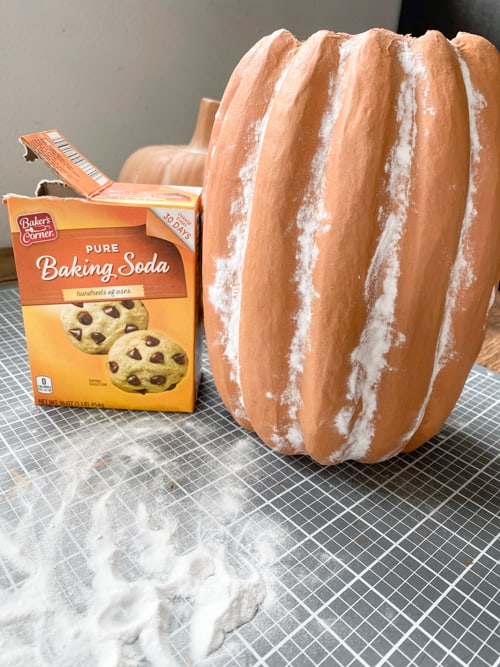
- Let the baking soda sit until the paint or glue is fully dry.
- Once dry, tap the pumpkin so the excess baking soda comes off. I also used a soft paintbrush to get the baking soda off and give it the look I was after. (You will see what I mean by this in my video of this project linked below.)
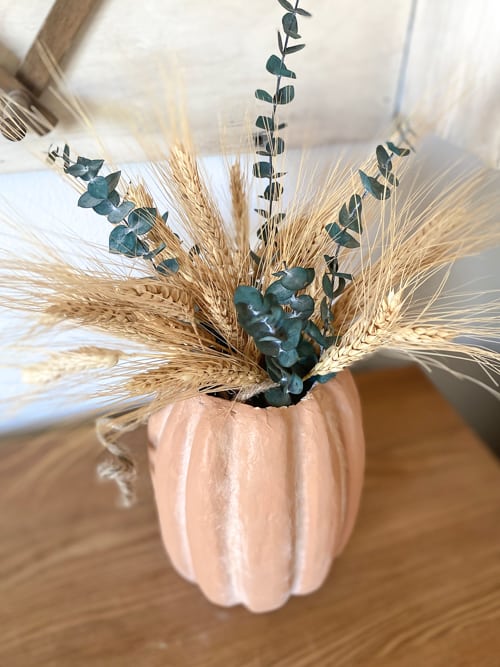
- Then, fill your vessel with whatever fall stems you like!
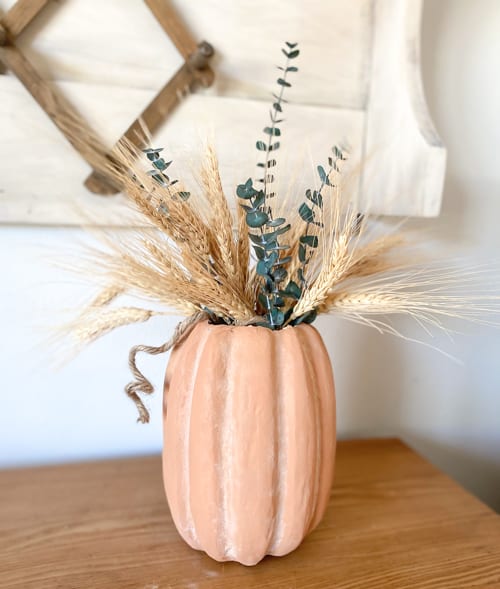
I shared this entire project in real-time in my video on my YouTube channel HERE. Make sure to SUBSCRIBE when you are there so you don’t miss any of the DIY videos. I am sharing new videos every, single week!
If this a project you would try? If you do, I would love to see it! Share a photo on Instagram and tag me @mycreativedays so I don’t miss it!
PIN THIS POST!
If you liked this project, you will also love these fall projects:
The Easiest DIY Terra Cotta Pumpkin

