I want to thank Durham’s for sponsoring this How to Fill a Table Crack post!
Whether you have a treasured antique table or a modern piece, cracks can develop over time. Using Durham’s Rock Hard Water Putty, a reliable and durable repair product, you can restore your table to its former glory. This guide will walk you through the process of how to fill a table crack, ensuring a smooth and professional finish.
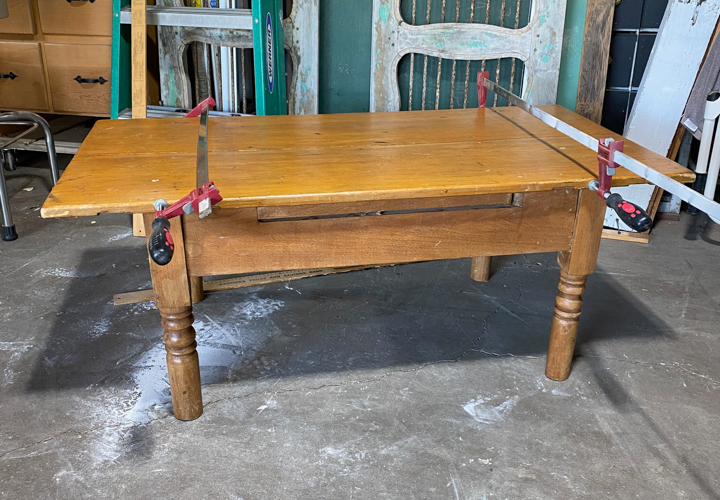
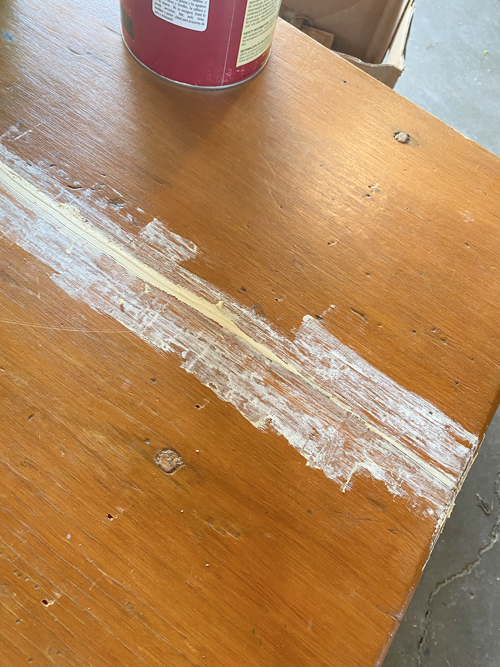
I found this table at my local Salvation Army store. It was a small dining table they cut down to be a coffee table. We have done that many times over the years. I was excited to bring this one home and give it a makeover.
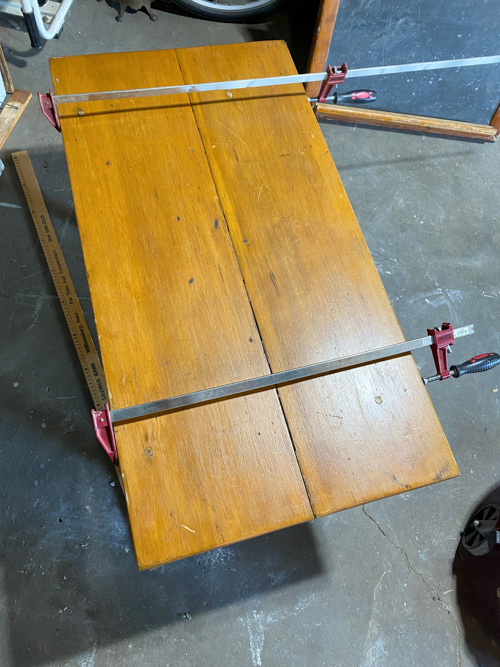
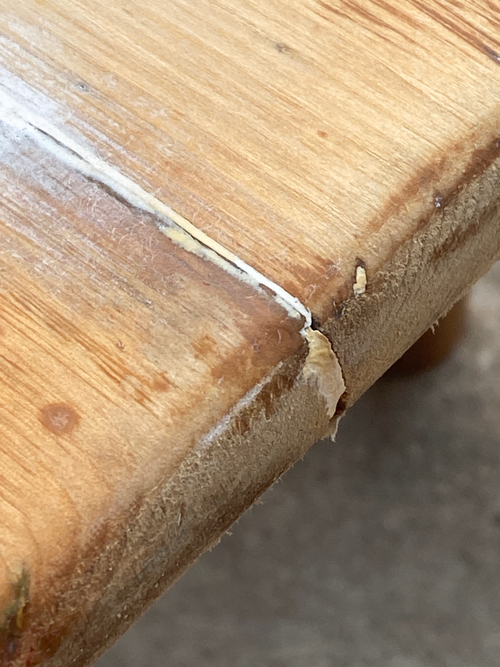
There was a big separation on the top of the table. We wanted to bring them as close together as we could before I used the Rock Hard to fill the crack. So, we clamped the table together.
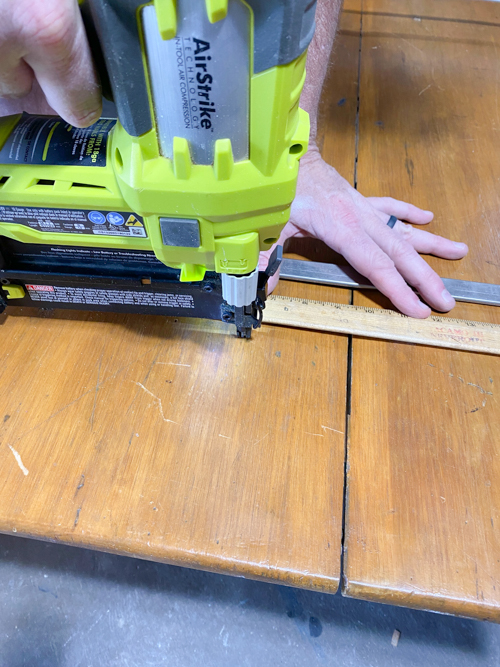
Then, we used a nail gun to hold it in place.
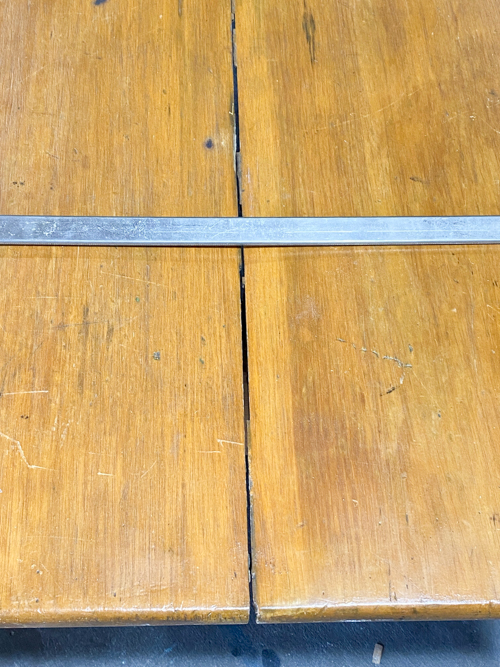
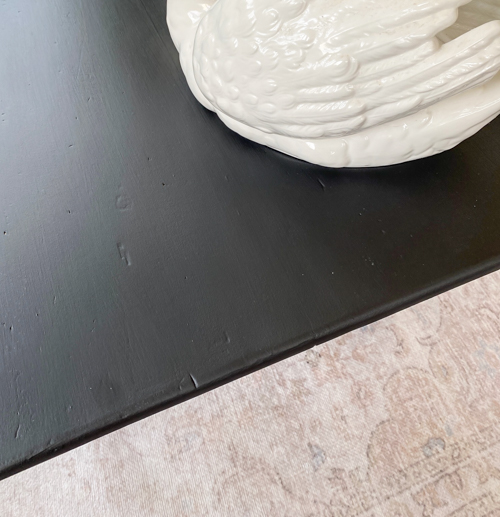
The crack was smaller, but it still needed to be filled before I painted the table.
Why Choose Durham’s Rock Hard for Table Repairs?
Durham’s Rock Hard Water Putty is an ideal choice for how to fill a crack in a table due to its:
- Strength and Durability: Provides a robust and lasting repair that resists shrinking and cracking.
- Versatility: Works well on various surfaces, including wood, making it perfect for table repairs.
- Ease of Use: Simple to mix and apply, making it accessible for both DIY enthusiasts and professionals.
- Sandability and Paintability: Once cured, it can be easily sanded and painted to match your table’s finish.
{Affiliate links are used in this post. Click on any of the underlined links to find the products I am talking about. You can read my disclosure HERE.}
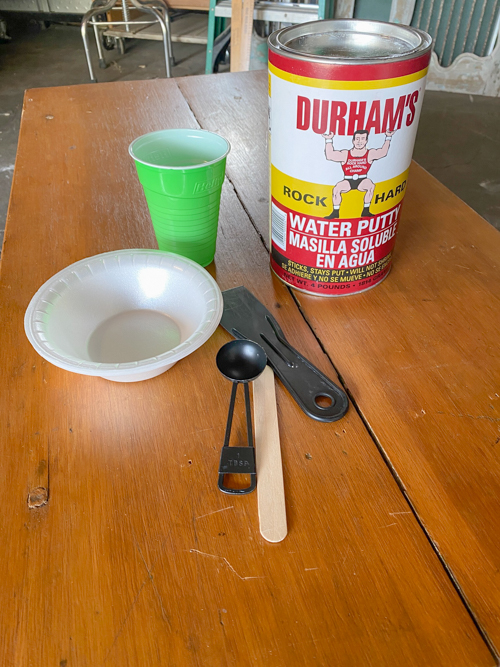
Materials For How to Fill a Table Crack
Durham’s Rock Hard Water Putty
Mixing container and stir stick
Water
Sandpaper (medium and fine grit)
Cloth for cleaning dust
Step-by-Step Guide How to Fill a Table Crack with Durham’s Rock Hard
Step 1: Prepare the Table Surface
- Clean the Crack: Remove any debris, dust, or loose material from the crack using a cloth or vacuum. This ensures a clean surface for the putty to adhere to.
- Sand the Area: Lightly sand around the crack to create a smooth surface and enhance adhesion. Use medium-grit sandpaper for this step.
Step 2: Mix the Putty
- Read Instructions: Always refer to the product’s instructions for precise mixing ratios. You don’t need a lot for a project like this. I was able to do it all with a 3T to 1T mix. That was it. I love that the Rock Hard is a dry powder that I make as I need it. That means it will never dry out like other fillers can do. I feel like I don’t waste any of the product either like you can with pre-made fillers.
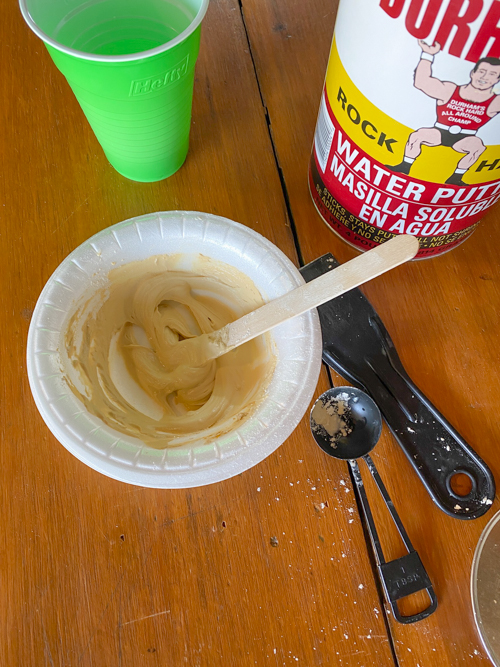
- Mix Putty and Water: In a clean container, mix Durham’s Rock Hard Water Putty with water. Adjust measurements as needed to achieve a creamy, peanut butter-like consistency.
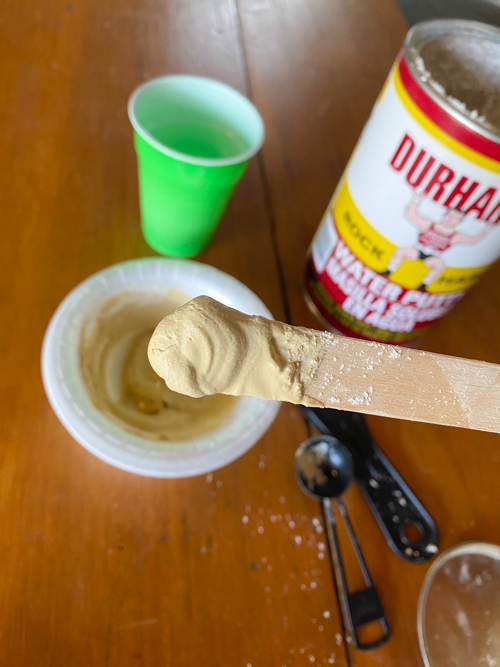
- Stir Thoroughly: Ensure the putty is mixed well without lumps.
Step 3: Apply the Putty
- Fill the Crack: Use a putty knife to press the mixed putty into the crack. Ensure the crack is completely filled and the putty is level with the table surface.
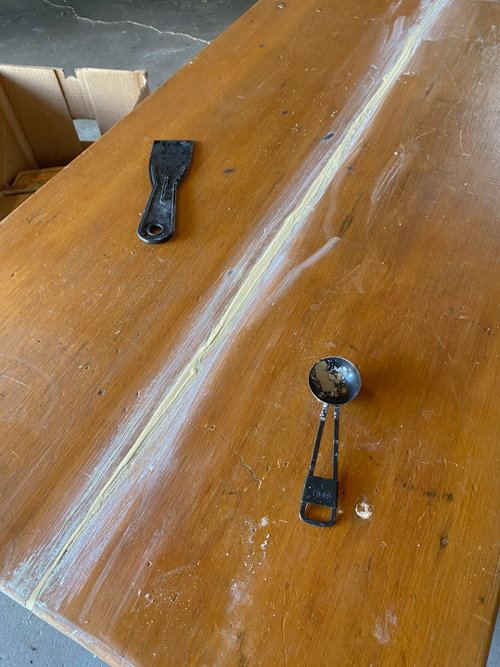
- Smooth the Surface: Smooth the putty with the putty knife, removing any excess. For deeper cracks, you might need to apply the putty in layers, allowing each layer to dry before adding the next. You don’t want to leave a lot of excess around your crack. That will help when it comes to sanding.
Step 4: Allow the Putty to Dry
- Drying Time: Let the putty dry completely according to the product’s instructions. Typically, this may take several hours, but drying times can vary based on the depth of the crack and environmental conditions.
- Avoid Handling: Avoid disturbing the repair area during the drying process to ensure a smooth finish.
Step 5: Sand the Repaired Area
- Initial Sanding: Once the putty is fully dry, sand the repaired area with medium-grit sandpaper to smooth out any roughness.
- Finish Sanding: Follow with fine-grit sandpaper to achieve a polished surface that blends seamlessly with the surrounding table surface.
- Clean the Dust: Wipe away sanding dust with a cloth or vacuum to prepare for painting.
Step 6: Finish the Repair
- Stain or Paint: If needed, apply wood stain or paint to the repaired area to match the table’s finish. Follow the product’s instructions for the best results.
- Seal the Surface: Consider applying a protective sealant or finish to enhance durability and match the rest of the table.
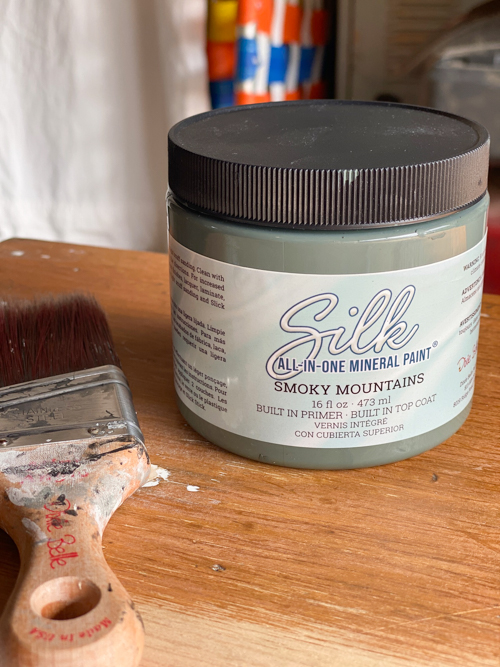
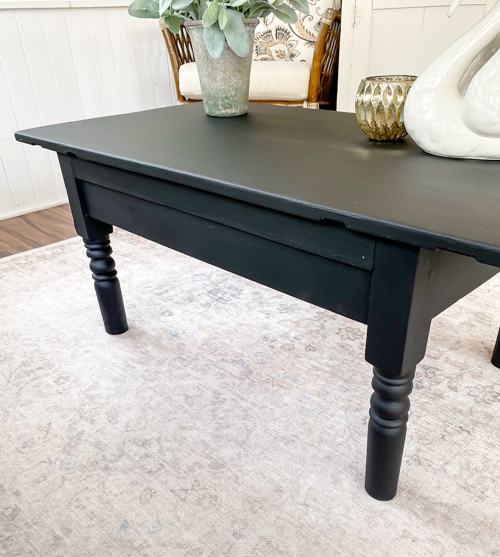
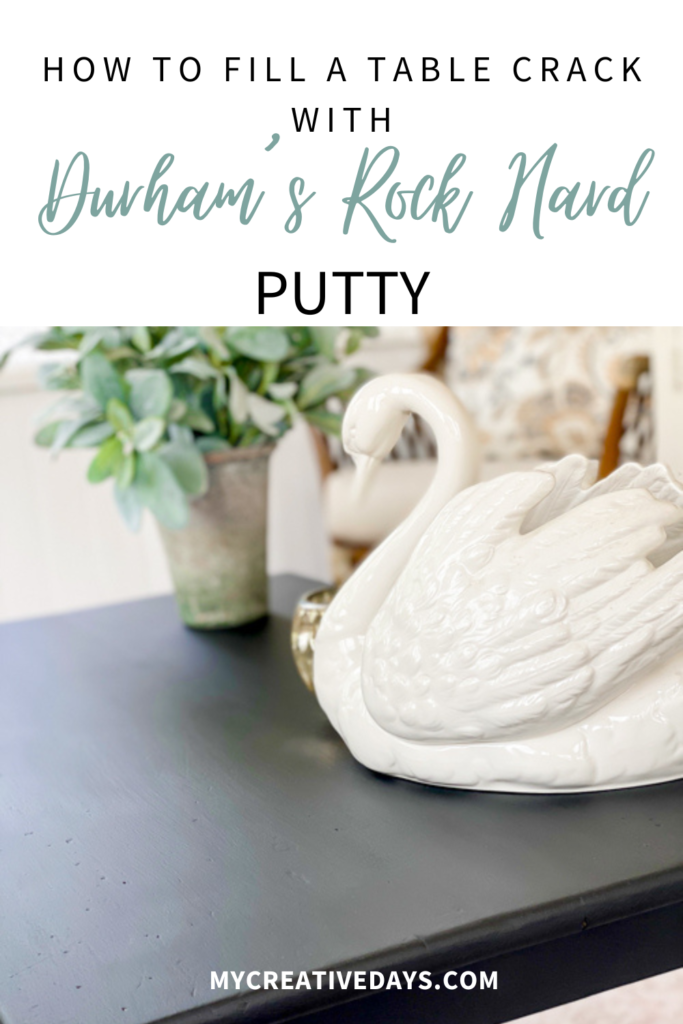
I thought I was going to paint this table a smoky blue color, but I decided to paint it in “Anchor“. It was the right choice.
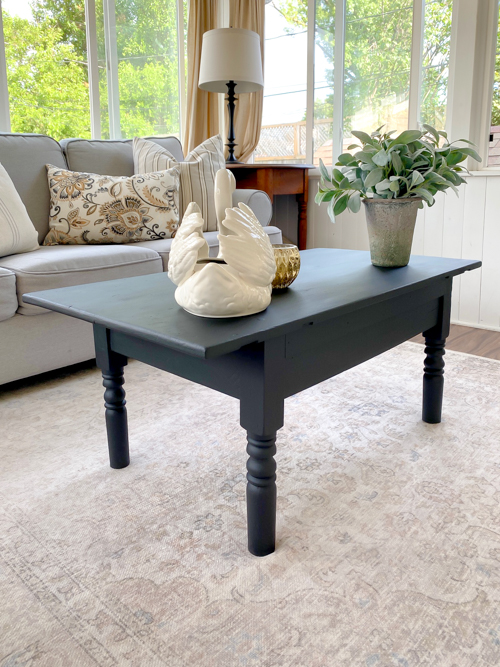
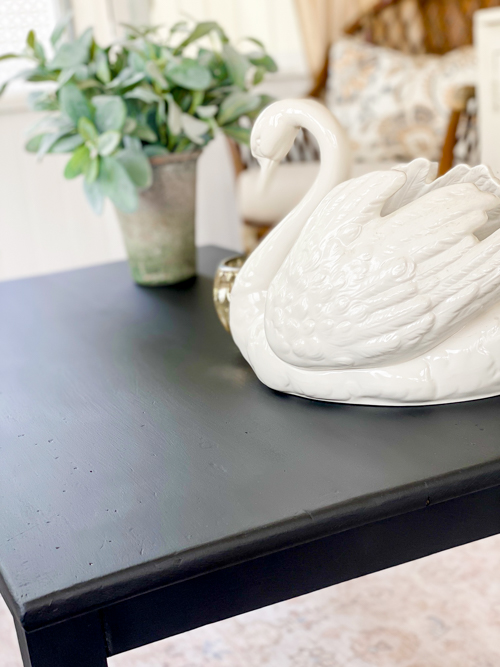
I love how this table turned out. The original orange finish had to go. The black color makes a statement.
We added some trim pieces to the two longer sides of the table where the original dining table had some push-out wood pieces to hold up the sides.
Tips for a Professional Finish
- Test on a Small Area: Before applying the putty to a visible area, test on a small, inconspicuous section to ensure color and texture compatibility.
- Use Quality Tools: Invest in a good putty knife and sandpaper to achieve a smooth, professional finish.
- Work in a Well-Ventilated Area: Ensure proper ventilation when working with putty and finishing products to avoid inhaling fumes.

Common Mistakes to Avoid
- Overfilling the Crack: Avoid applying too much putty at once, as this can lead to excessive sanding and an uneven surface.
- Insufficient Mixing: Ensure the putty is mixed thoroughly to avoid lumps that can affect the finish.
- Rushing the Drying Process: Allow adequate drying time to prevent compromising the strength of the repair.
I love what the Durham’s Rock Hard was able to do with this table. Since the table crack was bigger than the usual missing veneer that I fill, I knew the Rock Hard would be the answer.
How to Fill a Table Crack with Durham’s Rock Hard Water Putty is a straightforward process that can restore your table’s integrity and appearance. By following these steps on How to Fill a Table Crack and using the right materials, you can achieve a seamless and durable repair that blends beautifully with the rest of the table. Whether you’re fixing an antique heirloom or a contemporary piece, this method ensures a lasting and professional result. Enjoy the satisfaction of breathing new life into your table and maintaining its charm for years to come.
You can see me applying the putty in real-time in my YouTube video HERE.
PIN THIS POST!
If you liked this How to Fill a Table Crack post, you will also find these helpful:
Easy Way To Remove Water Rings On Wood Furniture
1 Comment