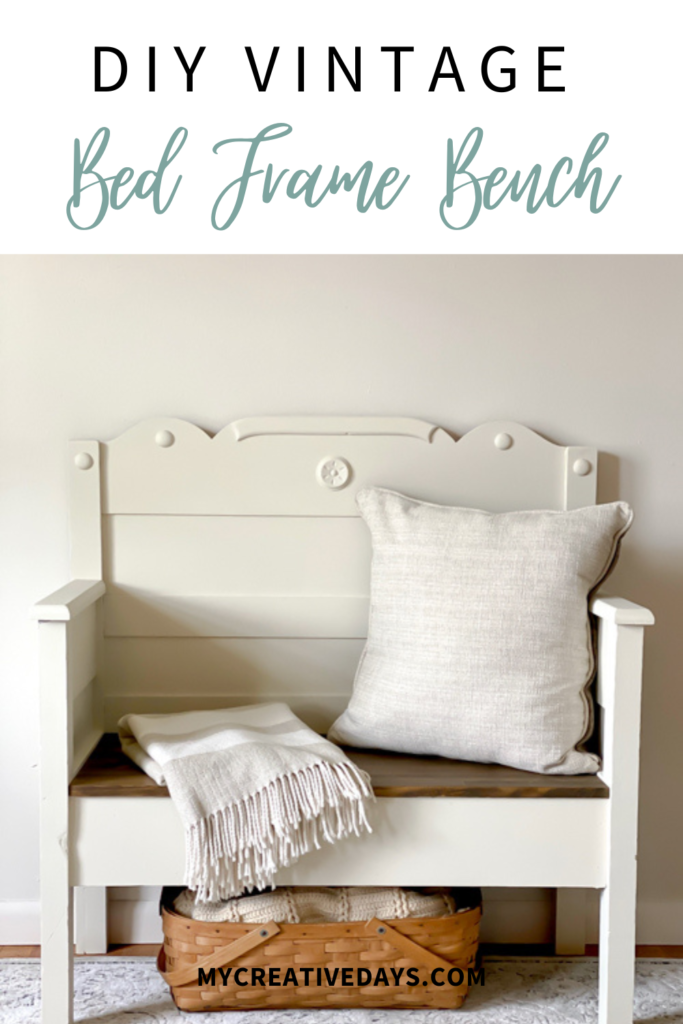
If you’ve ever stumbled upon a gorgeous, vintage bed frame at a thrift store or yard sale, you may have wondered how to repurpose it. One of our favorite ways is by turning it into a DIY Vintage Bed Frame Bench. Not only is this a creative way to upcycle old furniture, but it also adds a unique, personalized piece to your home.
In this blog post, I’ll walk you through how we transformed an old bed frame into a stunning bench that can be used in any space. This project is easier than you think, and it’s a great way to preserve the charm of vintage furniture. We have made so many of these and each time they are a little different because each bed is different. I have linked some of our other benches at the end of this post. Some of those have video tutorials to go along with the project as well. So, make sure to click on those and browse around. We have done many of these bench projects and I have them all here on the website.
{Affiliate links are used in this post. Click on any underlined links to find the products and sources I am referring to. You can read my disclosure HERE.}
Materials Needed for Your DIY Vintage Bed Frame Bench
- Vintage wood bed frame (headboard, foot board, and side rails)
- Wood for the seat
- Screws and scrap wood to make braces for support
- Sander and sandpaper
- Paint (I used my favorite all-in-one paint)
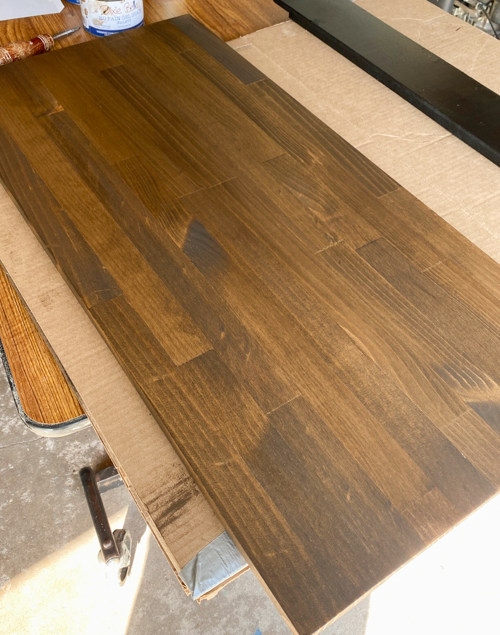
- Stain (I used the “walnut” color)
- Tools: drill, measuring tape, table saw (to cut seat), and miter saw
- XL Clamps
- MUD Filler
Step-by-Step Guide to Making Your DIY Vintage Bed Frame Bench
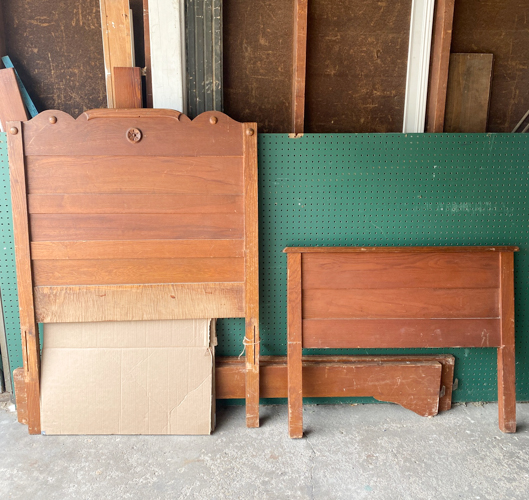
1. Choose Your Bed Frame
The first step in creating your DIY Vintage Bed Frame Bench is finding the perfect vintage bed. You’ll want a frame that has a solid wood headboard and footboard. Look for a frame with interesting details, like ornate carvings or a beautiful shape, to add character to your finished bench.
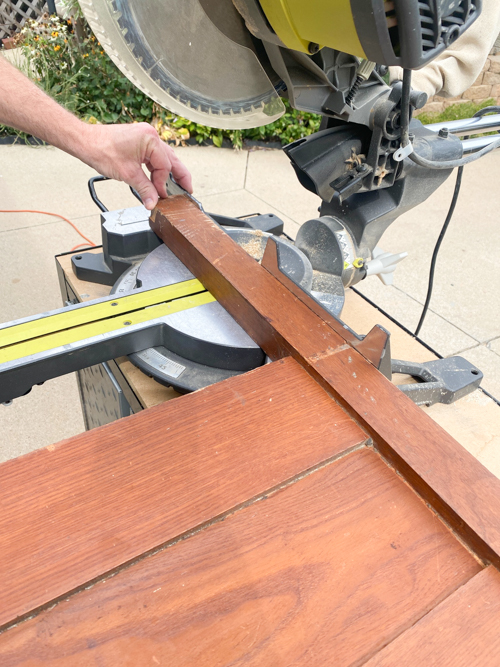
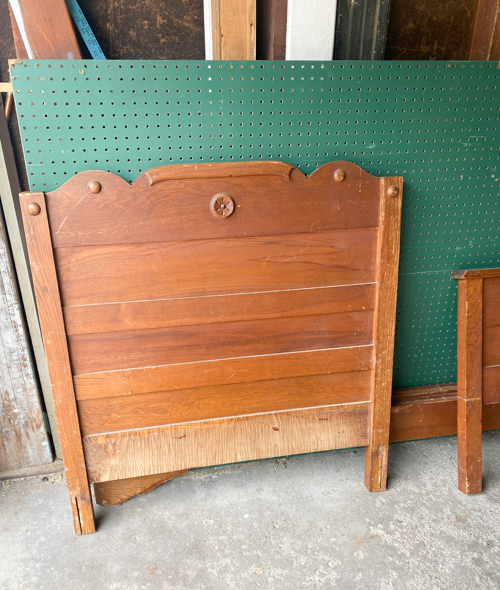
2. Cut the Footboard in Half
Once you have your bed frame, you will need to decide on what you want the measurements to be for your bench before cutting anything. Our benches are usually 38″- 40″ tall (that tells us how much we need to cut off the legs), 16″ deep (that tells us how much we need to cut the footboard to make the arms), and 17.5″ for the seat height so we know where to put the front piece and braces for the seat. When you have all that, it is time to cut the legs down on the headboard and cut the footboard for the size you want for the arms for your bench.
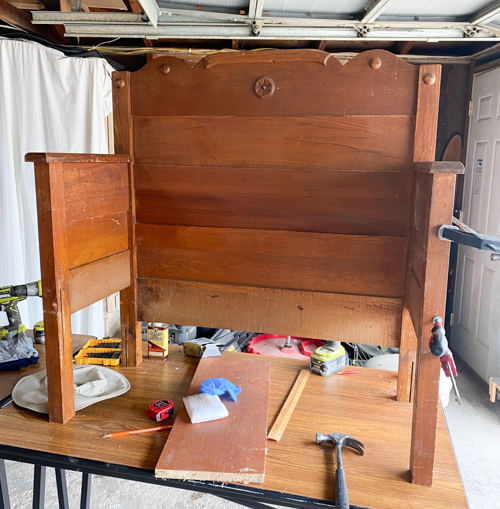
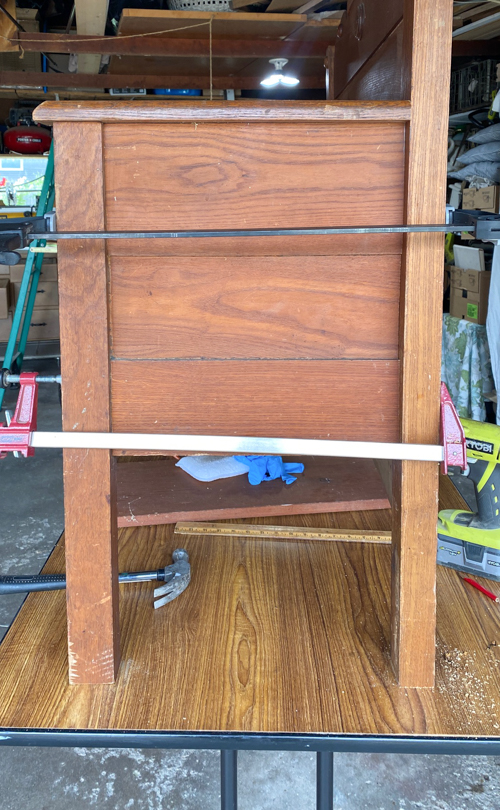
3. Assemble the Frame
Now that you have the armrests, attach them to the headboard. The headboard will act as the back of your bench, while the footboard halves will be the sides. Use strong screws to secure the pieces together. Make sure everything is level and sturdy by using XL clamps before screwing them together.
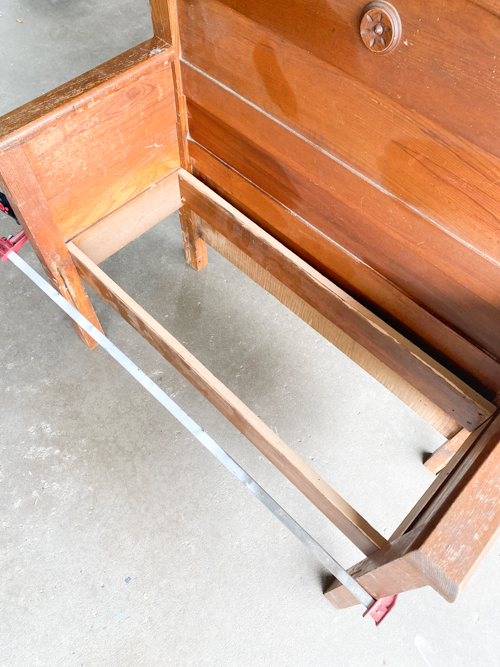
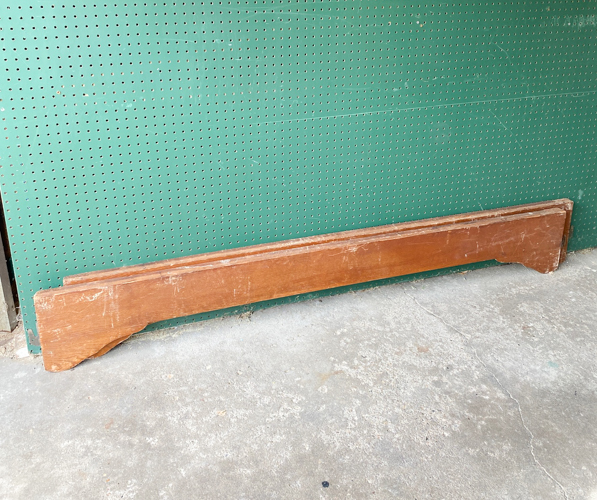
4. Add Seat Braces and Front Panel
Now it is time to add the seat braces. We used scrap wood we had in the garage. Measure, cut, and secure with screws. We cut down one of the side rails from the bed for the front panel of the bench.
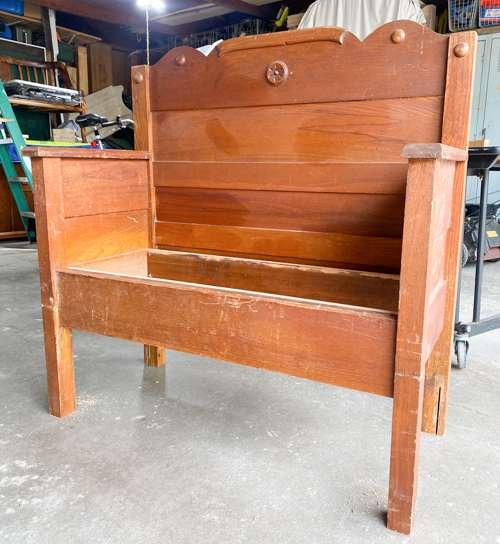
5. Add the Seat
Measure the distance between the sides of your bench and cut a piece of wood to fit as the seat. Attach the seat to the frame using screws. For added stability, we reinforce the seat with brackets underneath.
6. Sand and Finish
After assembling your DIY Vintage Bed Frame Bench, scuff sand it all to get it ready for paint. We stained the seat for this bench so we didn’t add the seat until I had the rest of it painted. I like using the all-in-one paint because it cuts out on a lot of steps but if you use another paint, you will want to add a topcoat.
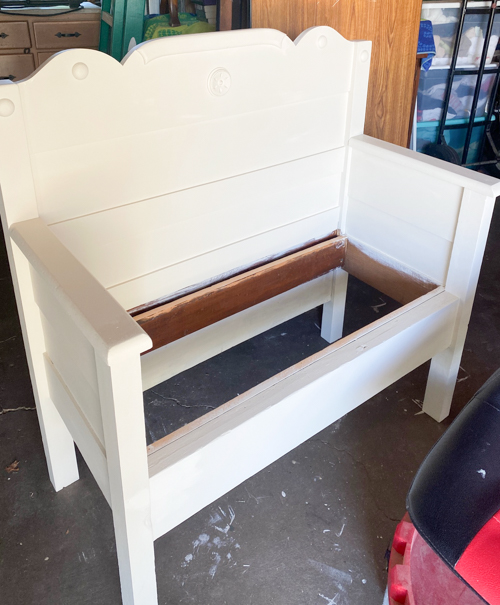
We have done so many of these benches; they are different every time, and I love them.
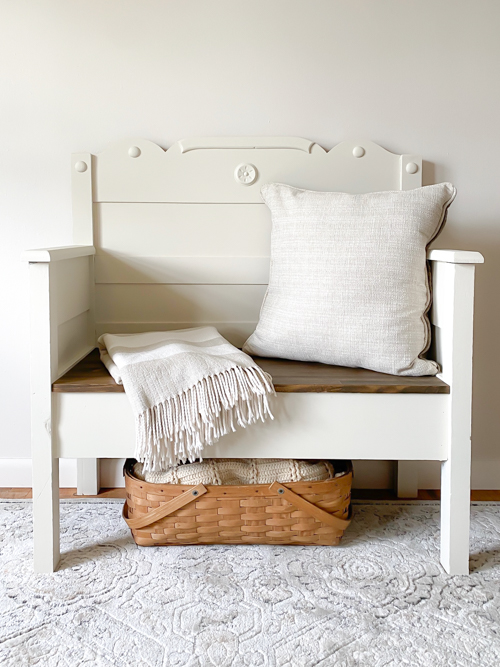
Each one has its personality and charm because every bed we rescue is different.
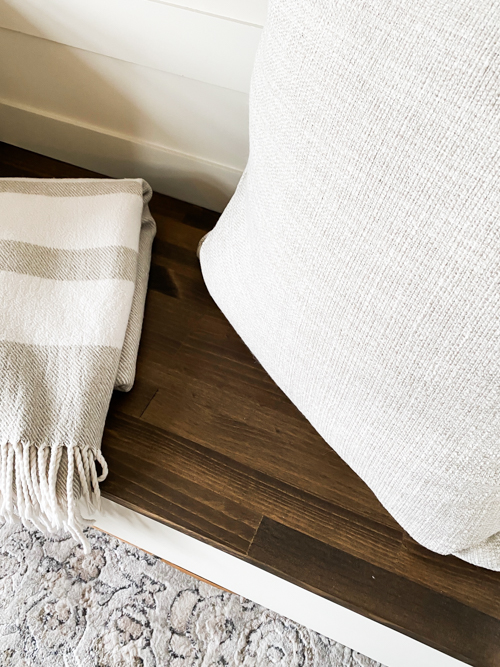
They are different sizes and the color is always different.
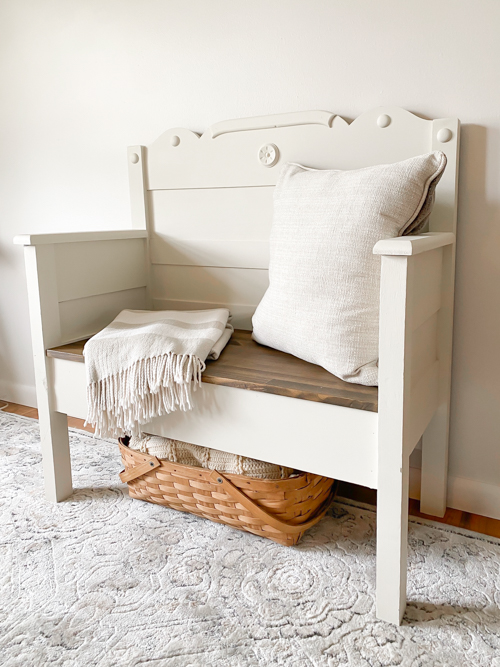
This one is perfect for a small entry, a bedroom, or even a living room.
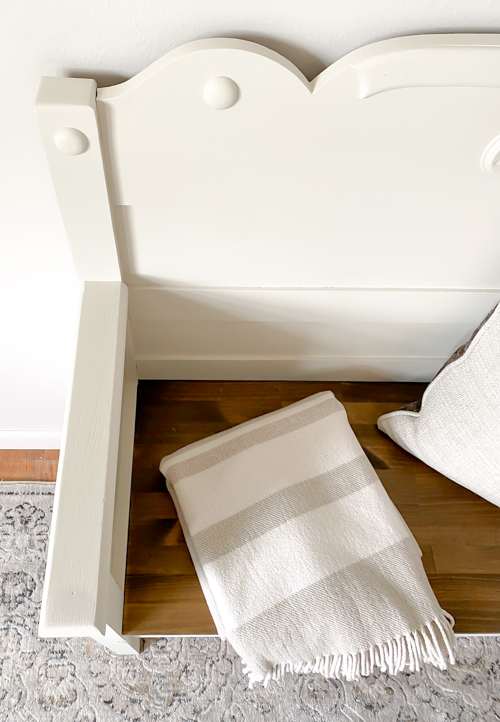
Why You’ll Love Your DIY Vintage Bed Frame Bench
A DIY Vintage Bed Frame Bench is a timeless, one-of-a-kind addition to any home. Whether you place it in your entryway as a welcoming seat or use it as extra seating in your living space, it’s a conversation starter that also showcases your creativity and craftsmanship.
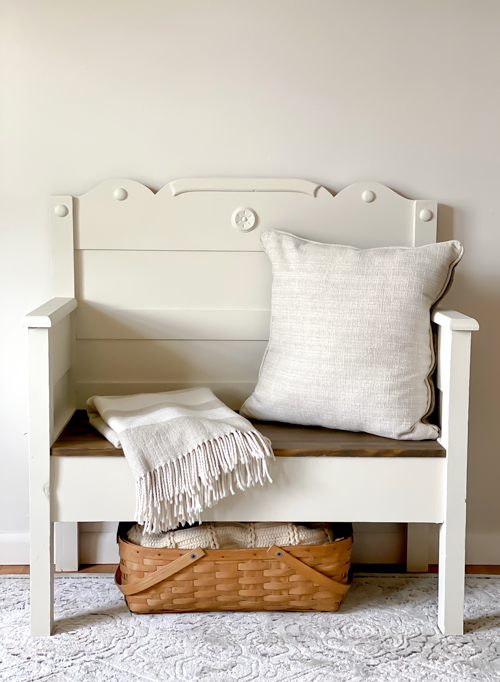
This project is also a fantastic way to breathe new life into old furniture, turning something that might otherwise be discarded into a functional, beautiful piece. Plus, by repurposing a vintage bed frame, you’re embracing sustainability and contributing to a more eco-friendly home.
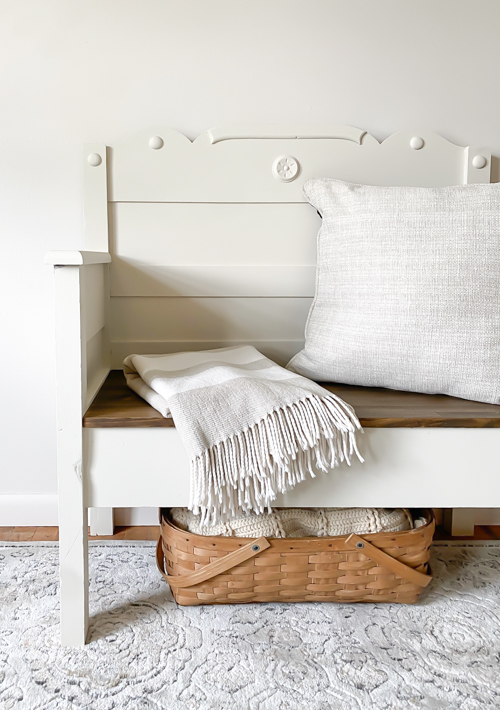
Creating a DIY Vintage Bed Frame Bench is a rewarding project for any DIY enthusiast, no matter your skill level. With just a few materials and some time, you can craft a stunning bench that combines vintage style with modern functionality.
You can find our bench videos on how we have done this many times on my YouTube channel HERE. Make sure you SUBSCRIBE when you are there. I am launching new videos every week!
PIN THIS POST!
If you liked this project, you will also love these bench projects:
Headboard and Footboard DIY Bench
DIY Bench Tutorial (made from an old door)


1 Comment