If you’ve ever looked at an old, tired dresser and wondered how to bring it back to life, a simple dresser makeover with paint is the perfect solution. Whether you’re updating a thrifted find or breathing new life into a family heirloom, this project is easy, affordable, and can completely transform a piece. In this tutorial, I’ll show you how I turned a worn-out dresser into a stunning centerpiece using green paint and a few basic supplies.
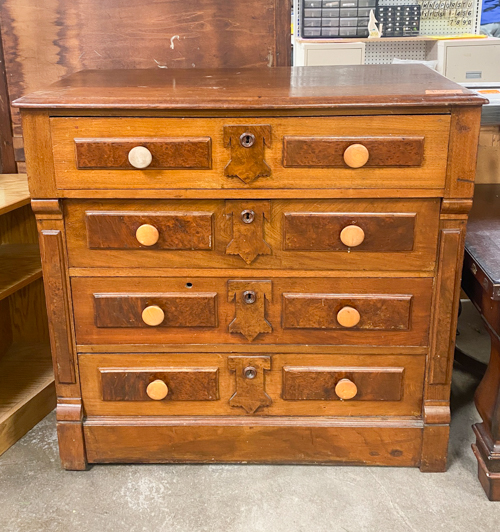
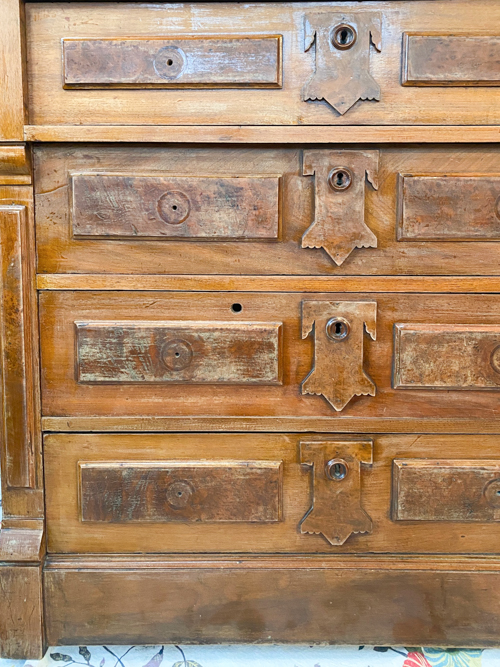
I love giving old furniture a second chance, and this dresser is no exception. I spotted it at Restore and immediately knew it had potential. At first, I thought it might cost a little more, but surprise—it was on sale! I scored it for just $24.
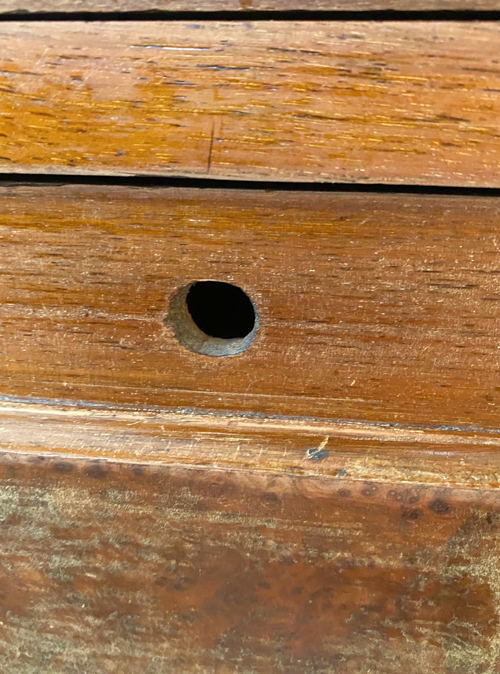
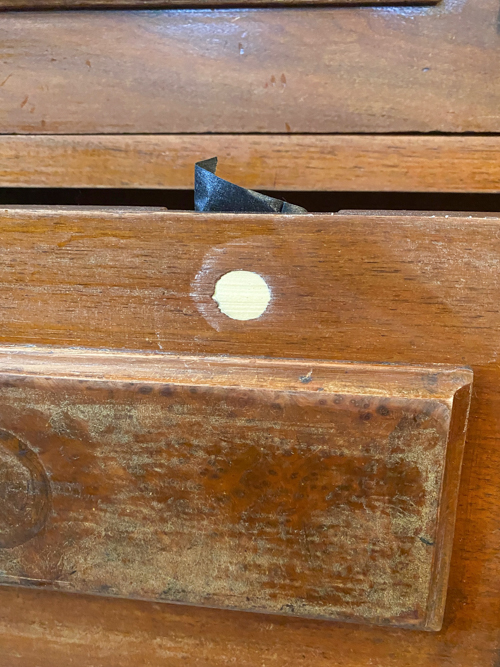
When I got home, I realized I had completely missed a hole in one of the drawers. But honestly, that wouldn’t have stopped me from buying it. Fixing something like that is a quick and easy job, especially when the overall piece has so much charm.
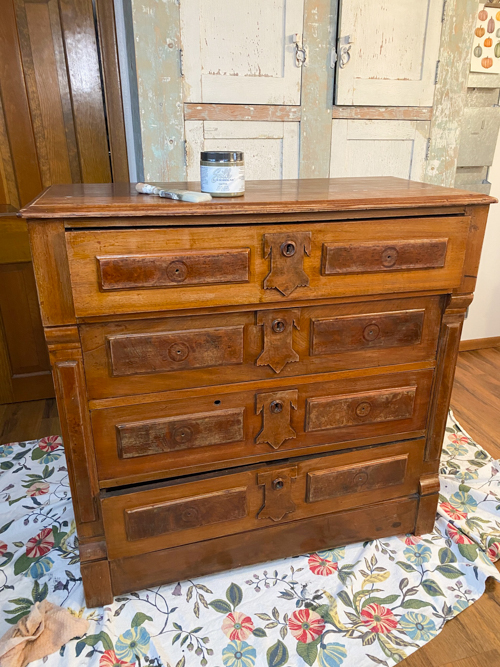
With a little love, a splash of green paint, and some simple DIY techniques, I knew this dresser could be transformed into a stunning focal point. If you’re ready to tackle your own project, follow along as I share step-by-step how to achieve this simple dresser makeover.
Why Choose a Simple Dresser Makeover?
A simple dresser makeover is one of the easiest DIY projects to tackle, even for beginners. It allows you to customize your furniture to match your style while saving money compared to buying new pieces. Plus, the satisfaction of completing a project with your own hands is unbeatable!
Green paint, in particular, adds a fresh, calming vibe to any room. It’s versatile, works with a variety of decor styles, and is currently trending in home design.
{Affiliate links are used in this post. Click on any underlined links to find the products and sources I am referring to. You can read my disclosure HERE.}
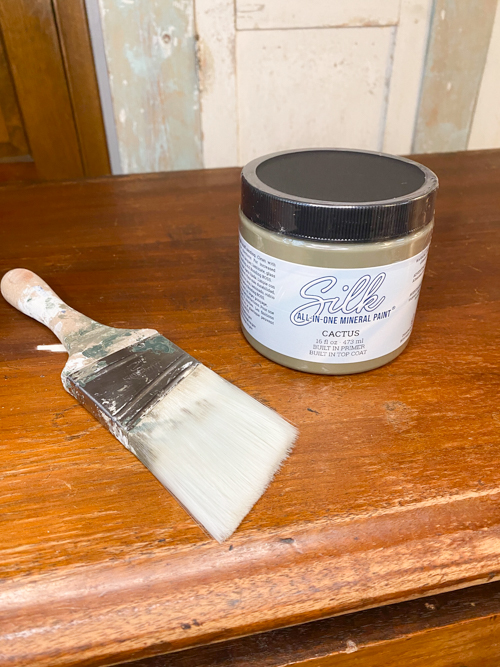
Supplies Needed for a Simple Dresser Makeover
Here’s what you’ll need to complete this simple dresser makeover:
- Sander(discount code “mycreativedays10”)
- Tack cloth or a damp rag to remove any sanding dust
- All-in-One Paint (I used the color “Cactus”)
- MUD filler(for smaller areas that need to be filled)
- Rock Hard filler (for the hole in the drawer)
- Paintbrushes or a roller
- Salve for the drawers
- Hardware if needed
Step-by-Step Guide to a Simple Dresser Makeover
Step 1: Prep Your Dresser
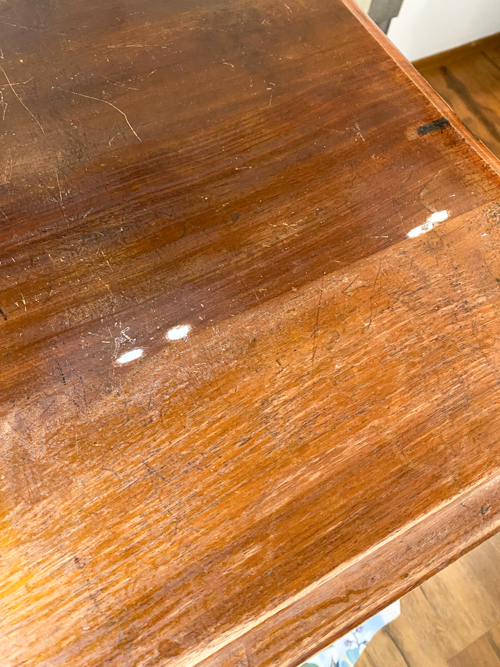
The key to a successful simple dresser makeover is proper preparation. Start by removing any hardware. Scuff-sand the entire dresser to remove old finishes and create a smooth surface for painting. Wipe down the dresser with a tack cloth to eliminate dust.
Step 2: Repair Your Dresser
Before painting, inspect your dresser for any holes, cracks, or imperfections that need to be addressed. For small holes or minor imperfections, use a filler like MUD filler. For larger or deeper damage, Rock Hard filler is an excellent option. Apply the filler with a putty knife, let it dry completely, and sand it smooth to ensure an even surface. Taking this step will give your dresser a polished and professional finish. You can watch how I filled the hole in this dresser HERE.
Step 3: Apply Paint
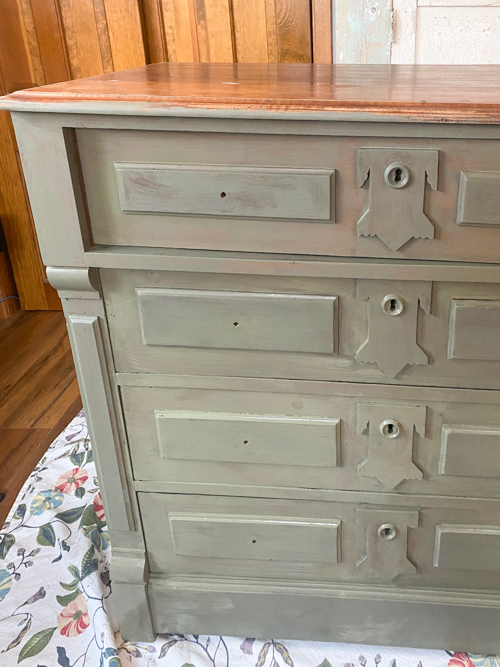
If you aren’t using all-in-one paint like I did in this makeover, you should prime the dresser, paint it, and topcoat it. I love skipping all those steps and products using my favorite all-in-one paint.
Step 4: Add Finishing Touches
Once the paint is dry, reattach the hardware or consider replacing it with new knobs or pulls to give your simple dresser makeover an upgraded look.
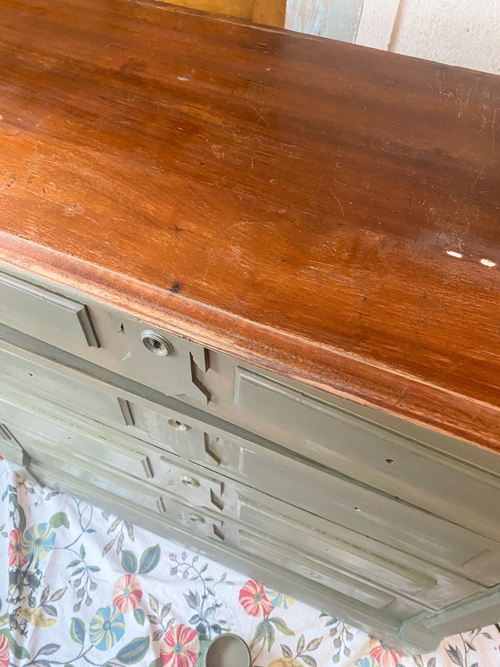
Step 5: Freshen the Drawers with Salve
To give your dresser an extra touch of care, apply a furniture salve to the inside of the drawers. This step helps freshen the wood, adds a pleasant scent, and conditions the surface, giving it a like-new feel. Simply rub the salve onto the wood using a brush or soft cloth.
Tips for a Successful Simple Dresser Makeover
- Always test your paint on a small, inconspicuous area before starting.
- If your dresser has ornate details, use a smaller brush for precision.
- Don’t rush the drying process; patience is key to a flawless finish.
The Final Look
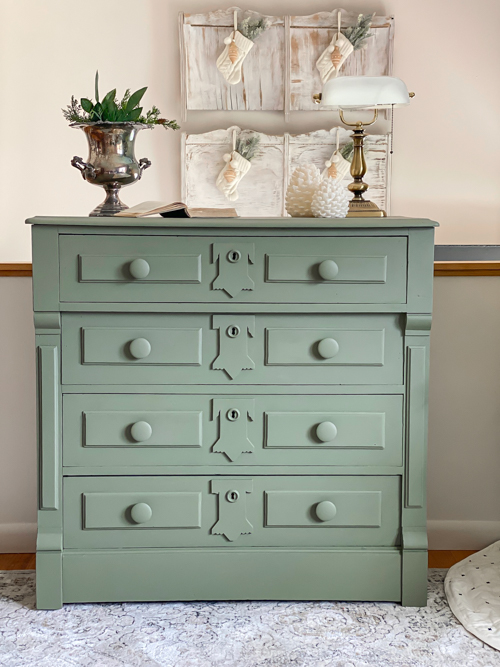
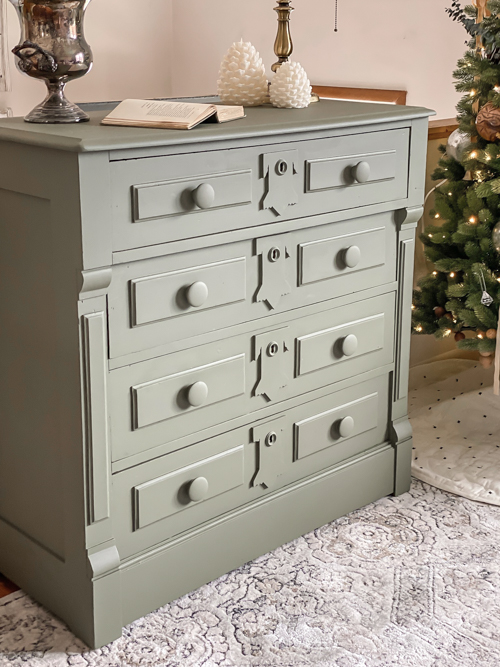
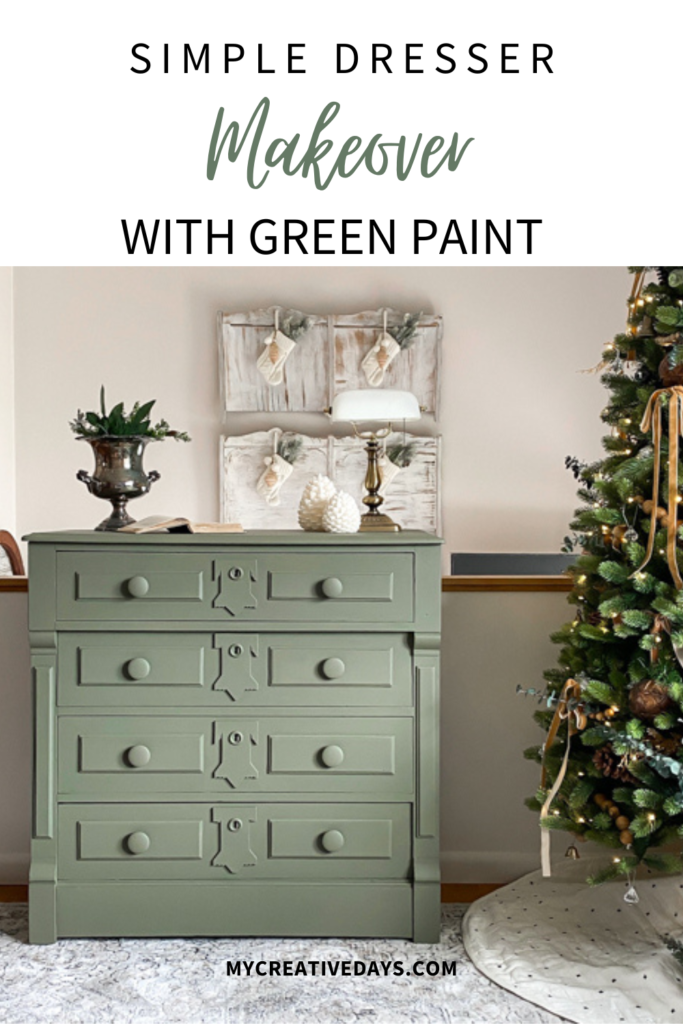
This simple dresser makeover with green paint transformed a dull, outdated piece into a stunning focal point. The vibrant yet calming green adds character to the room, making the dresser both functional and stylish.
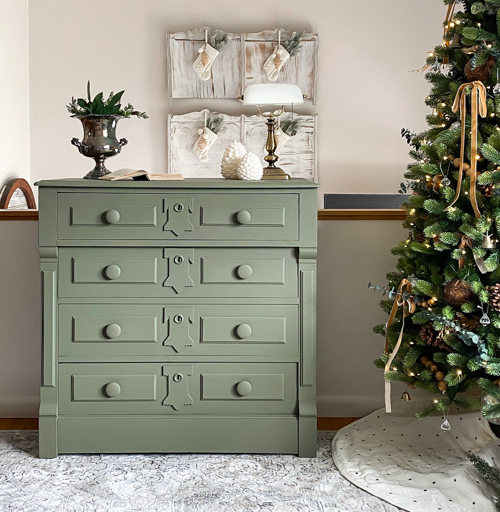
If you’ve been hesitant to try a furniture makeover, a simple dresser makeover is a fantastic way to start. With minimal supplies and a bit of effort, you can create a custom piece that reflects your style.
Ready to Try Your Own Simple Dresser Makeover?
I hope this tutorial inspires you to take on your own simple dresser makeover project! Whether you use green paint like I did or another color that speaks to you, the process is both fun and rewarding. Have questions or want to share your results? Leave a comment below—I’d love to see your transformations!
For more DIY furniture inspiration, check out my YouTube channel! I am sharing new videos every week! Make sure to SUBSCRIBE when you are there!
PIN THIS POST!
If you liked this simple makeover, you will also love these:
Thrifted Clawfoot End Table Makeover
Painted Sideboard Makeover: An Old Piece Gets A Classic Makeover
Pottery Barn Dupe Dresser Makeover


Gosh I love that color and this looks so beautiful! I have a couple of pieces I want to paint this year and will probably use the Silk paint. Nice job!
You will love the paint! It is all-in-one and cuts down on so much time and effort!