If you’re looking for a unique way to display your plants, learning how to make a kokedama is a fun and creative option. Kokedama, a Japanese word meaning “moss ball,” is a beautiful technique where plants are grown in a ball of moss and soil with no pot required. It’s an elegant, minimalist way to add greenery to your home while also saving space. In this guide, I’ll walk you through how to make a kokedama from start to finish!
How to Make a Kokedama
What You Need to Make a Kokedama
Before diving into how to make a kokedama, gather the following materials:
-
A plant of your choice (small ferns, succulents, or ivy work well)
-
Moss (sphagnum moss or sheet moss)
-
Soil (a mix of bonsai or cactus soil is best)
-
Twine (for wrapping the moss ball)
-
Water (to moisten the soil and moss)
-
Plastic wrap or a shallow dish (to hold the water while you shape the ball)
Step 1: Prepare Your Materials
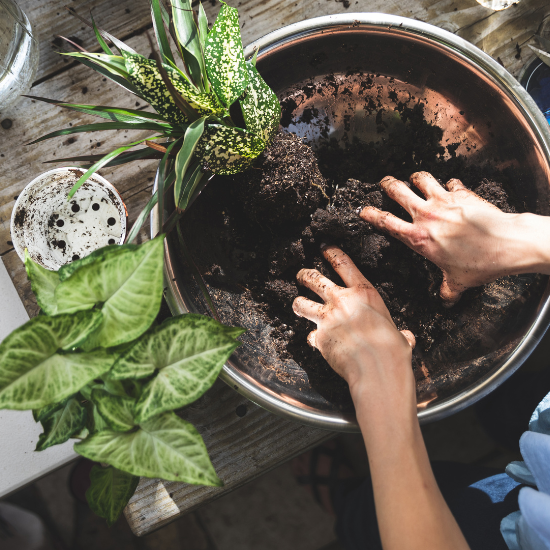
Start by gathering your plant and the necessary materials. Make sure your soil is moist but not soaking wet. This will help you form a solid, workable ball of soil.
Step 2: Shape the Soil Ball
To learn how to make a kokedama, you first need to create the base. Take a handful of soil and begin molding it into a round shape. Add more soil as needed to form a firm, compact ball about the size of a grapefruit. Ensure it’s dense enough to hold together, as the plant will eventually be nestled into this ball.
Step 3: Add the Plant
Gently remove your plant from its pot and shake off the excess soil. Create a small hole in the center of the soil ball you’ve formed and place the plant’s roots inside. Mold the soil around the roots to secure the plant in place. Ensure the plant’s roots are comfortably nestled inside the soil ball.
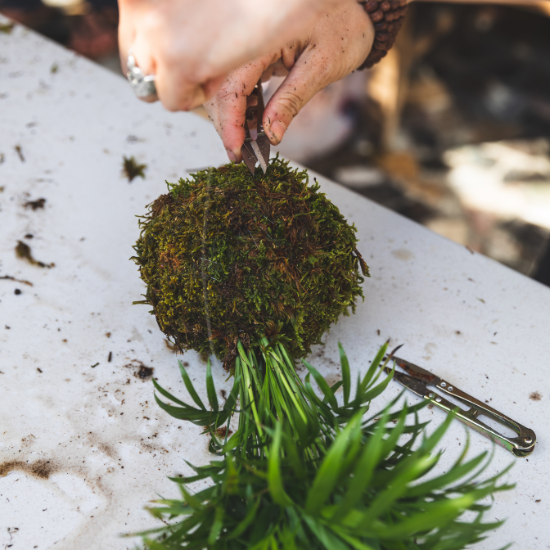
Step 4: Wrap the Ball with Moss
Now that your plant is securely in the soil ball, it’s time to learn how to make a kokedama even more beautiful. Take a handful of moist moss and wrap it around the entire soil ball, covering it completely. This is where the magic happens – the moss gives the kokedama its signature look and helps retain moisture for the plant.
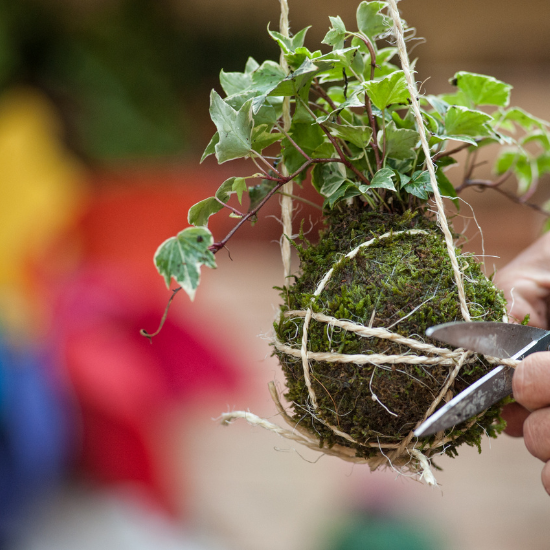
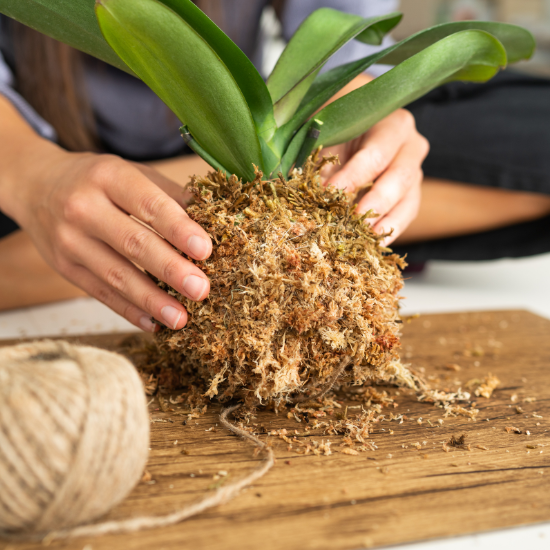
Step 5: Secure the Moss with Twine
Use twine or string to secure the moss around the soil ball. Wrap it tightly to ensure the moss stays in place. You can also use a decorative ribbon or colored string if you want to make your kokedama even more visually appealing.
Step 6: Water and Display Your Kokedama
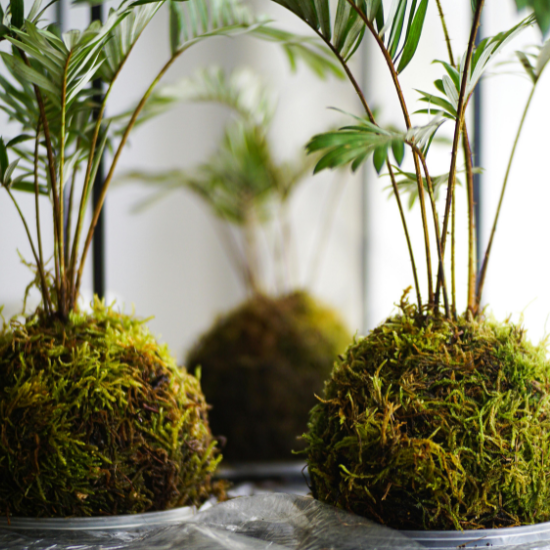
To finish learning how to make a kokedama, gently water it. Hold your moss ball over a shallow dish or bowl and soak it in water for about 10–15 minutes, allowing the soil to absorb moisture. Once it’s fully hydrated, it’s time to display your kokedama. You can hang it with string or place it on a decorative plate or tray for a modern look.

How to Make a Kokedama – Tips for Maintaining Your Kokedama
-
Watering: A kokedama requires regular watering. To keep it healthy, soak the moss ball in water once a week or whenever the moss feels dry to the touch.
-
Light: Place your kokedama in a location with indirect sunlight. Most plants do well in bright but not direct light.
-
Humidity: If your home is particularly dry, consider misting the moss ball regularly to maintain humidity for the plant.
How to Make a Kokedama – Why You Should Make One
Learning how to make a kokedama is a fantastic way to add some natural beauty to your home. The process is simple and inexpensive, and the result is a striking, minimalist plant display. Kokedama can be hung, placed on a decorative dish, or used as a centerpiece to bring a fresh, unique touch to your decor.
Whether you’re a seasoned plant parent or a beginner, creating a kokedama is an enjoyable and rewarding project that allows you to showcase your love for plants beautifully and creatively.
To see more easy projects like this, head over to my YouTube channel HERE. I am launching new videos every week, so make sure to SUBSCRIBE when you are there!
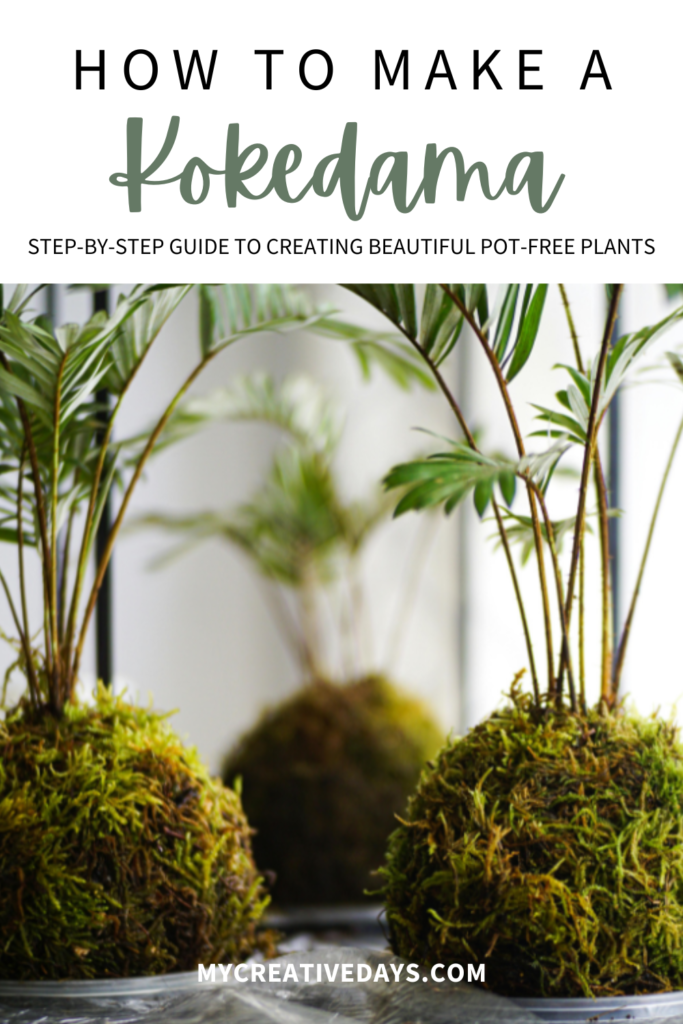
PIN THIS POST!
If you liked this How to Make a Kokedama post, you will also love these:
DIY Repurposed Garden Planters