I am a habitual decorator. I am constantly coming up with ways to make our spaces better and prettier. This time around, it was time for a bathroom makeover. Creating spaces exactly how you want them and coming up with frugal ways to get you there is what this blog is all about. You don’t have to break the bank to have a great space and our bathroom makeover under $50 is a perfect example of that.
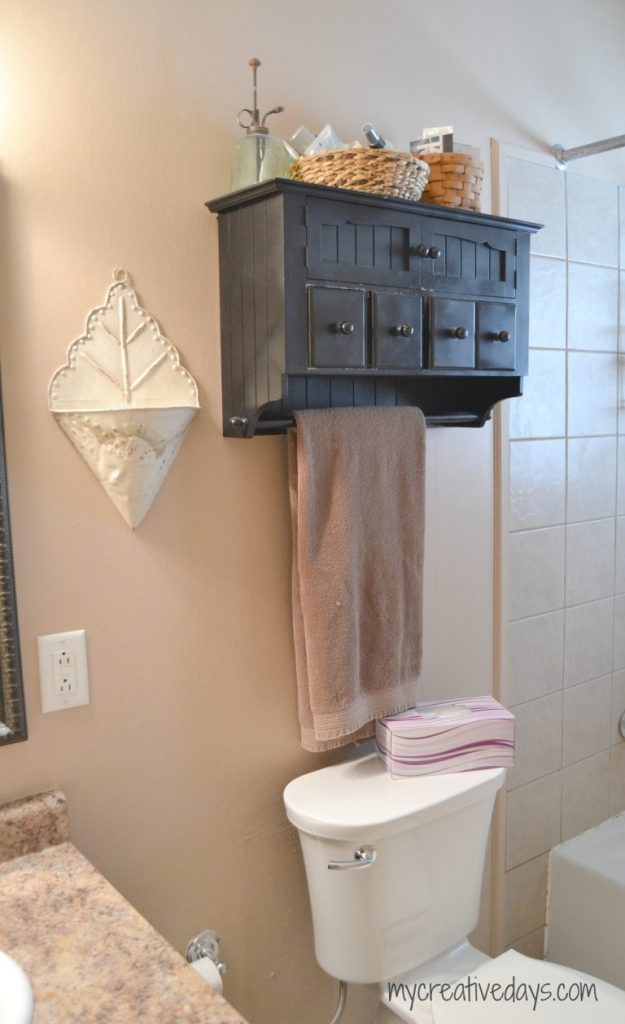
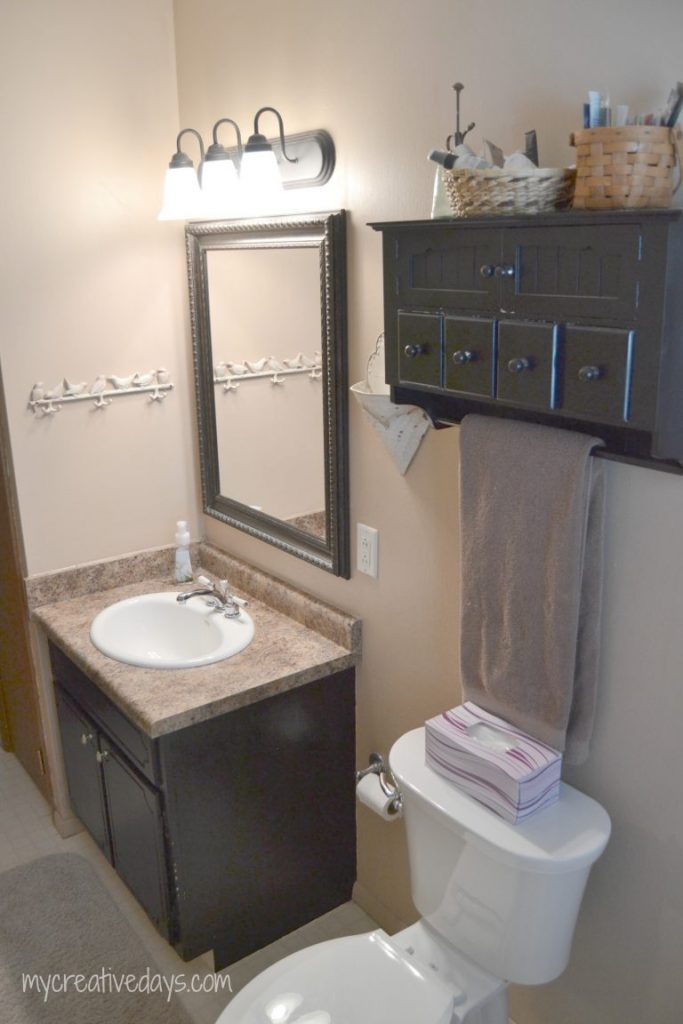
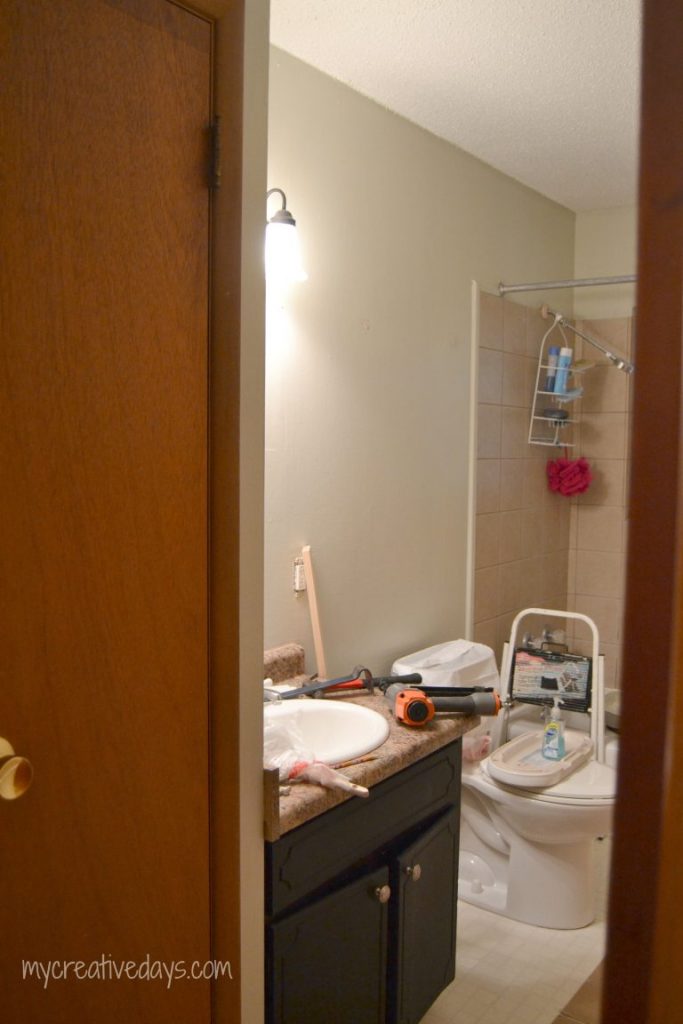
Here are a few pictures of what our bathroom looked like before the makeover:
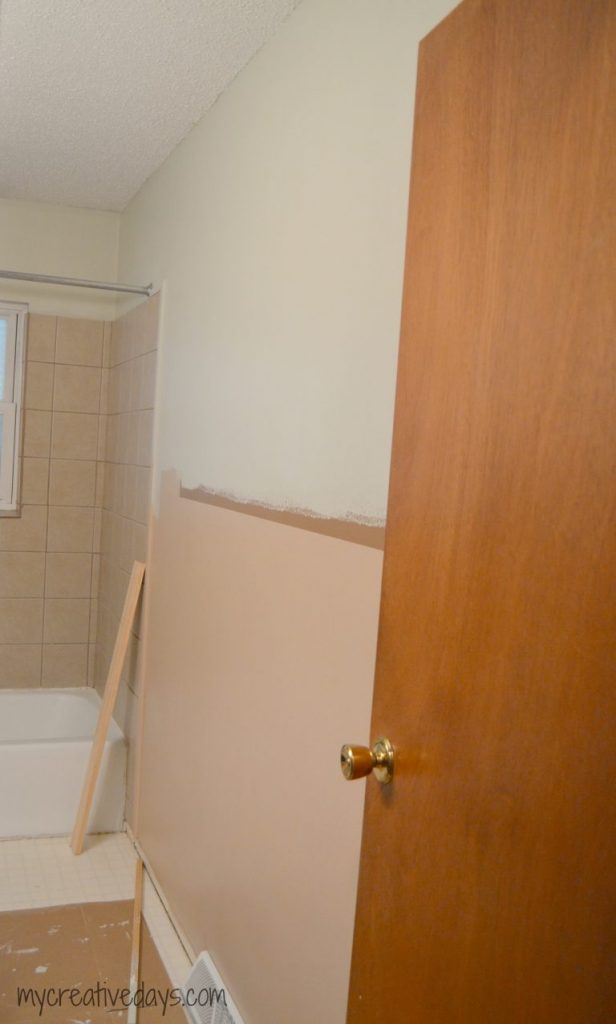
I started the bathroom makeover with paint. Since we don’t have a lot of natural light in our bathroom, I wanted a light paint color on the walls to brighten it up. I started my color search in the mis-matched paint section at my local Menards store. I found a gallon of creamy white. One gallon would not cover the walls so I needed to mix paint and come up with my own custom color to get the job done.
To come up with my custom color, I grabbed a 5-gallon bucket and mixed leftover paint we had used in previous projects to the creamy white paint I picked up at Menards. I mixed paints until I came up with a light gray-green color that I liked. A custom color for $5? That fits in my $50 budget.
*Tip: Don’t throw away leftover paint! You can always use it to touch up your walls or mix left over paints to make your own custom colors for other projects. When you are mixing paints, make sure that you are mixing the same sheens together (ex. satin with satin, semi-gloss with semi-gloss, etc.).
The paint color really brightened the bathroom. We gave the ceiling a fresh coat of white paint with the left over ceiling paint we had. It always amazes me how bright the ceilings look after a fresh coat of paint on them.
To be honest, I love seeing a mess like this in our home. It means that there is a project going on. So. Much. Fun!
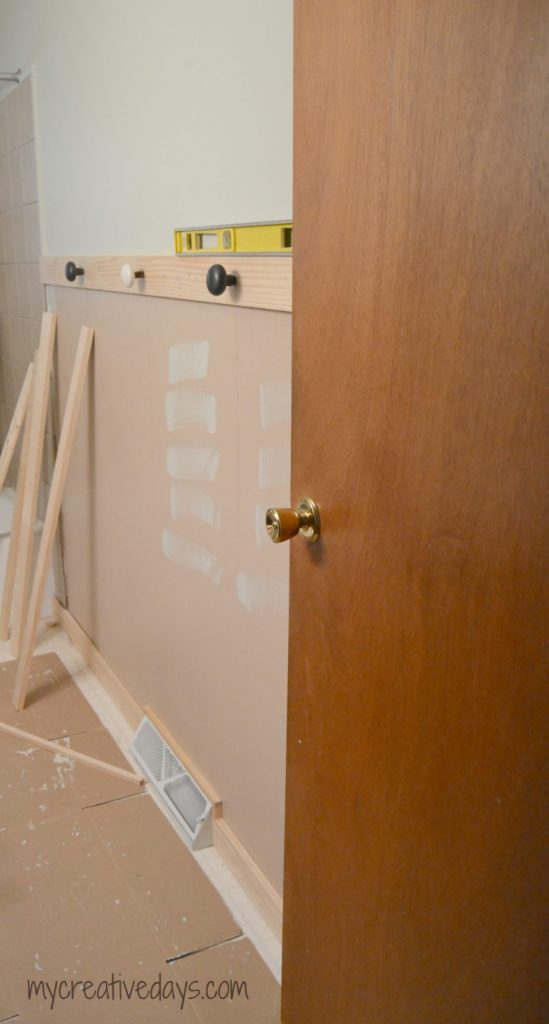
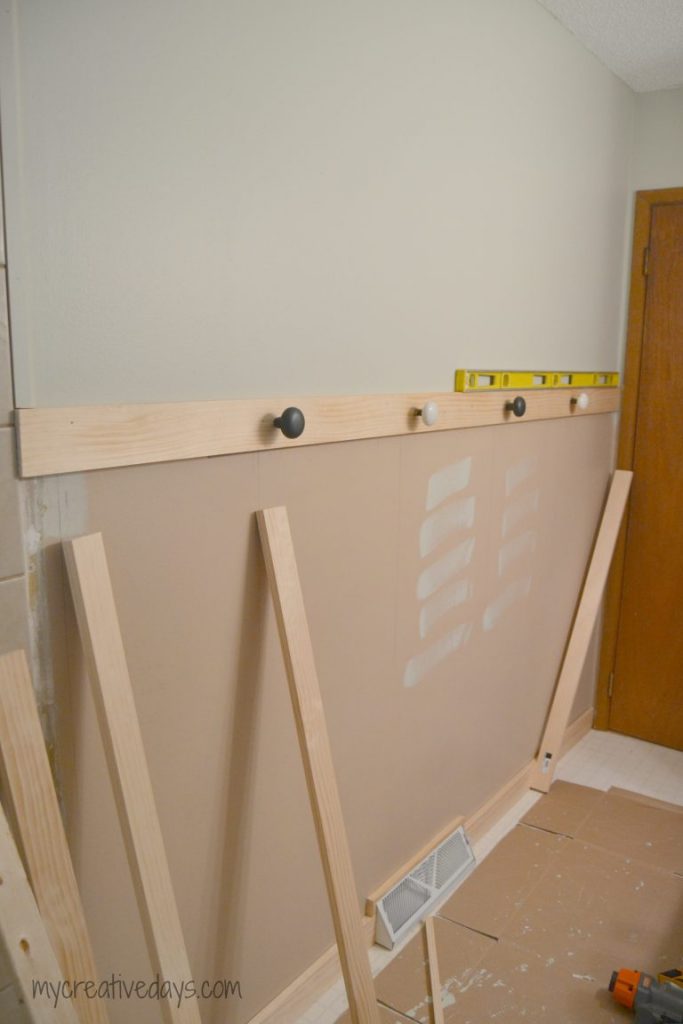
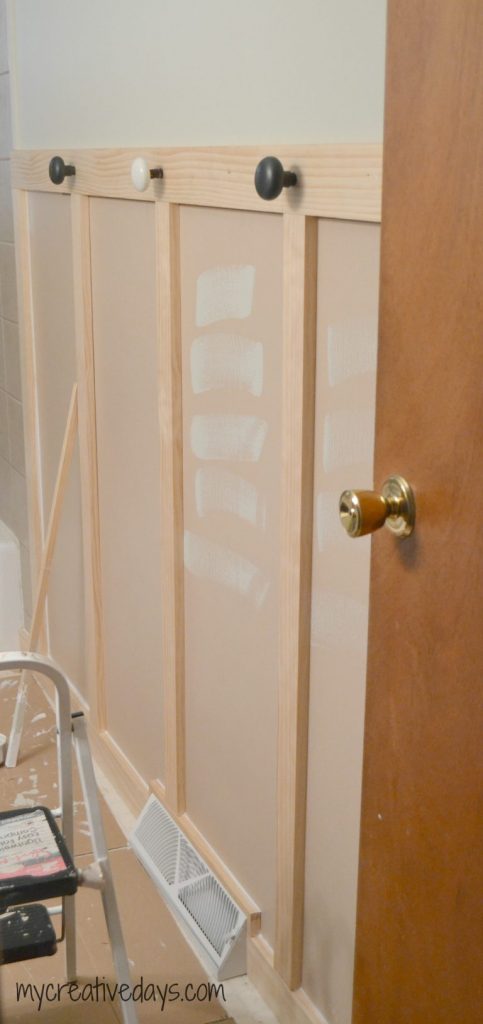
We only have one “blank” wall in our bathroom and I wanted to add a little interest to it and incorporate some hooks for towels. We gave the wall interest by putting a 1 x 4″ board horizontally a little over halfway up the wall. Then, we added a 1 x 4″ board on the base of the wall (and some small trim boards to go around the vent). Lastly, we put five 1 x 3″ boards vertically between the top and bottom 1 x 4″ boards, about 16″ apart.
For the hooks, I saved money on new ones and used old doorknobs! Matt attached the knobs to the top board before attaching it to the wall.
The knobs add so much more character than regular hooks would have.
Once we got the vertical pieces on the wall, it really started to come together.
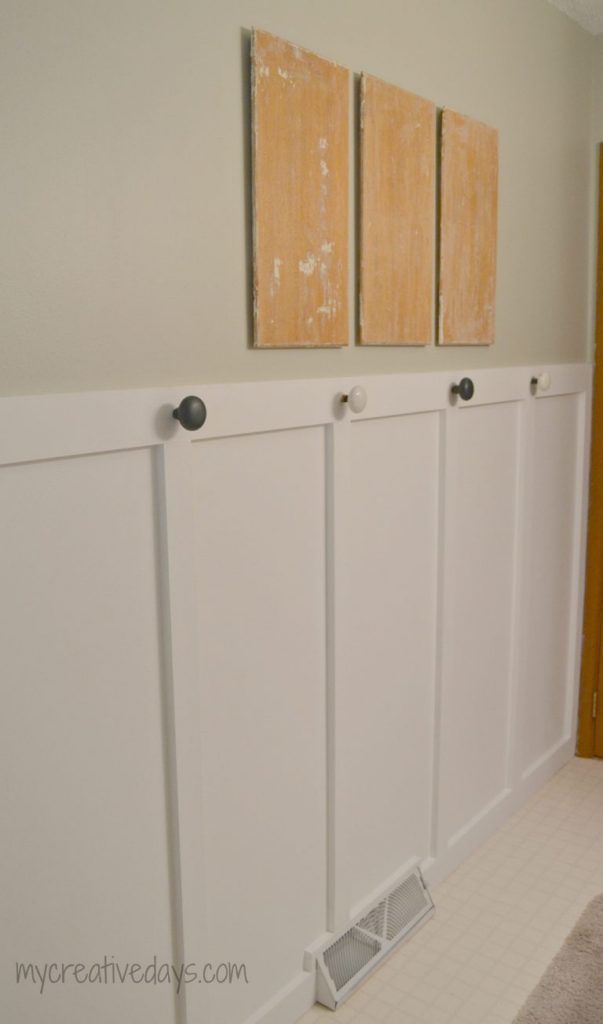
After some caulk, it was time to paint. We had a gallon of white paint left over from a previous project so we used that on the wall we just did.
Look at the new wall now!!! It is such a vast improvement from what it was.
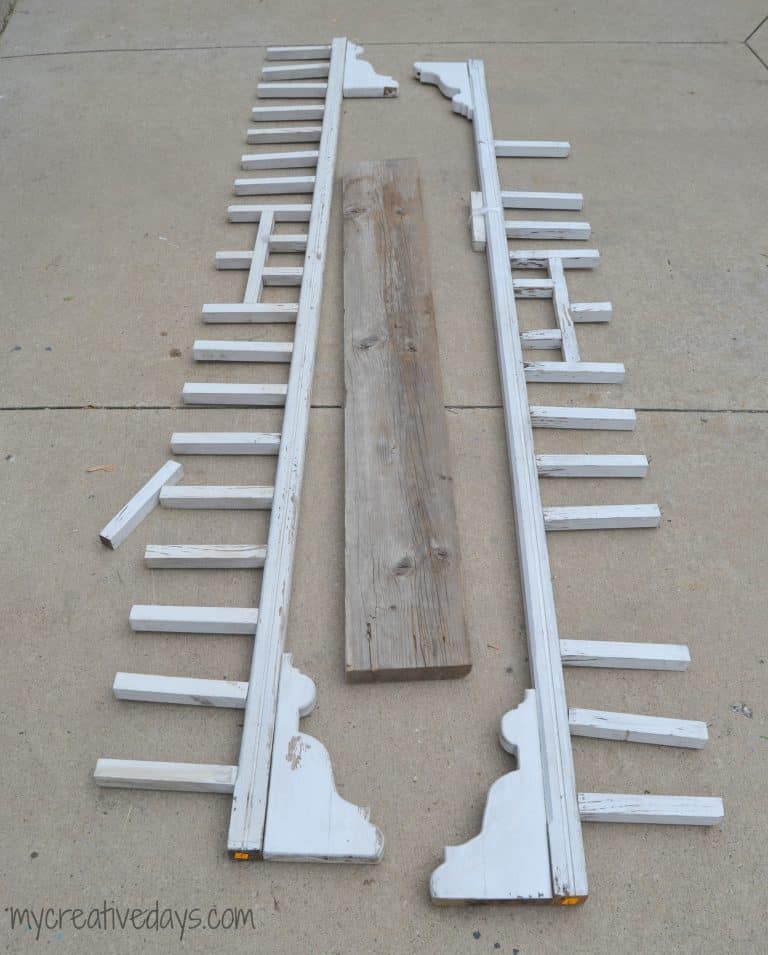
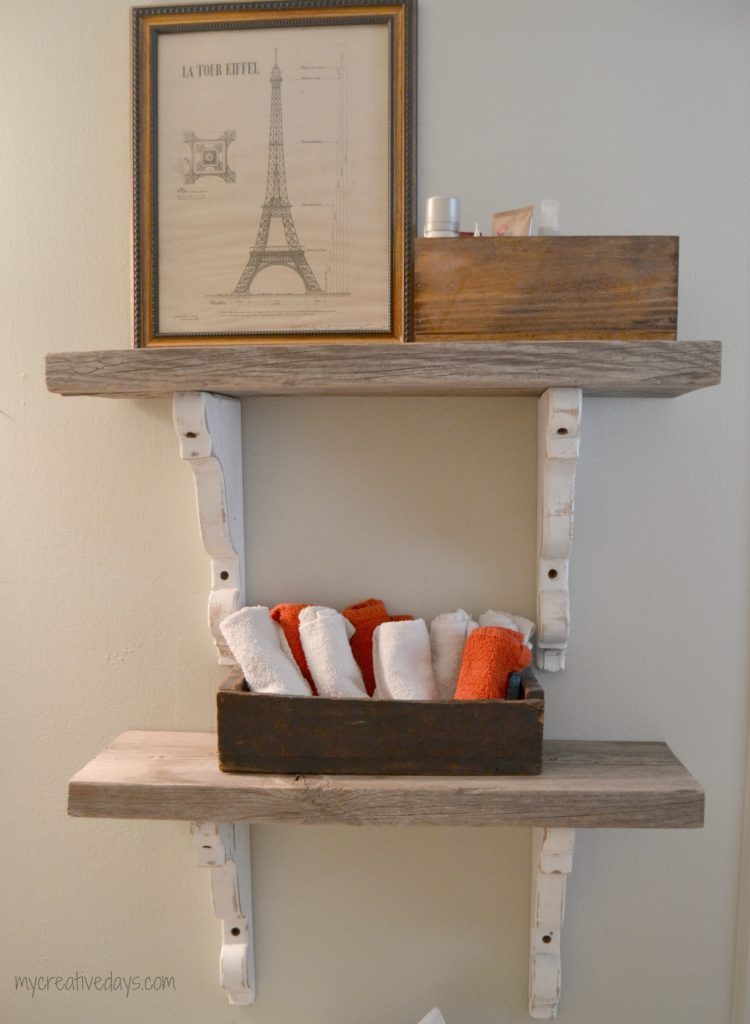
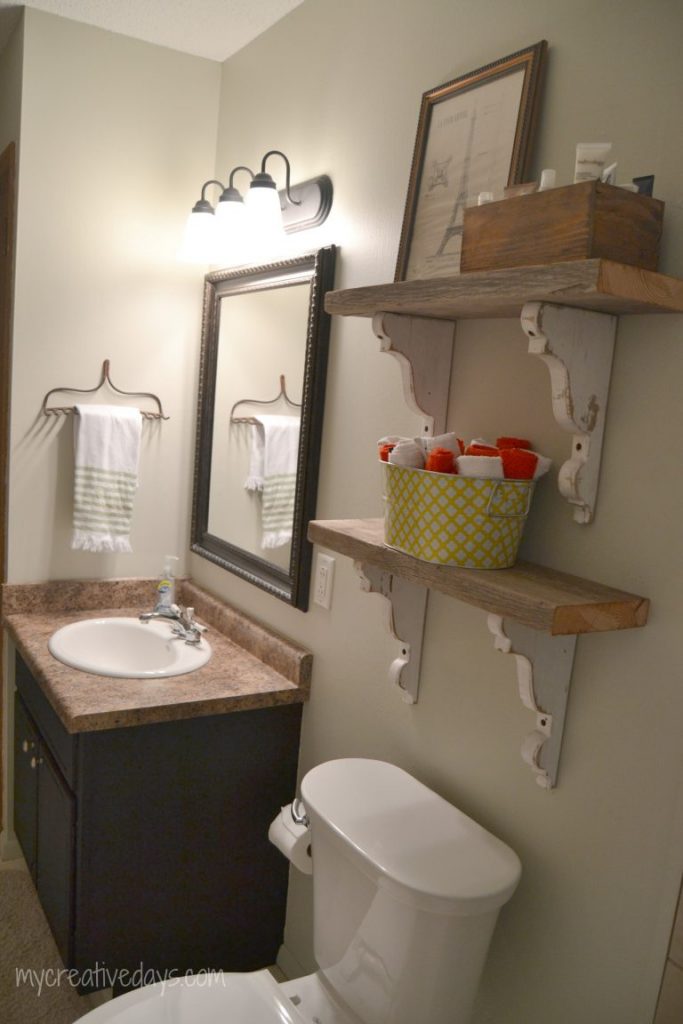
I wanted to take down that old black cabinet we had above the toilet and add open shelving instead. We had an old board in the garage that I knew would make perfect shelves, but I didn’t want to use plain, metal shelf brackets to hang them.
ReStore to the rescue! We found these pieces there and Matt was able to remove the four brackets for the shelves in the bathroom. We put the rest of the architectural pieces together and made a trellis for the backyard.
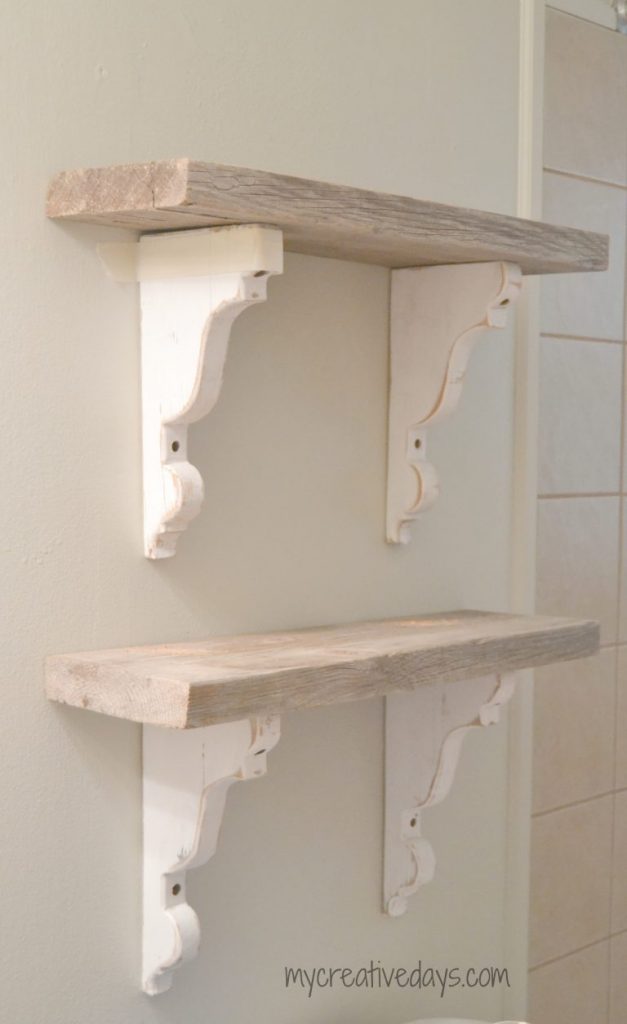
The brackets were perfect for the bathroom shelves. One of them split when Matt was working with them, but it was easily fixed with some glue.
I shopped our home for things to add to the shelves. This will change many, many time.
I added an old garden rake to the wall by the sink to hold a hand towel.
{Affiliate links are used in this post. You can read my disclosure HERE.}
I bought some new gray towels for the bathroom makeover and if I find a good deal on a pretty shower curtain, I might pick it up. Other than that, I am so happy with the makeover. I am most happy that I got to use some of my favorite finds in the project and that I didn’t break the bank to give it a new look.
Here is a breakdown of our bathroom makeover costs:
-
Paint: $5 (walls: mis-matched gallon of paint mixed with leftover paint from other projects; feature wall: leftover white paint)
-
Brackets: $10 total
-
Doorknobs: ($2)
-
Wood for wall: ($20)
-
Three gray towels ($9 at Target)
PIN THIS POST!


Hi Lindsay,
Your title grabbed my attention over at LSLW Linkup and I had to check it out.
I will have to remember the paint idea.. nice tip. I think the toilet roll holder & door knobs really make this totally charming. I love the all over rustic look.
As for your paintings, my first thought is the reverse look, using plants.. here is an example http://www.pinterest.com/pin/562387072187901770/
Great job!
Thank you for your idea Gina! Those are beautiful!
Linsday this bathroom makeover is AWESOME!! Wow that wall is so cool. When I move into my new house I plan on doing a couple walls like that. I think I might be copying the way you did yours with the hooks. Your are seriously the queen of re purposing stuff. Those shelve are pretty amazing as well.
Your comment just made my day! Thank you so much Courtney!
Lindsay, Your bathroom looks great! I love the shelves you built. And, those doorknobs as hooks….ahhmaazing!!!!
Thank you Denyse. The doorknobs are my favorite!
Hey Lindsay. Sharing over on my fb page today. Amazing at how much you were able to do with such a small budget. Fabulous.
Thank you Denise!
It looks awesome – and for $50 – impressive! I love the shelves, and thought they were my favorite part of the bathroom, but then when I saw the cast iron TP holder from an old school, I had to change my mind. What a unique twist (maybe quite literally). Was it a flea market find? Nice job!
Thank you so much Jenny!
This looks great Lindsay!! Such a clever idea to mix paint. So simple, but I never think to do it! And I love the rake as a towel holder. Nice work! 🙂
Thank you Amanda!
Holy cow! This is an amazing makeover for such a small budget!
I love the wall shelves the most!
Pinning and sharing everywhere!
~ Ashley
Thank you! Thank you! Thank you!
Thanks for sharing at last weeks party.Sorry I’m late stopping by I was sick this past week. Hope this finds you well. Hope to see you again soon.
Thanks Theresa!
Great project at a great price! Thanks for sharing it at The Pin Junkie! I’m stopping by to let you know that your bathroom makeover is being featured today in a roundup of home decorating ideas.
YAY! Thank you so much!