Are you tired of spending hours painting furniture with a brush, only to end up with uneven coverage or streaks? If so, it might be time to upgrade to a paint sprayer. In this beginner’s guide to using a paint sprayer for furniture makeovers, I’ll show you the essentials for using this tool, how to get flawless results, and the best techniques for achieving a professional finish. Whether you’re flipping furniture for profit or just sprucing up your own pieces, a paint sprayer can take your projects to the next level.
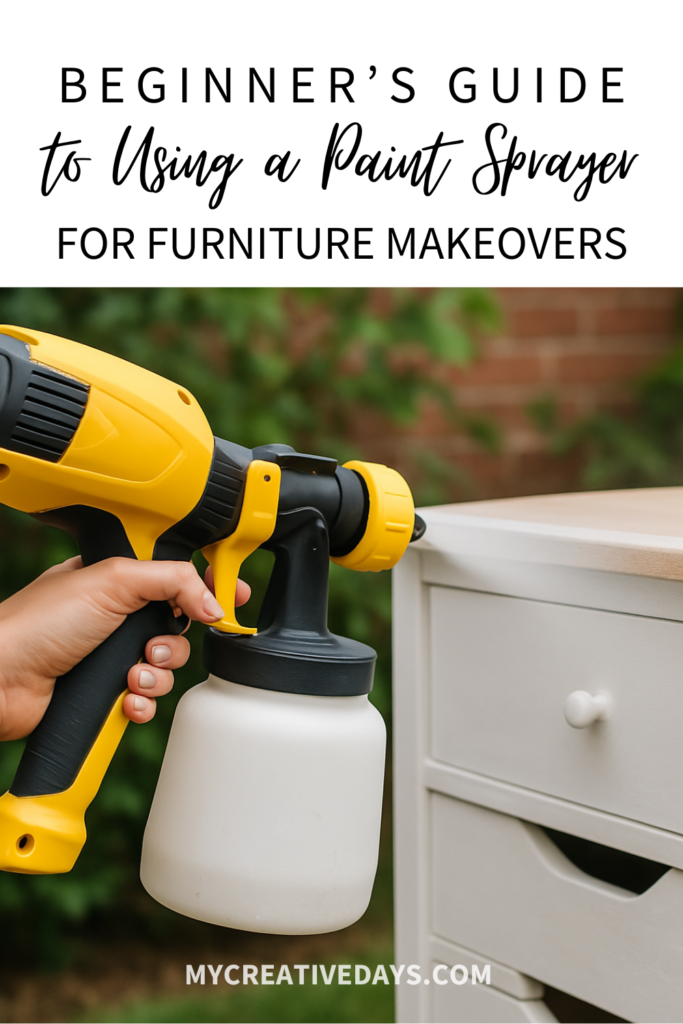
Beginner’s Guide to Using a Paint Sprayer
Why Use a Paint Sprayer for Furniture Makeovers?
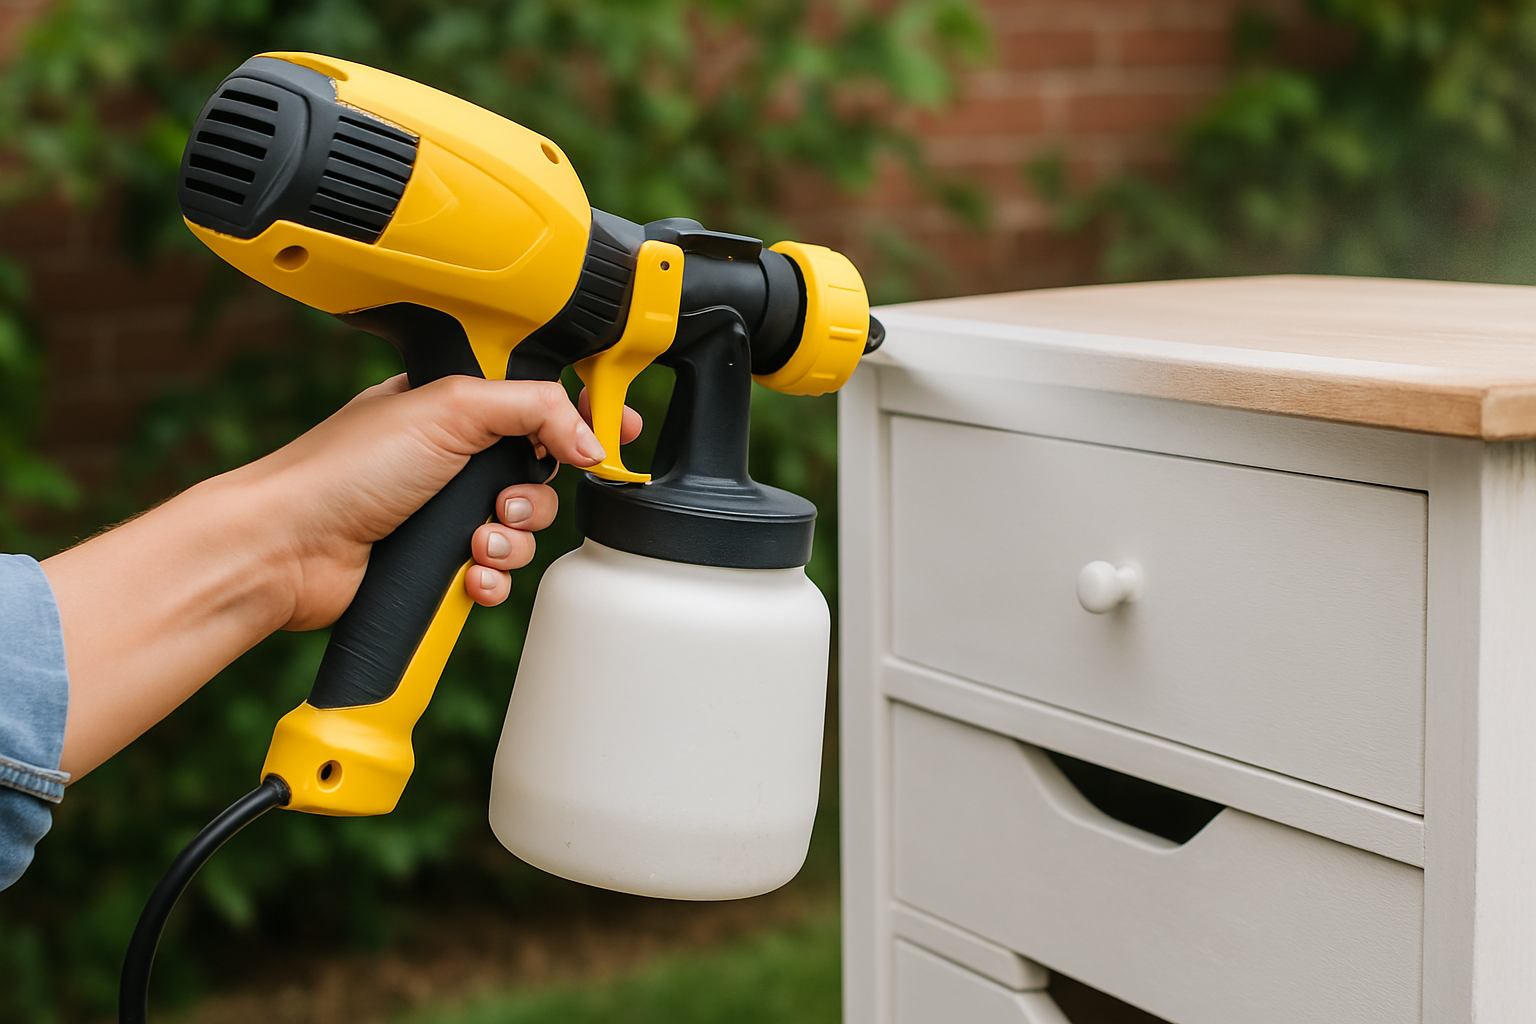
Paint sprayers are ideal for covering large surface areas quickly and evenly, making them perfect for furniture makeovers. With the right technique, you can avoid brush strokes and get a smooth, professional finish. Additionally, using a paint sprayer can save you time, reduce paint waste, and help you achieve better results on intricate or detailed furniture pieces.
In this beginner’s guide to using a paint sprayer for furniture makeovers, we’ll walk you through the essential steps and tips to get the most out of your sprayer.
{Affiliate links are used in this post. Click on any underlined links to find the products and sources I am referring to. You can read my disclosure HERE.}
Beginner’s Guide to Using a Paint Sprayer – What You Need to Get Started
Before you begin your furniture makeover, make sure you have the following supplies:
-
Paint Sprayer: Choose a sprayer that suits your needs. HVLP (High Volume Low Pressure) sprayers are a popular choice for furniture because they offer control and precision. This paint sprayer is a favorite for furniture flippers.
-
Paint: Select the right type of paint for your project. Latex, chalk paint, and furniture-specific paints work well with sprayers. Make sure to thin your paint if necessary (check the manufacturer’s instructions for the right consistency). I love using this all-in-one paint for furniture makeovers.
-
Drop Cloths/Plastic Sheeting/Spray Tent: Protect the surrounding area from overspray.
-
Painter’s Tape: Use this to mask off areas you don’t want to paint, like hardware or glass.
-
Sanding Supplies: Sandpaper or a sanding block to prep your furniture.
-
Cleaning Supplies: Clean your sprayer thoroughly after each use to keep it in top condition.
Step 1: Prepare Your Furniture for Painting
In this beginner’s guide to using a paint sprayer for furniture makeovers, preparation is key. Start by removing any hardware or accessories from your furniture, such as knobs, handles, or glass inserts. Next, sand the surface of your piece to create a smooth base. If your furniture has any old paint, you may need to sand it down to bare wood.
Be sure to wipe off any dust after sanding.
Step 2: Set Up Your Paint Sprayer
Before you start spraying, it’s important to understand how to use your paint sprayer properly. Read the user manual to familiarize yourself with the settings and ensure you’re using the sprayer correctly. Most sprayers have adjustable settings for paint flow and air pressure, which allows you to customize the application to your project.
Test your sprayer on a piece of scrap wood or cardboard to adjust the spray pattern and paint flow. This will help you avoid overspray or drips when you start on your furniture.
Step 3: Apply the Paint
Now comes the fun part—spraying your furniture! Here’s how to do it effectively:
-
Shake or Stir Your Paint: Ensure the paint is well-mixed and ready for use. If necessary, thin the paint as per the sprayer’s recommendations.
-
Hold the Sprayer Correctly: Hold the paint sprayer about 6-12 inches away from the surface, and keep the nozzle at a consistent angle to avoid uneven application.
-
Start Spraying in Thin Coats: Apply thin, even coats of paint. Moving the sprayer in a steady, sweeping motion will ensure uniform coverage. Always spray in long, consistent strokes—avoid staying in one spot for too long to prevent drips.
-
Allow Drying Time Between Coats: After applying each coat, allow the paint to dry completely before adding another. This ensures a smooth, flawless finish.
- Topcoat: Depending on what you are using, you may need to apply a topcoat after the paint is dry. You can spray a topcoat as well. You would want to clean the sprayer for any and all paint before adding the topcoat.
Step 4: Finish Your Furniture
After applying your paint and letting it dry between coats, check for any areas that may need touch-ups. If you notice imperfections, use your sprayer to fix them with a light coat. Once you’re satisfied with the coverage, let your furniture sit and fully cure for at least 24-48 hours before reassembling or using it.
Step 5: Clean Your Paint Sprayer
Proper cleaning is essential for maintaining your sprayer and ensuring it performs well on future projects. Follow the manufacturer’s instructions for cleaning your sprayer. Most sprayers can be cleaned with water (for latex paints) or a solvent (for oil-based paints). Make sure to remove all paint from the nozzle and internal components to keep the sprayer in top shape.
Tips for a Perfect Finish In This Beginner’s Guide to Using a Paint Sprayer
-
Use a Dust-Free Area: Work in a well-ventilated space free from dust to prevent particles from sticking to the paint.
-
Test Paint Consistency: If your paint is too thick, it might clog the sprayer. Always test and thin your paint if necessary.
-
Spray Outdoors or in a Well-Ventilated Area: Ensure adequate airflow to avoid inhaling fumes and prevent over spray from affecting other surfaces.
Beginner’s Guide to Using a Paint Sprayer – Mastering the Paint Sprayer for Furniture Makeovers
In this beginner’s guide to using a paint sprayer for furniture makeovers, with the right preparation, a bit of practice, and some helpful tips, you’ll be able to achieve professional-quality results on your furniture projects. Whether flipping furniture for profit or refreshing a piece in your home, a paint sprayer can be your best tool for a flawless, smooth finish.
Start practicing today, and watch your furniture transformations become quicker and more precise!
If you liked this beginner’s guide to using a paint sprayer and would like to see more tips and techniques for flipping furniture, head to my YouTube channel HERE. I launch new videos every week. Make sure to SUBSCRIBE when you are there. I don’t want you to miss any of them!
Do You Want To Make Money Flipping Furniture?
After twenty years of doing this, I am still picking up pieces when I can find them because I love the creative outlet, but I am now coaching other furniture flippers on how to make more money in their business. If you are someone who is looking to start and/or grow a furniture flipping business, I would love to help you. There are ways to make money in your business beyond painting a piece of furniture. Once I learned that, my business flourished. Don’t waste your time trying to figure it out on your own.
To help other flippers, I created The Furniture Flipping Academy! The academy includes everything you need to start, grow, and/or scale a furniture flipping business. It includes courses, resources, templates, a social media planner and guide, a community, and so much more. It will ensure that you are doing the steps that will lead to success and not wasting your time on things that won’t.
You can find all the information about the Furniture Flipping Academy HERE.
PIN THIS POST!
If you found this beginner’s guide to using a paint sprayer helpful, you will also love these:
How to Repair Veneer with Durham’s® Rock Hard® Putty
Tips and Techniques for Applying a Topcoat To Furniture Makeovers