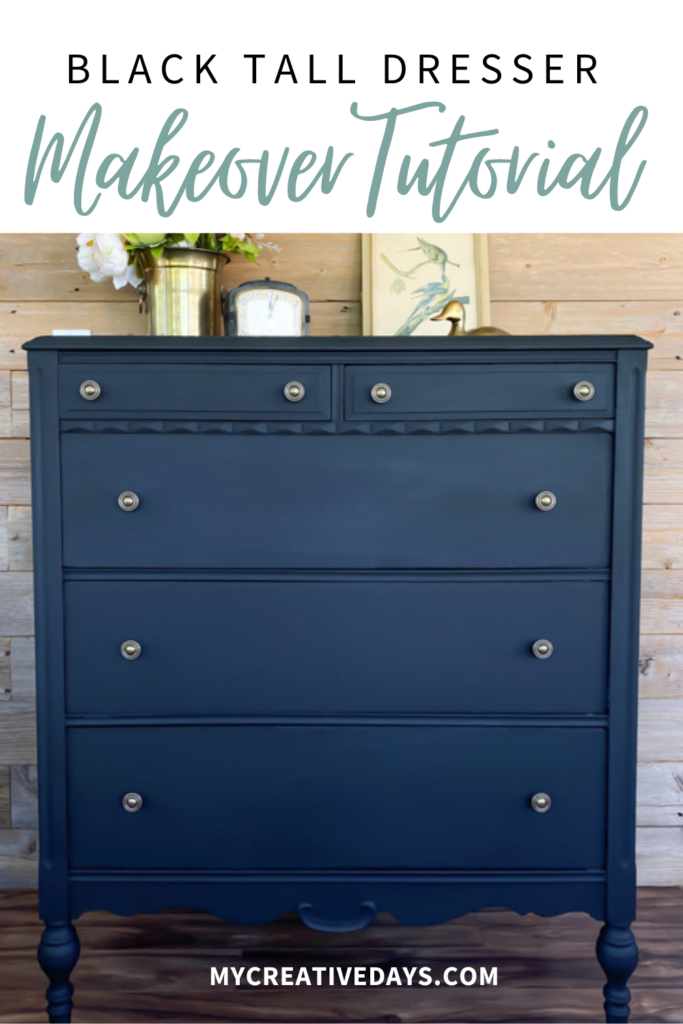
Welcome to my Black Tall Dresser Makeover tutorial! If you’re looking to give your old dresser a fresh, modern look, this step-by-step guide is for you. In this post, I’ll walk you through the process of transforming a tall dresser into a stylish black masterpiece, perfect for adding a touch of elegance to any room. From selecting the right paint to applying the finishing touches, I’ve got all the tips and tricks you need for a successful makeover. Get ready to turn your dated dresser into a stunning focal point with my easy-to-follow tutorial!
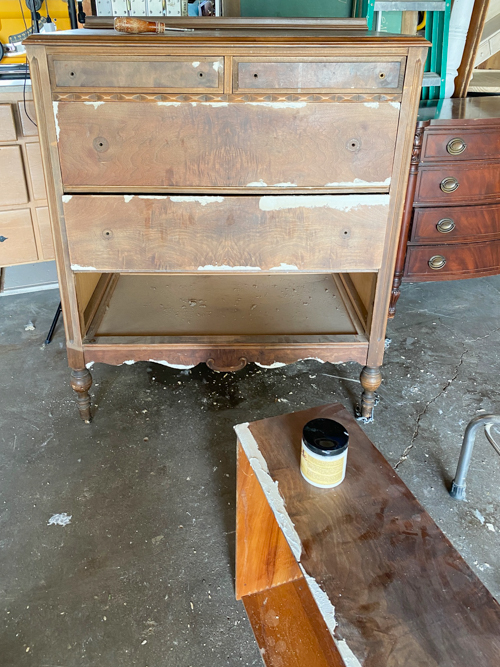
I found this dresser at my local Salvation Army store.
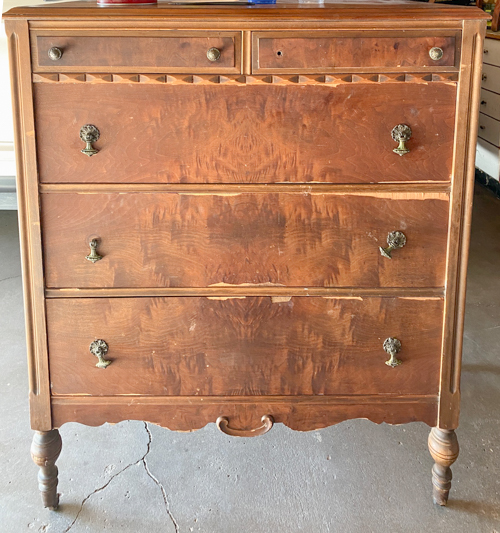
It had a lot of issues but I was excited to bring it home and tackle this black tall dresser makeover.
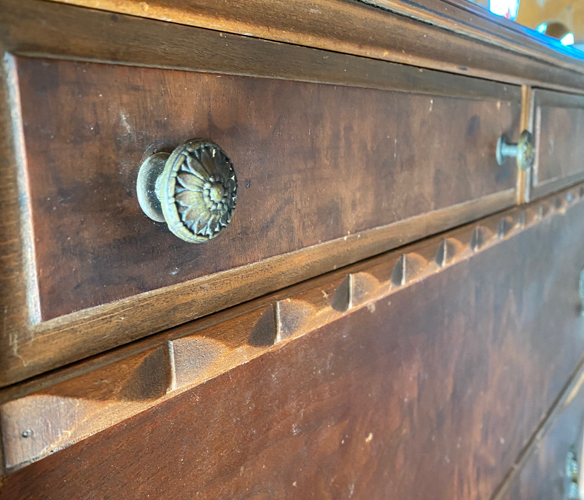
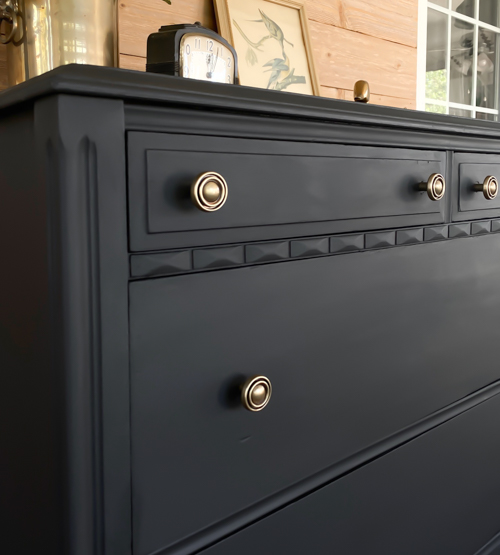
I LOVED this detail the dresser had.
{Affiliate links are used in this post. Click on any of the underlined links to find the products I am talking about. You can read my disclosure HERE.}
Supplies Used in Black Tall Dresser Makeover
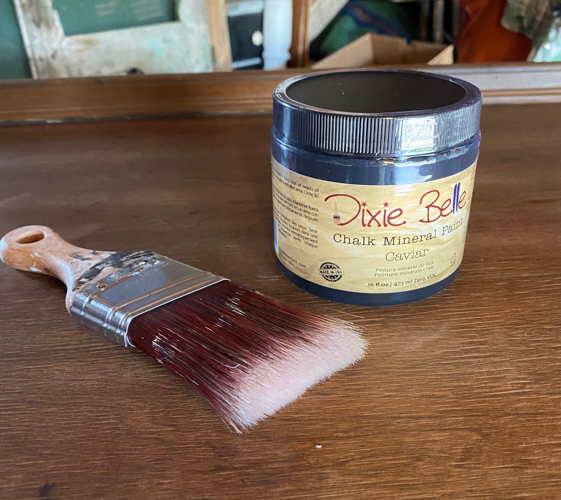
Paint (color: Caviar)
Round Knobs (similar knobs)
Old Rag
Vinegar and water to clean
Thin trim pieces to fit sides
Step-by-Step Tutorial
- The first thing I did with this black tall dresser makeover was clean it. You can find my top 5 cleaners for projects like this HERE.
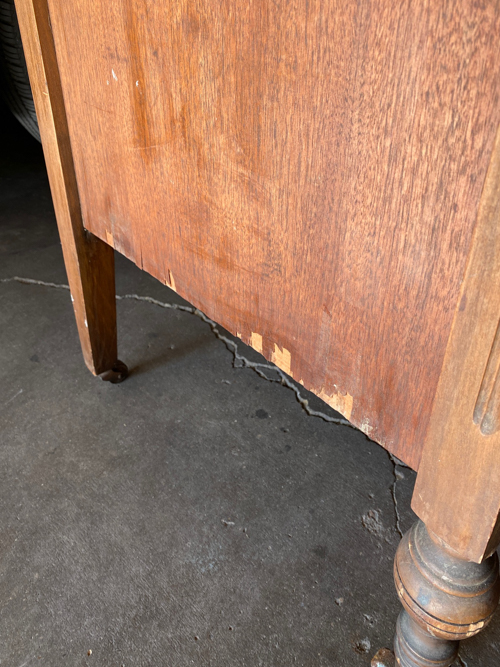
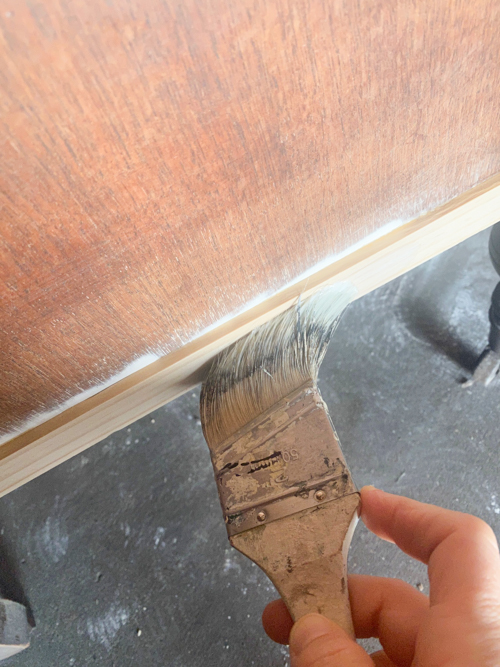
- Next, it was time to fill the veneer that was missing. I use MUD filler. I have a full tutorial on how I do this in my post HERE.
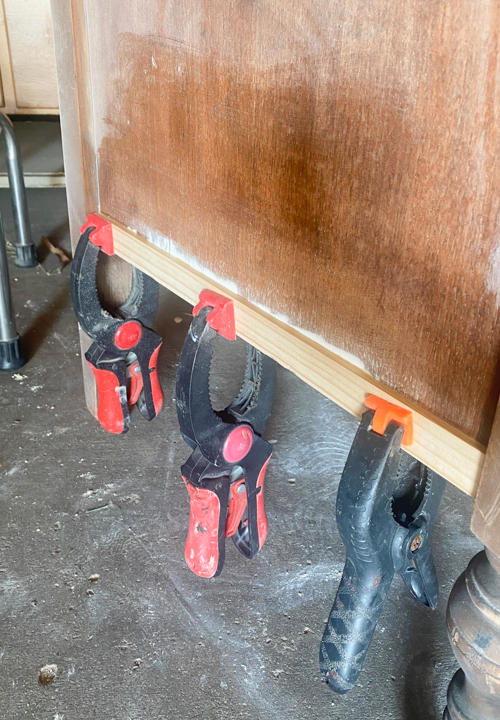
- On the sides of the dresser, we added a thin piece of trim where the veneer was not in good condition. This is a great hack when you run across pieces like this. It doesn’t take away from the look of the dresser and gives it a seamless look. We cut the trim pieces to fit, applied wood glue, and used the clamps to hold them in place until the glue dries.
- Once the MUD was dry, it was time to scuff-sand the entire dresser. I use this sander for that. It is important to give it a scuff-sand to any piece of furniture you are painting. You can learn the difference between a scuff-sand and a regular sand in my post HERE.
- When the scuff-sand was done and the MUD was sanded down to flush with the rest of the piece, I went over the entire dresser with a damp rag. You want to remove any debris and sanding dust before you prime or paint.
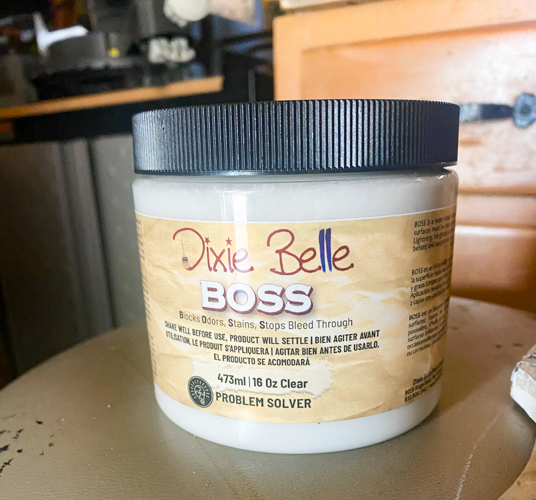
- Next, it was time to prime. I used the BOSS primer.
- Once the primer was dry, it painted the dresser in Caviar. It took two coats of paint to cover it.
- Once the dresser was painted, I added the new hardware. I found this hardware at a yard sale. ALWAYS be on the lookout for hardware at yard sales, thrift stores, and estate sales. It will save you a ton of money on your projects. This was a brand new package of hardware for $2! I would have used the original hardware but it was missing some of them.
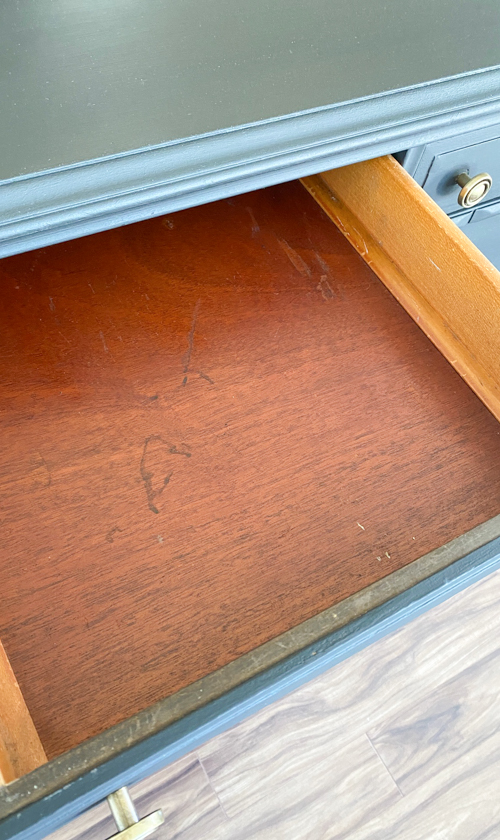
- I also applied Restor-a-Finish inside the top two drawers. They were really scratched up and the Restor took care of it beautifully. See that process in my short video HERE.
- You can also add a topcoat to the dresser if you like. Find the best topcoat for furniture HERE. I also teach you how to apply a topcoat HERE.

I am not going to lie. This black tall dresser makeover was not as easy as I thought it would be. The veneer was worse than I thought. It took me a while to complete this piece. Some pieces are like that. You don’t know what you are getting into until you are actually working on it.

The details stand out now, as they should, and the new hardware fits the look perfectly!
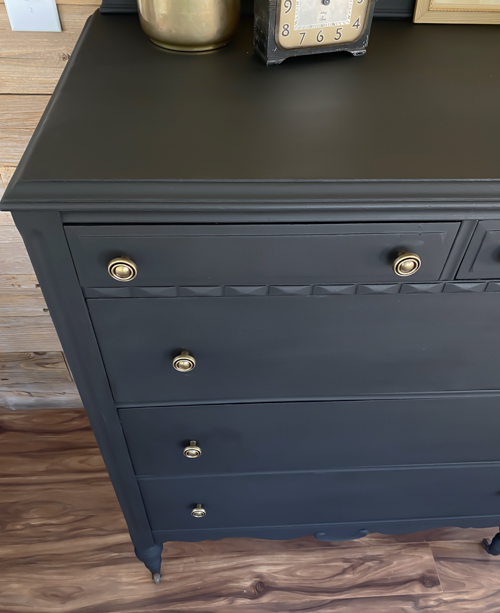
And there you have it—your very own Black Tall Dresser Makeover! With just a bit of time and effort, you’ve transformed an outdated piece of furniture into a chic and modern addition to your home. I hope this tutorial has inspired you to tackle more DIY projects and breathe new life into your space. Whether you’re updating a single piece or planning a room-wide refresh, a bold black dresser can make a significant impact.
If you want more painting tips for furniture pieces, head over to my YouTube channel HERE.
Make sure you SUBSCRIBE to my YouTube channel when you are there. I am launching new videos every week!
Quick Tips for a Successful Makeover Every Time
- Prep Thoroughly: Clean the dresser well and sand it lightly to ensure the paint adheres properly. Don’t skip this step for a smooth finish!
- Use Quality Paint: Invest in high-quality paint specifically designed for furniture. It provides better coverage and durability.
- Prime First: Applying a primer before painting can help the black paint adhere better and provide a more even color.
- Choose the Right Tools: Use foam rollers for large, flat surfaces and angled brushes for edges and details to achieve a professional look.
- Apply Multiple Coats: Don’t rush the painting process. Apply several thin coats rather than one thick coat to avoid drips and achieve a smooth finish.
- Allow Proper Drying Time: Let each coat dry completely before applying the next. This helps avoid smudging and ensures a long-lasting finish.
- Finish with a Sealer: Use a clear polyurethane sealer to protect the paint and give your dresser a polished look.
- Add New Hardware: Update the dresser’s look by replacing old handles or knobs with modern ones that complement the new black finish.
- Work in a Well-Ventilated Area: Ensure good ventilation when painting to avoid inhaling fumes and to speed up the drying process.
- Protect Your Workspace: Lay down drop cloths or old newspapers to catch any drips or spills and protect your floors and other surfaces.
- Test Paint on a Small Area: Before committing, test your paint on a hidden area to see how it looks once dry and adjust if necessary.
- Take Your Time: Patience is key. Rushing can lead to mistakes, so take your time to ensure each step is done properly for the best results.
- Mind the Weather: Paint in a moderate climate; too cold or too humid weather can affect the drying process and finish.
Do You Want To Make Money Flipping Furniture?
After twenty years of doing this, I am still picking up pieces when I can find them because I love the creative outlet, but I am now coaching other furniture flippers on how to make more money in their business. If you are someone who is looking to start and/or grow a furniture flipping business, I would love to help you. There are ways to make money in your business beyond painting a piece of furniture. Once I learned that, my business flourished. Don’t waste your time trying to figure it out on your own.
To help other flippers, I created The Furniture Flipping Academy! The academy includes everything you need to start, grow, and/or scale a furniture flipping business. It includes courses, resources, templates, social media planner and guide, a private community, and so much more. It will ensure that you are doing the steps that will lead to success and not wasting your time on things that won’t.
You can find all the information about the Furniture Flipping Academy HERE.
Let’s get your business started and/or moving in the right direction. The Furniture Flipping Academy is for any flipper, from beginner to experienced. If your business is stagnant, there is a reason for that. Let me help you grow it into a flipping career that is profitable and fits the lifestyle you want to live.
PIN THIS POST!