Crank windows are a popular choice for many homes, but over time, the handles used to open and close these windows can break. If you find yourself struggling with a faulty window crank, don’t worry! You don’t have to replace the entire window. Crank Window Handle Repair is an easy, cost-effective solution that will have your windows working like new again. In this blog post, we’ll guide you through the process step-by-step, showing you how to replace your broken crank window handle with replacement parts.
Crank Window Handle Repair
When we bought our latest investment property, all the front windows were crank windows, and every single one of them didn’t work. Some cranks were missing entirely, others had stripped cranks, and many had cracked covers. Each window had its own issue, making them practically useless. After doing some research, we found out that we could replace the mechanisms and didn’t have to replace the entire windows — saving both time and money. I am excited to share this with you in hopes it will do the same for you if you are dealing with the same issues.
Why You Don’t Need to Replace the Entire Window
If your window crank is broken, it might seem like you need to replace the whole window. However, that’s not the case! The handle and mechanism are separate components from the window itself, and these can be replaced without any major window work. This is a simple and affordable way to restore functionality to your windows.
Tools You’ll Need for Crank Window Handle Repair
{Affiliate links are used in this post. Click on any underlined links to find the products and sources I am referring to. You can read my disclosure HERE.}
Before you start, gather the necessary tools. Most crank window repairs require basic tools you likely already have on hand:
I am linking to the parts we got for our windows from Direct Window Parts.
- Replacement crank window handle (there is a left and right)
- Handle Cover
- Crank Handle
- Screwdriver (flathead or Phillips, depending on your window type)
- Drill (optional, if screws are tightly fitted)
- Multi-Use Tool
- Pliers (if needed for removing old parts)
Make sure to check the manufacturer’s specifications for your window type to find the correct replacement parts. Having the right parts and tools will make the process faster and easier.
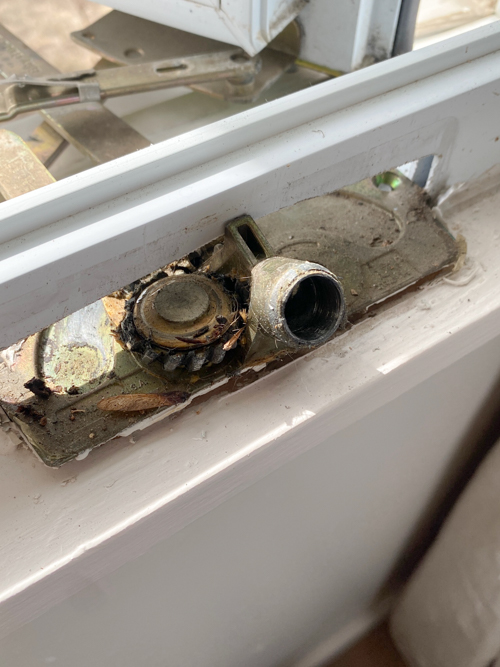
Step 1: Remove the Broken Crank Handle, Mechanism, and Cover
The first step in Crank Window Handle Repair is to remove the broken crank handle, mechanism, and cover. Here’s how you can do that:
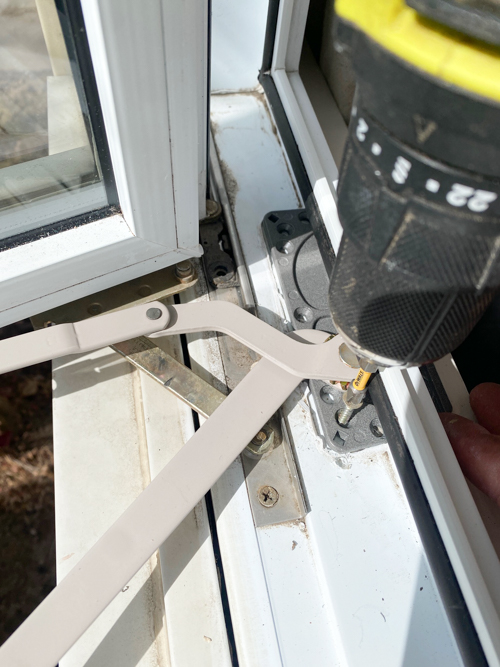
- Remove the Mechanism:
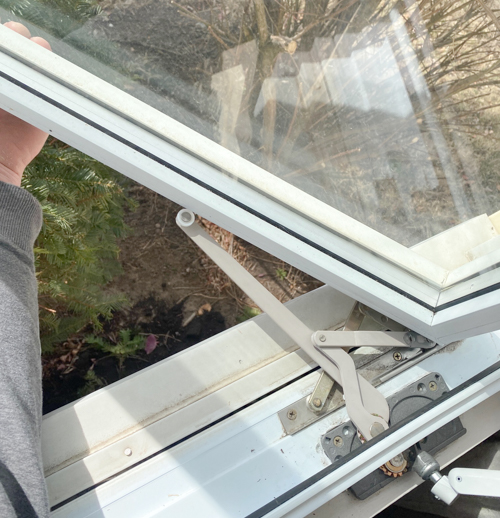
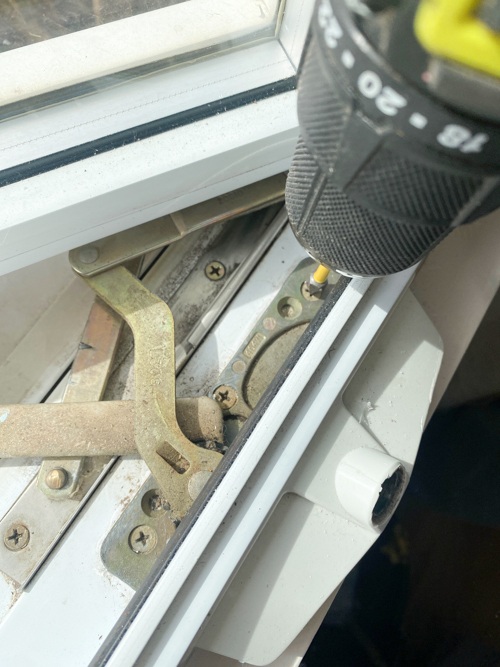
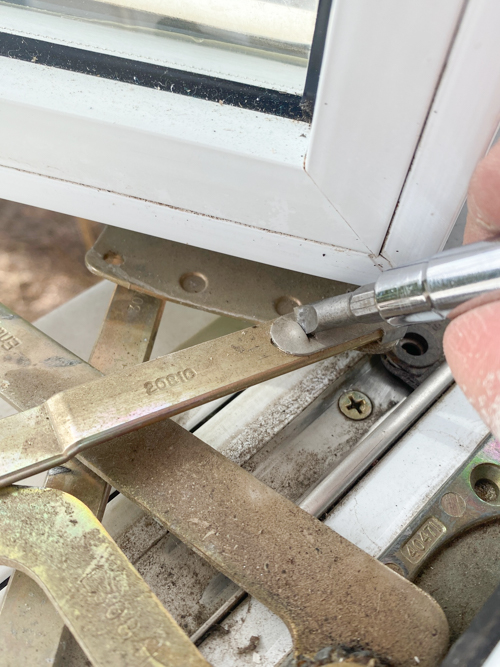
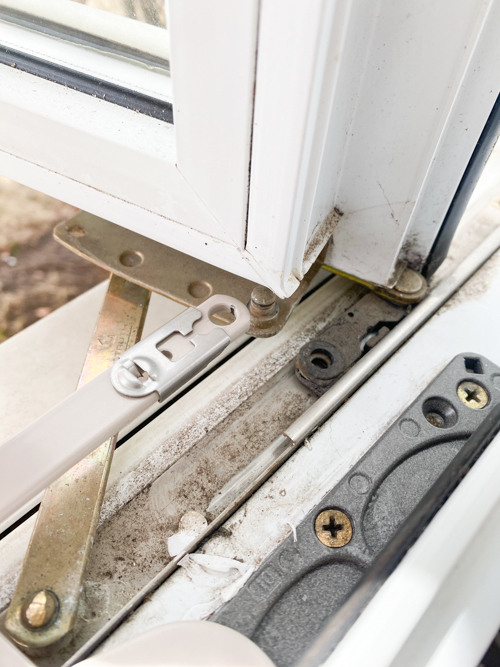
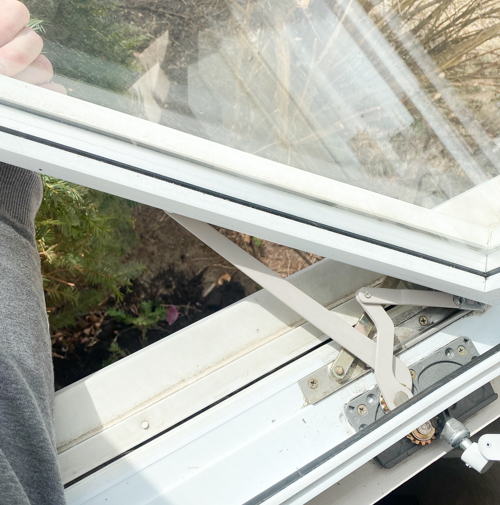
Open the window and locate the screws holding the mechanism. Unscrew those screws but make sure to hang on to them. You will reuse them when putting the new mechanism in. Once the screws are removed, gently pull the mechanism away from the window frame. You may need to use a multi-tool to loosen it. Take note of how the old mechanism is connected, as you’ll need to replicate this when installing the new one. - Next, use a screwdriver to push the clip back that holds the arm of the mechanism to the “pin”. (see photo below).
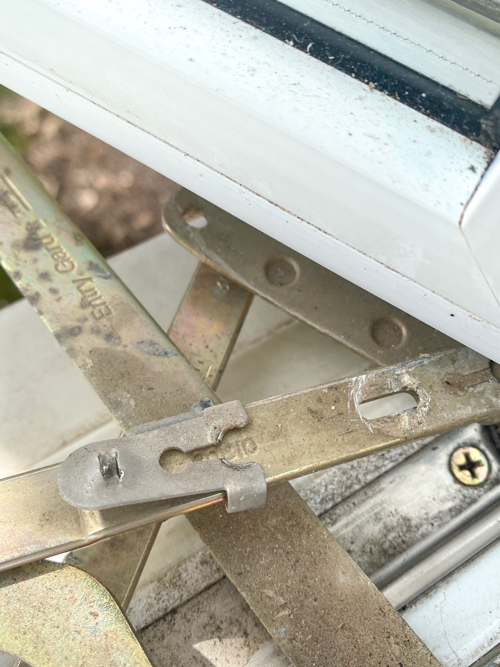
- If the arm of the old mechanism is still in the groove under the actual window, you will need to remove it from there. Some of our windows had them in the groove and some were out.
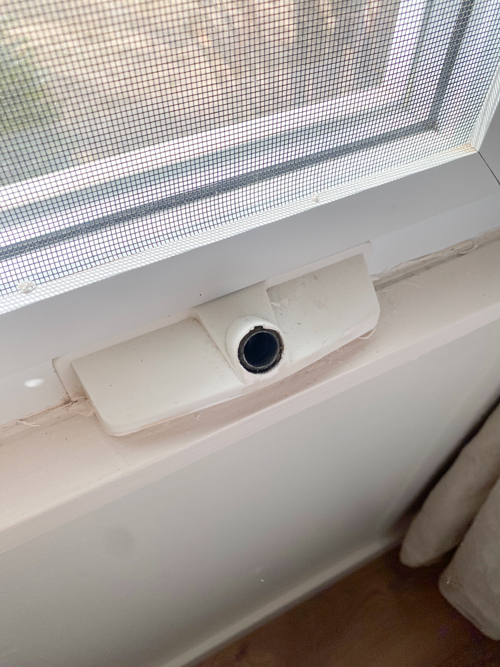
- Remove the Cover:
Remove the plastic cover on the handle. Some of our windows didn’t have cranks on them at all so you would need to remove those as this time as well if you have them. Start by locating the screws or bolts holding the crank handle in place. These are usually at the base or side of the handle. Use a screwdriver or drill to remove the screws.
- After the cover is removed, you will use a multi-tool to help loosen the mechanism to get it out.
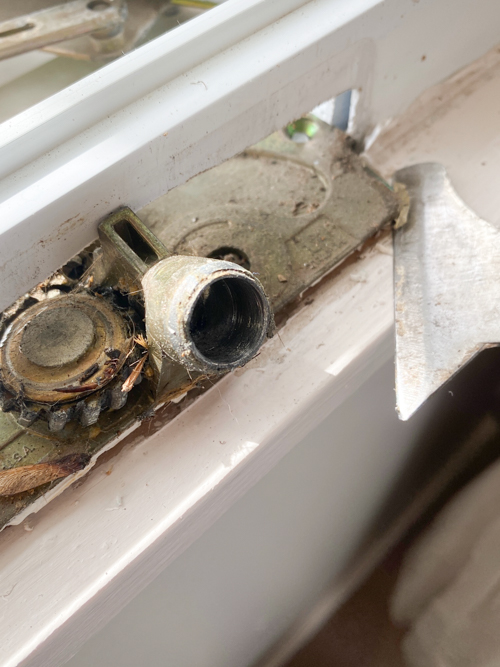
- Pull the mechanism out.

Step 2: Install the New Crank Window Mechanism
Now that you’ve removed the broken handle, mechanism, and cover, it’s time to install the new parts.
-
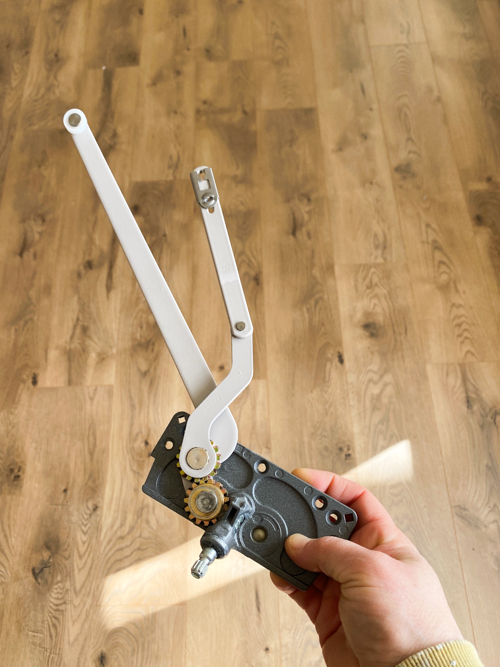
Install the New Mechanism:
Take the new window mechanism and align it with the mounting holes (where you removed the screws I told you to keep when you unscrewed the mechanism)in the window frame. Make sure the mechanism fits properly and that the gears inside are aligned correctly with the window’s opening system. Secure the mechanism in place by tightening the screws.
- Next, will push that “clamp” back on the pin.
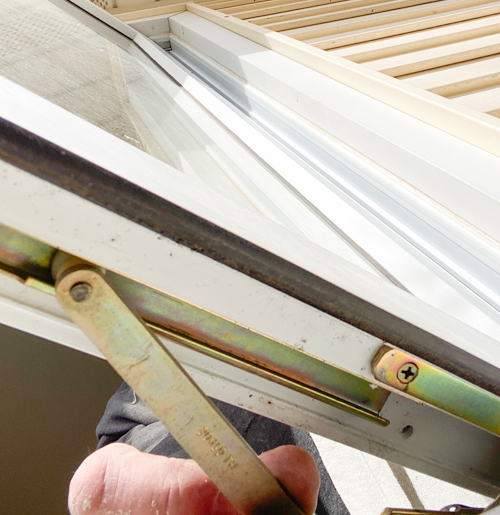
- Next, you will line up the arm of the mechanism to fit inside the groove that is underneath the actual window. Just like you removed it from the groove to get the old one out.
- Install the New Cover:
After the mechanism is installed, replace the cover. Line it up and snap it into place. You may have a screw or two if you go with different parts than what we used. Make sure the cover is fitted snugly to protect the new mechanism.
-
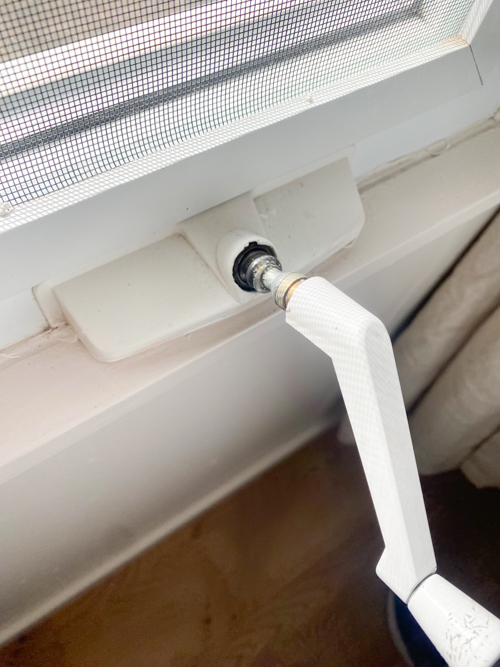
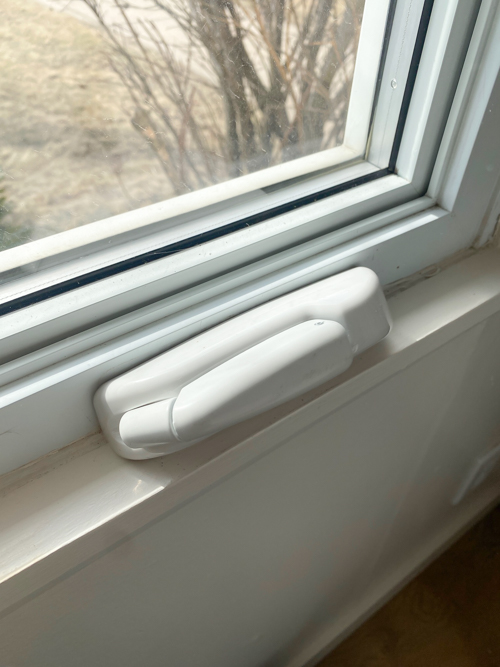
Install the New Crank Handle:
Once the cover is in place, you can attach the new crank handle. Align the handle with the mechanism’s shaft, making sure it fits snugly. Insert the screws into the holes and tighten them with a screwdriver or drill. Be careful not to over tighten.
Tip: Double-check that all parts are properly aligned and securely fastened to avoid any future issues.
Step 3: Test Your Window after Crank Window Handle Repair
Once the new crank handle, mechanism, and cover are installed, it’s time to test the window.
-
Turn the Crank Handle:
Gently turn the new crank handle to open and close the window. If everything is aligned and working properly, the window should open and close smoothly. If the window feels stiff or difficult to turn, check to make sure the mechanism is properly installed and lubricated. -
Check for Smooth Operation:
Ensure the window moves easily and doesn’t get stuck at any point. If you notice any resistance, you may need to adjust the mechanism or apply more lubricant.
Bonus Tip: Regularly clean and maintain your crank windows to keep them functioning smoothly. Lubricate the mechanism periodically to avoid future issues.
I hope this Crank Window Handle Repair guide helps you save both time and money, just like it did for us. We had six windows to fix, and it took us less than an hour to get them all working perfectly. We were so relieved that the project was so simple, and now we’re confident we can handle it again in the future. Many people might assume they need to replace the entire window, which can be costly, but this easy fix proves otherwise. I’m excited to share this project with you and hope it makes your next window repair a breeze!
To see this process happen in real-time, head over to my YouTube video HERE. Make sure to SUBSCRIBE when you are there! I am launching new videos every week and I don’t want you to miss any of them!
PIN THIS POST!

If you found this Crank Window Handle Repair post helpful, you will also love these:
Paint A Bathtub Easily & Inexpensively