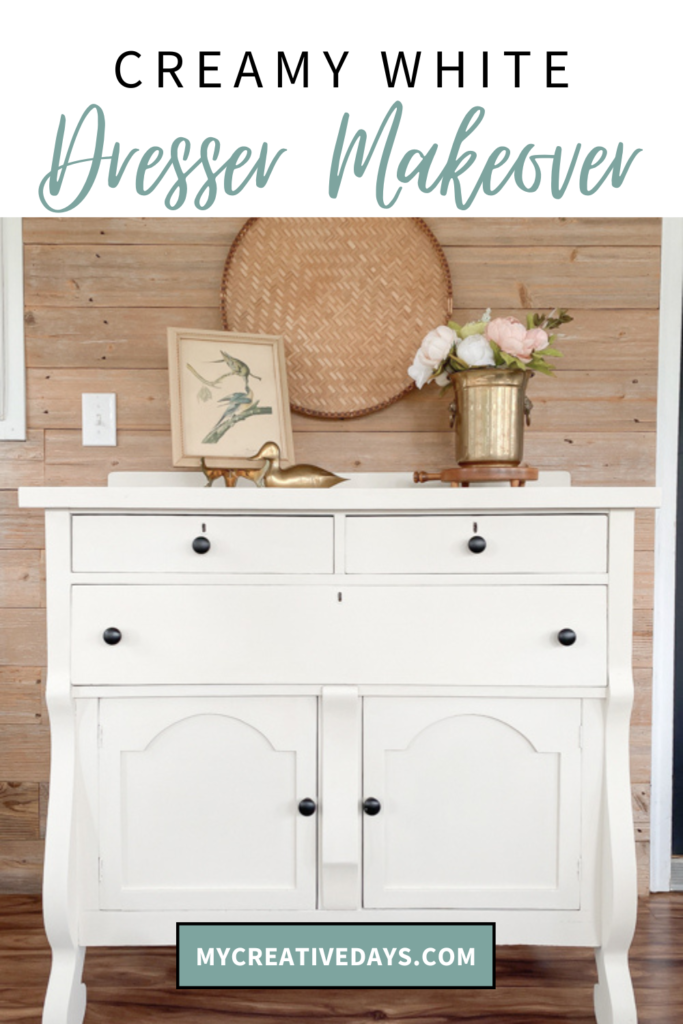
Transforming a dated piece of furniture into a stunning statement piece can be incredibly rewarding. In this DIY dresser makeover tutorial, I’ll walk you through the steps to give a dresser a creamy white finish. This simple yet elegant creamy white dresser makeover can add a touch of sophistication to any piece.
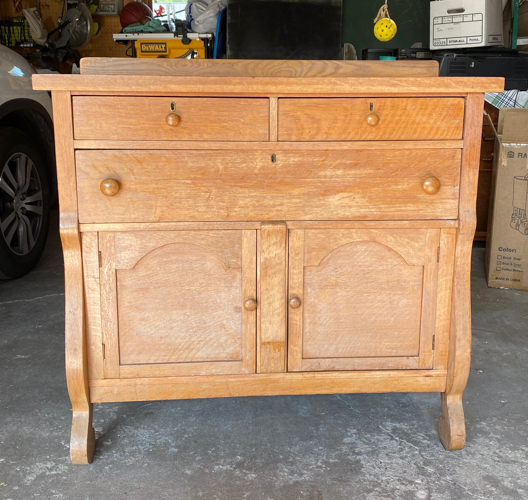
I found this piece at a yard sale for $25. It had so much potential and it was different than most dressers I come across. I don’t find pieces like this all the time so it was a “yes” as soon as I saw it.
Why Choose a Creamy White Dresser Makeover?
A creamy white dresser makeover is a timeless choice that fits well with various decor styles, from modern farmhouse to classic chic. The neutral hue can brighten up a space, making it look clean and inviting. Plus, it’s a versatile color that pairs well with almost any other color scheme in your home.
{Affiliate links are used in this post. Click on any underlined links to find the products and sources I am referring to. You can read my disclosure HERE.}
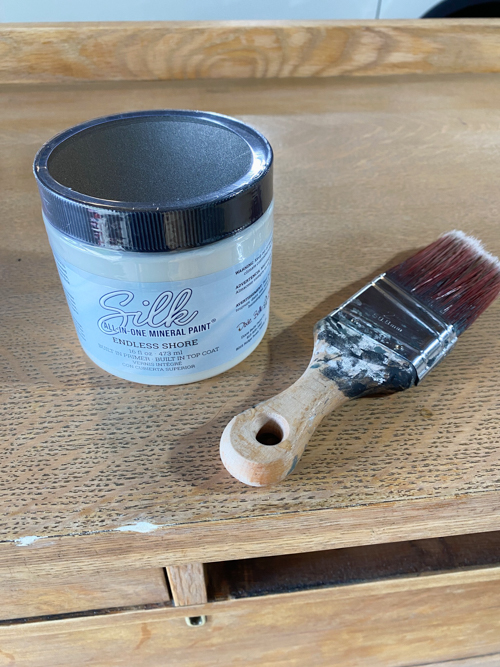
Materials Used In This Makeover:
- Sander
- Sandpaper (medium and fine grit)
- MUD Filler
- Creamy white paint (all-in-one paint)
- Paintbrushes or foam rollers
- New hardware (optional)
Step-by-Step Creamy White Dresser Makeover Tutorial
Step 1: Clean The Dresser
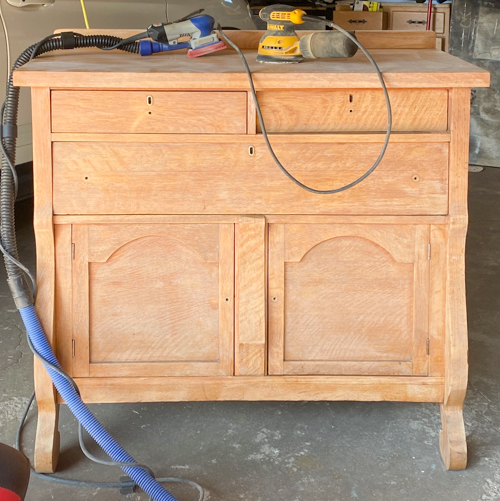
Give the dresser a good cleaning. Vacuum out the drawers, and clean the outside that is getting the makeover. To see my favorite cleaners for projects like this, head to my blog post HERE.
Step 2: Apply MUD:
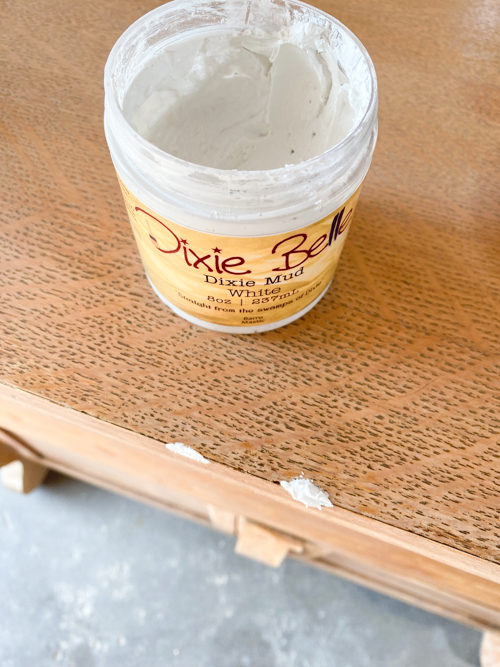
Fill in any areas that need it with MUD. This filler is so easy to use. Once it is dry, sand it down so it is flush with the surface of the dresser.
Step 3: Sand the Dresser
Begin by removing any existing hardware from the dresser. Use medium-grit sandpaper to sand down the dresser, removing the old finish and any imperfections. Follow up with fine-grit sandpaper for a smoother surface. Wipe away dust with a damp cloth.
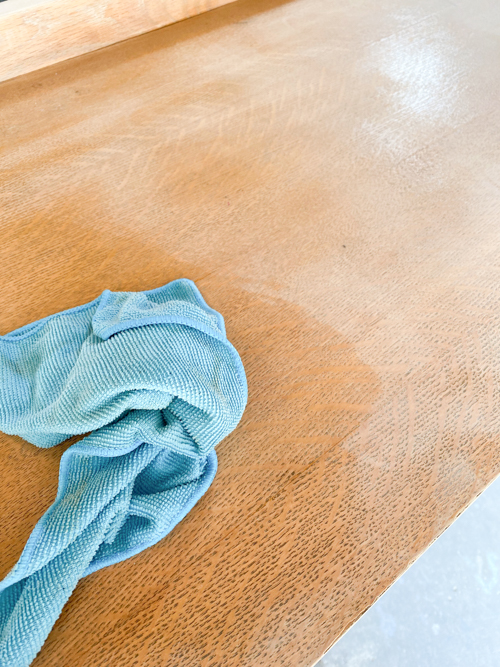
Step 4: Wipe Dresser
When the sanding is done, wipe the dresser well with a damp cloth to remove any dust from the sanding.
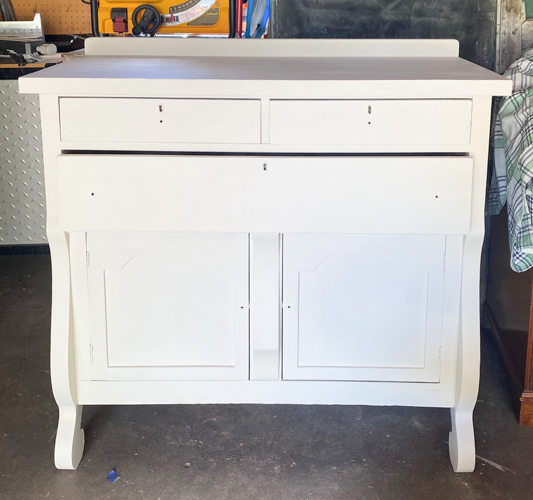
Step 5: Paint the Dresser
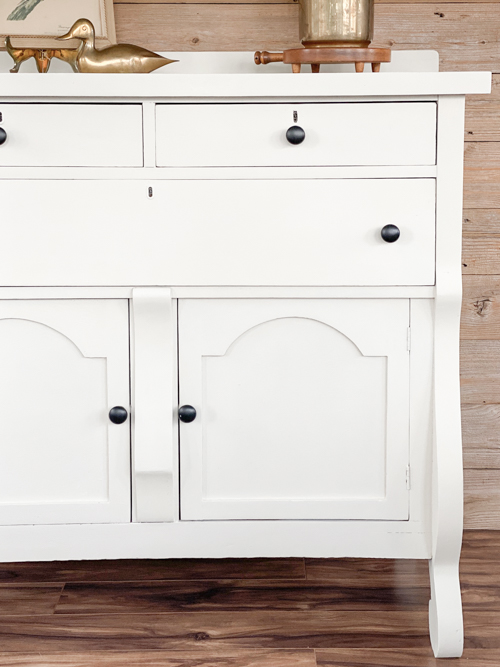
Once the wipe-down is dry, it’s time to paint. Apply the creamy white paint in thin, even coats, allowing each coat to dry fully before applying the next. This paint is an all-in-one paint. It has the primer, paint, and topcoat in one can. Your projects are done faster. It is also a self-leveling paint which makes for a smooth finish.
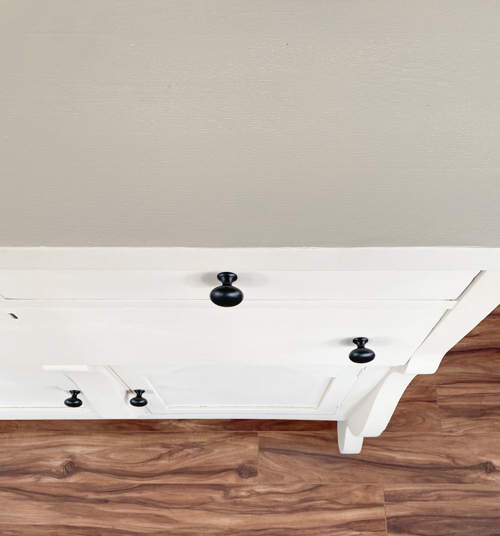
Step 6: Add New Hardware (Optional)
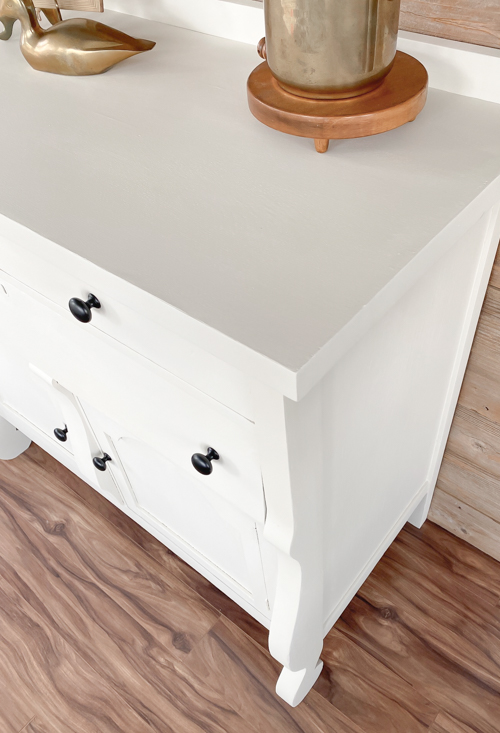
If you want to give your dresser an extra touch of elegance, consider replacing the old hardware with new knobs or handles. I did that with this piece. This simple change can make a significant difference in the overall look of your dresser.
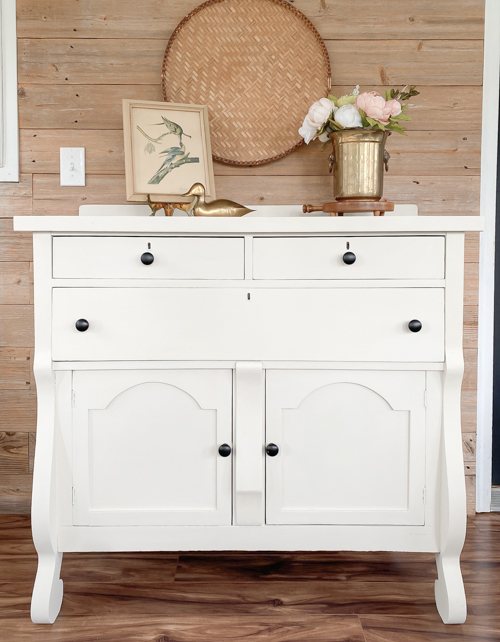
Step 7: Finishing Touches
After the final coat of paint is completely dry, inspect your work for any touch-ups needed. Once satisfied, reattach the hardware (if you removed it) and place your newly transformed dresser in its desired spot or set up for your pictures to sell.
Final Thoughts
This step-by-step DIY dresser makeover tutorial has shown how easy it is to transform your furniture with a little effort and the right materials. A creamy white dresser makeover can breathe new life into an old piece, making it a standout feature piece.
Do You Want To Make Money Flipping Furniture?
After twenty years of doing this, I am still picking up pieces when I can find them because I love the creative outlet, but I am now coaching other furniture flippers on how to make more money in their business. If you are someone who is looking to start and/or grow a furniture flipping business, I would love to help you. There are ways to make money in your business beyond painting a piece of furniture. Once I learned that, my business flourished. Don’t waste your time trying to figure it out on your own.
To help other flippers, I created The Furniture Flipping Academy! The academy includes everything you need to start, grow, and/or scale a furniture flipping business. It includes courses, resources, templates, social media planner and guide, a private community, and so much more. It will ensure that you are doing the steps that will lead to success and not wasting your time on things that won’t.
You can find all the information about the Furniture Flipping Academy HERE.
Let’s get your business started and/or moving in the right direction. The Furniture Flipping Academy is for any flipper, from beginner to experienced. If your business is stagnant, there is a reason for that. Let me help you grow it into a flipping career that is profitable and fits the lifestyle you want to live.
PIN THIS POST!


1 Comment