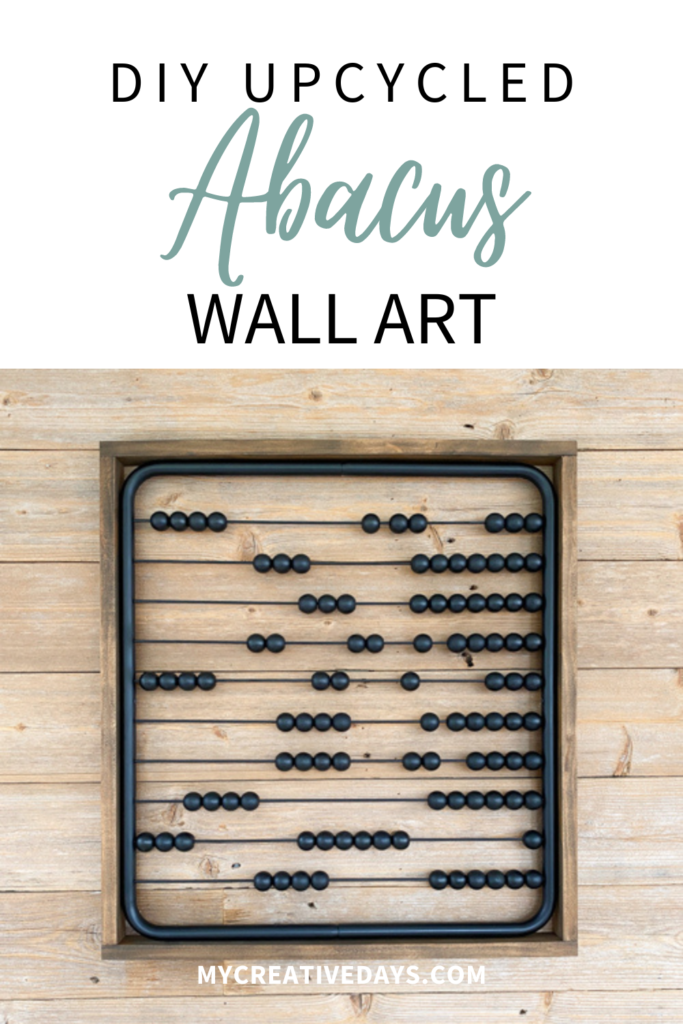
Transform a piece of childhood nostalgia into a modern masterpiece with a DIY Abacus Wall Art project! By upcycling a vintage kids’ abacus, you can create a stylish and unique decorative element for your home. This guide will show you how to breathe new life into an old abacus, turning it into a statement piece that blends vintage charm with contemporary design.
I saw this piece that is no longer available at Pottery Barn and it is what inspired this entire project.
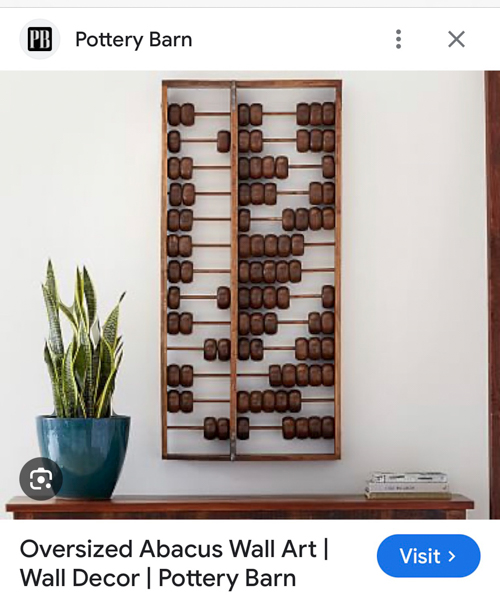
Screenshot
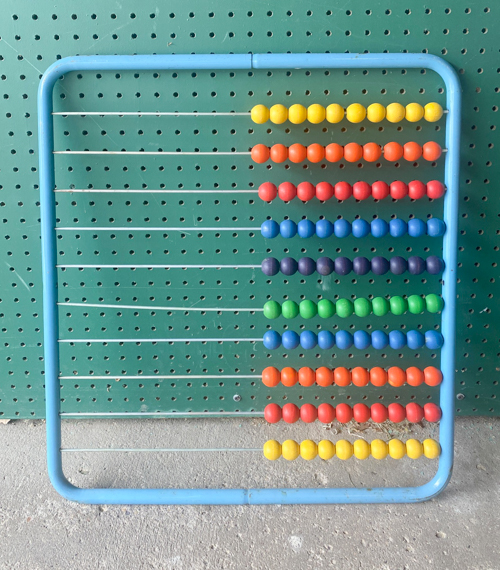
While I was at a thrift store, I found this vintage toy. It was missing the stand but made me think of the Pottery Barn piece I had seen. I had to bring it home and make this idea happen.
Why Choose DIY Abacus Wall Art?
DIY Abacus Wall Art is more than just a decorative piece. Here’s why you should consider it for your home:
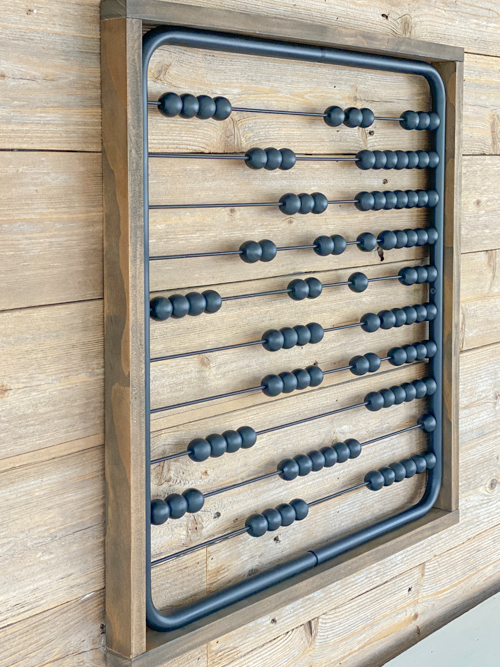
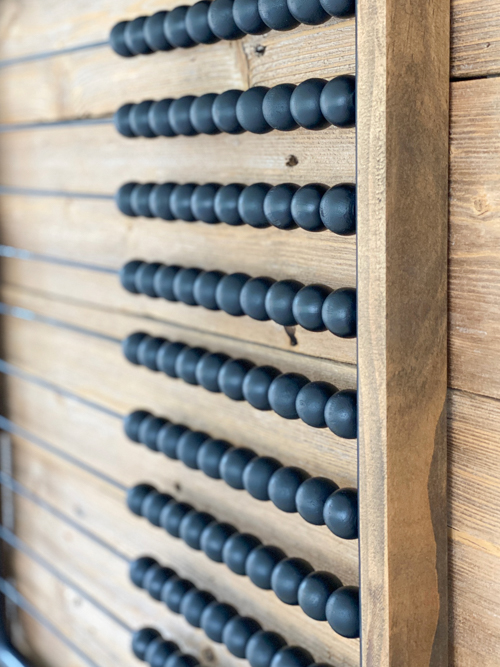
- Aesthetic Appeal: The juxtaposition of wood beads and sleek rods creates a visually appealing piece that can complement various decor styles.
- Educational Value: An abacus is a classic tool for teaching basic arithmetic, making it an interactive and educational addition to any space.
- Customizable: You can tailor the colors, sizes, and materials to fit your personal taste and the overall theme of your room.
{Affiliate links are used in this post. Click on any of the underlined links to find the products I am talking about. You can read my disclosure HERE.}
Supplies Needed for Your Upcycled DIY Abacus Wall Art
Vintage Kids’ Abacus
1×2’s for frame (we had these in the garage – you can make the frame any size)
Right Angle Attachment for Drill
Miter Saw (to cut wood for frame)
Step-by-Step Guide to DIY Abacus Wall Art
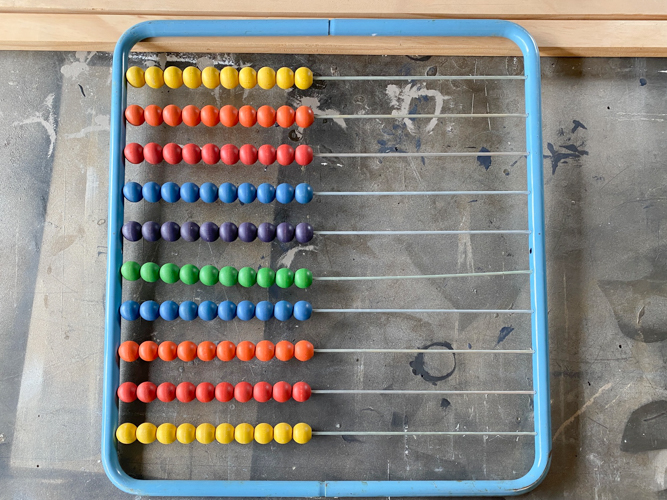
Step 1: Clean and Prepare the Abacus
Begin by cleaning the vintage abacus thoroughly to remove any dust or grime. Lightly sand any rough areas to ensure a smooth surface for painting or staining.
Step 2: Plan Your Design
Decide on the frame you want for your DIY Abacus Wall Art. Do you want it thin? Wide? Do you want to paint it? Stain it?
Step 3: Paint
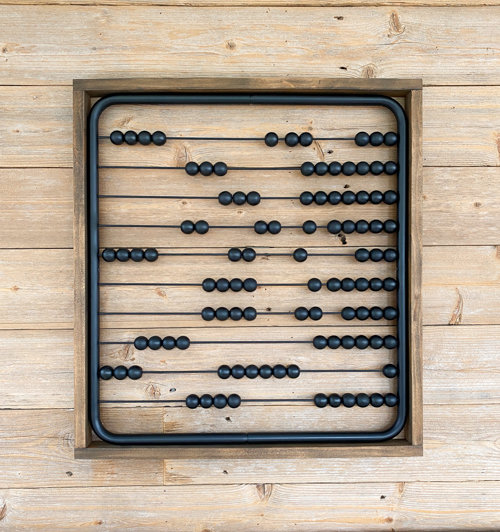
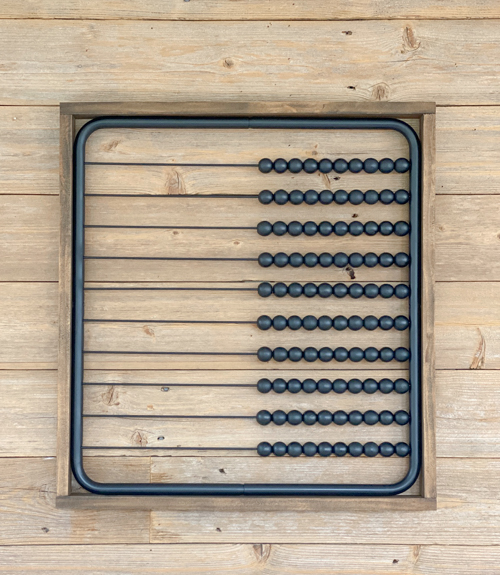
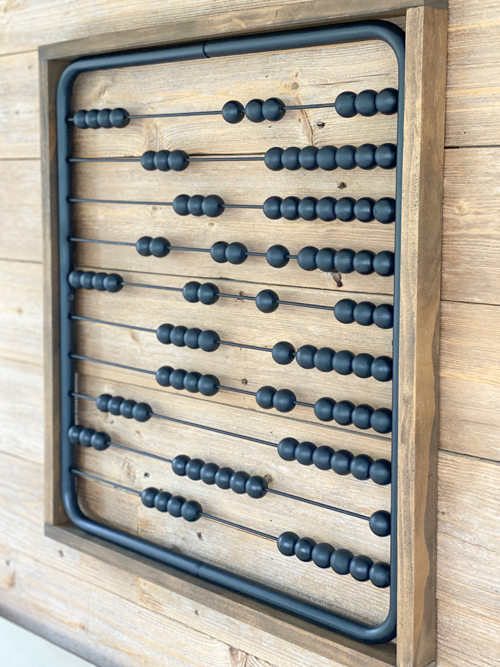
We spray-painted the entire piece black. I wanted to make this a modern and sleek piece.
Step 4: Stain the 1×2’s
While the spray paint was drying, we sanded and stained the 1×2’s used for the frame.
Step 5: Make the Frame
Once the spray paint and stain were dry, we measured for the frame. We made a simple straight frame but you could make 45° cuts at the corners. Then, we put the boards around the frame and used a pencil to make the mark where we needed to cut. We used the miter saw to cut the boards. You will have raw edges to touch up with stain and you may need to sand and touch up stain in other areas.
Step 6: Put It Together
We used the nail gun to attach the sides of the frame together around the abacus. Then, we used a drill and the right-angle attachment to attach the abacus to the frame.
Step 7: Add Hanging Hardware
Add picture hanging hardware to the back.
Upcycling a vintage kids’ abacus into DIY Abacus Wall Art is a fantastic way to combine creativity, sustainability, and nostalgia. This project not only provides a new use for an old item but also adds a unique and personal touch to your home decor. With just a few materials and some imagination, you can create a piece that is both visually appealing and meaningful.
Ready to start your DIY Abacus Wall Art project? Dust off that old abacus, follow these steps, and enjoy transforming a piece of the past into a stylish addition to your home!
If you are like me and learn best by watching, you can see us putting this together in real time over on my YouTube channel HERE.
Make sure to SUBSCRIBE when you are there. I am launching multiple videos every week!
PIN THIS POST!