This DIY antique mirror has changed me.
This is how some projects go for me.
I pick up an amazing frame at a thrift store.
Said frame sits in the house leaned up against many different walls as I move it around the house.
I am not sure what I am going to do with the frame, so I get started on some bedroom makeovers that will consume my creative juices.
I don’t have to think about the frame now, but I will continue to clean around it propped up on different walls in the house.
Then, we are hit with a pandemic and my bedroom makeover progress came to a screeching halt.
The frame is now calling for my attention again.
My creative juices need something to feed off of.
So, I think that maybe, I can turn the glass in the frame into a DIY antique mirror.
I order the supplies and continue to clean around the frame until the Iowa spring weather decides to cooperate so I can go outside and work on it.
Some projects are just like that for me. The pandemic is a new twist, but I have moved many projects and cleaned around many treasures until the one idea goes off in my head.
I did not know if this DIY antique mirror was going to work at all.
To be honest, I didn’t care either way. If it didn’t work, the frame would still be used.
I am here to tell you that it did work and all those things did happen afterwards. 🙂
I picked this up at a thrift store months ago. The picture is nothing special. The frame is spectacular.
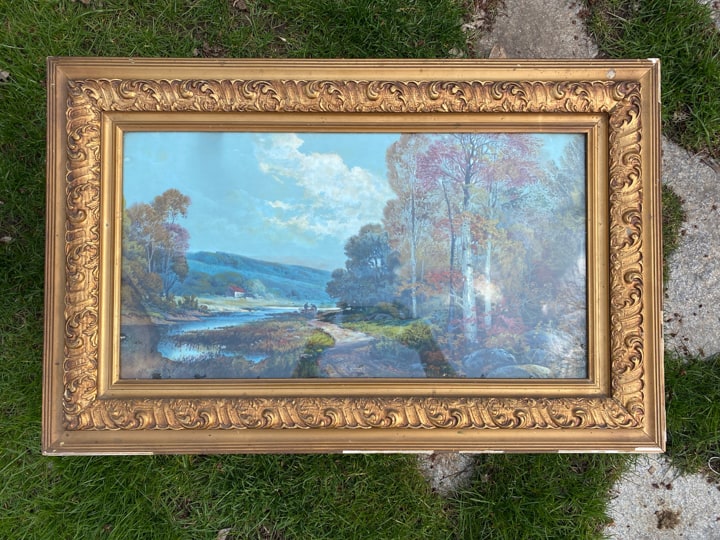
Let’s get to this project that changed me into an antique mirror maker.
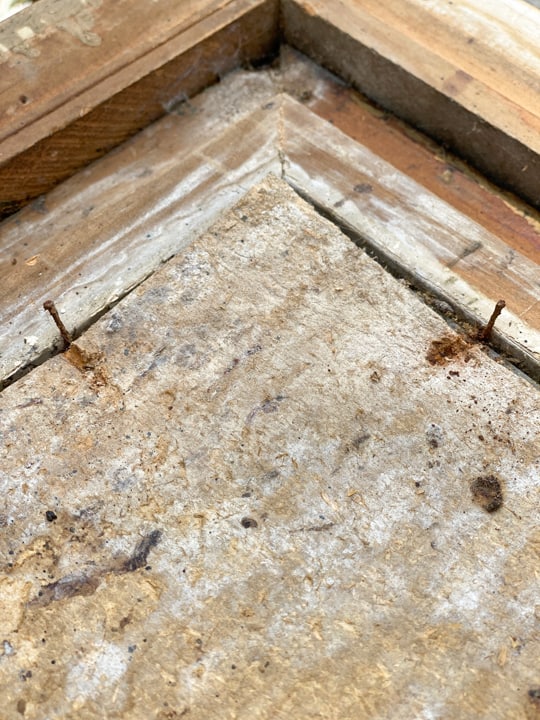
The first thing I had to do was get the glass out of the frame. This was the hardest part. Lifting the old, rusty nails off the back of the frame wasn’t easy, but it is part of the charm of old pictures and frames.
{Affiliate links are used in this post. Click on any of the underlined links to find the products I am talking about. You can read my disclosure HERE.}
Supplies Used To Make This DIY Antique Mirror
Paper Towels
Vinegar
Water
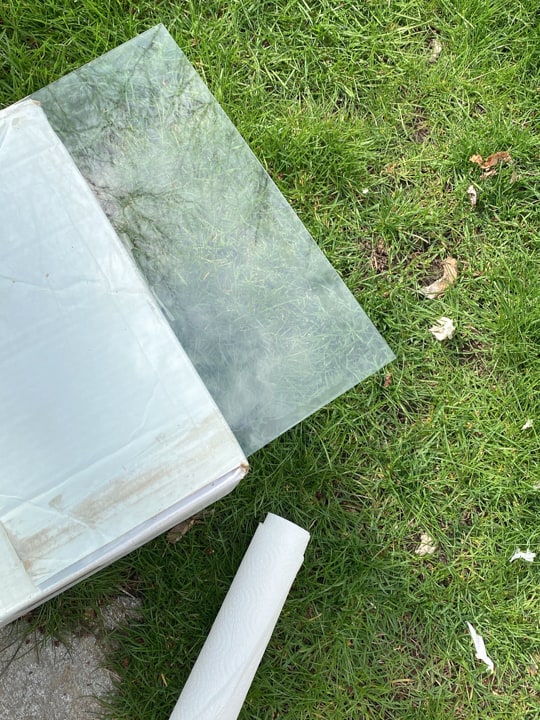
Once I got the glass out, I cleaned it really well. I just filled a spray bottle with water and vinegar (half and half) and used paper towels.
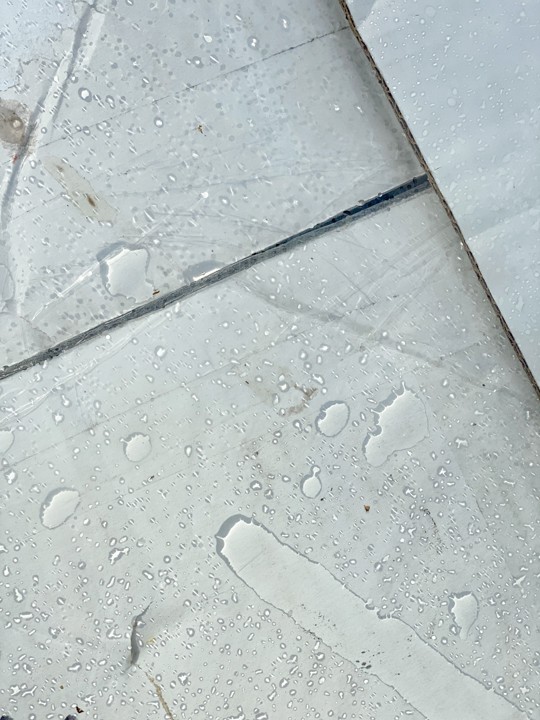
Once the glass was clean, I started experimenting. Like I said, I didn’t know how this was going to work, so I just went with it and learned some things throughout the process.
I used the same vinegar and water spray bottle and sprayed the mixture around the edge of the glass.
A lot of antiquing happens around the edge of mirrors, so I sprayed the mixture more heavily around the edges. For the middle of the glass, I stood up and dripped bigger drops in the center. Some of the drops ran on the glass like in the photo above. I just took a paper towel and blotted it so it wasn’t a big water run and looked more like the top portion in the photo below.
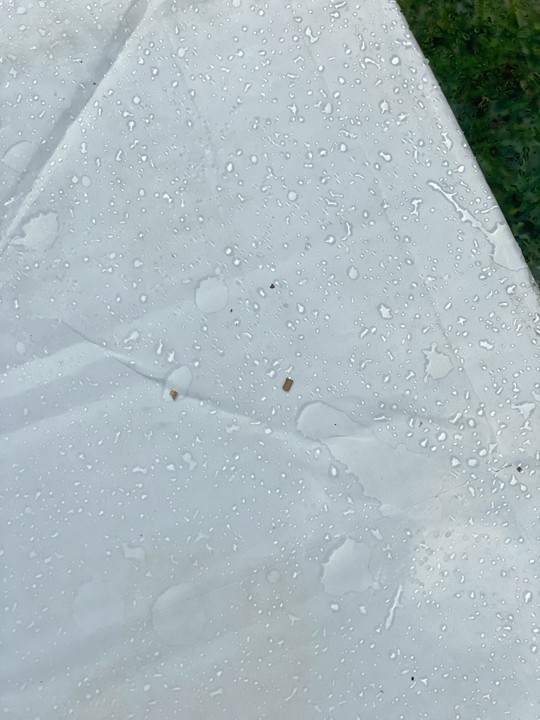
Once I had the water blotted and how I wanted it to look, I shook the mirror spray paint and sprayed right over the vinegar/water I sprayed. At first, I did a lighter layer of the spray paint. It didn’t cover that well. Then, I put little more water in areas that didn’t have much and sprayed the mirror spray paint all over it all again. This time, I made sure everything was covered well. That is what worked the best! You want to cover the glass completely. The photo below shows you the lighter layer of paint. NOT GOOD.
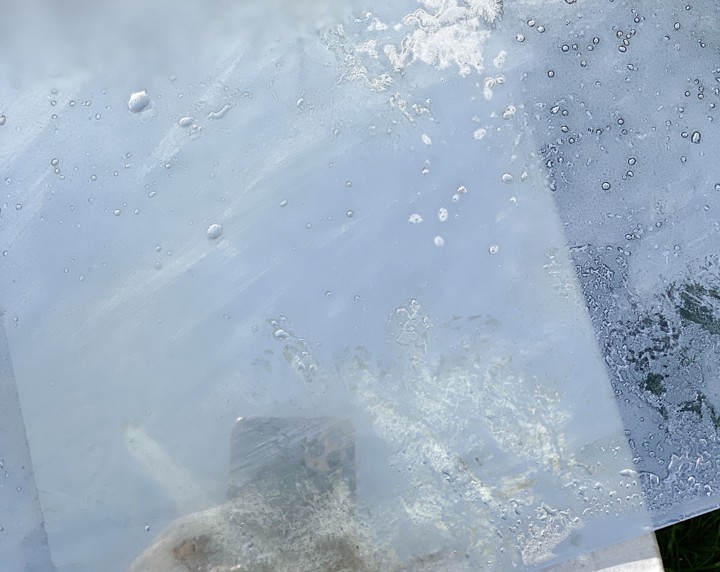
I did this on a warmer, sunny day, so the spray paint dried fast.
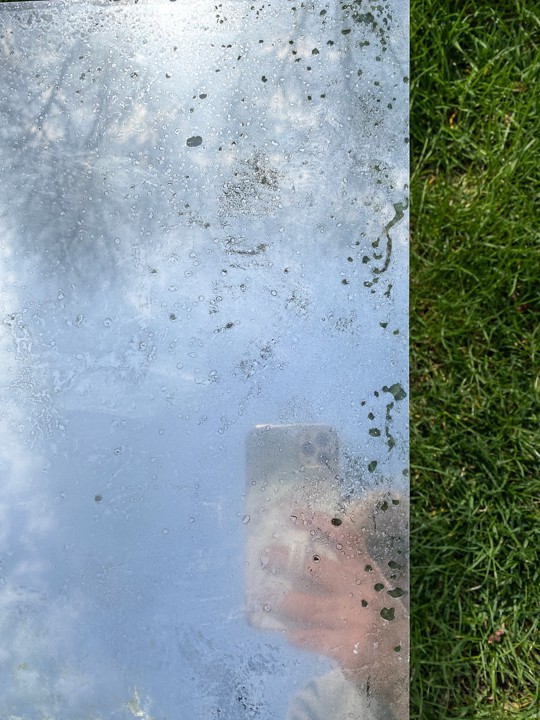
As soon as it dried, I used a paper towel and blotted over all the water drops. Obviously, the vinegar/water drops made it so the spray paint can’t adhere to those areas. Blotting those areas with a paper towel picked the water right up and left “spots” around the glass.
TIP: I blotted in most areas, but did small swipes in a few areas too. NOT BIG SWIPES. I wanted it to be subtle and not so “uniform” – just like an antique mirror would be.
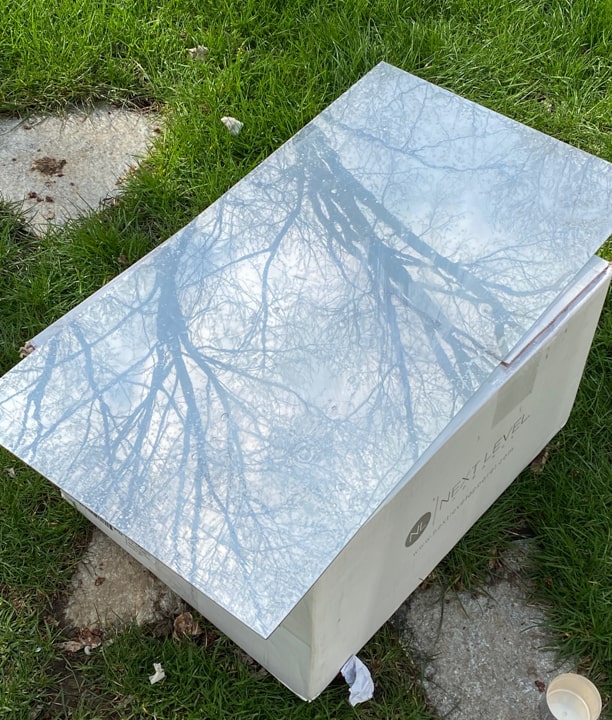
The photo above shows the glass fully covered but the water hasn’t been blotted or swiped.
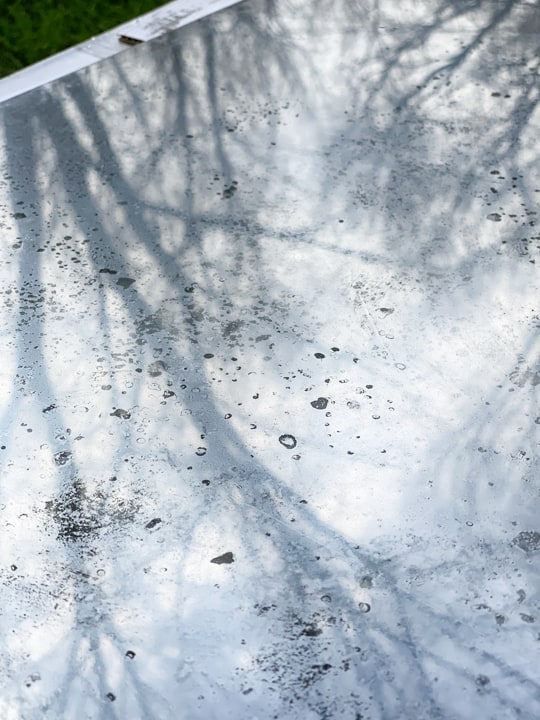
The photo above shows you what it looks like after I blotted/swiped all the water drops.
Once I had everything blotted and dry, I flipped the glass over and sprayed the back of it with flat black spray paint. I covered every inch of the back with the black spray paint. Do not do a light layer. Let the black spray paint dry fully.
AND THIS IS WHAT IT ENDED UP LOOKING LIKE!!!!
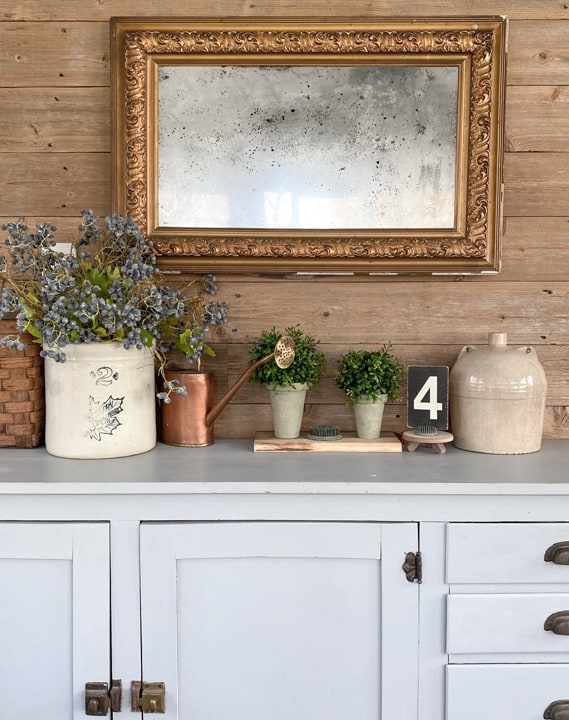
I could not believe how authentic it looked and it was so easy to do!
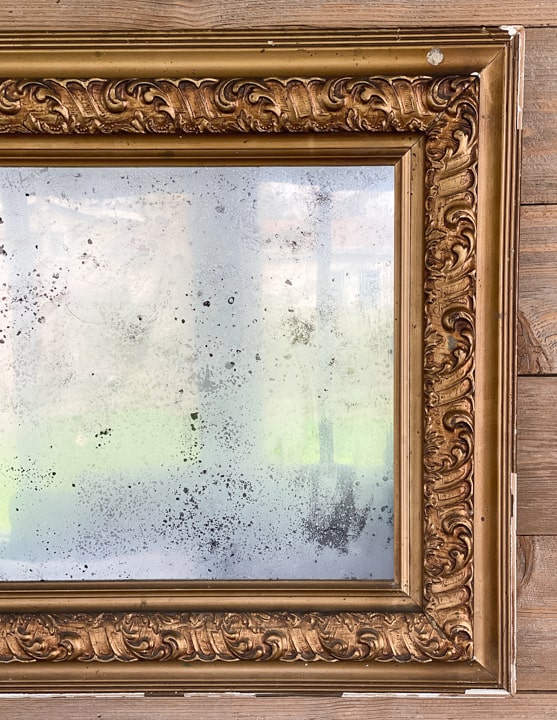
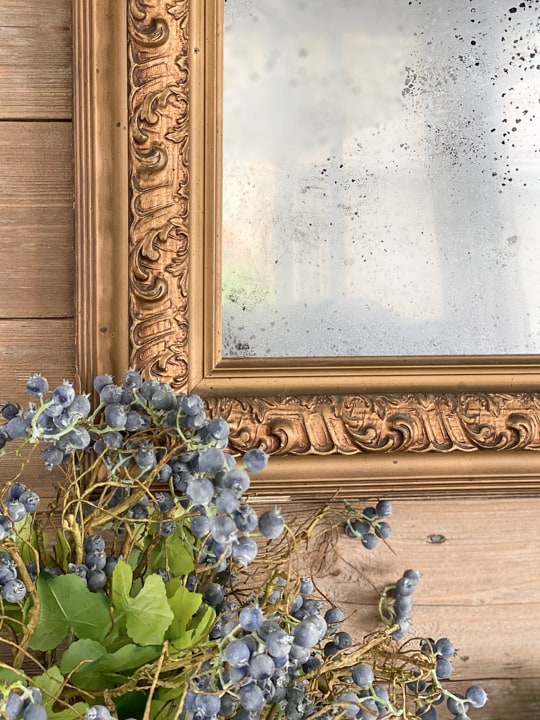
This beautiful frame was perfect for an antique mirror, but there was no way I was going to buy one to put in it. They are expensive. Now that I know I can create my own DIY antique mirror, the possibilities are endless!
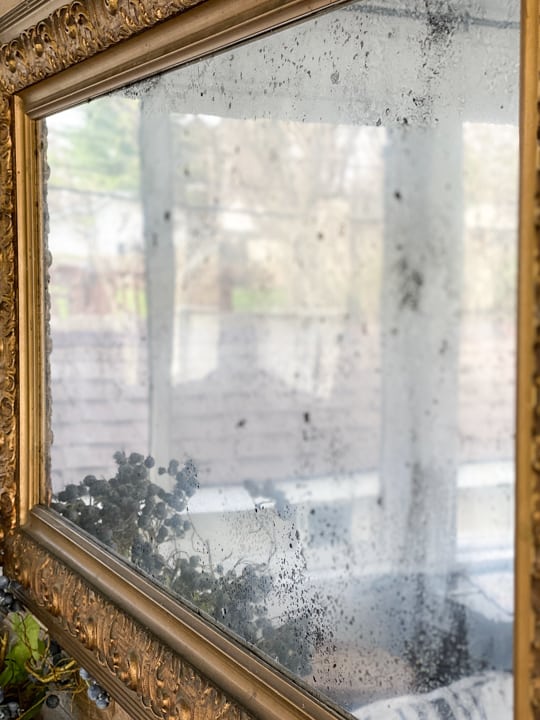
I can’t get over how easy this was to do and how good it looks! Can you tell?! 🙂
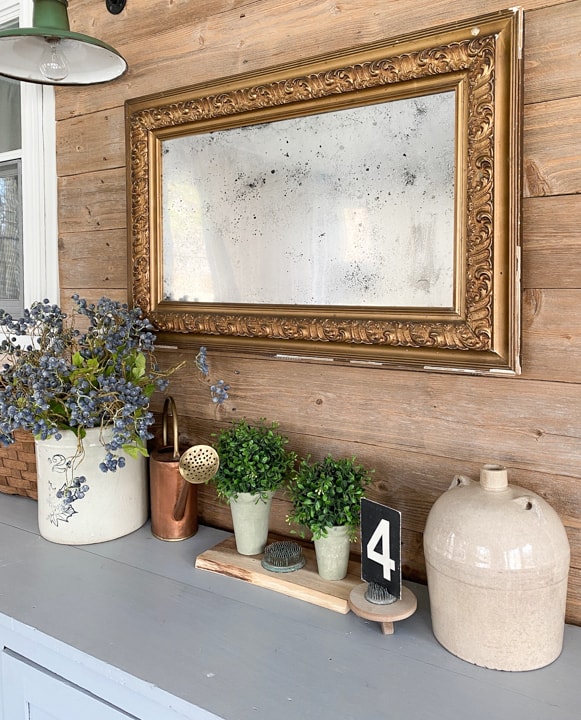
I am apologizing now for all the projects that will be shared doing this same process. #sorrynotsorry
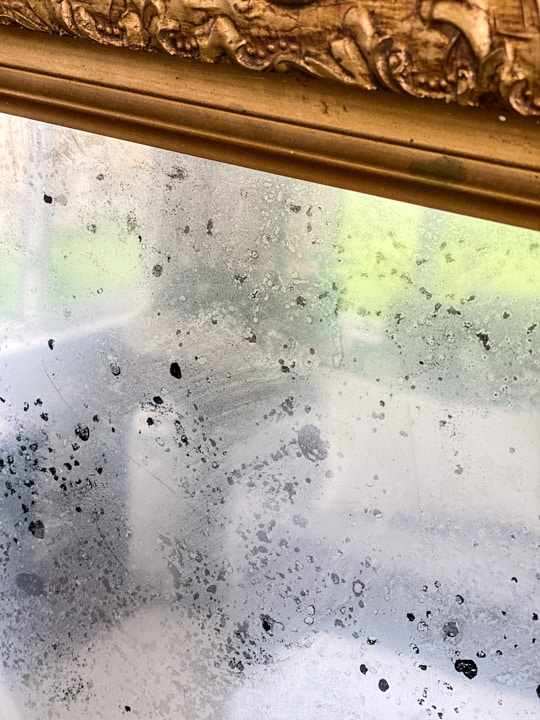
Now that you have seen how easy this look was to achieve, what ideas do you have to use it on?
PIN THIS POST!


This is gorgeous! I’ve always loved antique glass mirrors and now I know I can create one myself with your directions…great job:)
Thank you! It was so easy and looks authentic!!
I have been searching for a large antique mirror for quite some time. This looks like it turned out great and as I love making things rather than buying it will be a perfect project.
Can’t wait to see what I manage to put together.
Have to check my old frames before I go looking in case I already have one. A likely probability as I seem to usually have what I might need in my collection of everything under the sun here at home already.
I am the same way. I want to try and DIY it first. I always have pieces on hand too! Saves so much money on home decor!!
This turned out great! Did you research the painting? I have purchased several paintings for the frame, only to find out the painting was valuable. BTW I am addicted to your thrifting stories!!!
Thank you! I will keep doing them!! I didn’t research this one.
Do you have any suggestions on the best way to approach this technique on a wall mirror that is already glued to the wall? I wonder if the water will be too drippy to perform the spray.
Thanks for any advice.
Yeah – I am not sure how that would work. I haven’t tried it on a mirror hanging on the wall.