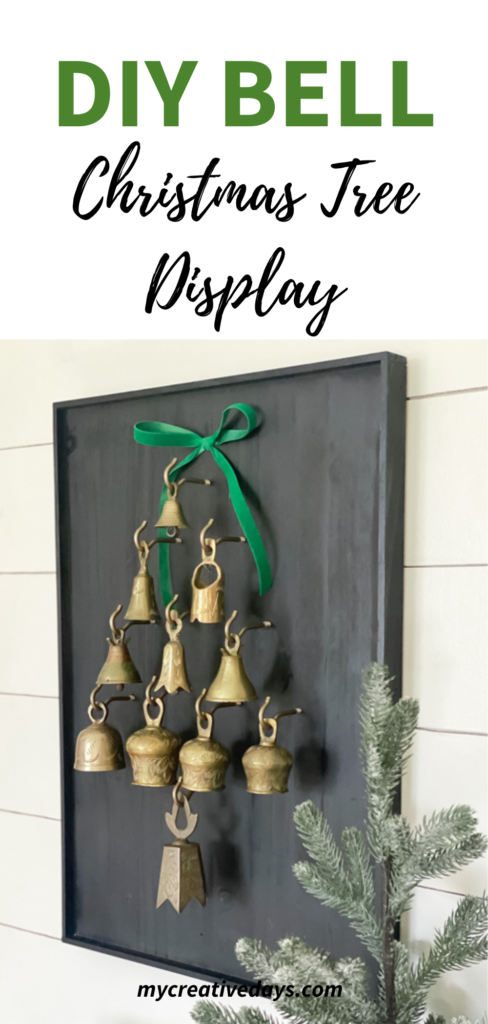
The holiday season is just around the corner, and what better way to usher in the festive spirit than with a dazzling DIY project? If you’re looking to add a unique touch to your holiday décor, I’ve got a fun idea for you – the DIY Bell Christmas Tree Display! In this blog post, I’ll show you how we put together an easy piece that enabled me to display my antique brass bells. I pick up bells whenever I find them at thrift stores, yard sales, and estate sales. I LOVE antique brass bells and this project highlights them in a fun way.
You could hang all kinds of them on this display. You could change it up every year. It would be great to display vintage ornaments, small stockings, little canvas bags filled with small gifts, etc. There are so many things you could do with it. I love that I can change it up each year because I have been known to change decor up a lot in our home – especially for the holidays.
Whether you’re a seasoned DIYer or newbie, this project is designed to be both fun and accessible, allowing you to customize your Christmas decorations to match your personal style. Get ready to transform your space into a festive wonderland as we explore the materials you’ll need, the simple yet creative steps involved, and the endless possibilities for making this DIY Bell Christmas Tree Display uniquely yours.
{Affiliate links are used in this post. You can read my disclosure HERE.}
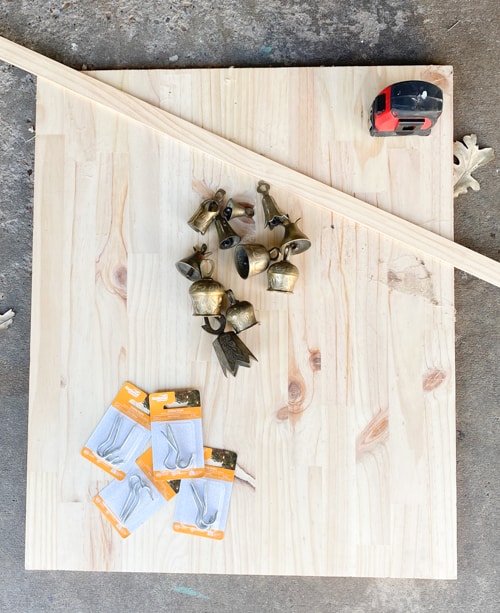
Supplies Used For This DIY Bell Christmas Tree Display
14×20 Board
Thin Trim Piece (to frame the 14×20 board)
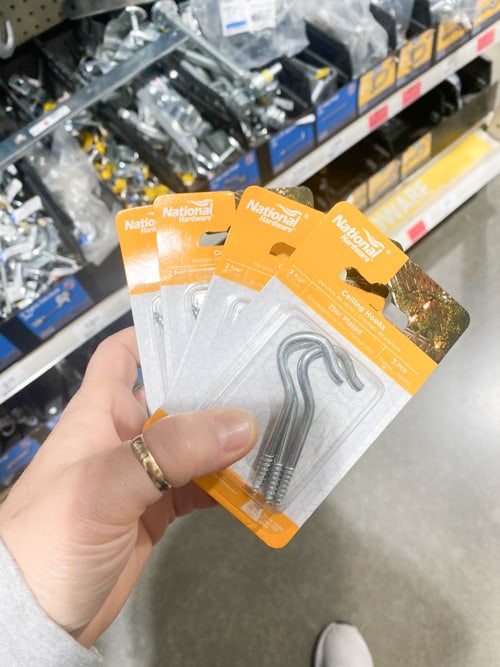
Ceiling Hooks (we used 2.5″)
Tape Measure
Pencil
Steps To Make This Bell Tree Display
- We started by cutting the scrap board we had in the garage to 14×20″ with the table saw. Your bells and the way you display them will determine the size of board you will need.
- Then, we sanded the board really well.
- Then, it was time to measure and cut the thin trim to go around the 14×20″ board.
- We attached the frame with a nail gun. We would have used wood glue around the edge as well before we nailed it on but our wood glue was out.
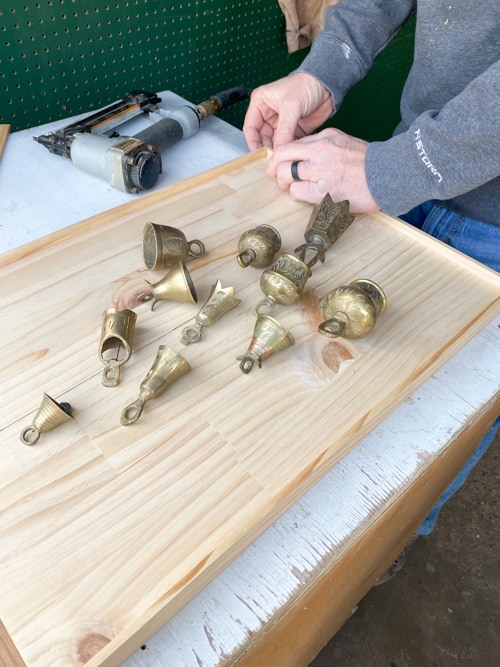
- Once we for the trim on, we started measuring and laying out the bells in the display I wanted.
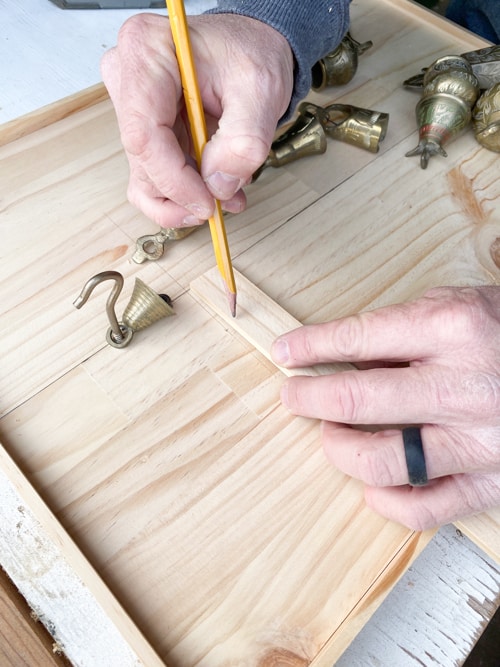
- This is the part that takes the longest because each bell was different and getting them right took a little bit of finagling.
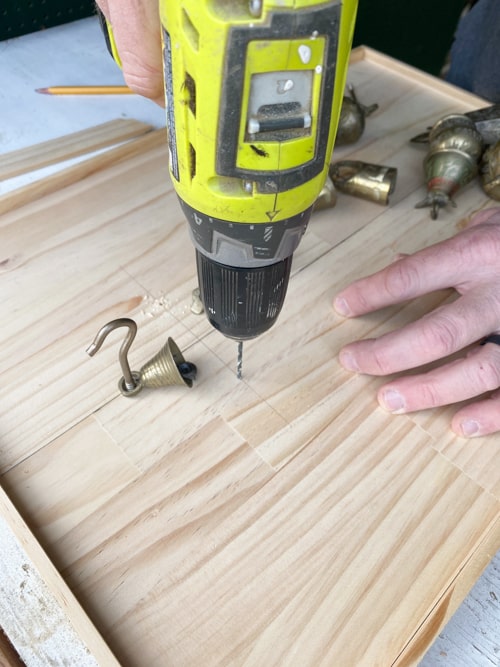
- Once everything was measured and we knew where everything was going, Matt drilled “starter holes” for the ceiling hooks. This just makes it a lot easier to screw the hooks in the board.
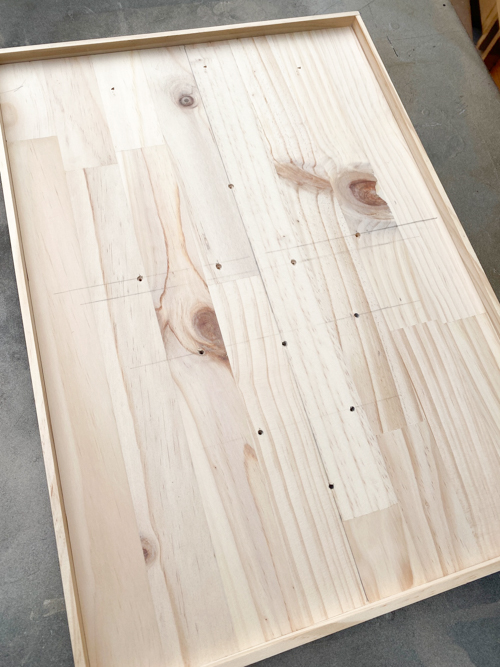
- Once we had all the holes done, we removed the hooks and painted the board black.
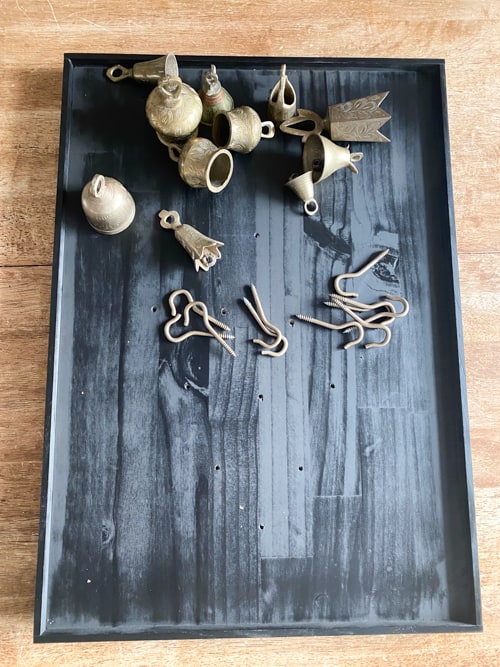
- Once the paint dried, we screwed the ceiling hooks in place and hung the bells.
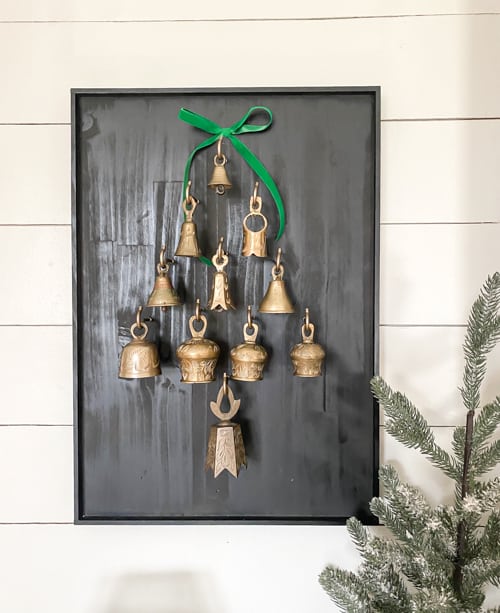
Look at this bell tree display!!
I LOVE the way this turned out.
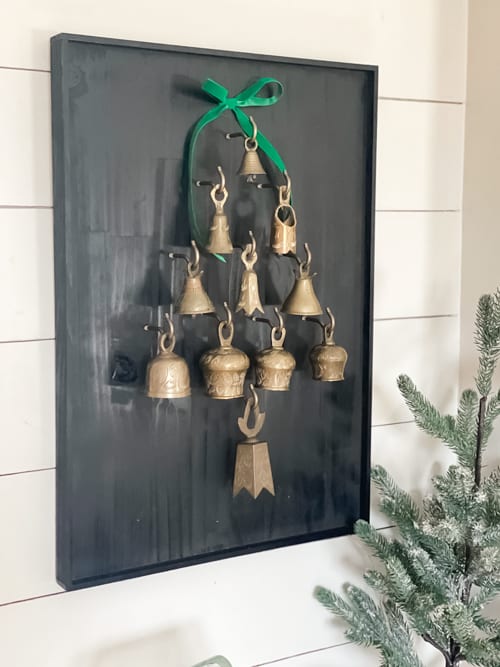
It was the perfect way to display some of my favorite antique bells.
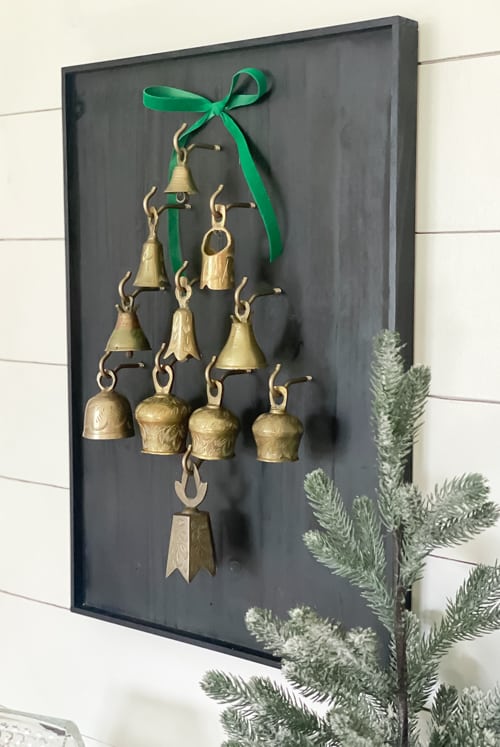
I added the velvet ribbon because I felt like it needed something else. It was the perfect touch.
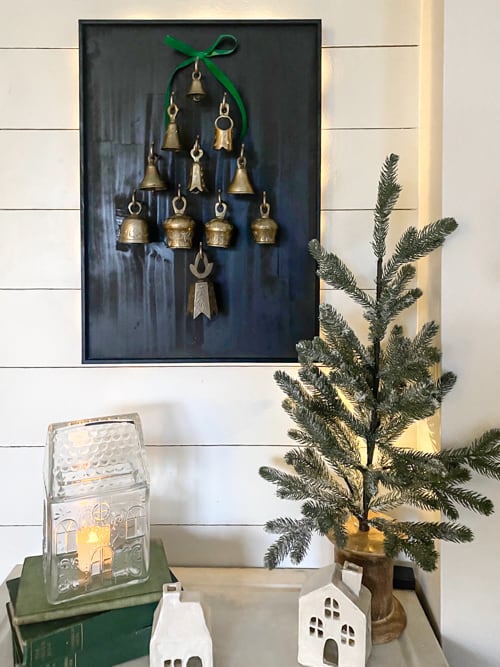
I thought it would be fun to add some twinkle lights too but I didn’t want the lights on the front. So, we added some to the back of the board. We taped the lights on the back and you can see the battery pack behind the Christmas tree in the photo above.
I am just so happy with it and love that I can change it out as I find new bells or change it out completely when I want to change things up.
What do you think of this project? Do you have a collection of something you would display on this?
To see this project done in real-time, I recorded a YouTube video of us doing it. You can find the video here:
Make sure to SUBSCRIBE when you are there! It is FREE and I am launching new videos every week! If you click the bell when you are there, you will be notified when a new video launches.
PIN THIS POST!
