When I started going to yard sales, I would only buy things that I knew I could use right now. Then, I started buying a few things here and there that I knew I could make over. Now, I buy whatever catches my eye. Shopping this way has made some of my projects very interesting by pairing pieces I found at different sales. Although my garage can be really full at times (I need more storage in the worst way), for someone like me who wants to be creative all the time, it is fun to browse through my finds and come up with amazing projects to share here. This DIY wagon came about from a couple of different finds.
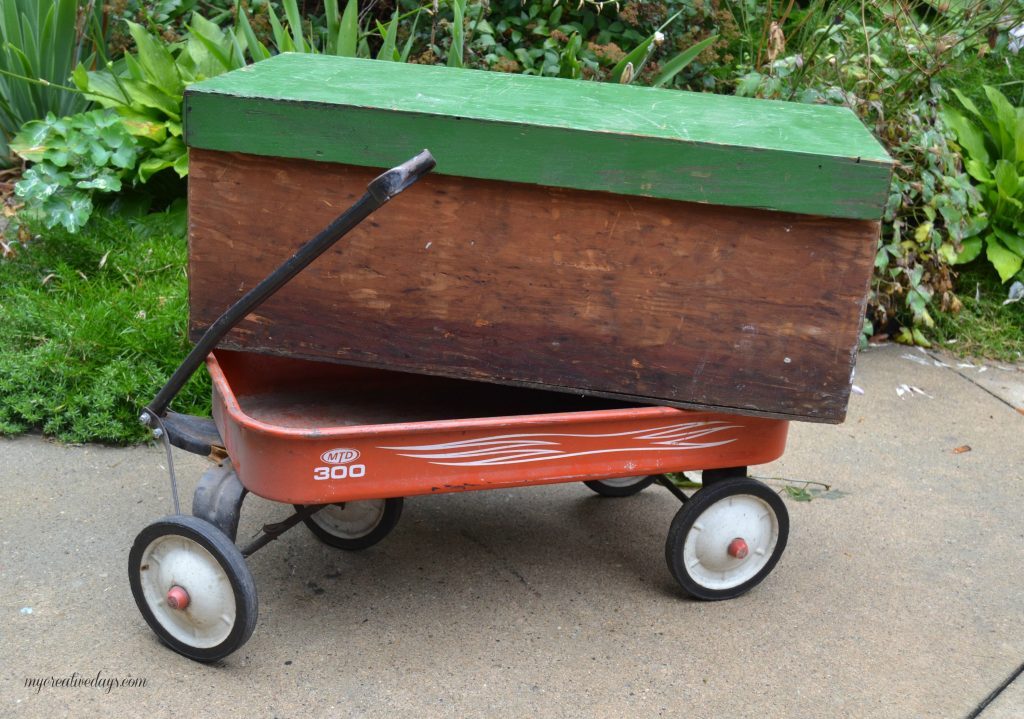
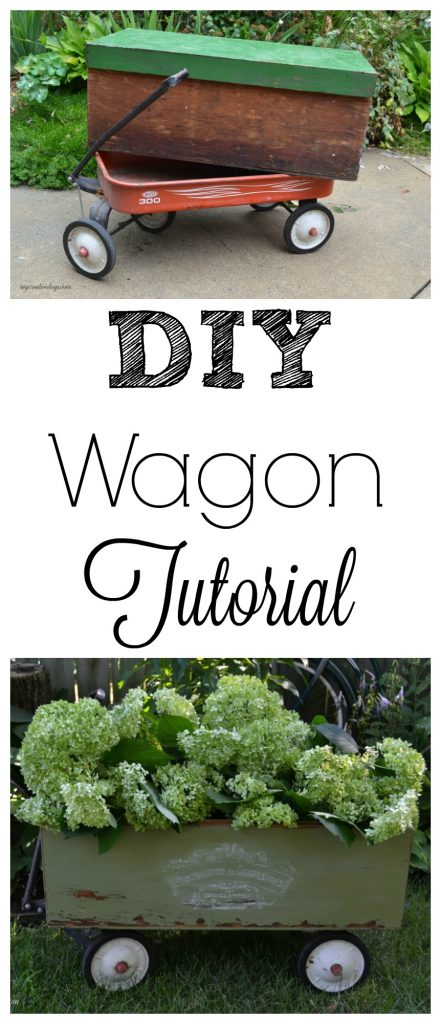
I found the little wagon at a yard sale and the box was a Restore purchase.
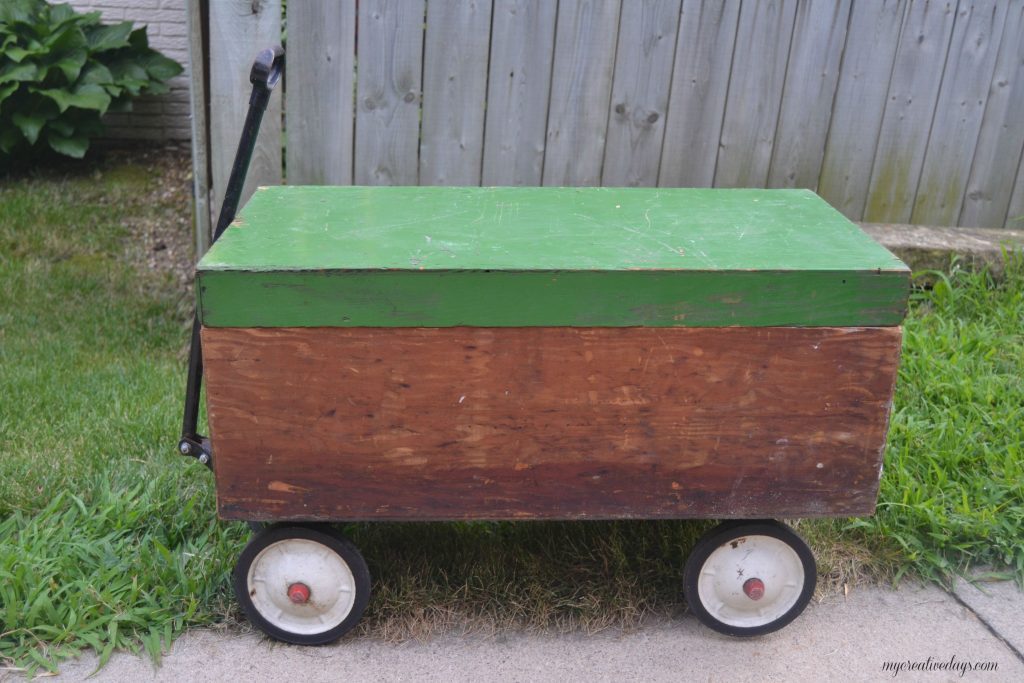
Like always, I need to stack things on top of each other to make room in the garage. This box was on the wagon and a light bulb went off.
Let’s put the two together!
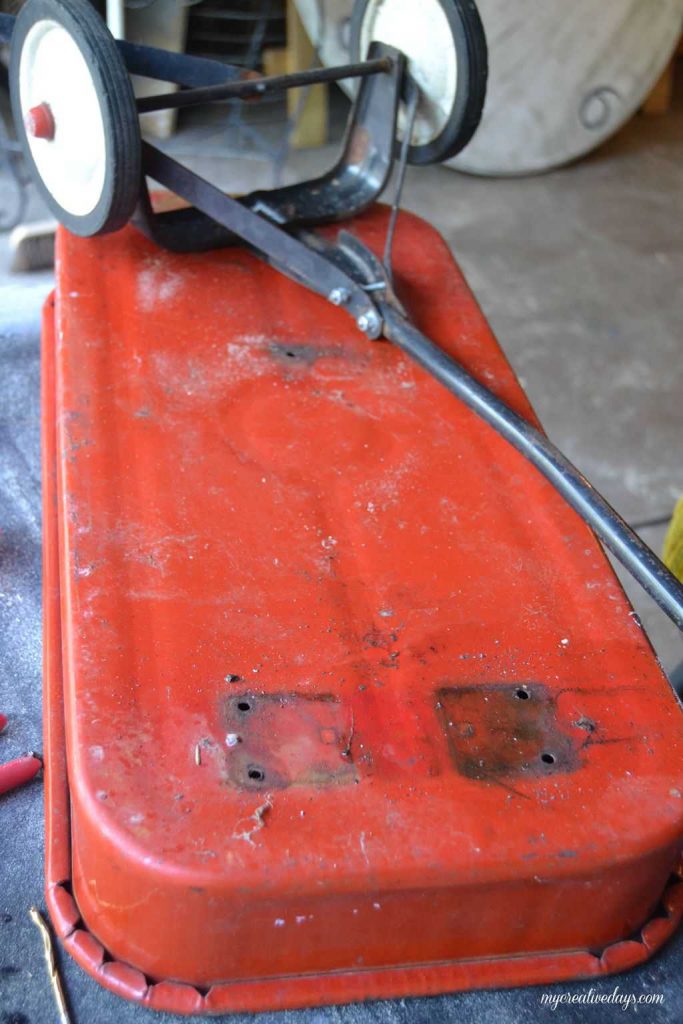
To make it work, I needed to take the base off of the wagon. Don’t worry, I have plans for the red part of the wagon as well. I have not gotten rid of it. It will be put to good use.
The picture below looks like the base came off easily.
NOT!
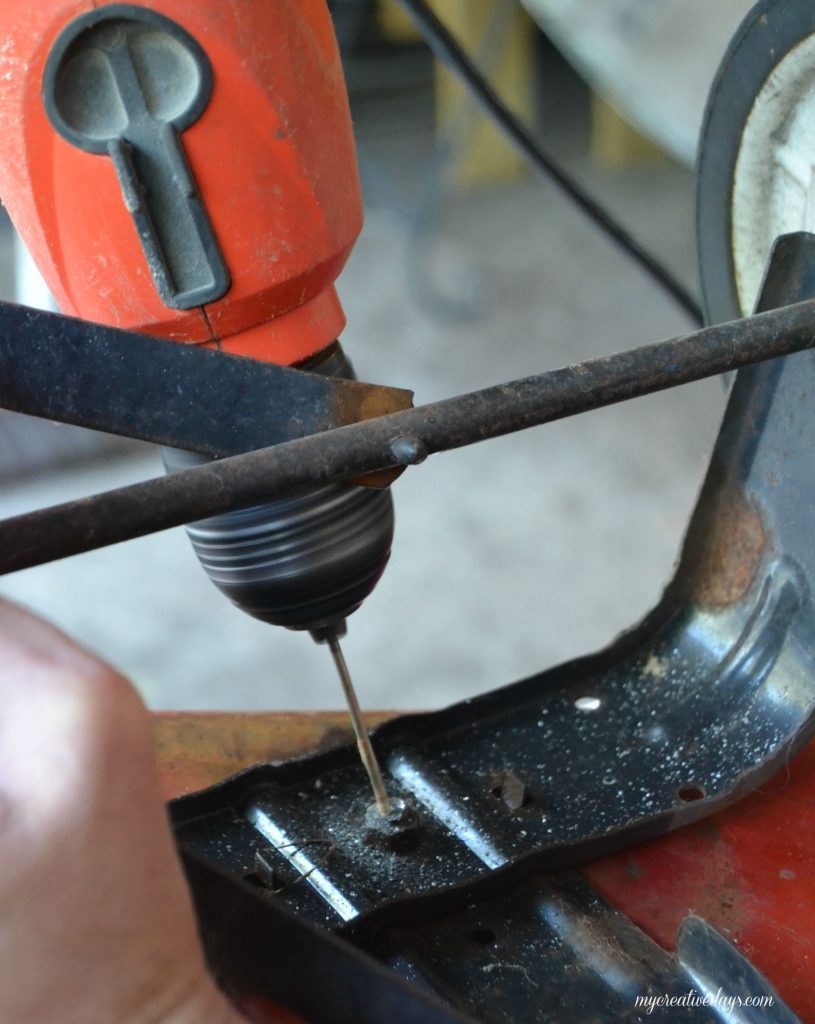
We went through a few drill bits like this one I posted on Instagram.
https://instagram.com/p/5qLpZYQekF/?taken-by=mycreativedays
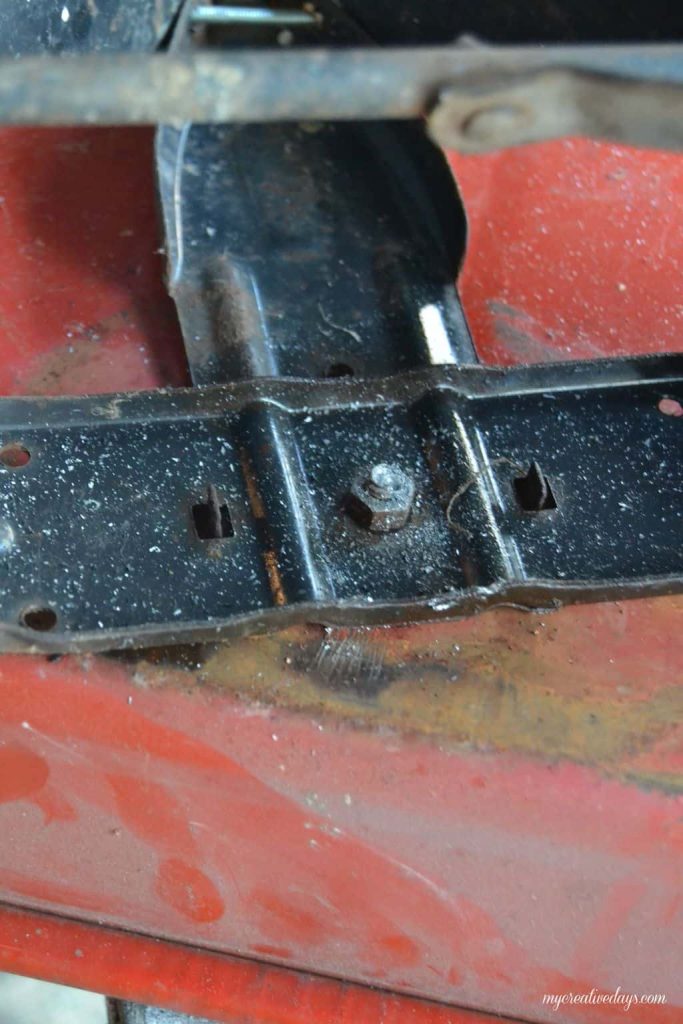
Yes, we used metal drill bits, but some of the screws were so old and rusted that we had a hard time getting them off.
Persistence prevailed.
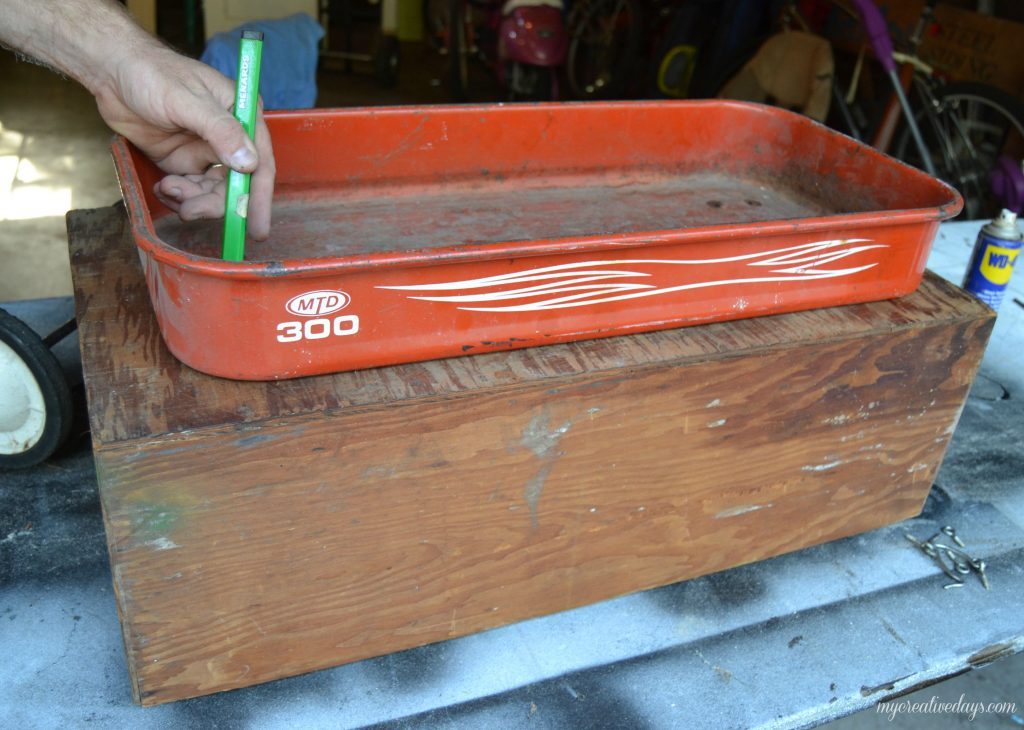
To fit the box on the base of the wagon, we flipped it over and laid the red piece on it. This gave us the exact placement of where our screw holes needed to be in the box.
{Wish I could take credit for this ingenious move, but that was all Matt.} 🙂
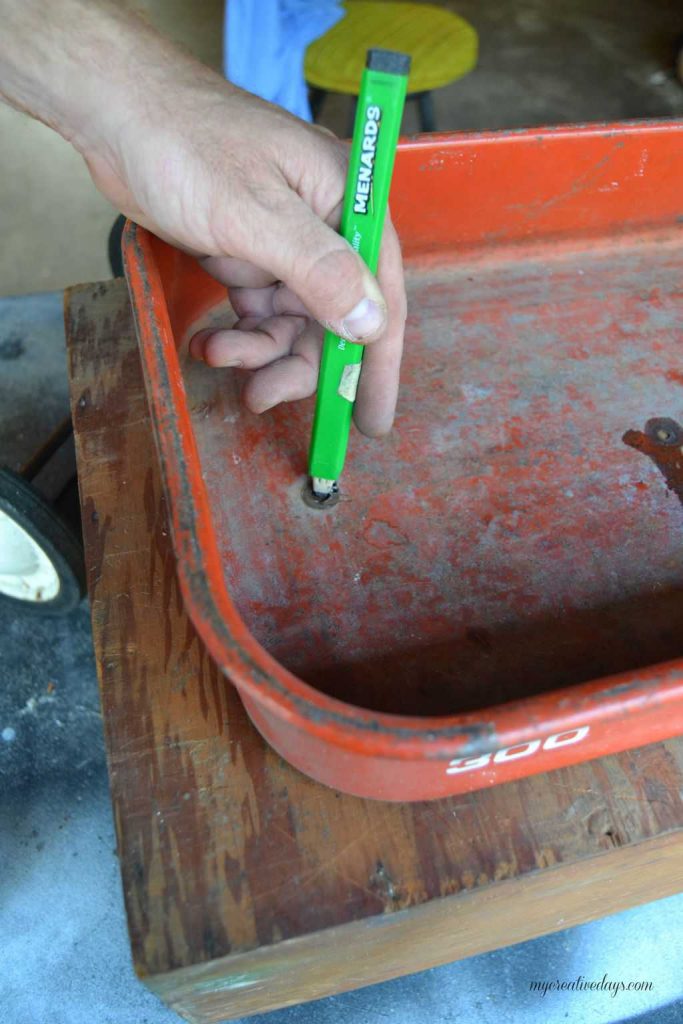
We marked our holes.
Then, we attached the box to the base of the wagon.
They were meant to be together.
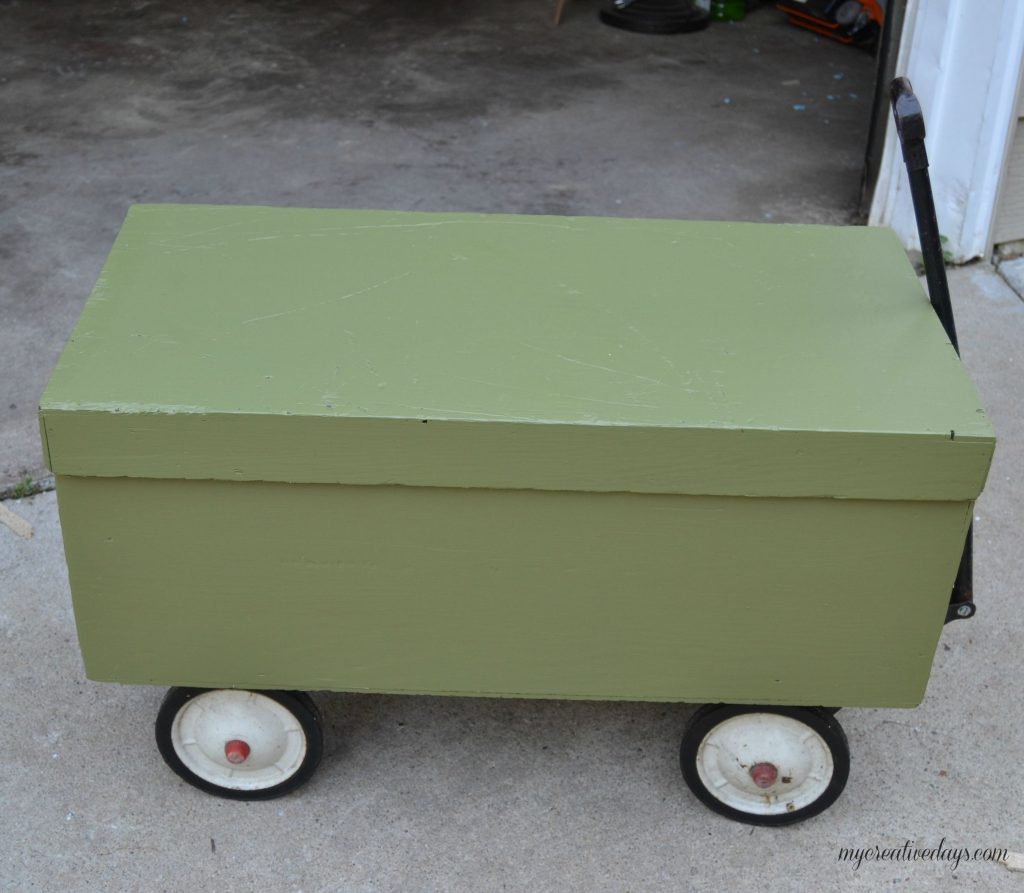
I painted the box “Jungle Thicket” from Valspar.
I wanted to add some kind of graphic to the sides of the box.
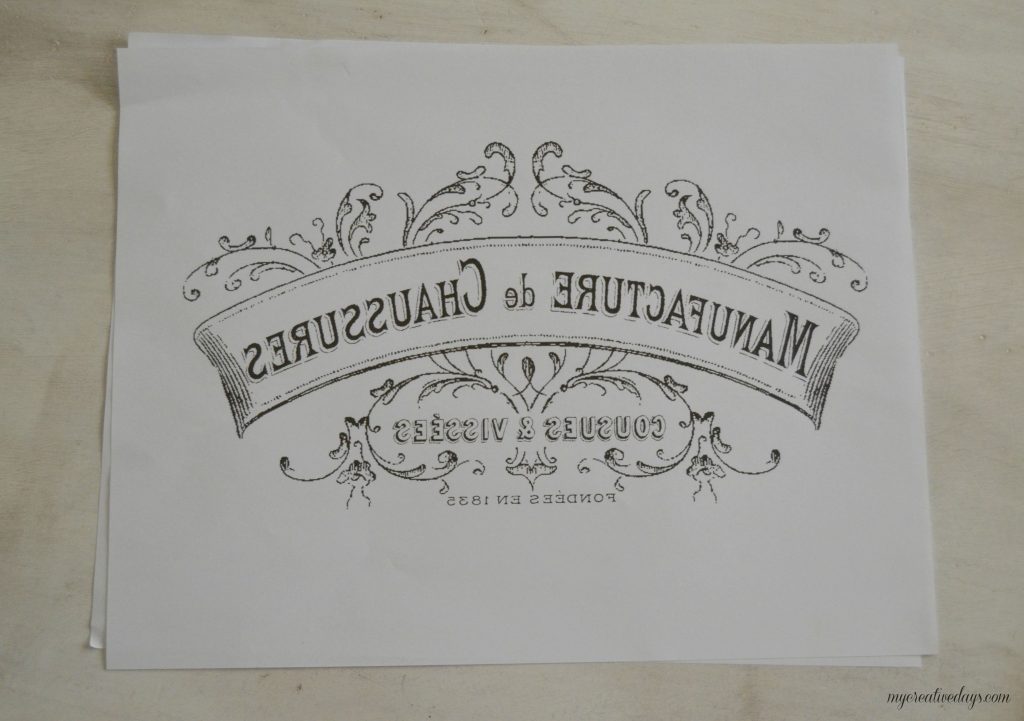
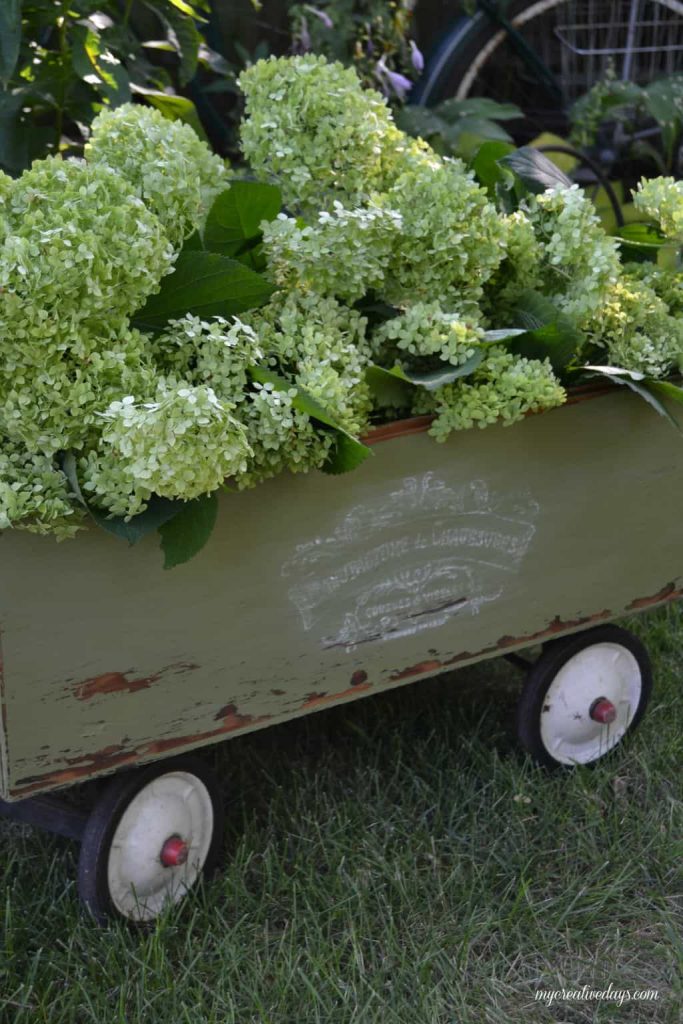
I found this French sign on The Graphics Fairy and thought it would be perfect.
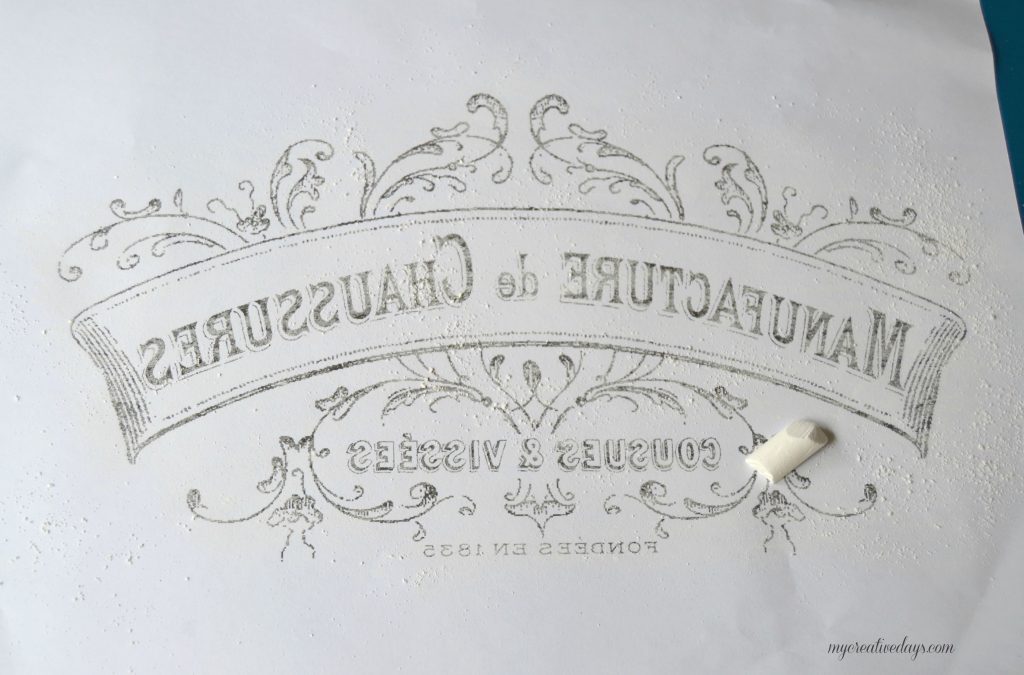
I have read that an easy way to transfer a graphic is with chalk so I tried that on this project.
I rubbed the entire graphic in chalk.
Then, I flipped it over and laid it on the side of the box. I used a pencil and traced the graphic.
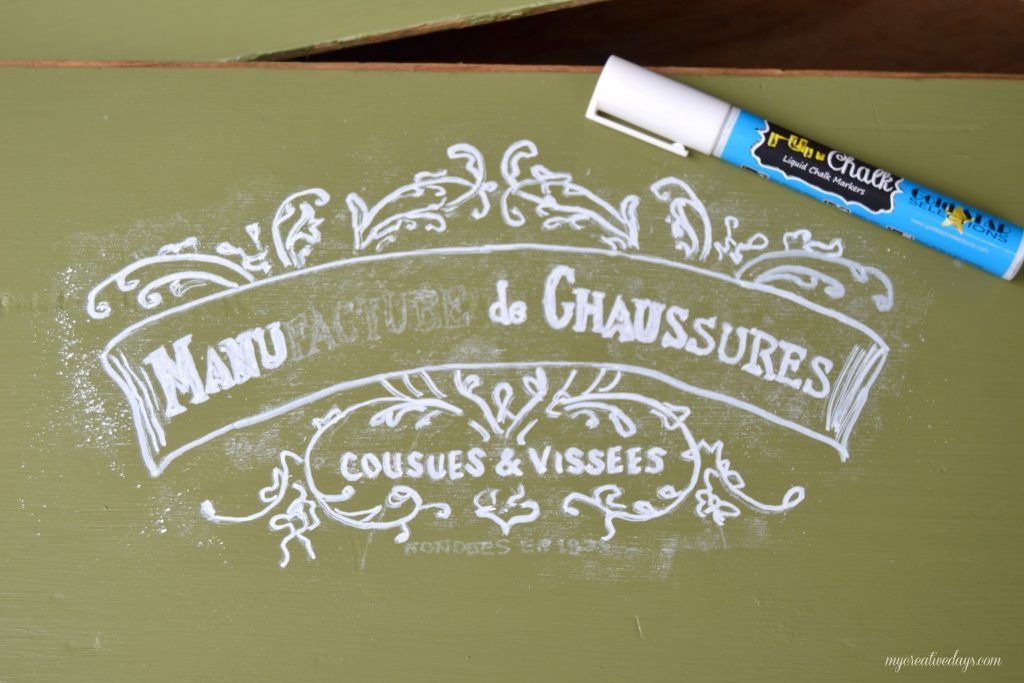
When I lifted the paper, the outline of the graphic was on the box in chalk!
It really did work.
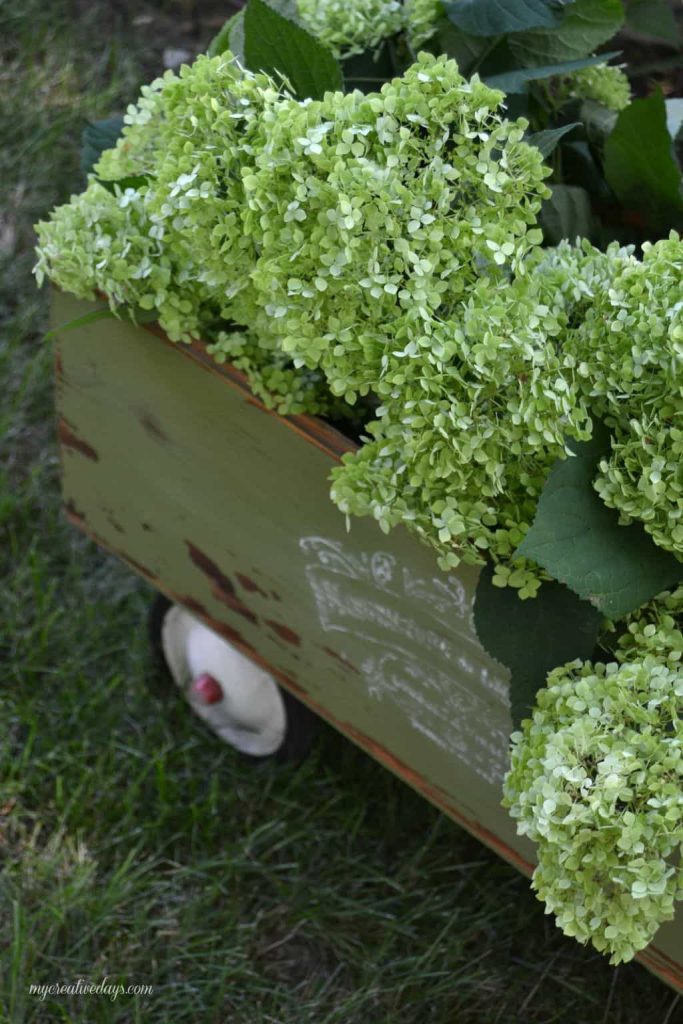
It was so easy to color the graphic in with a white chalk marker. The marker did not dry out at all during the process – even with all the chalk on the box. These markers really are amazing and can be used on so many things.
Of course I had to rough the box up with a little sandpaper.
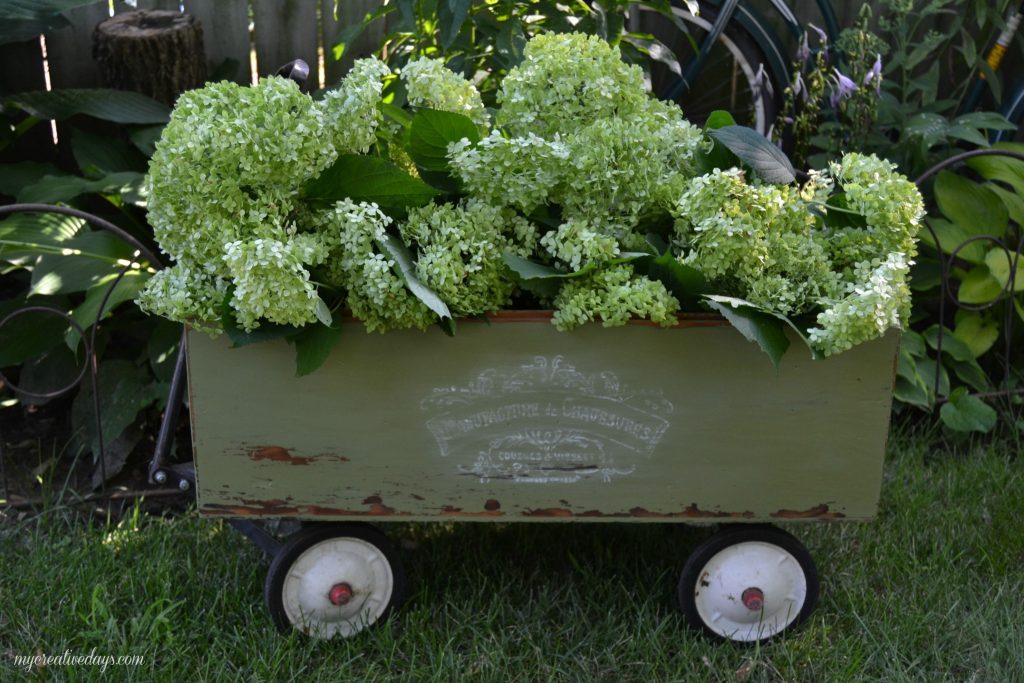
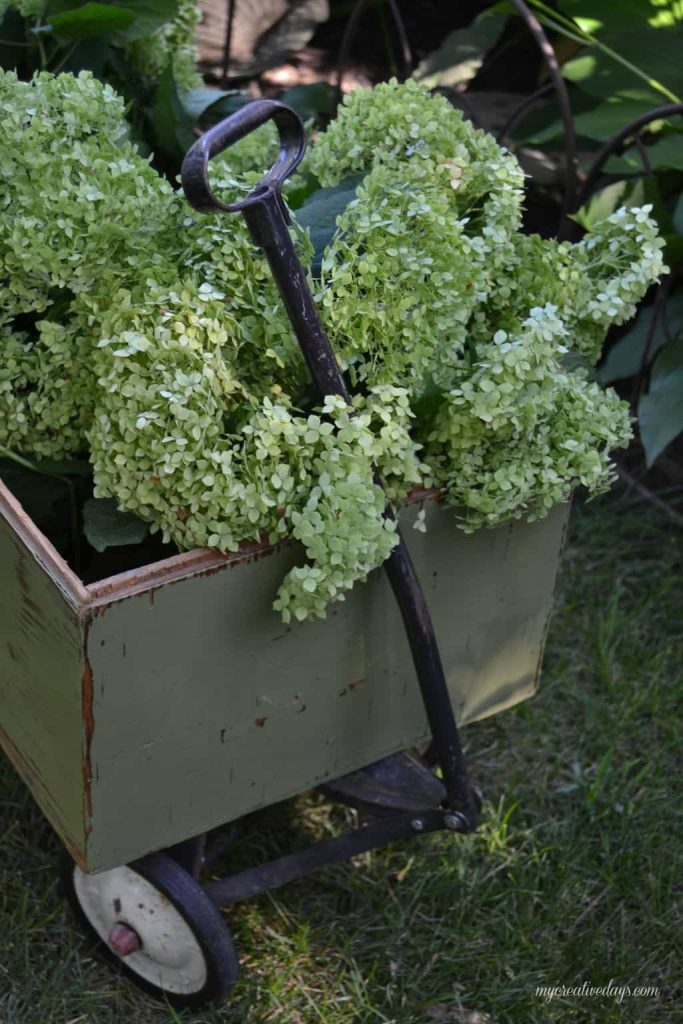
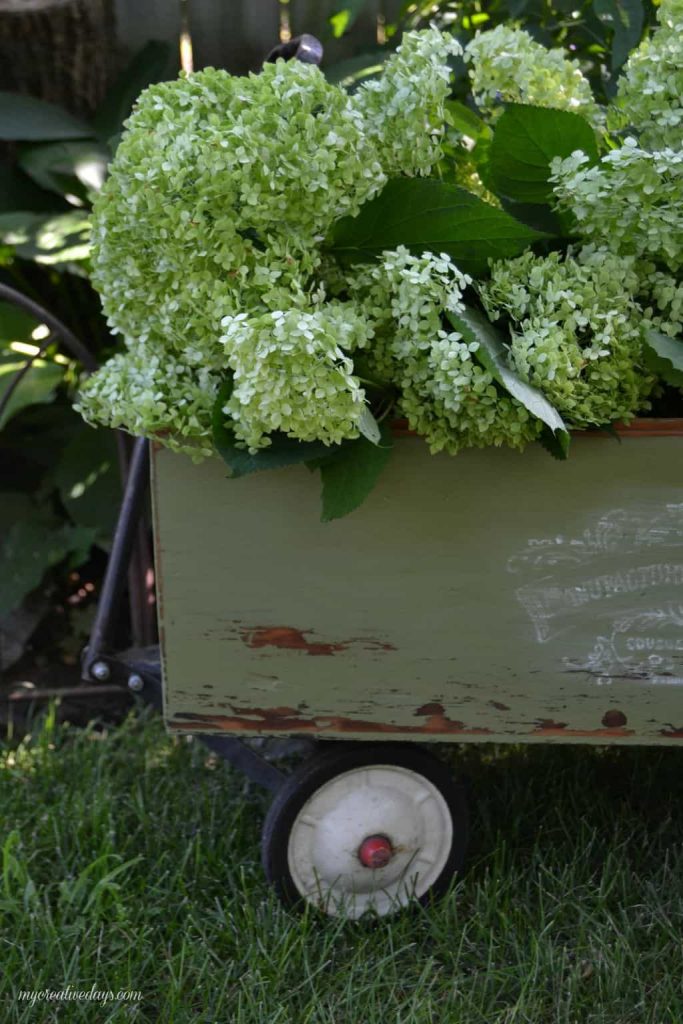
This DIY wagon was screaming for some flowers so I cut a bunch from our backyard.
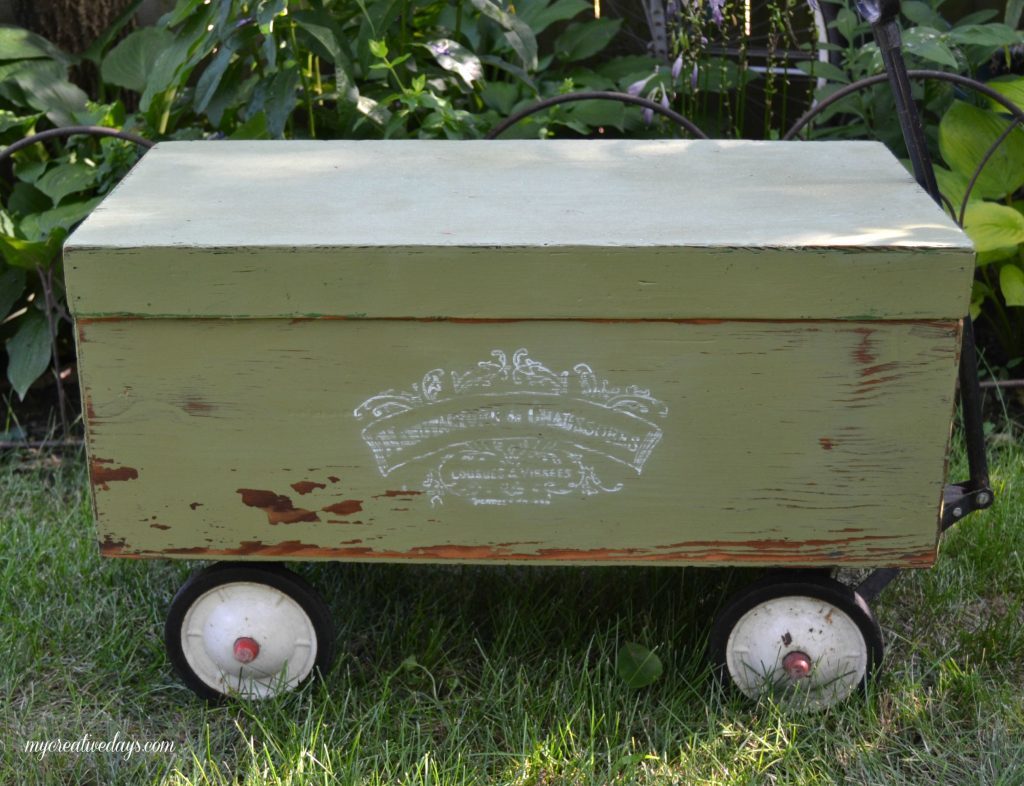
My favorite color is green and there are so many different shades of it going on in this little box.
I couldn’t resist taking a ton of beauty shots of this DIY wagon.
{Affiliate links are used in this post. You can read my disclosure HERE.}
I love the red pop of color on the wagon wheels.
You still have the charm of the wagon, but now there is a rustic element with the box.
Perfect combination.
I can’t say how happy I am with this project. I see it full of blankets and/or magazines in a living room. It is so pretty full of flowers outside and with fall coming up, it would be beautiful full of pumpkins and gourds. I didn’t water seal it so it won’t hold up through the elements as it is so I will water seal it if I decide to keep it outside.
Don’t have time to make your own DIY wagon? These are cute options online:
PIN THIS DIY WAGON POST!
If you liked this DIY Wagon post, you will also love these upcycled projects:
Repurposed DIY Tiered Stand Tutorial


How cute is this!!! what a great idea!
Thank you Tammy!
What a great garden wagon you created!!!
It’s perfect, Lindsay! (sharing) 🙂
Thank you Robin!
Ahhh, that’s so cute! I love it! Yes, if you plan on using it outside, then seal it! You don’t want it to rot! Really a great combination…I like the idea of using it inside with blankets too. Cute! And unique.
Thanks Cecilia!
Hi Lindsay, this turned out super cute! Thanks for sharing your project at the Inspiration Spotlight party. Pinned & shared. Hope to see you again soon.
Thanks Theresa!
This is a great idea – I love those hydrangeas next to that box green. Box on wheels is perfect. I have some wheels maybe I’ll just have to make a wagon from scratch. I’m inspired.
Thank you so much Carole!
This is so lovely! I would never have thought to turn the wage and box into a flower box. Thank you for sharing!
What a sweet little wagon and great DIY project Lindsay. Thanks for linking up at Shabbilicious Friday.
Thanks Kerryanne