This DIY cabinet makeover was one that I was excited to get started on.
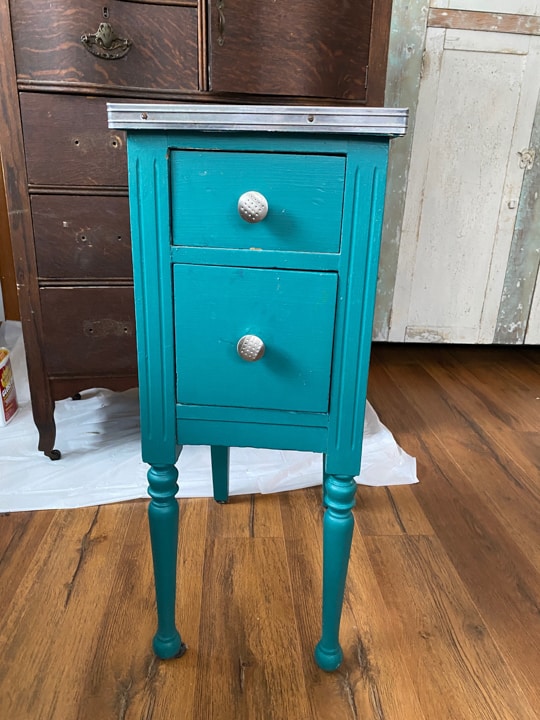
When I saw it at the thrift store, I had to get it. Someone had painted it a “not so pretty” blue color and the knobs had to go.
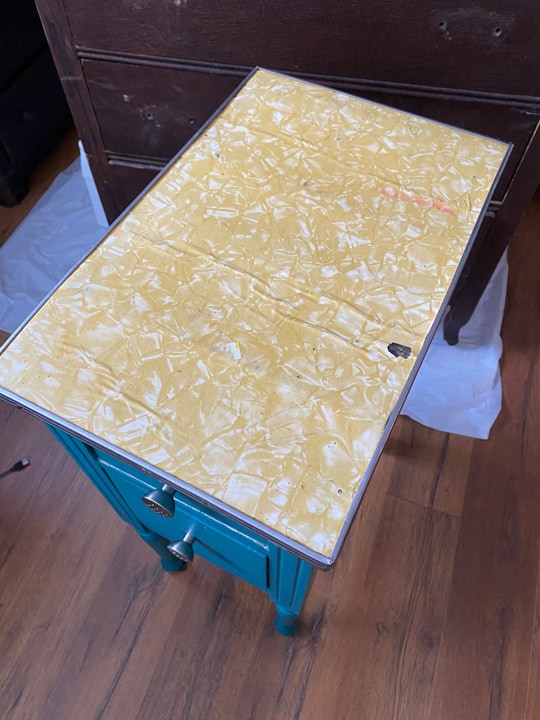
The top was even worse! Someone had put a linoleum countertop on it!
{Affiliate links are used in this post. Click on any of the underlined links to find the products I am talking about. You can read my disclosure HERE.}
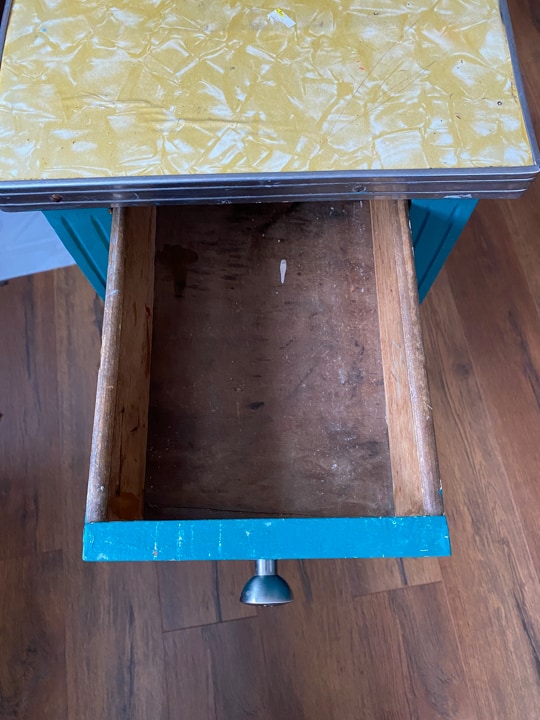
When I opened the drawers, they worked great and I got a glimpse of the wood this cabinet was made of. I got more excited.
I had to get it home and see if I could get the blue paint off the piece and reveal more of the wood underneath.
Supplies Used In This Makeover:
Restor-A-Finish in Dark Walnut
Dixie Belle Paint – Caviar Color
Whenever I want to take the paint off a piece, I always grab my favorite heat gun. It makes light work of projects like this and also shows me if it will be easy to get to the wood layer.
Here is a video showing you how easy it works:
Once I got the blue paint off, it was time to sand. I grabbed my orbital sander and sanded the areas where I removed the blue paint.
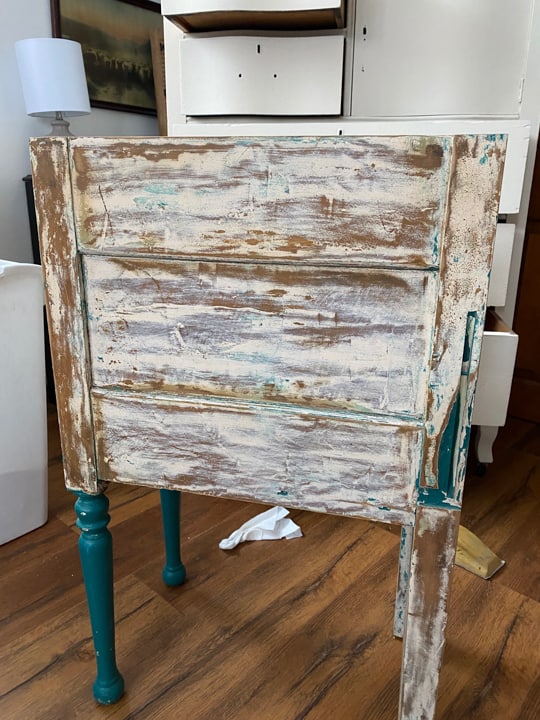
The layer of white paint (or whatever it was under the blue paint) didn’t’ budge with the sander.
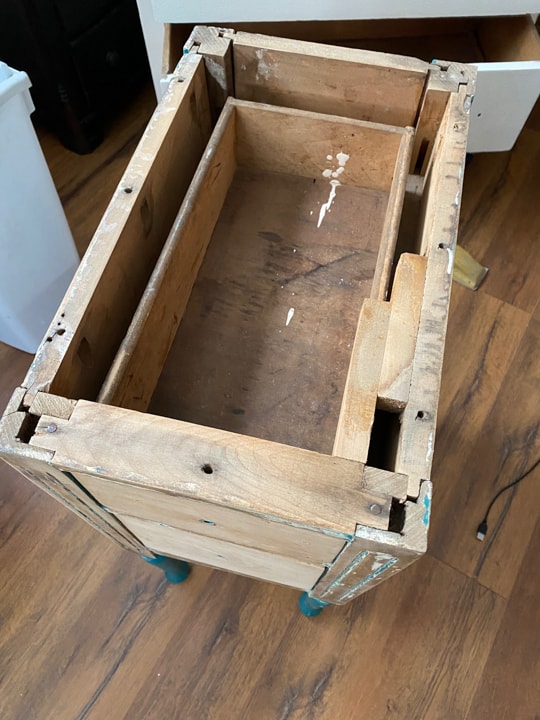
I removed the top and sanded the drawers.
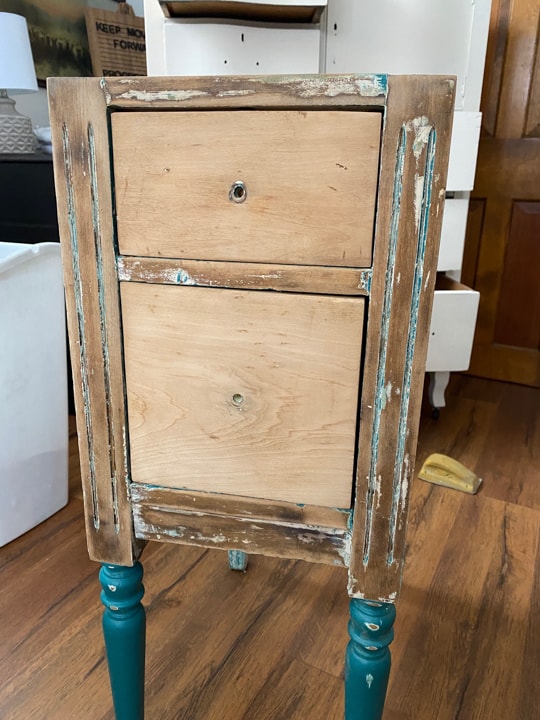
The drawer fronts sanded clean! They are obviously a different wood than the rest of the piece. At this point, I knew what I was going to do. I would leave the drawer fronts wood and paint the rest of the piece. Then, I would find a new top, add some new hardware and it would be done.
I added Restor-A-Finish in “Dark Walnut” to the drawer fronts. It was the perfect color.
I decided to paint the rest of the piece in the color “Caviar” from Dixie Belle Paint.
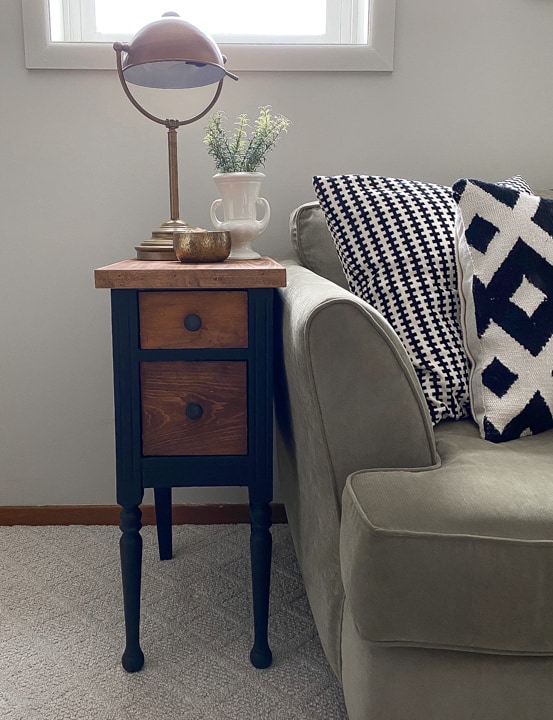
There is something classic about a black piece with wood accents. I think it is a beautiful combination.
Add A Topcoat To Your Finished Pieces To Make Them Last Longer
Once the black paint was dry, I added my favorite topcoat over it. I shared how I did this on my YouTube channel. You can find it HERE.
Once the topcoat was dry, I added some knobs we had in our stash (PRO TIP: Save knobs from pieces that you aren’t going to use because they will come in handy and save you lots of money for future projects) to the drawers and Matt outfitted the top with a piece of wood and some trim we had in the garage. We shared how we did that in my Creative Squad group. You can read more about my group HERE.
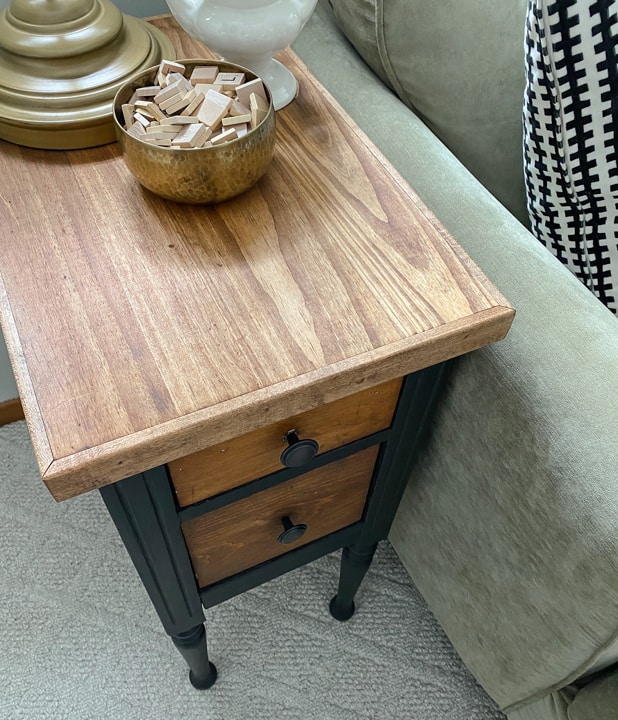
Once we had the new top on, I added the Restor-A-Finish in “Dark Walnut” to it but it didn’t take the same as the drawer fronts did. So, I put a coat of a darker stain on the top and to the drawer fronts and they looked cohesive.
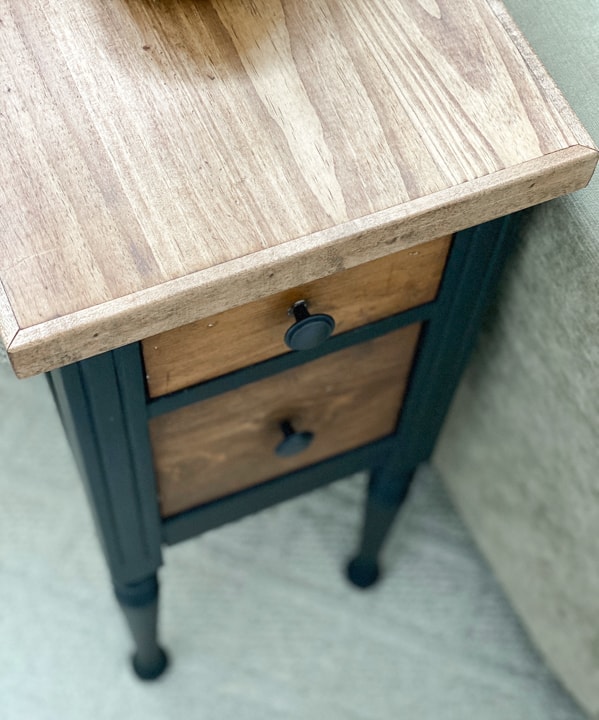
This little piece was an easy makeover.
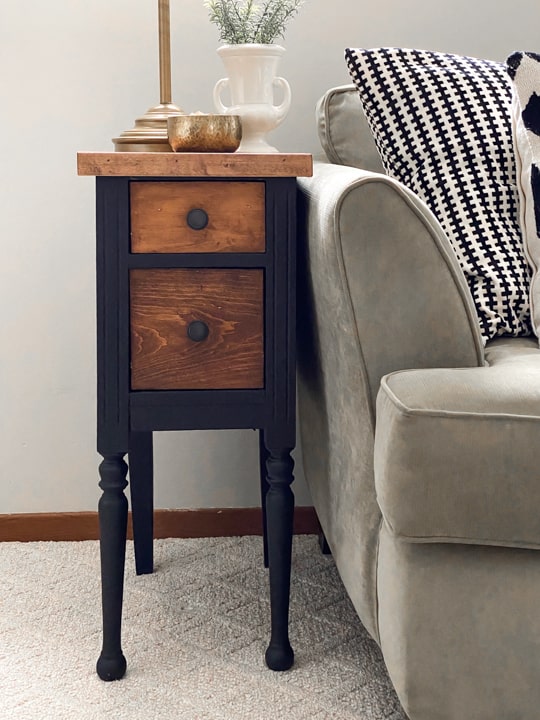
I love picking up pieces like this because they are usually very inexpensive and they don’t take a lot of work and I know I will find the perfect person who will cherish it in their home.
Would you have picked up this little table?
PIN THIS POST!
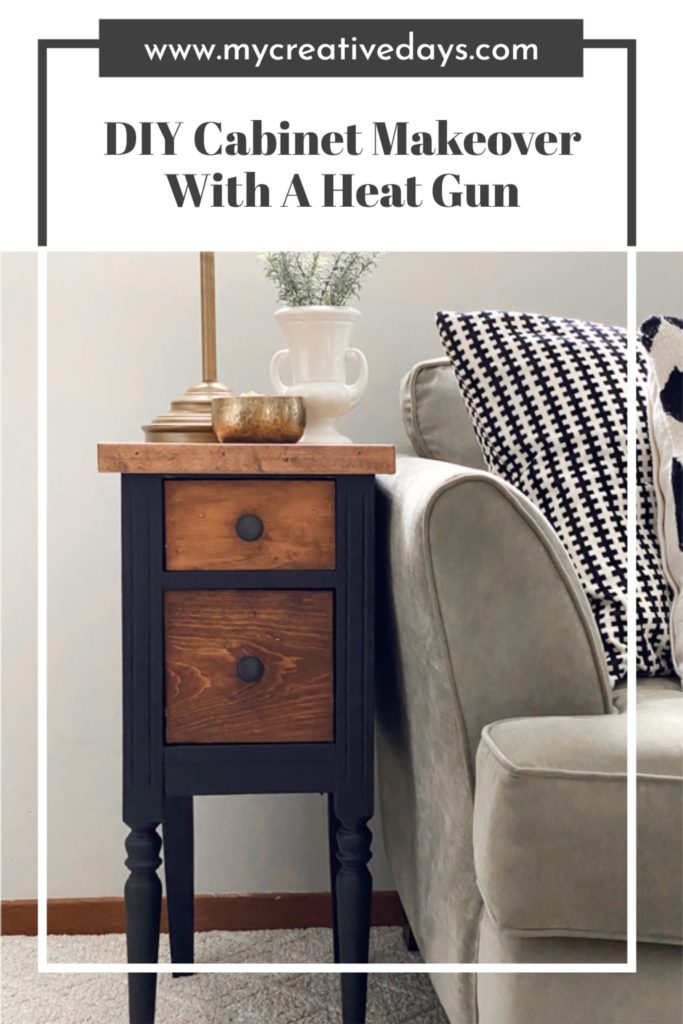
If you liked this DIY Cabinet Makeover, you will love these transformations:
DIY Painted And Glazed Side Table


Love the job you did and how wonderful it turned out. I think the two tone effect is really pretty and am somewhat amazed at how rehabilitated it looks compared to the beginning.
It still amazes me every time!!
Great job! I never thought of removing paint with a heat gun. I’ve always use stripper and it’s messy and can burn skin. Do you think the heat gun would work on some of my wood doors that someone put latex paint over oil based? I have peeling doors and Linen Closets. I thought about getting off what flaking paint I could and they chalk painting them. I’m not going to use paint stripper if I can. Do you think the Chalk paint would work or should I go with the heat gun?
I always use a heat gun first to see how the paint reacts. Try an area that isn’t as noticeable and see what it does!
Absolutely love how this little gem turned out!! Been thinking a lot about doing some oak dressers this way and you just gave me the go-a-head!! Thank you for sharing!
Your welcome!!! Have fun!!!
Your welcome!