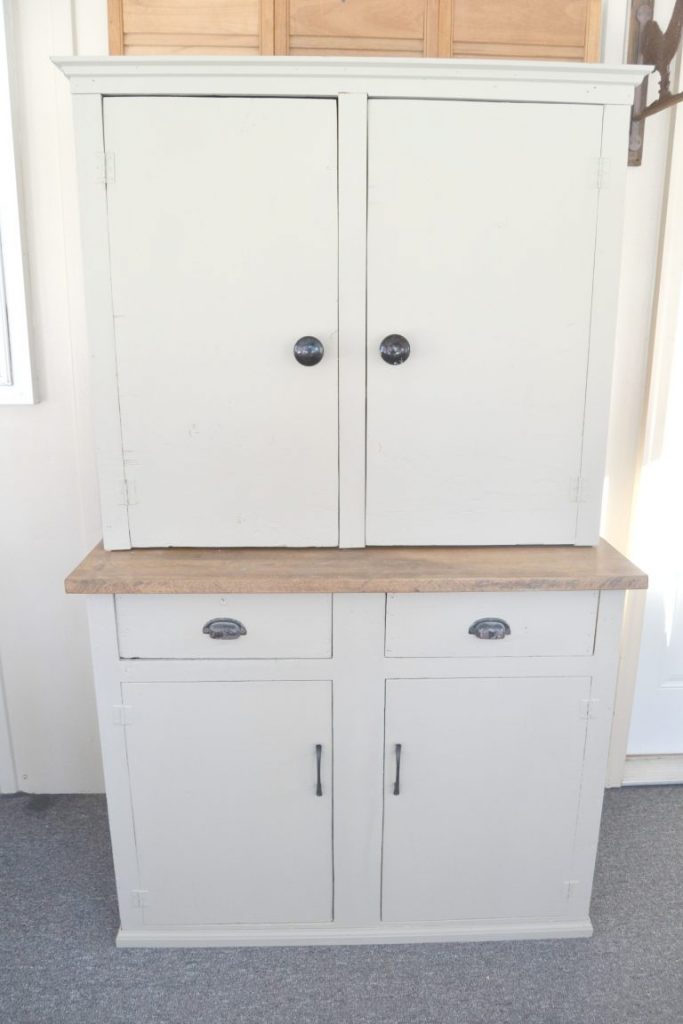
This DIY cabinet turned farmhouse hutch is a great project. It shows how you can repurpose furniture into new pieces to fit your style.
I can’t believe the first two weeks of January are almost done! As I am venturing into this new year and schedule with this blog, I am getting more and more excited about the projects I will be sharing with you. The winter months always pose a problem for projects because the frigid temps make it hard to work in the garage. But, I have set up “shop” in the storage room of our basement and hope to keep plugging away down there.
DIY projects are so rewarding for so many reasons and I hope to write a post all about that some day soon. One of the best things about DIYing a piece of furniture is that you can make a “not-so-high-end” piece look a lot more expensive. This farmhouse hutch was one of those projects.
In four steps, I am going to show you how to turn a garage cabinet into a farmhouse hutch.
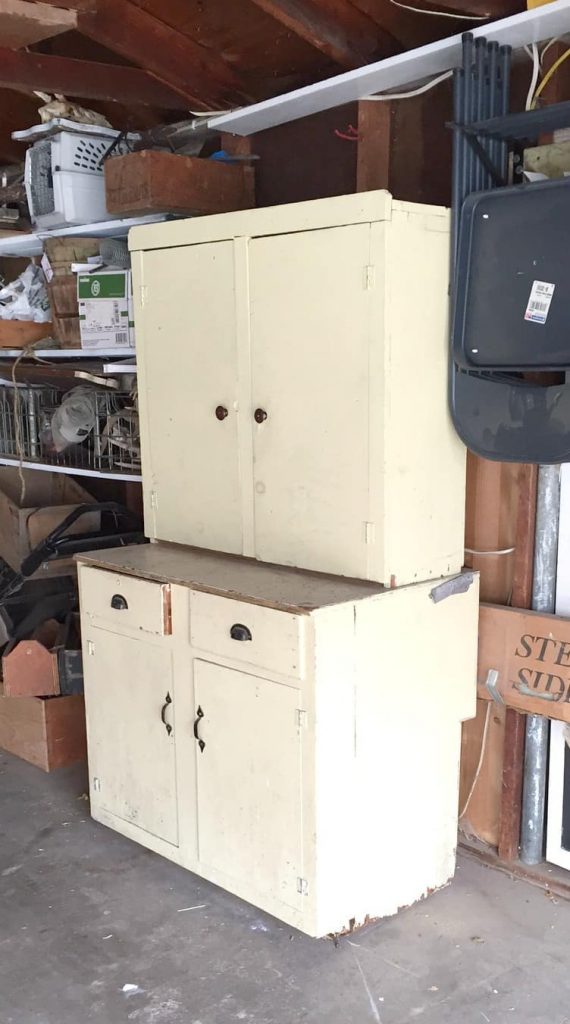
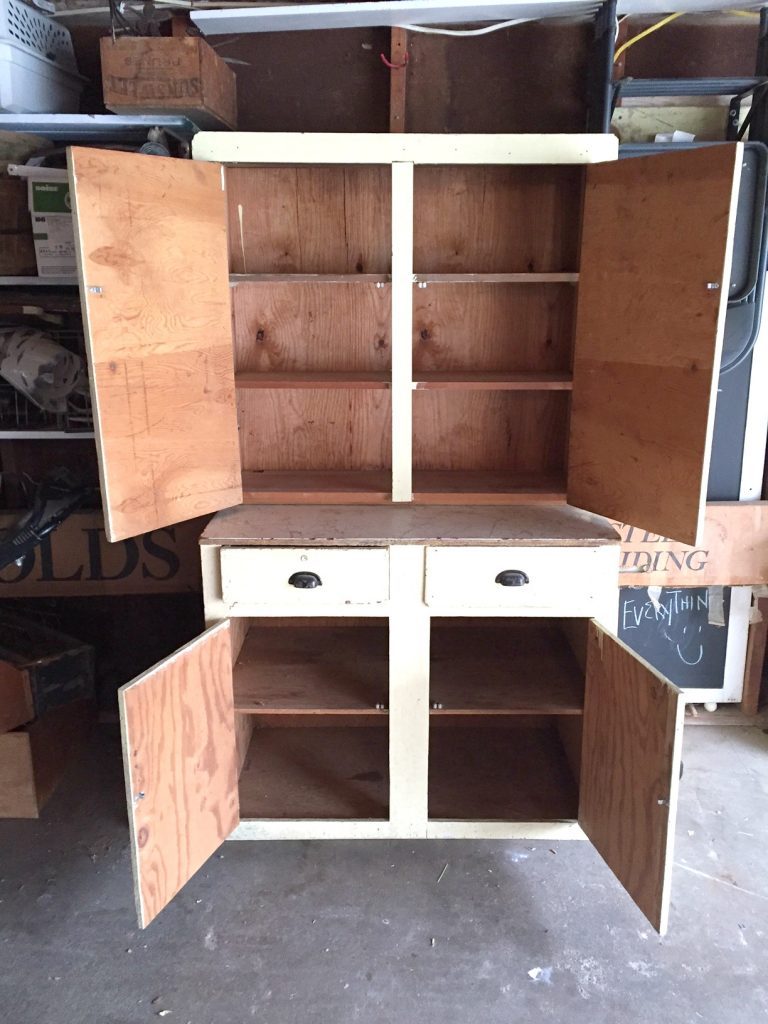
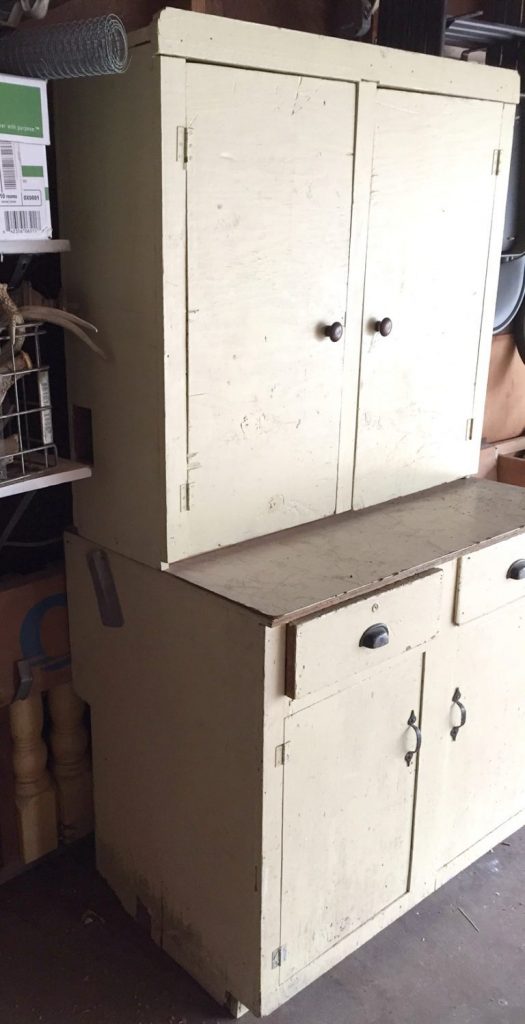
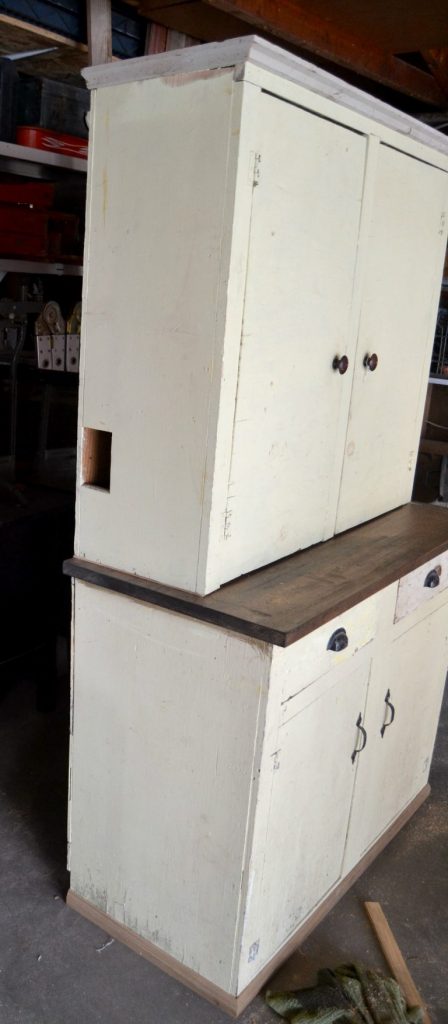
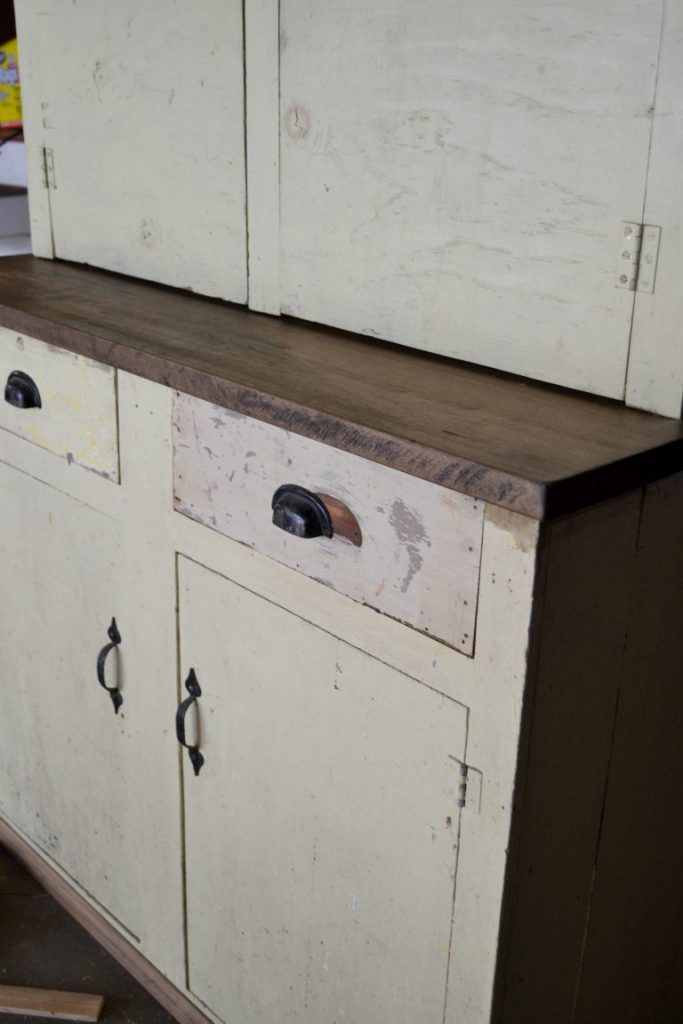
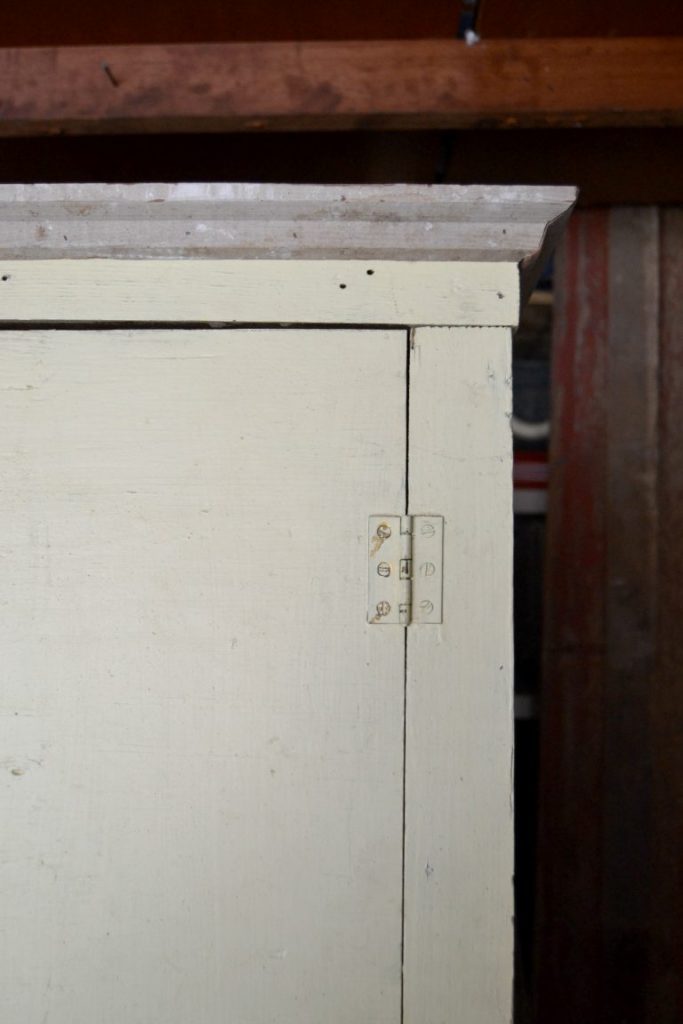
To start out, this cabinet was not in the best shape.
The lady selling it was ready to get organized and purge things she wasn’t using. This cabinet was built by her dad a long time ago to store things in their garage when she was growing up. She is in her 70’s so this cabinet was made many, many years ago.
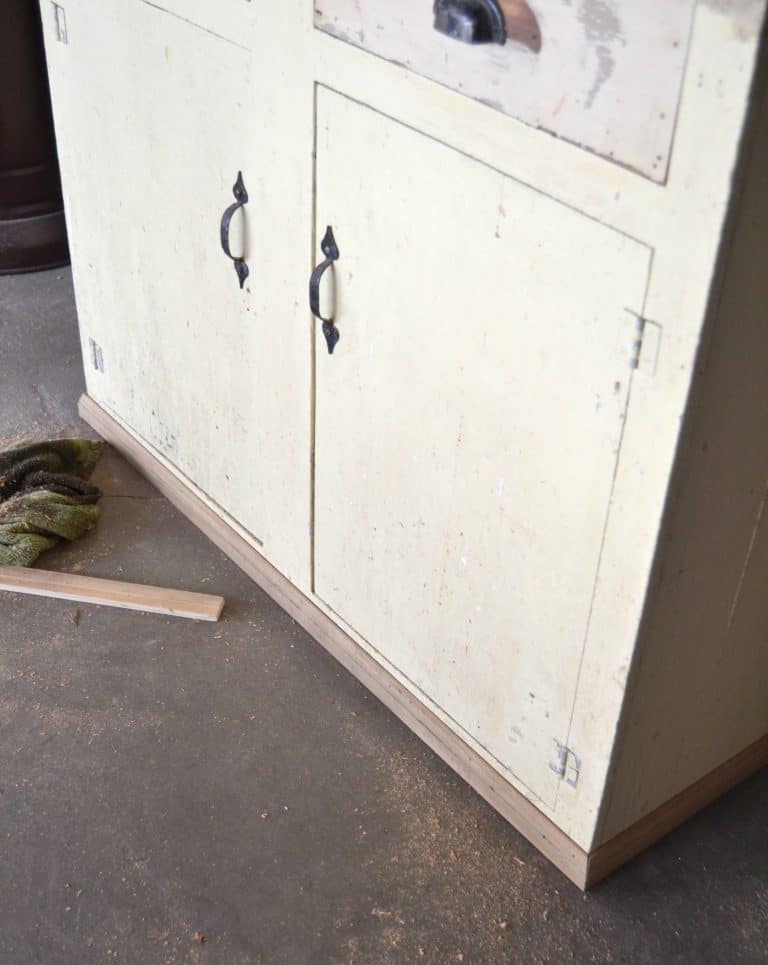
The cabinet had many great things going for it, but it also had its issues. It wasn’t made with the best wood and the countertop was falling apart. The base had water damage and the bottom half of the cabinet was VERY deep. I knew it had potential though and started planning its makeover before I got it home.
I knew it would only take a few things to get this garage cabinet made into the farmhouse hutch it was meant to be.
Step 1 for Turning A Garage Cabinet Into A Farmhouse Hutch:
The first step was all about cutting. Circular saw to the rescue! Matt cut the base of the cabinet off first to get rid of the water damage. Then, to get the cabinet a more conducive size to what a hutch would be, we cut the depth of the base way down. Next, we cut the top piece down so we could put trim all around the top. Finally, we cut and stained a new board to fit the countertop.
Step 2 for Turning A Garage Cabinet Into A Farmhouse Hutch:
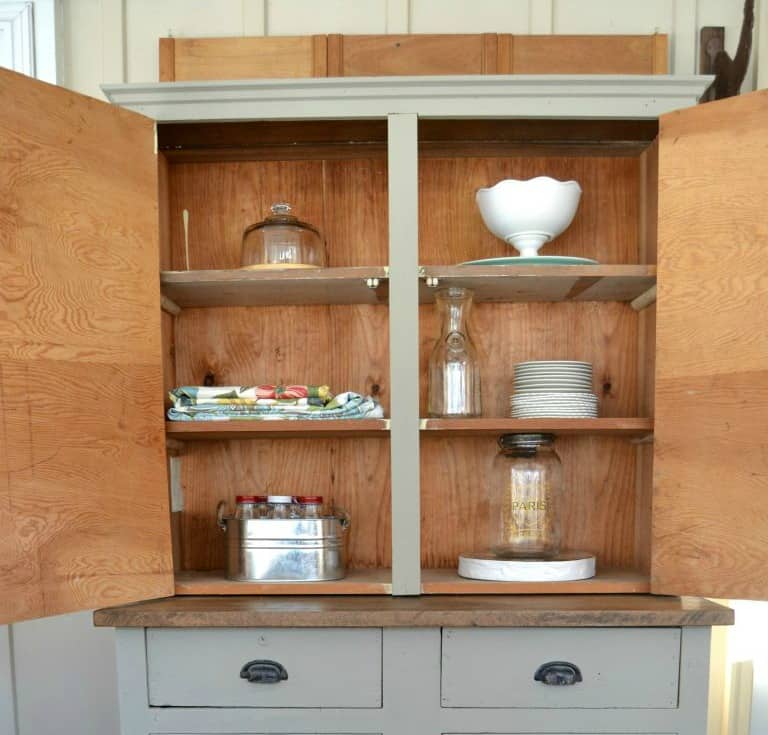
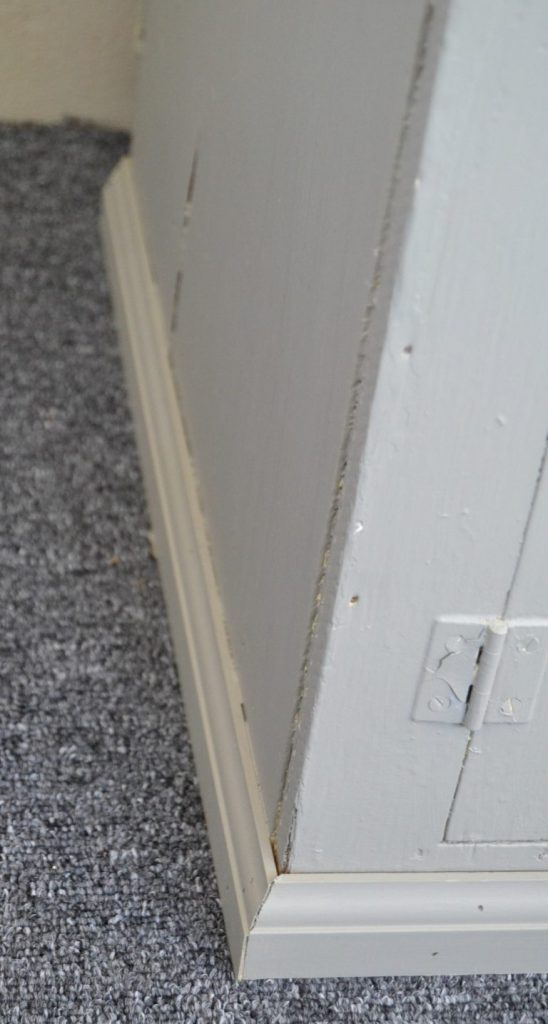
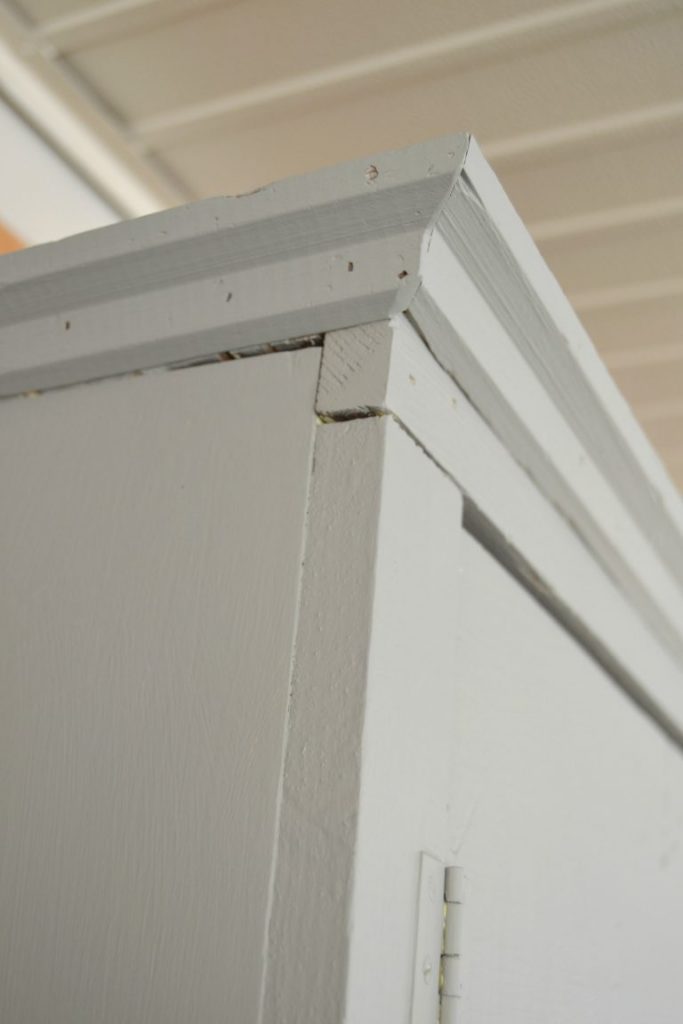
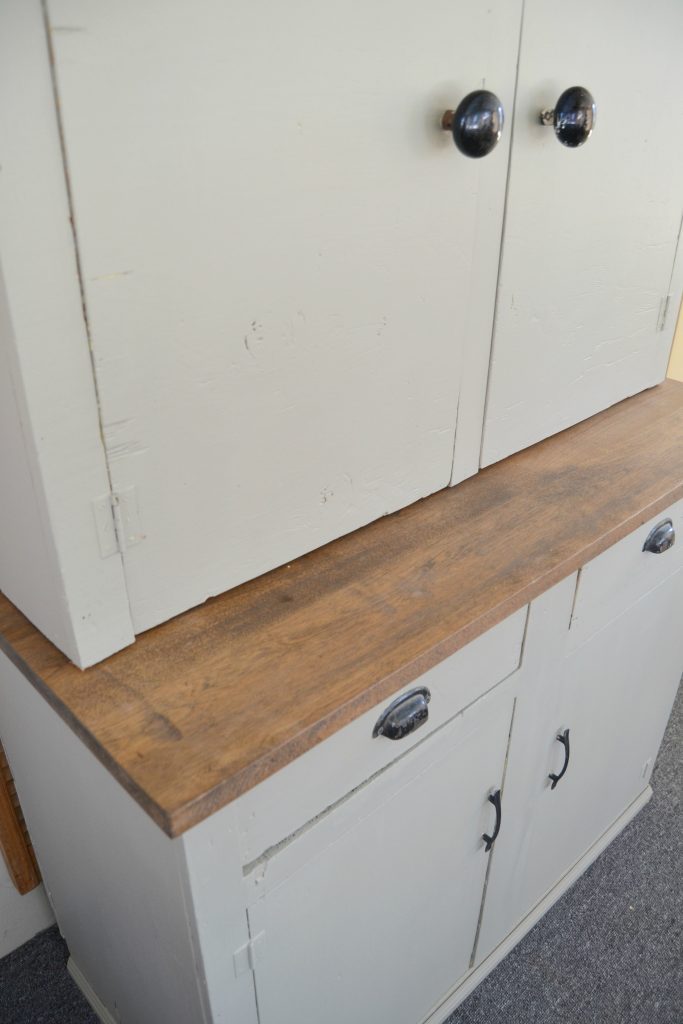
I think this step is so easy and makes the biggest difference. Add trim! To make this cabinet look more like a farmhouse hutch, we added trim all around the base and top. We could have added trim to the doors and sides as well, but I wanted it to have a more simple look.
The trim alone adds a lot of character and charm which you find in a lot of farmhouse pieces.
Step 3 for Turning A Garage Cabinet Into A Farmhouse Hutch:
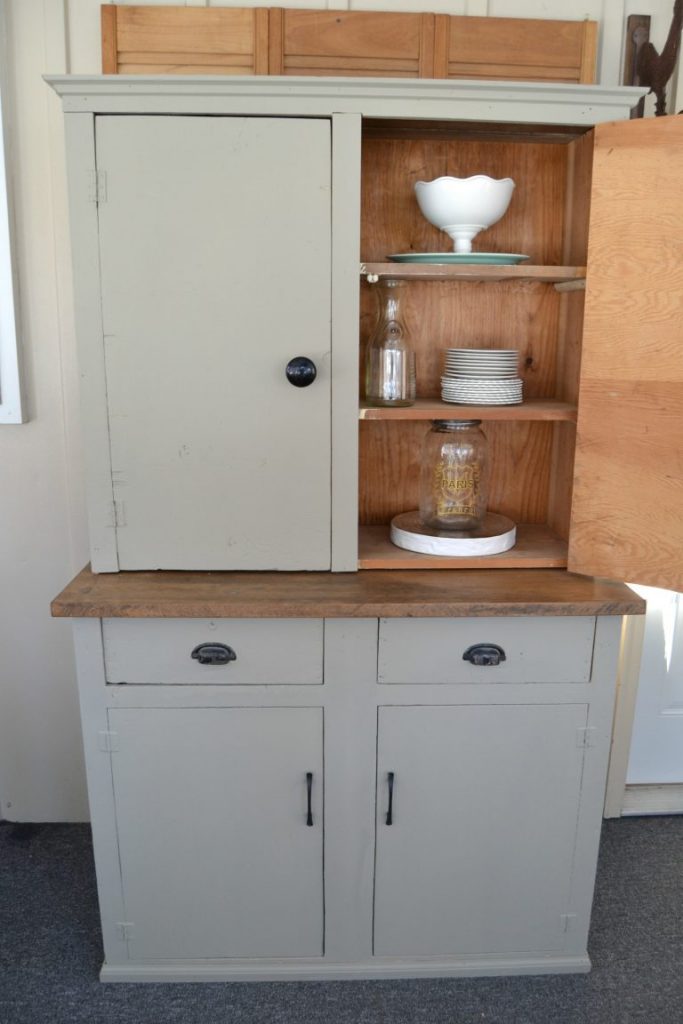
Paint! To bring it all together, I painted the entire piece in “Beige Sable” from Fusion Mineral Paint. {Thank you Fusion for sending the paint for me to try!!}
Painting the entire piece (new trim and all) in one color makes it look like the piece has been like this all along.
I can’t even remember how it looked before.
Step 4 for Turning A Garage Cabinet Into A Farmhouse Hutch:
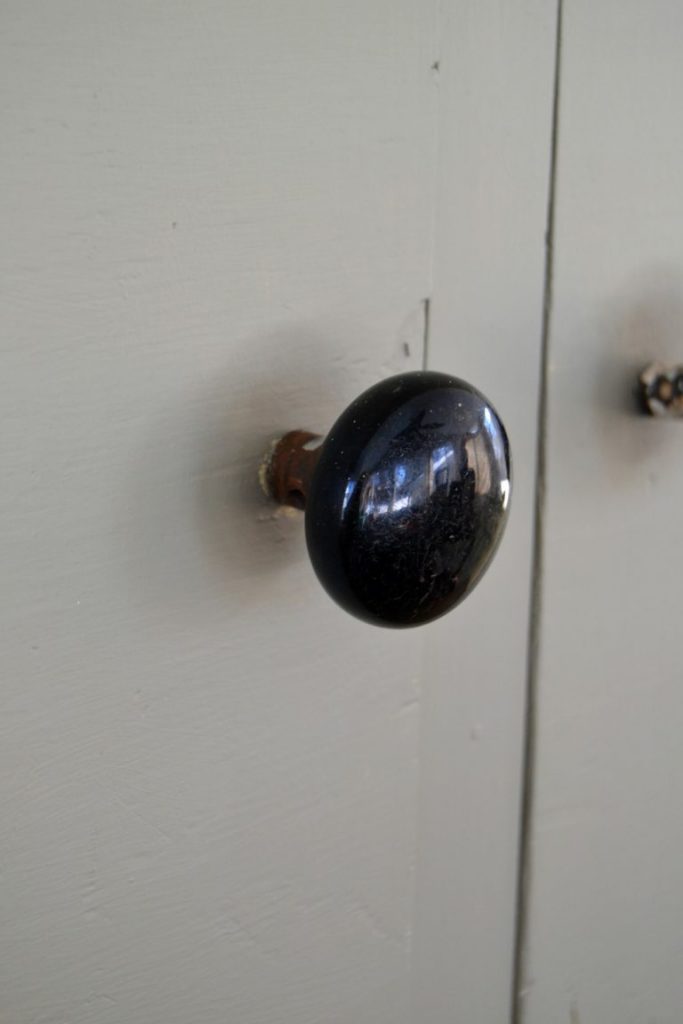
Depending on what hardware you started with, you may want to change it up. I didn’t love the knobs on the top doors so I changed them out with vintage door knobs.
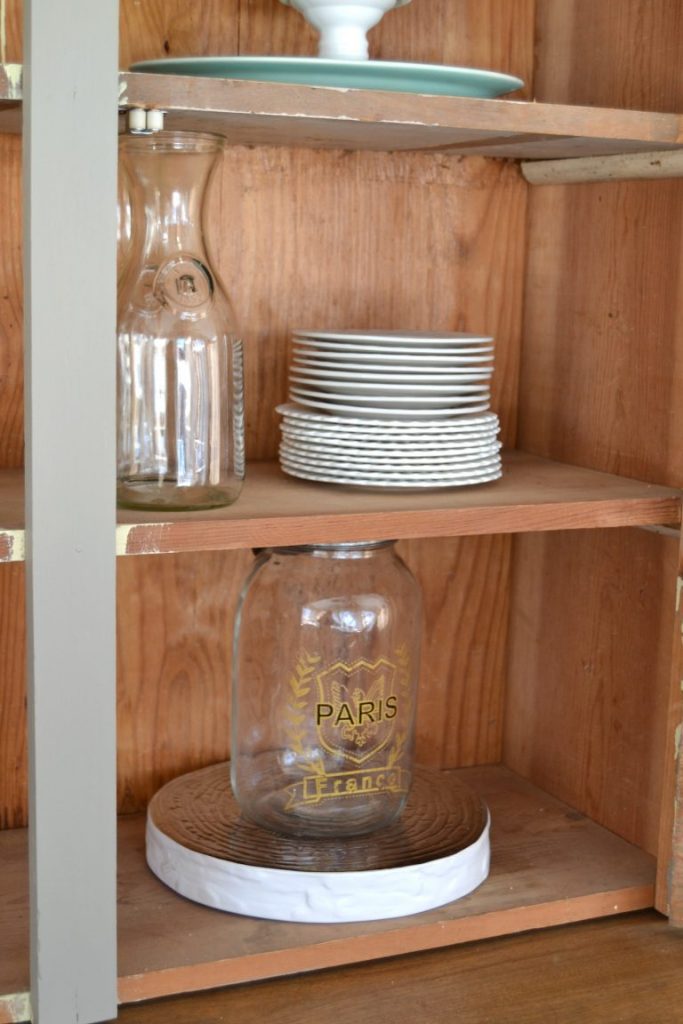
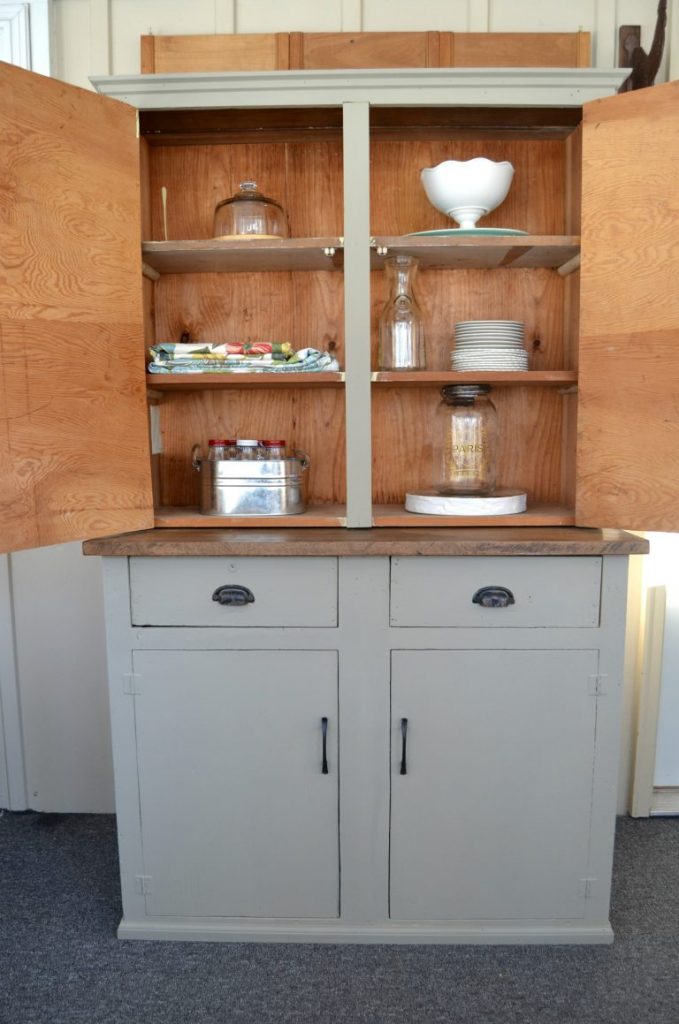
I decided to leave the inside of the cabinets unpainted.
The new countertop is beautiful!
I wish we had room in our dining room for this hutch so I could decorate it every time I felt the need. 🙂
I hope these four steps for turning a garage cabinet into a farmhouse hutch inspire you to find the potential in more pieces. You can save a ton of money and create a piece exactly how you want if you can look past the “fixable” issues. When I picked up this piece, it didn’t have much going for it. It was sturdy and had tons of potential.
{Affiliate links are used in this post. You can read my disclosure HERE.}
Would you have brought this cabinet home? Did you see all the potential it had?
If you don’t have a cabinet to make over, I found some beautiful options online:
PIN THIS POST!
If you liked this farmhouse hutch makeover, you will also love these projects:
Large Square Coffee Table Makeover
Curbside Cabinet Makeover For The Office



such an inspiration, love the tutorial thanx
Love the story behind this piece Lindsay. It only took over 70 years but at long last it has a place of beauty inside the house. Nice job! As for your question, I probably would have given it a second look too, especially considering the story behind it.
The stories always draw me in. I love them! Thank you!
really like leaving the inside wood,I might have painted edges of shelves. love it
That would have been a good idea.
I would have caulked all the gaps to keep it looking like it was all made at one time. I love the color.
Thanks!