This DIY Chalkboard is a great way to upcycle beautiful frames you find at the thrift store.
Easy DIY projects are the best. When I can take a thrift store piece and make it over in under an hour, I am in my happy place. When that piece is perfect for decorating my home, I am in my happiest place. I am always on the hunt for beautiful frames that I can transform into home decor. I have turned them into everything from serving trays to message boards. Today, I am going to show you how easy it is to make a DIY chalkboard from a thrift store frame.
{Affiliate links are used in this post. You can read my disclosure HERE.}
Supplies Needed For DIY Chalkboard:
Thrift Store Frame
Piece of plywood to fit the back of your frame
Nail gun/drill/sawtooth pictures hangers (The back of your frame will determine how you will attach the plywood to it.)
Chalkboard paint
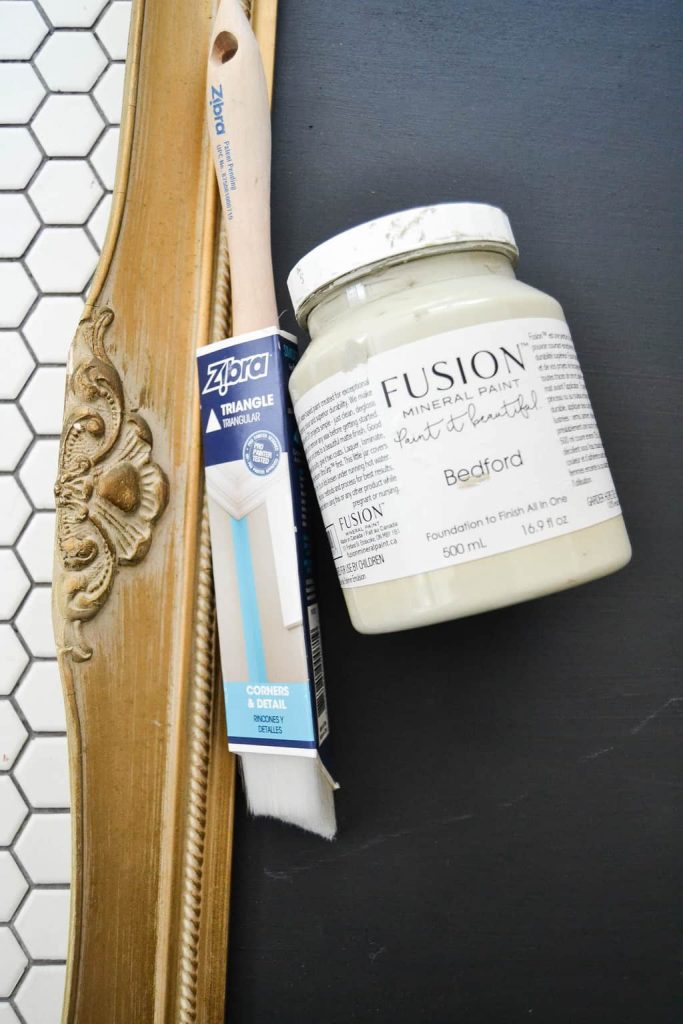
Fusion Mineral Paint (if you are painting your frame, any paint will do)
Zibra Paint Brush (the triangular brush worked like magic to cover all the details on this frame)
Chalk
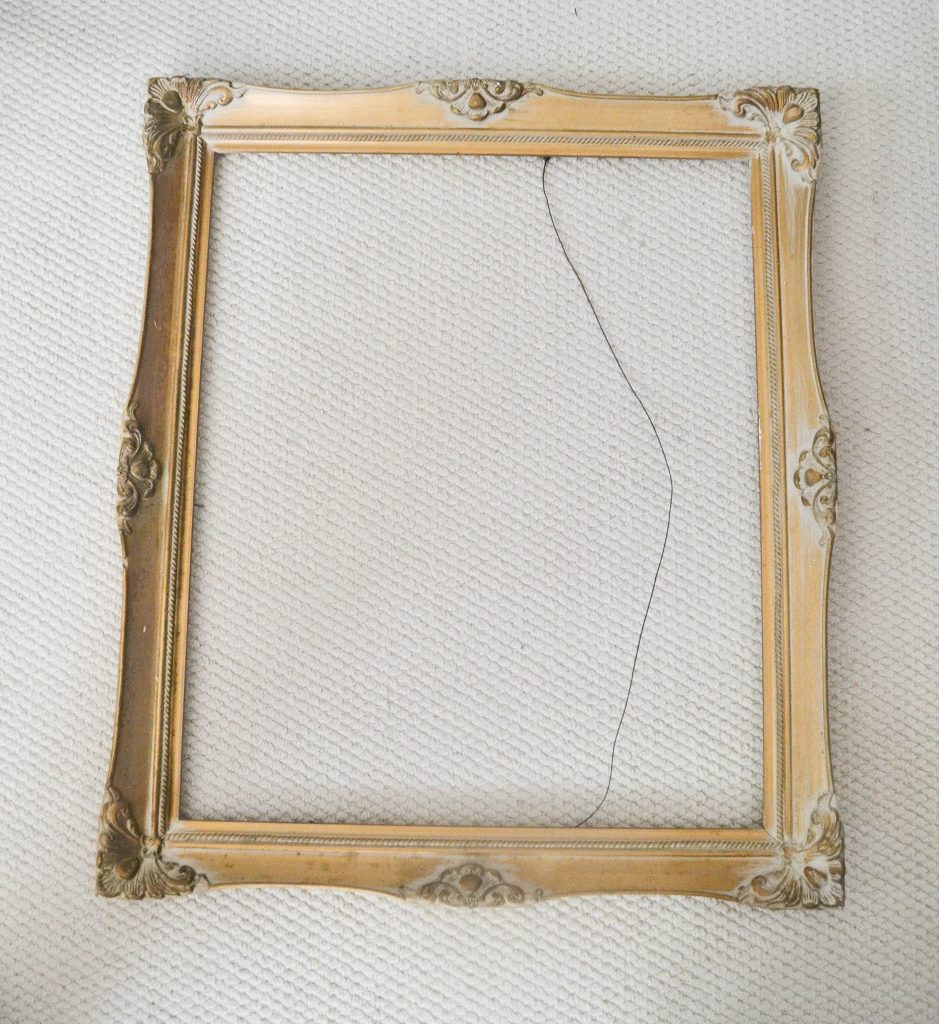
The hardest part about this project is finding a frame that you like and that is the size you need.
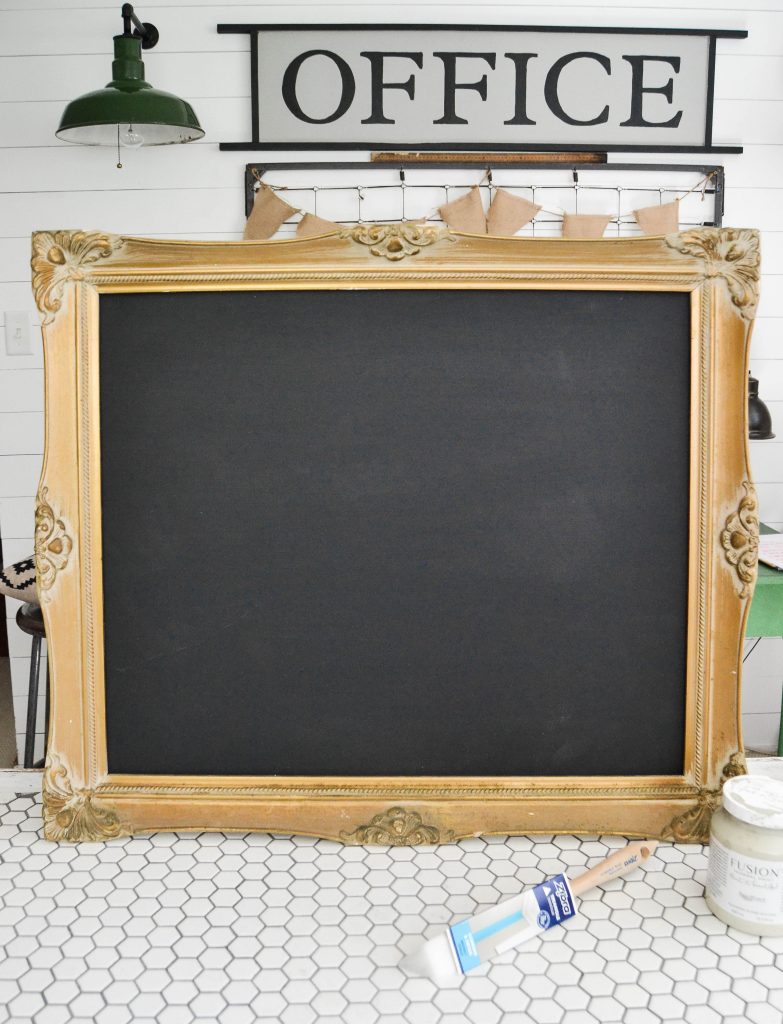
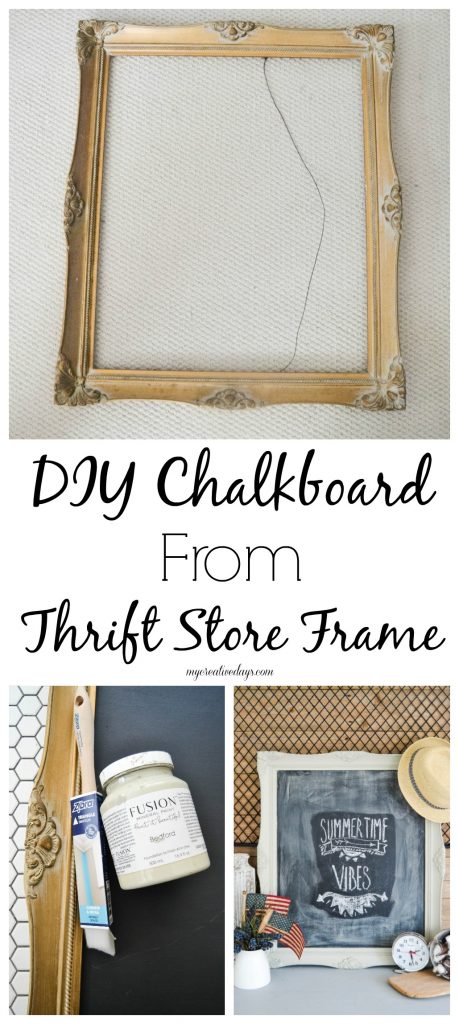
I couldn’t pass up this frame!
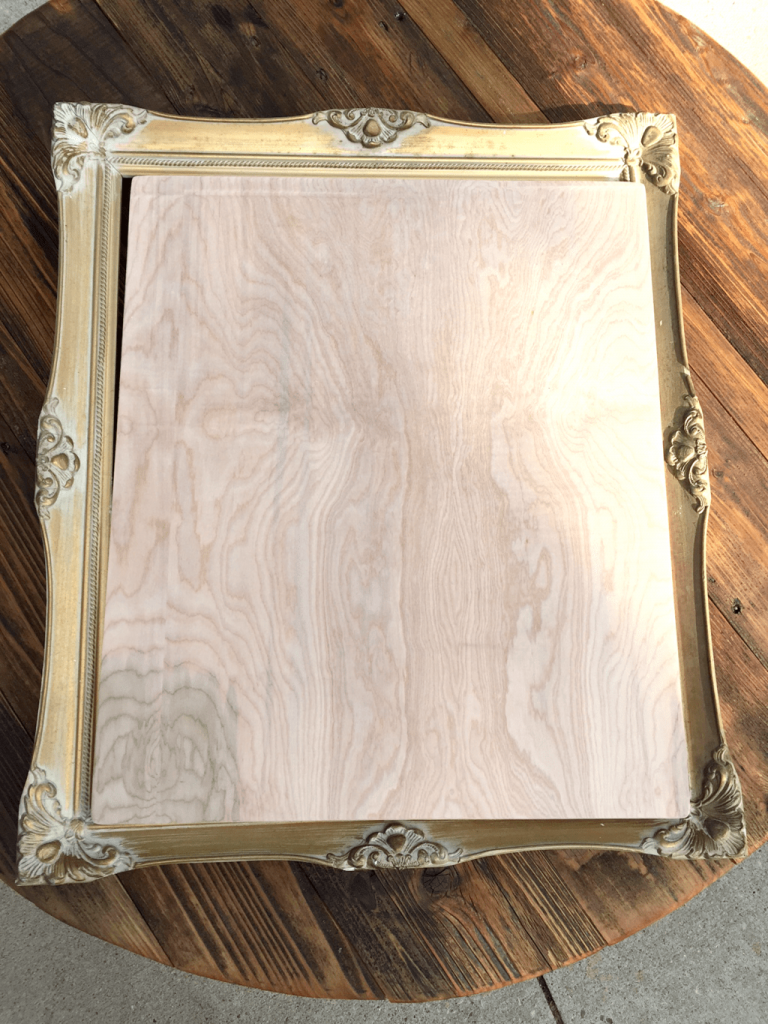
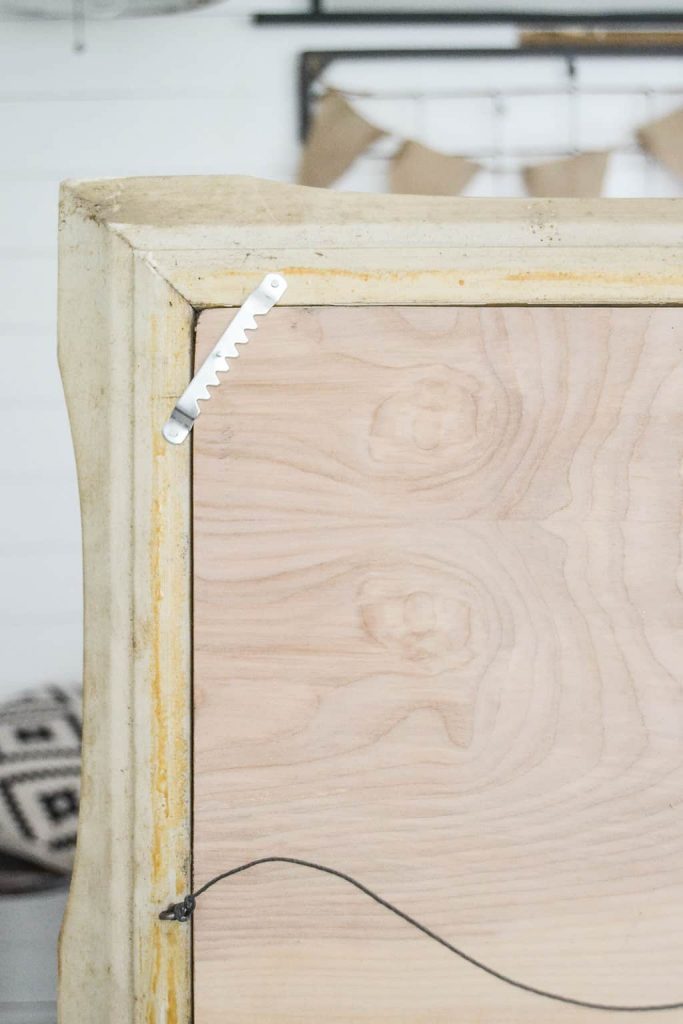
To turn this frame into a DIY chalkboard, Matt measured the frame and cut a piece of plywood to fit.
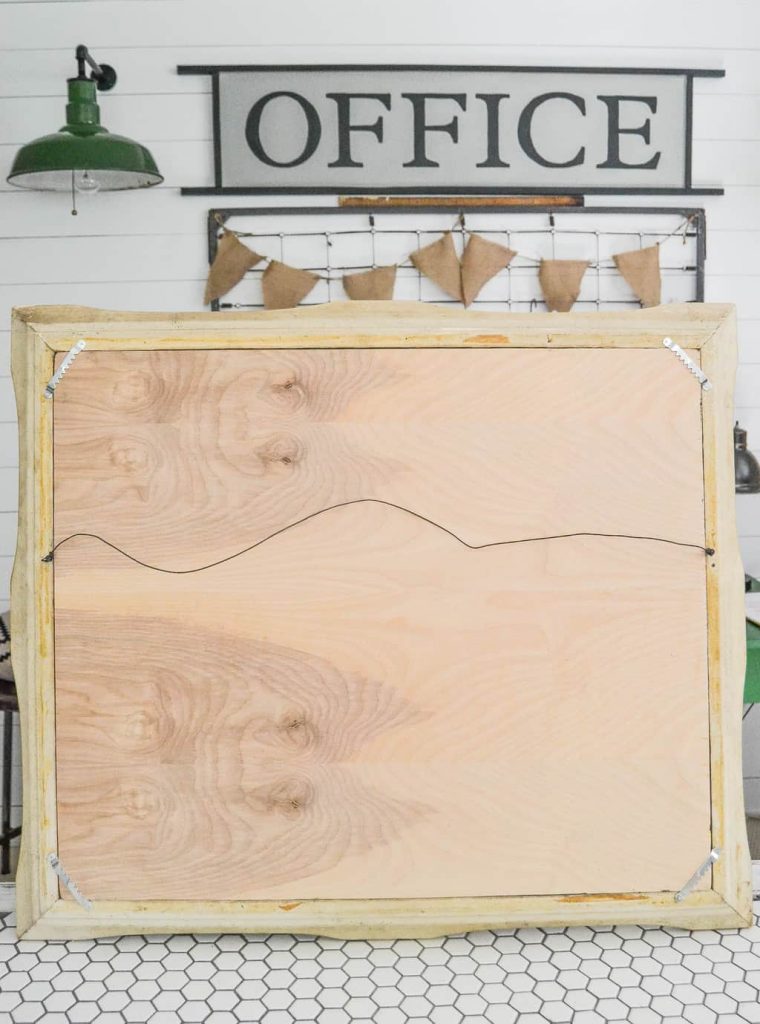
Then, he attached the plywood to the back of the frame with sawtooth picture hangers. We had them on hand and since the plywood fit right inside the frame, they worked perfect for this project.
After the plywood was in place, I painted it with Chalkboard paint.
(You could do this before you put the wood in place, but Matt was getting a list of projects done and didn’t have time to wait for me to paint it. He’s usually so patient. 🙂 )
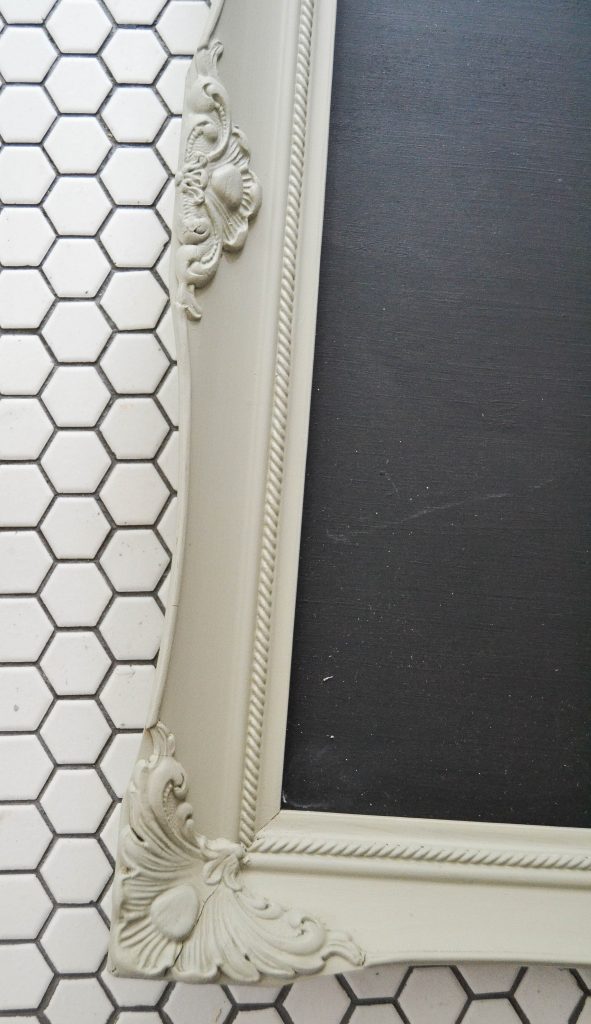
I painted the frame in “Bedford” by Fusion Mineral Paint. This color is so pretty!
I just finished my DIY Painted Buffet Makeover with it.
SOOO good.
The reason this makeover didn’t take long was because of the Zibra triangular brush! It got in all the nooks, crannies and beautiful detail of this frame in one coat! As I was painting it, I was thinking of all the corners I need to paint in the flip house and how amazing this would work on all of them! TIME SAVER! It is in the tool box to take there already. I am using the Palm Pro Zibra brush on all the trim in the flip house and it has made my trim work go so much faster. To see how much I love the Palm Pro, make sure to check out this dresser makeover.
(On a side note, if you aren’t following along with me on Instagram and Facebook, you must! I am posting more and more videos and daily updates and inspiration on both accounts. Find me HERE on Facebook and HERE on Instagram.)
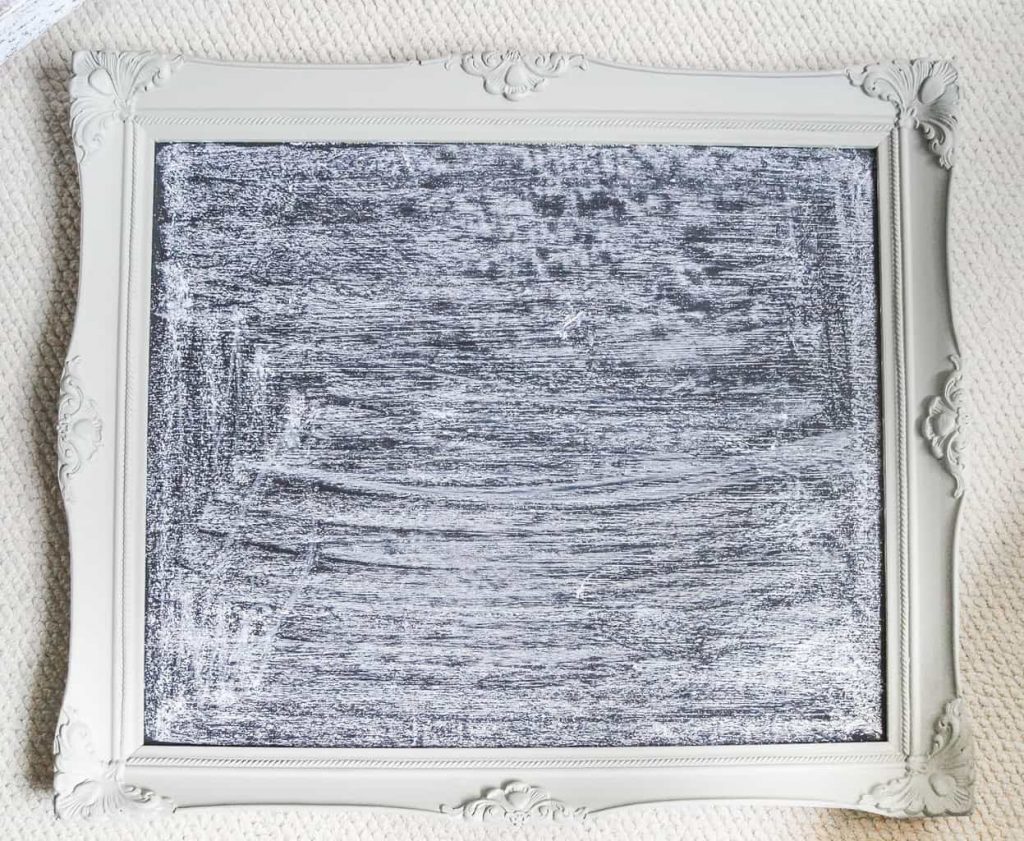
I learned this next step the hard way. You MUST “season” your chalkboard before you write on it. If not, your first drawing, message and/or doodle will live on the chalkboard FOREVER! To season it, all you do is lay a piece of chalk sideways on the chalkboard and rub it all over.
Then, I use a cotton cloth to wipe it off. Now, it is “seasoned”!
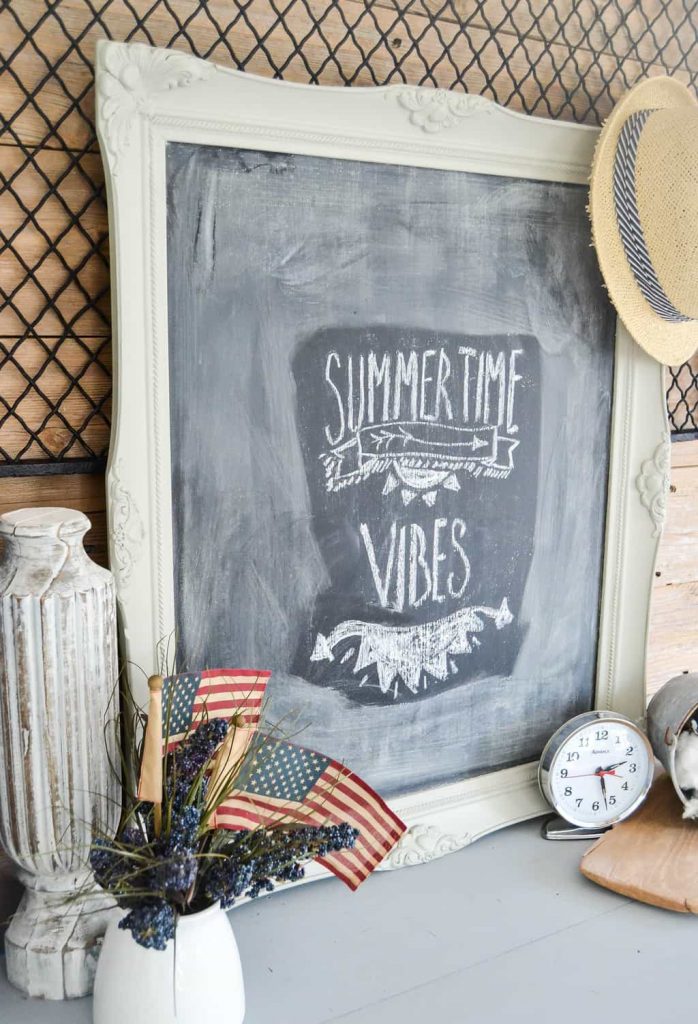
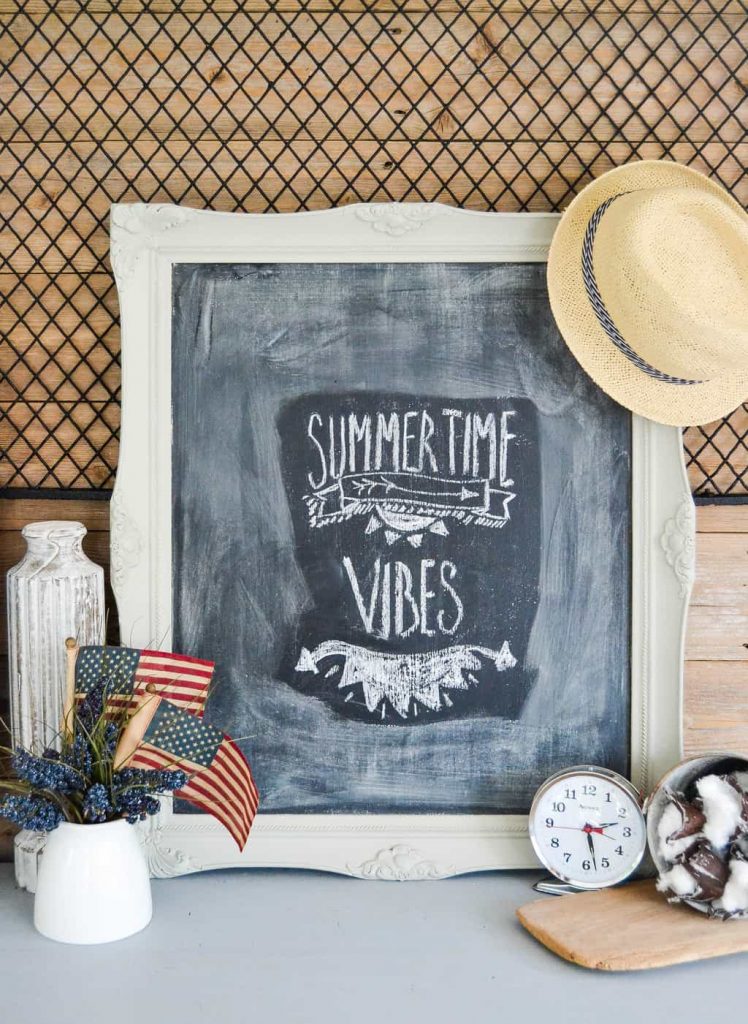
The DIY chalkboard is ready for creating beautiful masterpieces on.
My daughter loves this part and helped me with a summer design.
Home decor does not have to be hard or cost a lot of money. Finding pieces at thrift stores and yard sales to makeover for your home will save you tons of money. To learn more about the tips and tricks I have learned by decorating our home this way, make sure to sign up for my email! My guide for decorating your home on a yard sale budget will be delivered to your inbox!
PIN THIS POST!


I found out the hard way too about seasoning the board! Live and learn! This is soooo adorable! Now I m.u.s.t make one!
🙂
Very interesting DIY, I’m curious to try it. I’m sure everyone will like leaving some inspiring messages around.