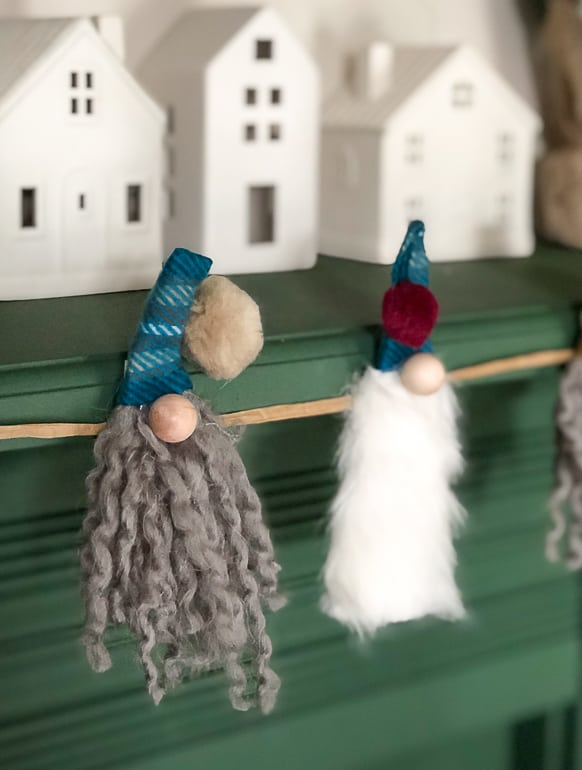
This DIY Christmas Gnome garland was easy to make and I used items that I found at a thrift store to save on the cost of supplies. Win-Win!
{Affiliate links are used in this post. You can read my disclosure HERE.}
Supplies Needed To Create This DIY Christmas Gnome Garland
Natural Drift Wood Oval Chips – Large
Thick Yarn That You Can Pull Apart To Make Beards
Thrift Store Scarf (any fabric will do)
Thrift Store Santa hat (again, any furry fabric will do)
Scissors
Twine/Yarn/Something To String The Gnomes On
I love projects that come together using things I already have on hand. Whenever I am shopping at thrift stores and yard sales, I pick up things that I know we will use at some point. A lot of our craft supplies come from thrift stores because I can usually find them there and the price is better than buying them in a craft store.
For this DIY Christmas Gnome Garland, I did have to buy the oval chips at Hobby Lobby, but I paid less than $2 for the bag because I used the 40% coupon.
The other supplies were things I have picked up at thrift stores and yard sales over the years, but they can easily be found in any craft store. Click on any of the pink links in this post and it will take you right to them.
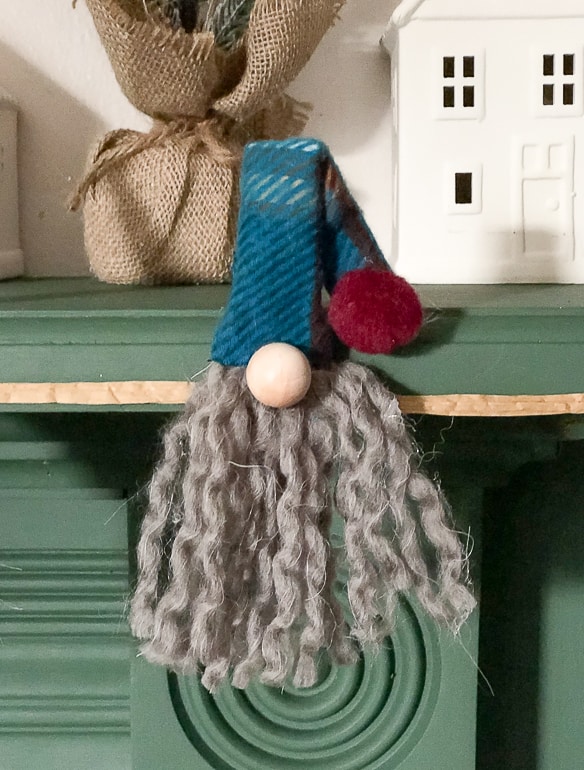
I LOVE plaid. LOVE plaid. I always pick up plaid scarves when I see them at thrift stores and yard sales. I use them as tree skirts under smaller Christmas trees, I use them inside baskets and I have also folded a bunch of them and put them on shelves and inside the hutch in our living room. There is something about plaid at Christmas and winter that makes your home feel warm and cozy. I was thinking about this gnome garland project, but didn’t want to cut up any of the scarves I had, so I hit the thrift store and found this blue one that worked perfectly!
Here is a video showing you how I put this garland together:
Plaid has a lot of different variation in the design so each gnome hat looks different depending on where you cut the scarf. You can get a lot of different looks from one scarf!
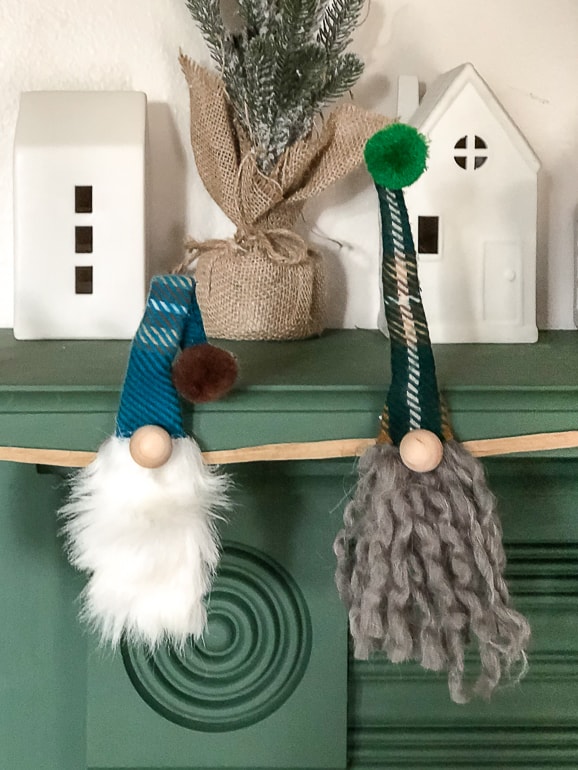
The oval wood pieces were the perfect size to make these little gnomes and since I am not one that sews, a hot glue gun is my best friend when it comes to crafts like this.
This project can really come together with any fabric, any yarn or fur for the beards, a wood ball and/or pom-pom and some hot glue.
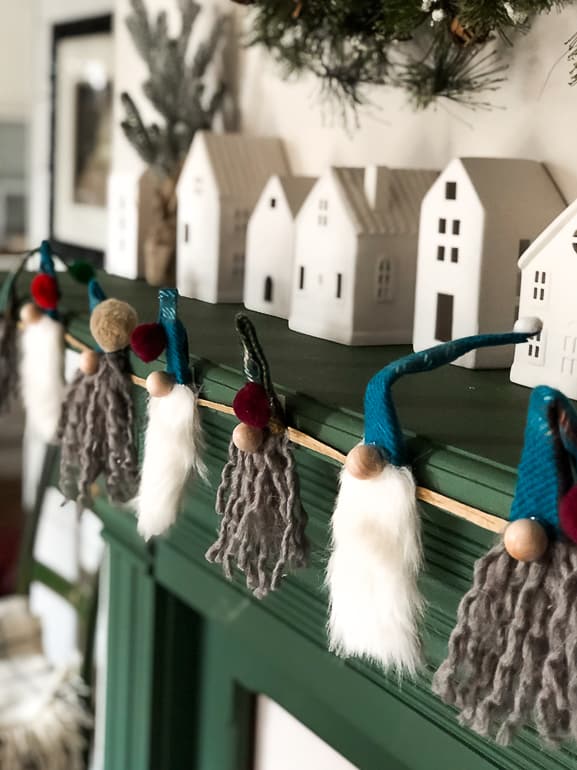
To turn the gnomes into a DIY Christmas Gnome Garland, I hot glued them to some raffia ribbon I had on hand (probably picked up at a yard sale or thrift store).
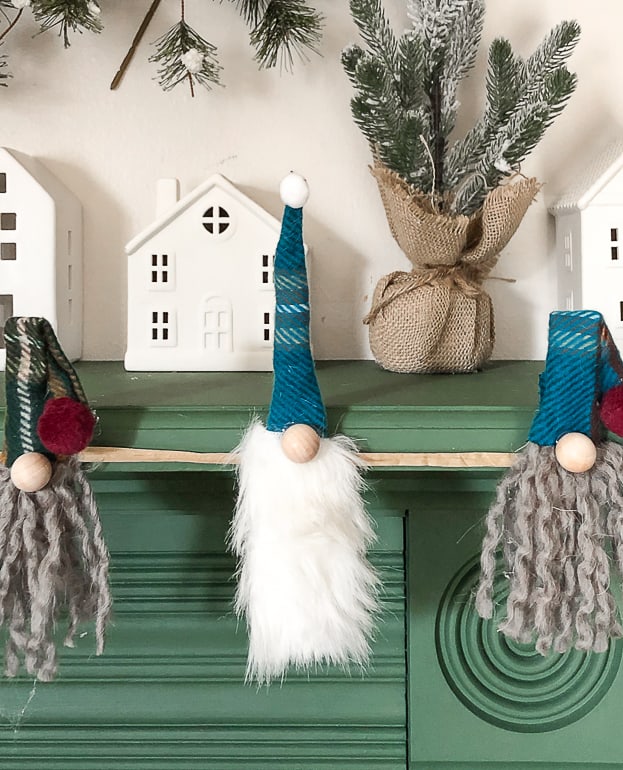
You could make this garland out of so many things and have them fit any holiday theme you have.
Wouldn’t they be cute if their hats were cut from old bandannas? I have those. Might have to try that next year. 🙂
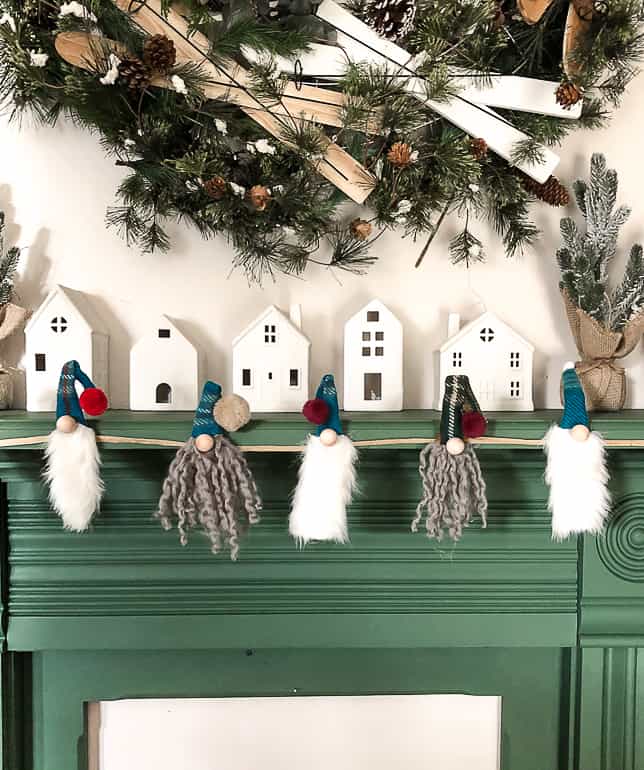
This is a great project that the kids could help with too. Homemade Christmas decor, gifts, cards, cookies, etc. are so much fun and I think it makes the season that much more special.
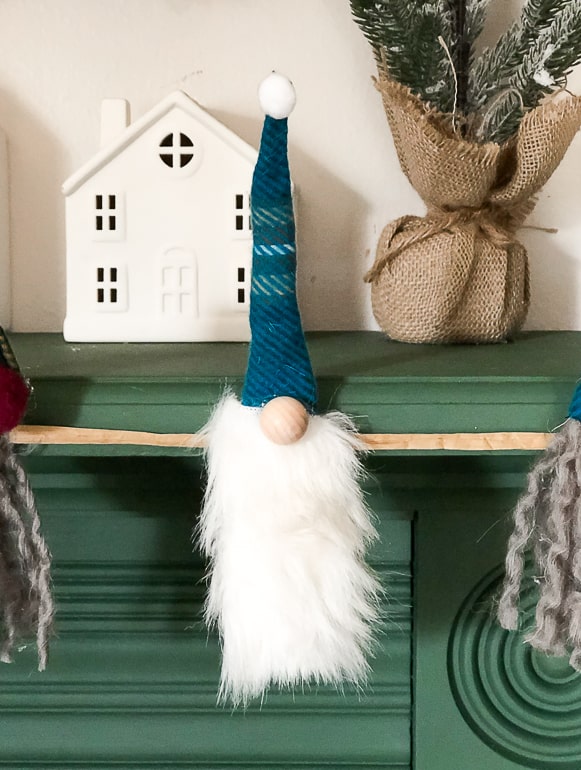
I haven’t really gravitated towards the gnome craze that is happening, but making this garland was a lot of fun. My initial thought was to make little Santa’s and turn them into a garland. But, this just came together so easily and I thought they were so cute so I ran with that. I may still have to try the Santa’s if I have time. 😉
What do you like to make around the holidays?
PIN THIS POST!


I love your gnome garland! What a great project and I agree it would be fun to do with kids too. I was thinking how cute your gnome would be to use on a gift box, or gift bag for decoration or as a name tag too. Thanks for sharing this project.
Your welcome!! They would be so cute as ornaments or gift tags for sure!
What are the ovals for?
The video will show you how I used them. Thanks!
Are t they sweet, love it
Thanks!
Where did you get those White House’s that are behind the garland?
target