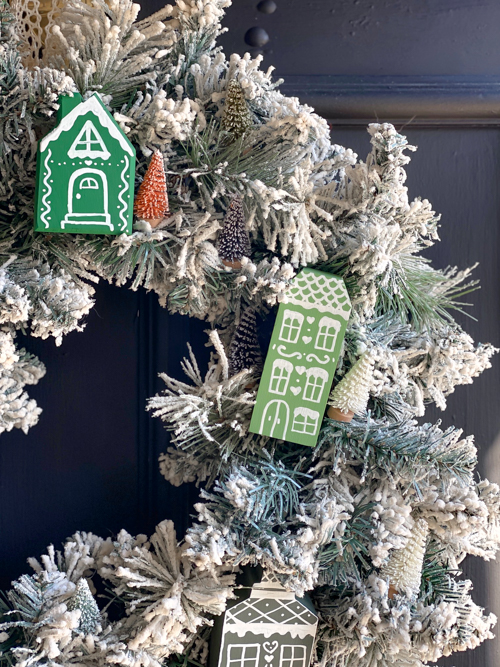
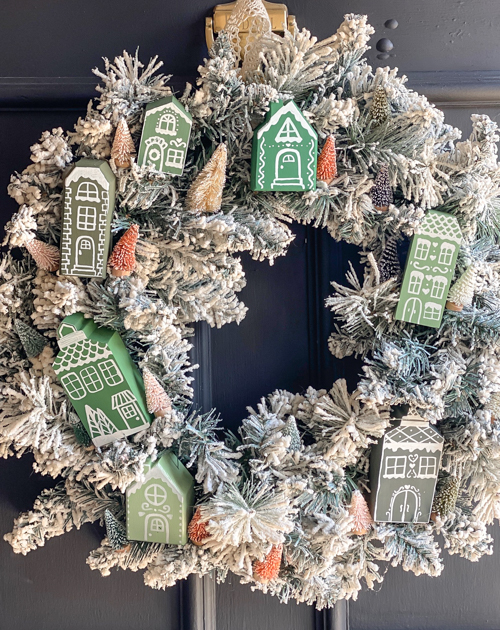
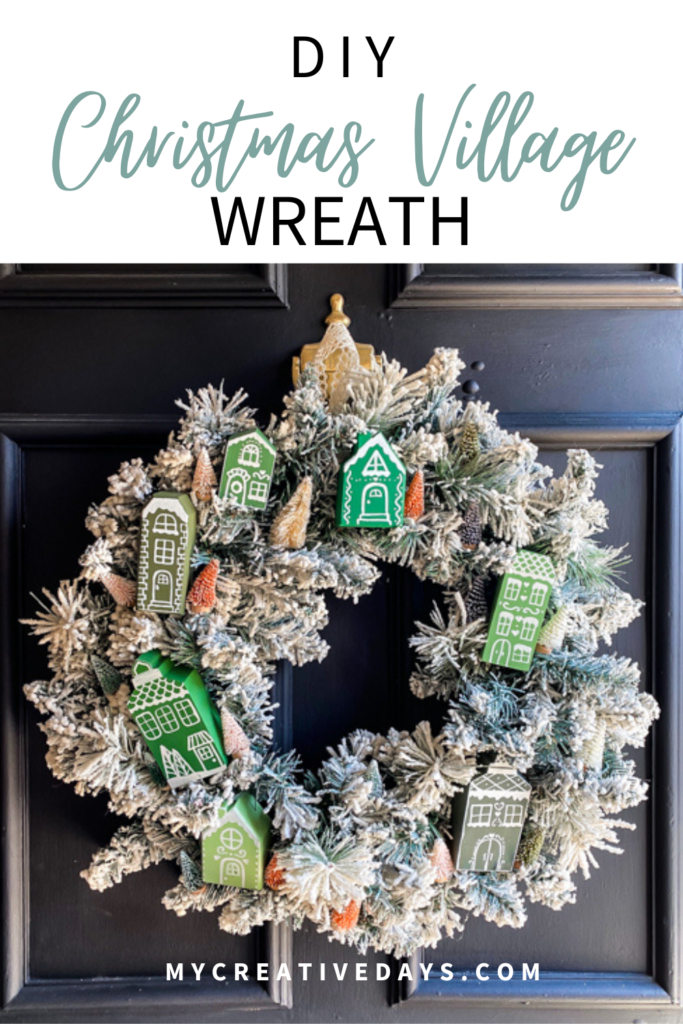
I have been seeing wreaths like this all over and it is time I made my own. These wreaths are crazy expensive! I couldn’t believe the prices. I have seen them on websites like Anthropologie, Terrain, and smaller boutique shop pages. They are all well over $100 – closer to $200. There is no way I would pay for that because it is so easy to DIY. I’ll show you how to create your own DIY Christmas village wreath with thrifted items and a bit of creativity. You’ll have a festive wreath that looks high-end without breaking the bank.
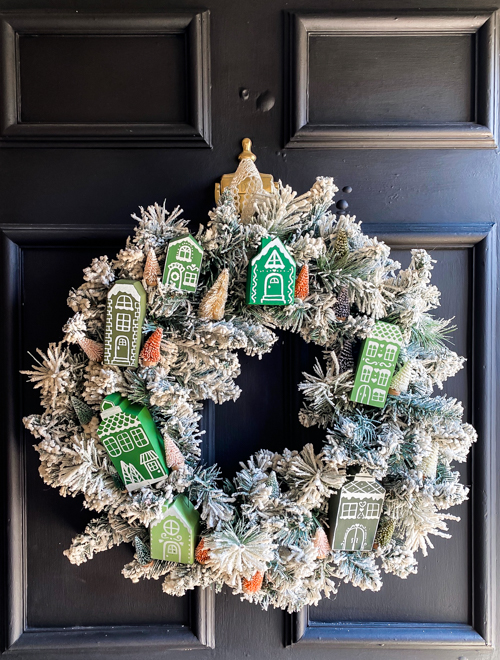
Why Make Your Own DIY Christmas Village Wreath?
Christmas village wreaths add a charming, whimsical touch to your holiday decor, but they can often be expensive. By making your own DIY Christmas village wreath, you’ll save money and add a personal, creative flair to your home. This fun project is so easy to do and it’s customizable to fit your style perfectly!
{Affiliate links are used in this post. Click on any underlined links to find the products and sources I am referring to. You can read my disclosure HERE.}
What You’ll Need:
Here’s what I used to create my DIY Christmas village wreath. I linked similar products to what I used, but keep your eye out at thrift stores for the wreath and houses too.
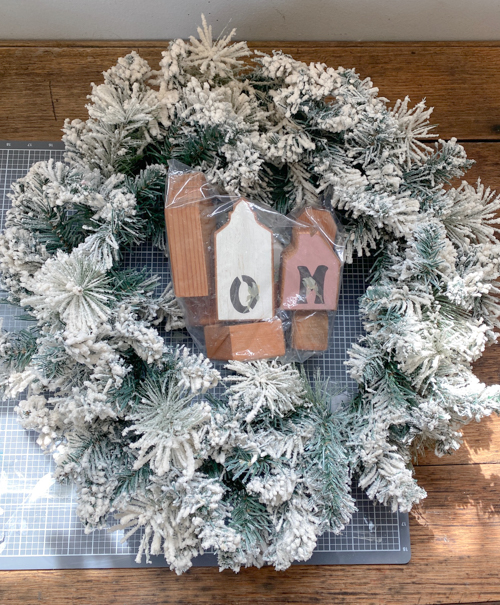
- Flocked wreath: Look for a sturdy wreath with a good base for attaching your decorations.
- Miniature wooden houses: These are perfect for turning into a little Christmas village.
- Bottlebrush trees: Add a vintage, festive feel to your wreath with these tiny trees.
- Paint: Whatever color you love!
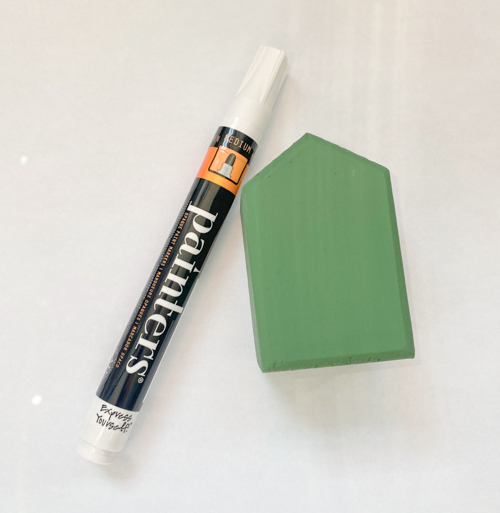
- Paint marker: To add details to your houses.
- Hot glue gun: For attaching the trees to the wreath.
- Floral Wire: For attaching houses to wreath.
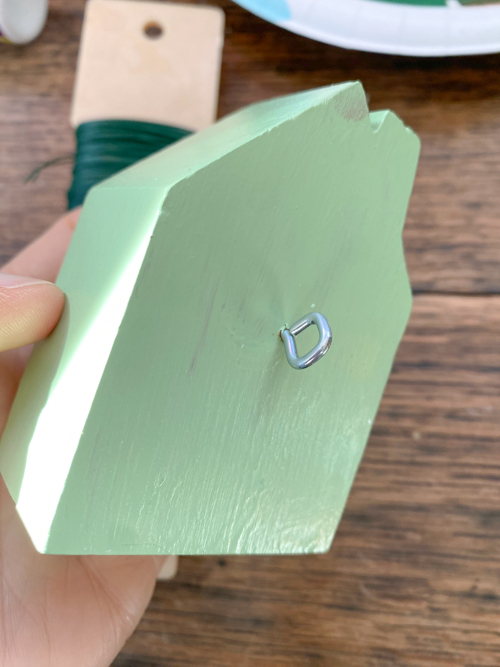
- Eye Hooks: To put on the back of your wood houses so they are easy to hang with the floral wire.
- Ribbon: Optional, for hanging or adding a decorative bow.
Step-by-Step Guide to Creating Your DIY Christmas Village Wreath:
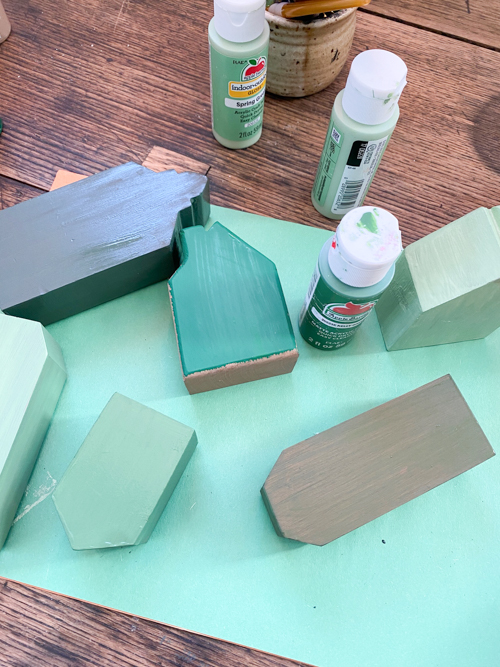
- Paint the Wooden Houses
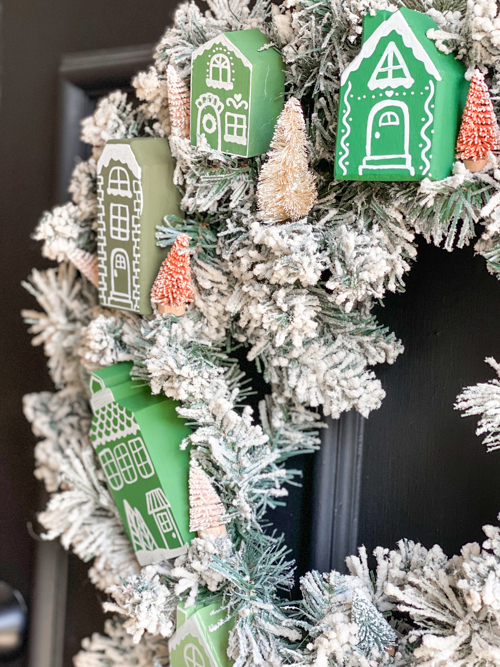
Start by painting your wooden houses. I went with a green theme and Gabrielle came in with a white paint marker and made all the details. I am always happy when she wants to help me! - Prep Your Wreath
To make sure the base of your DIY Christmas village wreath is perfect, make sure you fluff it before adding anything to it. - Attach the Wooden Houses
Once your houses are dry, screw in the eye hooks to the back. Then, use the floral write to attach to the wreath. Arrange them however you like—whether clustered or evenly spread out for balance. - Add the Bottle Brush Trees
Hot glue the bottle brush trees next to your wooden houses to create a cozy Christmas village scene. - Finishing Touches
Add any other embellishments you like! A bow, extra greenery, faux snow, or a touch of glitter will give your wreath a wintry sparkle.
Why This DIY Christmas Village Wreath Is Perfect for the Holidays
This DIY Christmas village wreath captures the magic of the holiday season while being budget-friendly and unique. By using thrifted items like wreaths, wooden houses, and bottle brush trees, you can create an eye-catching holiday decoration for a fraction of the cost. Plus, this DIY project allows you to customize your wreath to match your personal holiday decor style, whether you prefer vintage charm or modern simplicity.
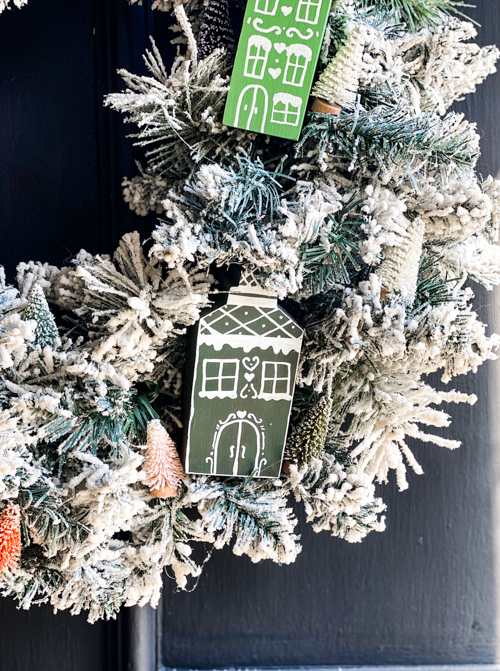
Creating a DIY Christmas village wreath is an affordable and fun way to bring the festive spirit into your home. By upcycling thrifted items, you can make a beautiful, high-end-looking wreath without the splurge.
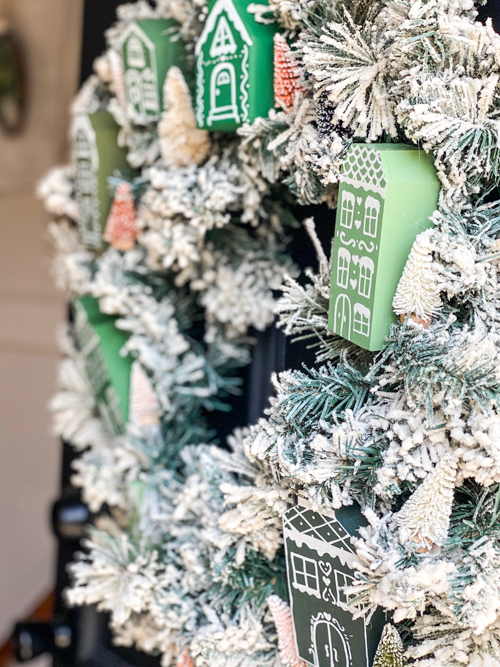
Whether you’re a DIY enthusiast or a beginner, this project is easy to complete and will add a delightful, personalized touch to your holiday decor.
You can see me putting mine together in real-time on my YouTube channel HERE. Make sure you SUBSCRIBE when you are there. I am launching new videos every week and I don’t want you to miss any of them!
PIN THIS POST!
If you liked this project, you will also love these projects:
DIY Jadeite Christmas Ornaments
Bell Christmas Tree Display DIY
DIY WOOD BELLS FOR CHRISTMAS DECOR

