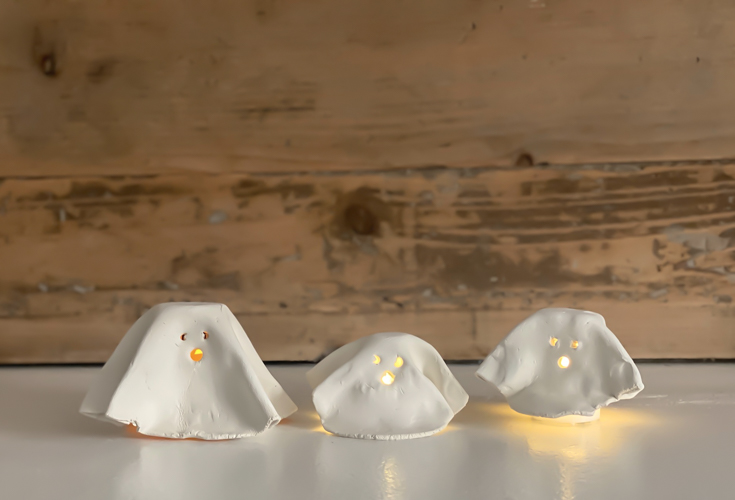
Are you ready to add some adorable, spooky charm to your Halloween decor this year? These DIY clay tea light ghosts are the perfect project! They’re cute, easy to make, and bring an enchanting glow to any room when lit up with a battery-operated tea light. Whether you’re a seasoned DIYer or a beginner, these little clay ghosts will quickly become your favorite handmade Halloween decoration. Let’s dive into the tutorial and bring these ghostly cuties to life!
{Affiliate links are used in this post. Click on any underlined links to find the products and sources I am referring to. You can read my disclosure HERE.}
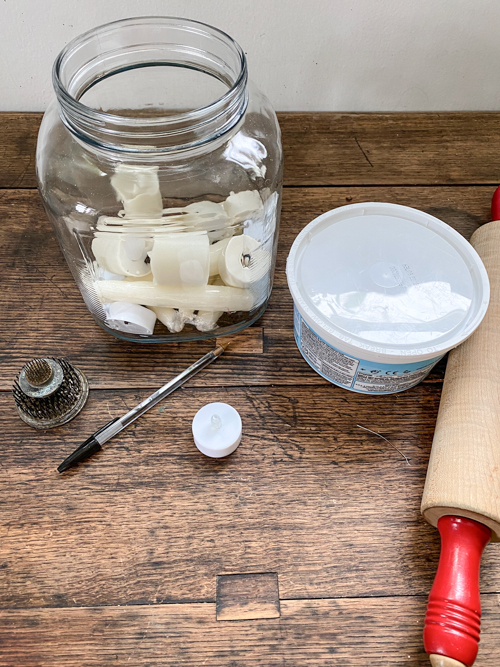
What You’ll Need:
- Air-dry clay
- Battery-operated tea lights
- Sculpting tools (or anything to cut eyes and mouth)
- Rolling pin
- Small items for shaping
- Water
Step-by-Step Guide to Making DIY Clay Tea Light Ghosts
Step 1: Prep Your Workspace
Start by laying down wax paper or crafting mat on your work surface. It’ll prevent the clay from sticking and make cleanup a breeze.
Step 2: Roll Out the Clay
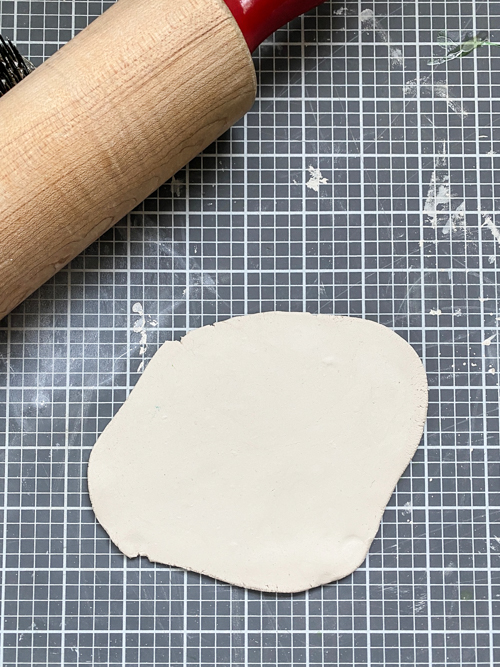
Take a chunk of air-dry clay and roll it out until it’s about 1/2 inch thick. You want it thin enough to shape easily but sturdy enough to stand up when dry. If you make it too thin, it will crumble in pieces when it is dry. Take it from me. That happened with my first one.
Step 3: Shape the Ghosts
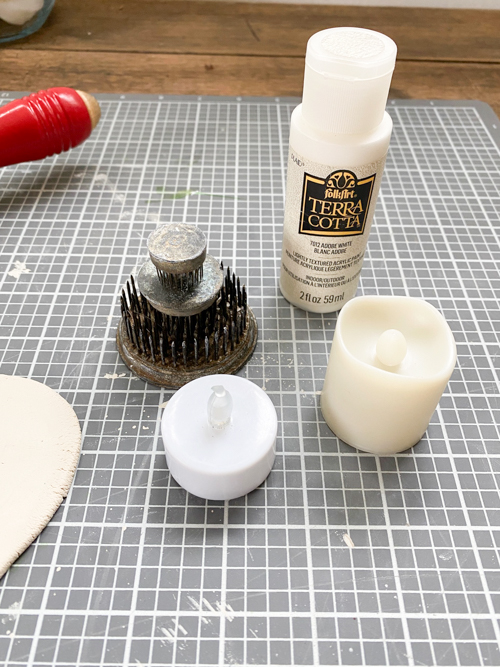
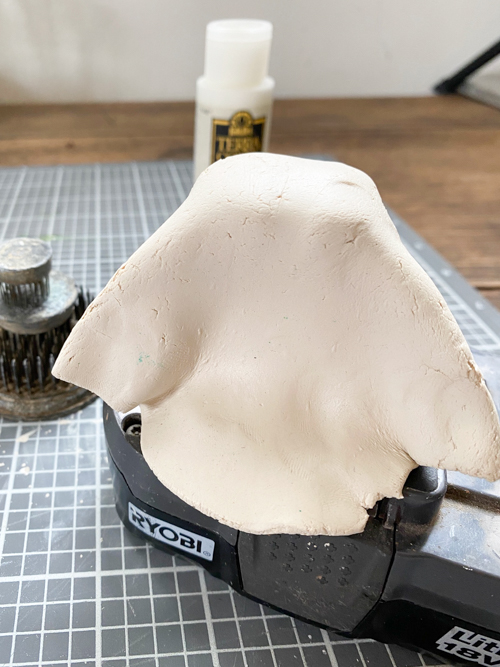
Gently drape the clay circle over the top of a small object (I used a stack of floral frogs) to form the ghost’s flowing shape. You just need the object to be a bit taller and larger than the tea light you are using so it fits easily under your ghost when it is dry. When you lay the clay over the object, it should have a soft drape, like fabric! Smooth out any cracks or rough edges with a little water on your fingers if you want. Add the folds in the ghost at this point to your liking.
Step 4: Carve Out the Face
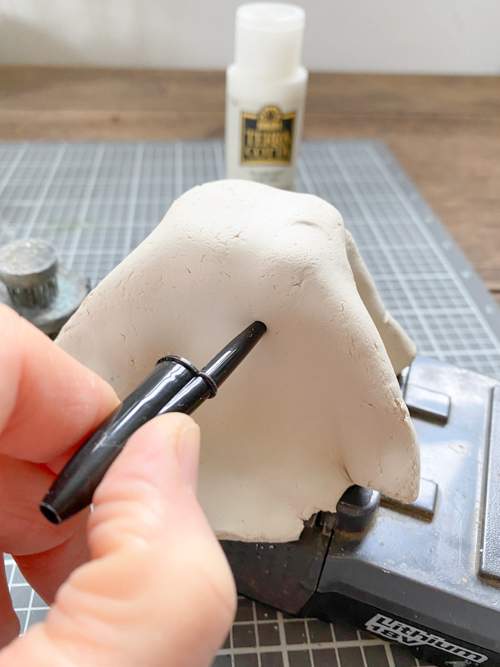
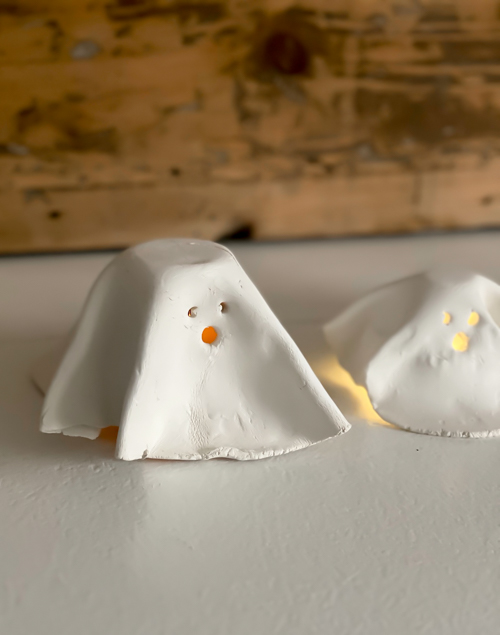
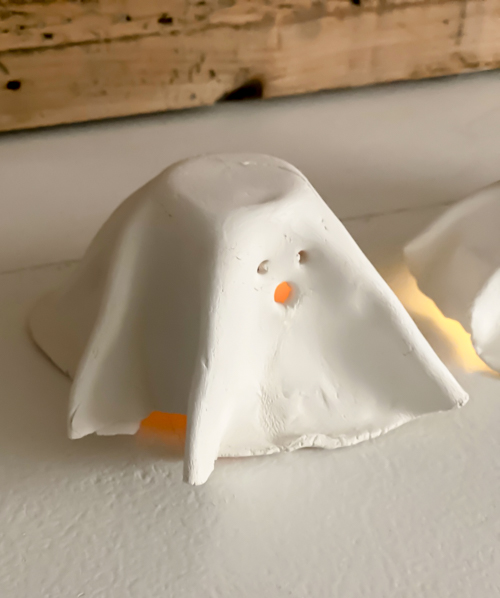
While the clay is still soft, use your sculpting tools (I used a pen cap) to carve out the ghost’s eyes and mouth. This part is the most fun—you can make your ghost cute, spooky, or silly depending on how you shape the facial features!
Step 5: Let It Dry
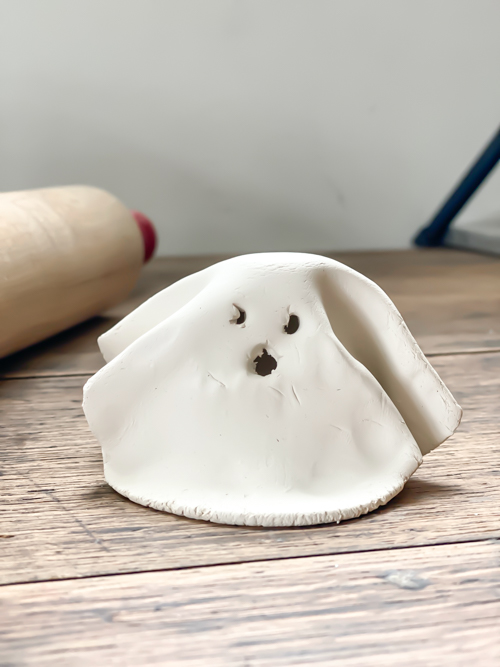
Once you’re happy with your ghost’s shape and face, let it dry overnight. Air-dry clay hardens on its own, so be patient. It’ll be worth the wait when you see the final glowing effect!
Step 6: Add the Tea Light
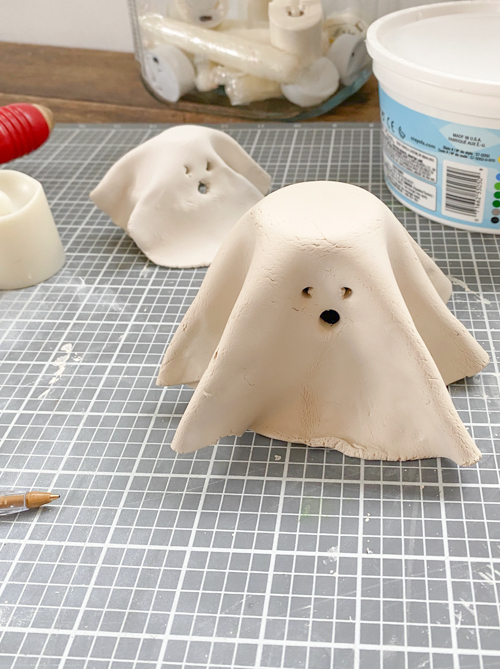
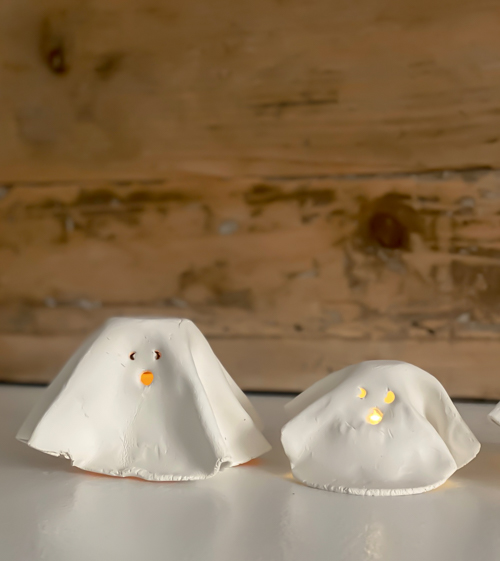
After your ghost is completely dry and hardened, place a battery-operated tea light underneath. The light will shine through the eyes and mouth you carved, giving your ghost an enchanting, eerie glow. So cute, right?! I love the handmade look these DIY clay tea light ghosts have.
Each one will look different and you can add so much personality to each ghost just by the way you cut the eyes and mouth.
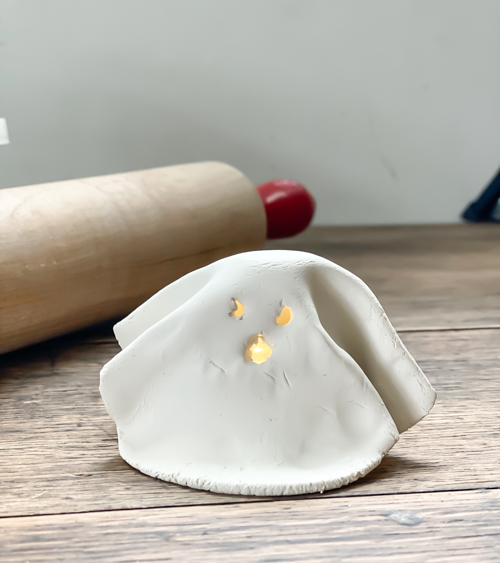
You can watch me make these in real time on my YouTube channel HERE. Make sure to SUBSCRIBE when you are there. We are launching multiple new videos every single week! I don’t want you to miss any of them!
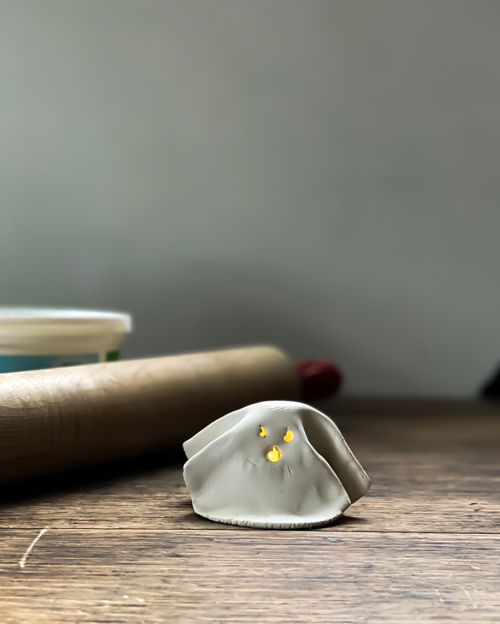
Why We Love These DIY Clay Ghosts
Not only are these little guys super simple to make, but they’re also ridiculously adorable! Each one comes out a little different, giving them their own personality. You can go for a sweet ghostly expression or lean into the spooky vibes—it’s totally up to you! Plus, the soft, flickering light from the tea lights adds the perfect cozy Halloween touch to your decor.
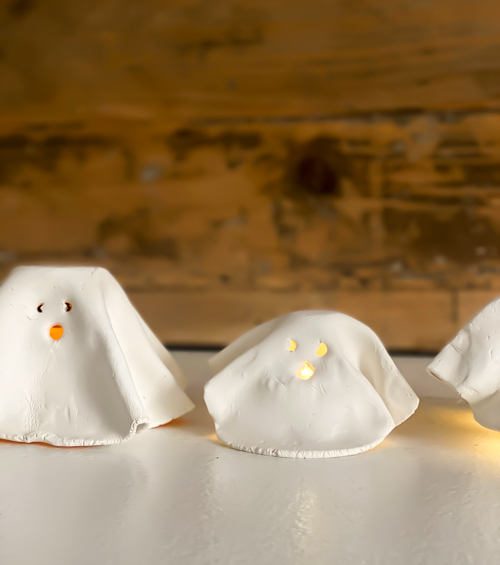
They’re also a fantastic DIY project to do with kids!
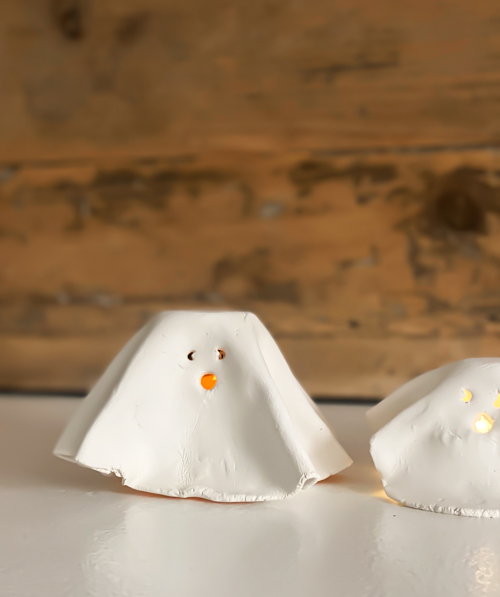
These ghosts last for years if you package them carefully, so you can pull them out every Halloween to add that handmade, special touch to your seasonal decor.
Tips for Success:
- Smooth edges: Keep a small dish of water nearby to smooth out any rough edges or cracks in the clay before it dries.
- Experiment with sizes: Try making a whole ghost family by creating them in different sizes.
- Painting fun: Once dry, you can leave your ghosts white for a classic look or paint them to add some extra character (maybe a cute little blush or spooky glow-in-the-dark paint!).
- Use strong battery-operated tea lights: They give the best glow through the clay and keep things safe.
These DIY clay tea light ghosts are a perfect balance of cute and spooky, making them an ideal Halloween craft. Whether you’re adding them to your mantel, placing them in a windowsill, or even using them as part of your outdoor decor (on a covered porch, of course), these little ghosts will bring some handmade magic to your Halloween.
PIN THIS POST!
If you liked this easy DIY clay tea light ghosts project, you will also love these:
DIY Jack-O-Lantern Tealight Holder
Dollar Store Ghost Garland DIY

