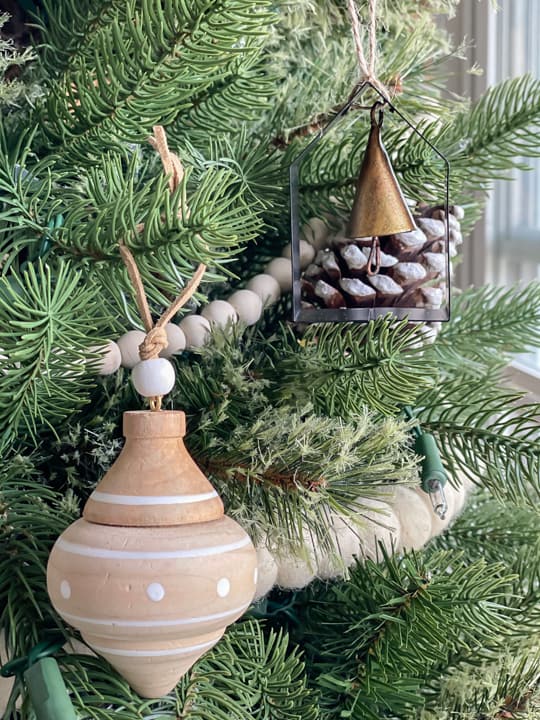
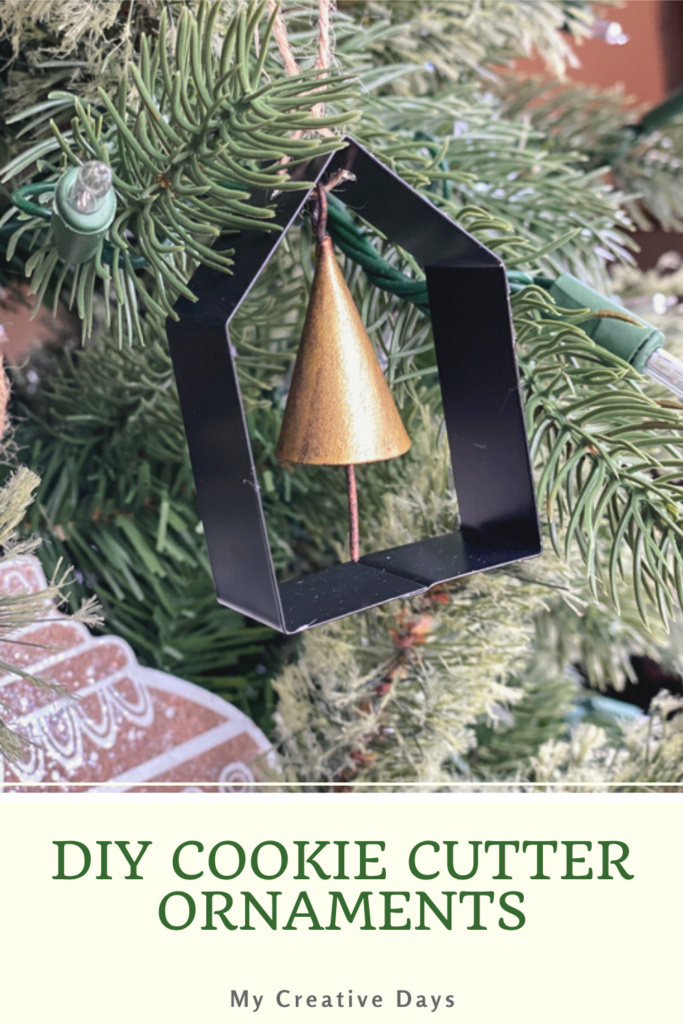
These easy DIY Cookie Cutter Ornaments turn a kitchen staple into something special that you can display in your home for the holidays!
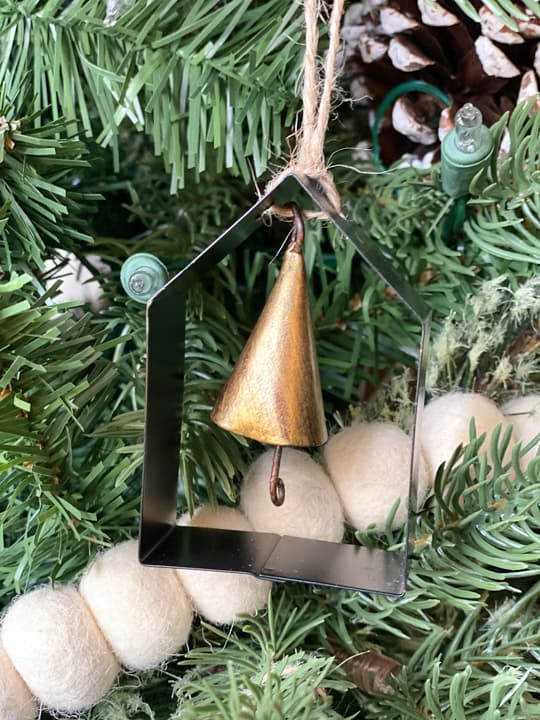
These ornaments couldn’t be easier to make and I love that you can customize them any way you want. You can use any cookie cutters you have. You can spray-paint the cookie cutters any color you want and you can hang any kind of bell or even wood beads from the center. The possibilities are endless.
{Affiliate links are used in this post. Click on any of the underlined links to find the products I am talking about. You can read my disclosure HERE.}
Supplies Used For These Ornaments:
Here is my YouTube video sharing how I made these ornaments and some other holiday projects:
I have had these cookie cutters since I bought them on clearance a few years ago. When I was getting out the decorations this year, I said that I had to do something with them or they had to go. I picked up the wind chime that the bells were on and after I cut all the bells off and then saw the cookie cutters sitting there, I thought they would be the perfect combination. It’s funny, but a lot of times, that is how my DIY projects come about. I try and use what I have on hand (to save money) and come up with pretty decor and pieces to fit our home and style. Usually, it takes some paint, some elbow grease and maybe some added supplies, but some of our favorite projects have come about by just getting creative with what we have on hand.
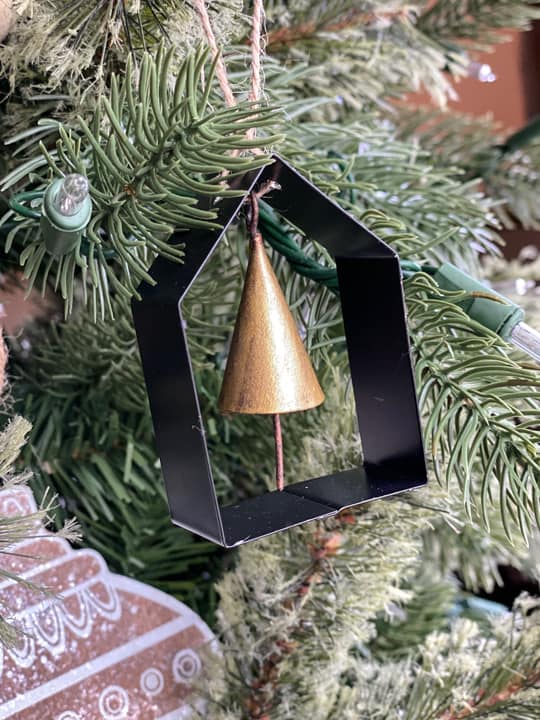
I like copper, but the Christmas decor in our home this year is more brass tones. When I painted the copper bells with the gold paint, it made them look like antique brass.
I couldn’t believe it and loved them even more!

5 Steps To Creating These Ornaments:
- Drill holes on the top of the cookie cutters. You can a hole on each side to thread the twine through.
- Paint the copper bells with the gold paint and let dry.
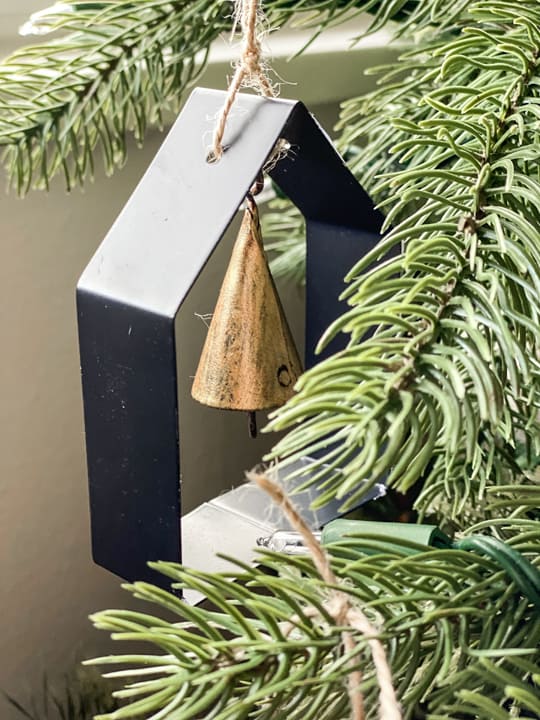
- Cut the twine to the size you need. Then, thread it through one hole in the cookie cutter and then through the top of the bell and finally through the other hole in the cookie cutter.
- Finally, tie the twine on the top of the cookie cutter so it doesn’t move, and then tie a knot with the two ends of the twine to create a loop that the ornament can hang from.
- Hang the ornaments from your tree, a greenery garland, or on a long string to make a garland on its own… there are many ways you can decorate with these!
I hope this project inspires you to create something homemade this holiday season. I have so many fond memories of making things as a kid and I have made that a priority with our own kids. See what you already have on hand. If you don’t love some decorations from previous years, revamp them to make them fit your style this year.
Do you have a favorite holiday decoration you love to put up every year?
PIN THIS POST!
If you liked these DIY Cookie Cutter Ornaments, you will like these holiday projects:
Upcycled Ribbon Spool Christmas Trees
DIY Wood Burned Christmas Tree Garland


