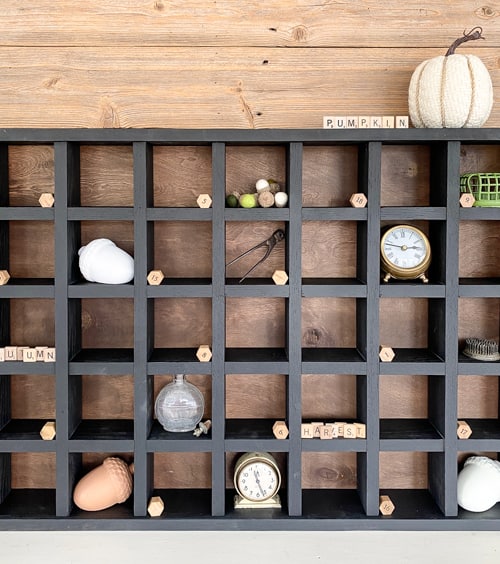
This DIY Cubby Wall Unit transforms a Restore find and turns it into a beautiful and functional decor unit for the home in a few, short steps.
This DIY cubby wall unit makes me so happy!
I LOVE cubby pieces and pieces that have little drawers. I don’t know what it is about them, but I think it brings me back to all the miniature toys and trinkets I loved as a child. Cubbies and pieces with little drawers are great for storing those little treasures.
I found this piece at my local Restore.
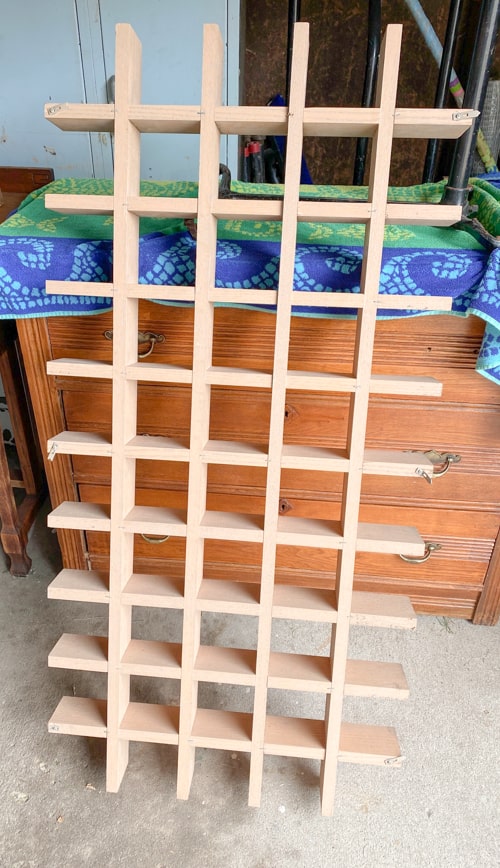
It looked like it was a piece from something else, but as soon as I saw it, I knew we could turn it into a cubby wall unit so easily!
{Affiliate links are used in this post. Click on any of the underlined links to find the products I am talking about. You can read my disclosure HERE.}
Supply List For This DIY Cubby Wall Unit
Restore piece
Old board to trim out the wall unit
Thin Plywood
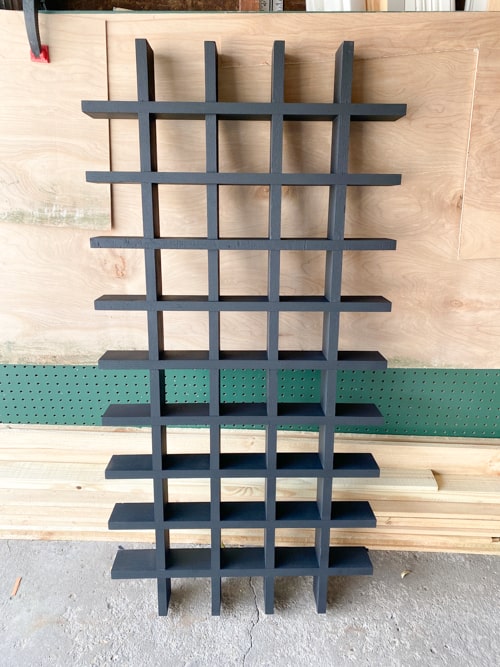
The first thing we did was spray paint the Restore piece in flat black.
Then, we used the table saw and miter saw to cut an old board we had in the garage to “frame” the cubby shelf.
I am not giving exact measurements because the measurements will depend on the piece you are framing.
We attached the “frame” pieces with a nail gun.
Then, it was time to make the back.
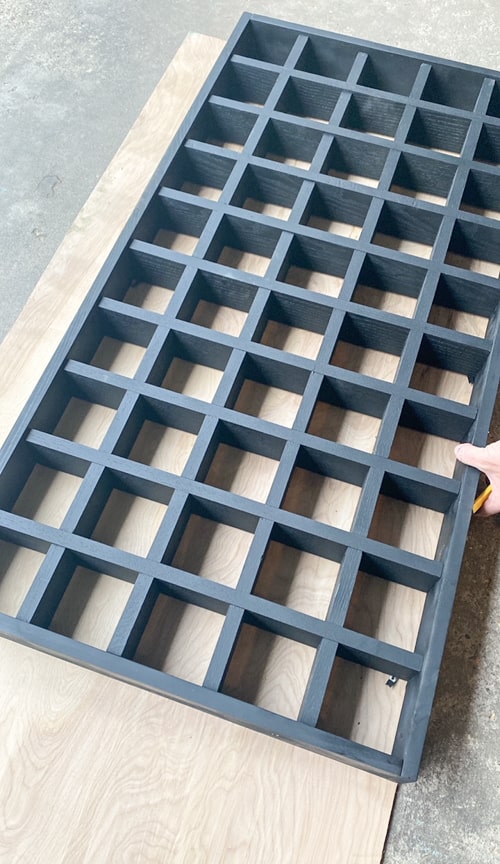
We used a piece of thin plywood we had in the garage. We traced the framed cubby piece onto the plywood to get the exact size to cut out.
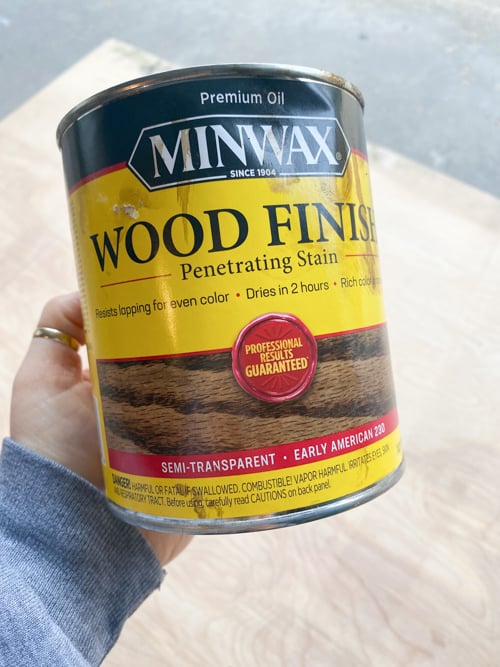
Once the plywood was cut, it was time to stain it.
Once the stain was dry, we had the back complete and it was time to attach it to the framed cubby piece.
We attached it with a nail gun.
The DIY cubby wall unit was complete!
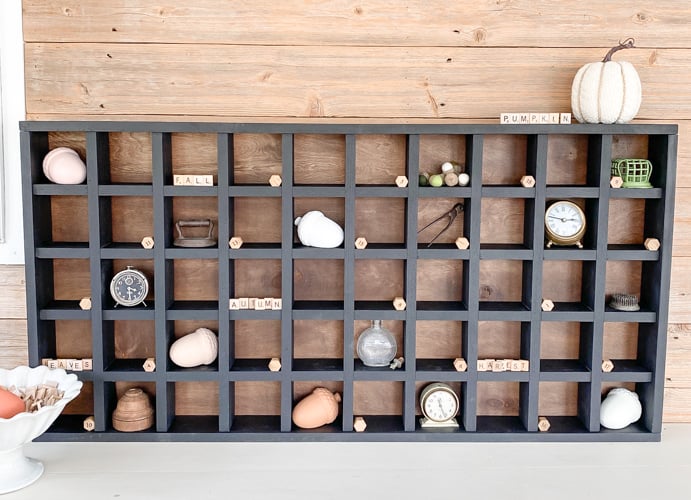
These pieces are so fun to decorate.
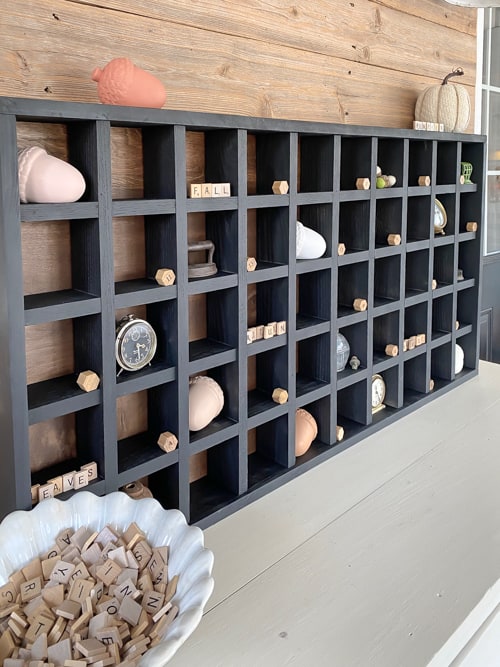
As soon as we got it done, I started picturing my vintage Santa mugs in each cubby.
Can you even imagine how amazing that would look?
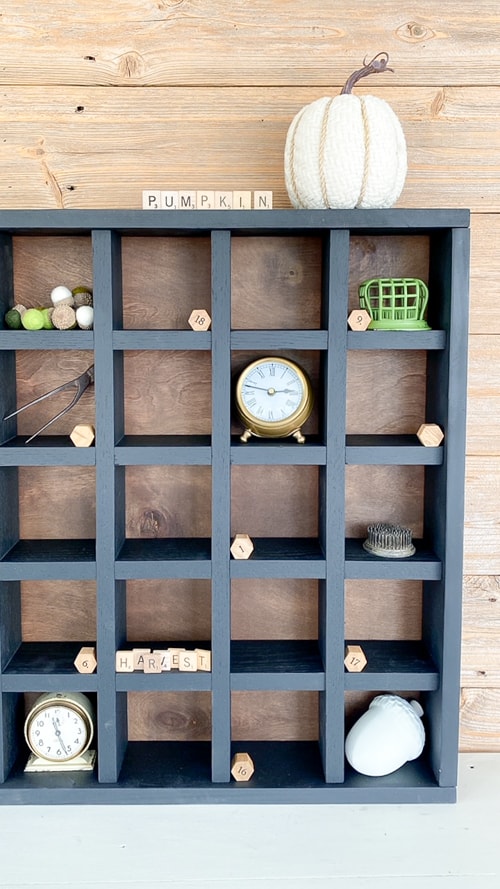
I honestly thought about trying to find the one box of Santa mugs to stage this piece but then I decided against it. I didn’t want to get every Christmas box out just to find that one box.
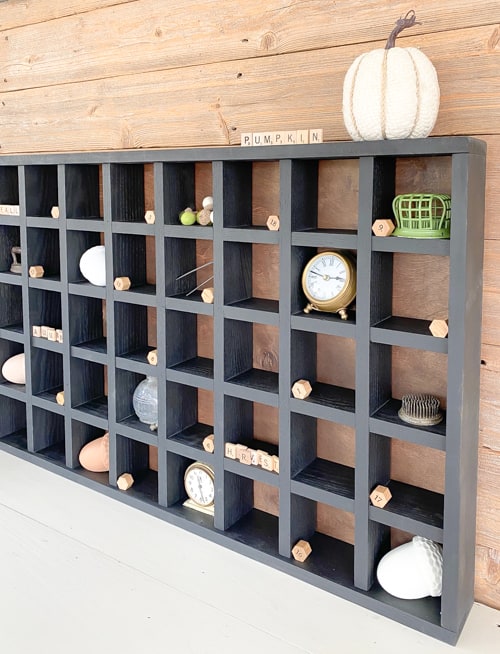
Where would you use a piece like this and what would you put in the cubbies?
I love sharing easy projects like this because I hope they inspire you to look at things differently when you are out and about. I hope they teach you how to get creative and learn how to get the look you want for a lot less. It doesn’t have to cost a lot of money to get the exact look you want. A cubby piece like this in a store would be crazy expensive.
If you would like to learn more ways to decorate your home on a dime, head HERE for my free resource!
Do You Want To Make Money Flipping Furniture?
After twenty years of doing this, I am still picking up pieces when I can find them because I love the creative outlet, but I am now coaching other furniture flippers on how to make more money in their business. If you are someone who is looking to start and/or grow a furniture flipping business, I would love to help you. There are ways to make money in your business beyond painting a piece of furniture. Once I learned that, my business flourished. Don’t waste your time trying to figure it out on your own.
To help other flippers, I created The Furniture Flipping Academy! The academy includes everything you need to start, grow, and/or scale a furniture flipping business. It includes courses, resources, templates, social media planner and guide, a private community, and so much more. It will ensure that you are doing the steps that will lead to success and not wasting your time on things that won’t.
You can find all the information about the Furniture Flipping Academy HERE.
Let’s get your business started and/or moving in the right direction. The Furniture Flipping Academy is for any flipper, from beginner to experienced. If your business is stagnant, there is a reason for that. Let me help you grow it into a flipping career that is profitable and fits the lifestyle you want to live.
PIN THIS POST!
If you liked this project, you will also love these repurposed projects:
How To Build A Bench From An Old Door
Upcycled Mantel Shelf Made From A Dresser Mirror
How To Make A Wood Letter Board For Free

