This DIY Dollar Store Ghost Garland is an easy and inexpensive project that will bring some spooky Halloween flair to your party or decor.
While our daughter, Gabrielle, and I were visiting some local shops, I spotted a ghost garland in a Halloween display. The garland was cute but I immediately got an idea. I knew I could create a garland very similar but I wanted to add my own spin to it. I also knew I could make it for a lot less money.
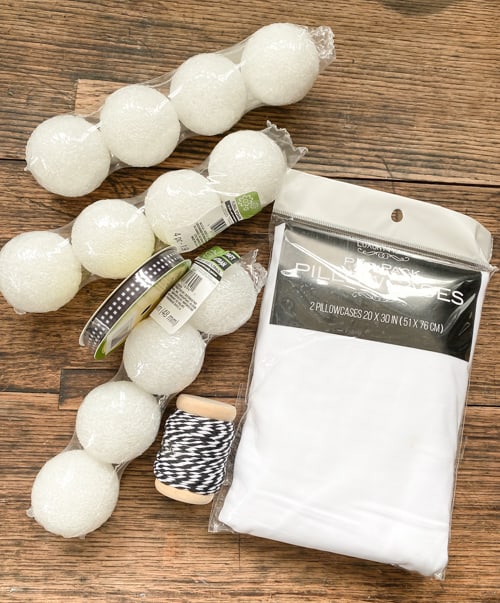
My local Dollar Tree had all the supplies I needed to create my garland.
This project could not be simpler and can be customized in so many ways.
{Affiliate links are used in this post. Click on any of the underlined links to find the products I am talking about. You can read my disclosure HERE.}
Supplies Used To Make The DIY Dollar Store Ghost Garland
(This is to make 8 ghosts)
White Fabric (I picked up a package of two standard pillowcases at Dollar Tree. I only used one for 8 ghosts.)
Scissors
Ribbon
Large Needle
Steps To Make This DIY Dollar Store Ghost Garland
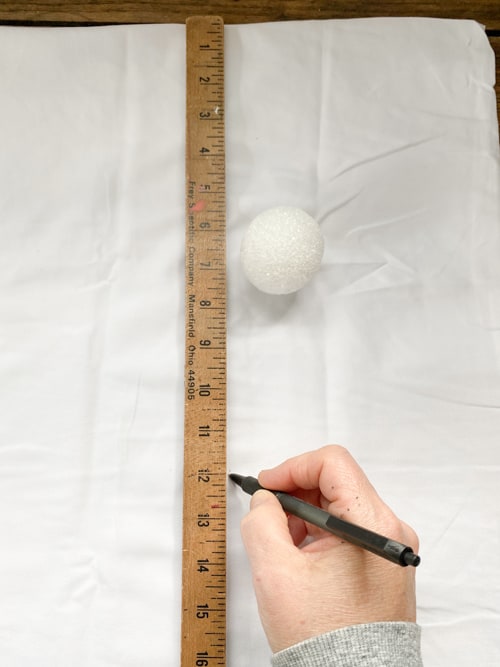
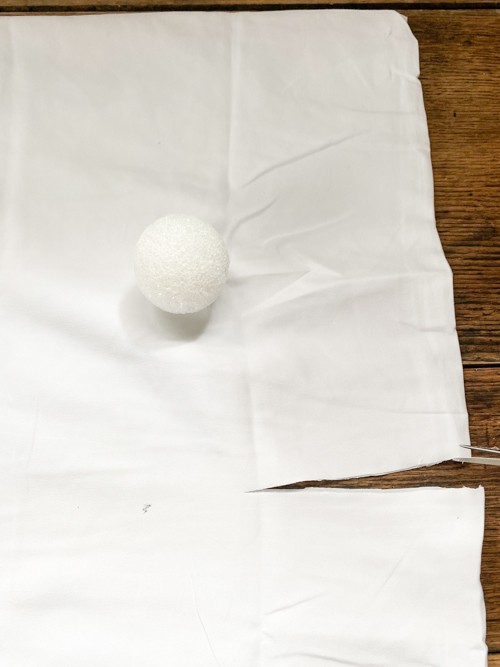
- Cut the pillowcase in half, width-wise.
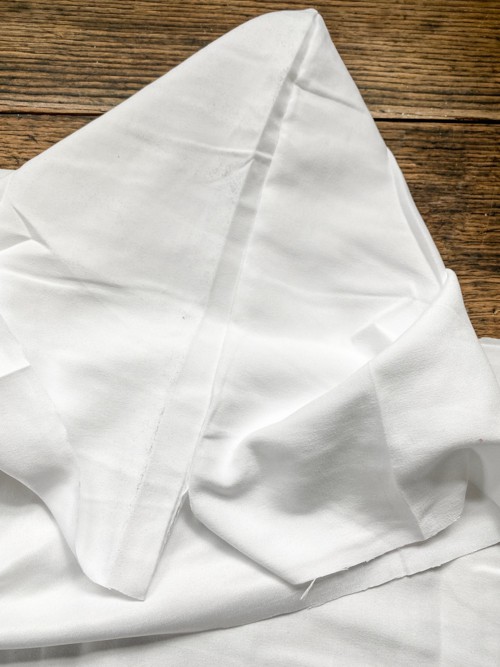
- Then, cut around the seams of the pillowcase so you can open it up and have one large layer of white fabric.
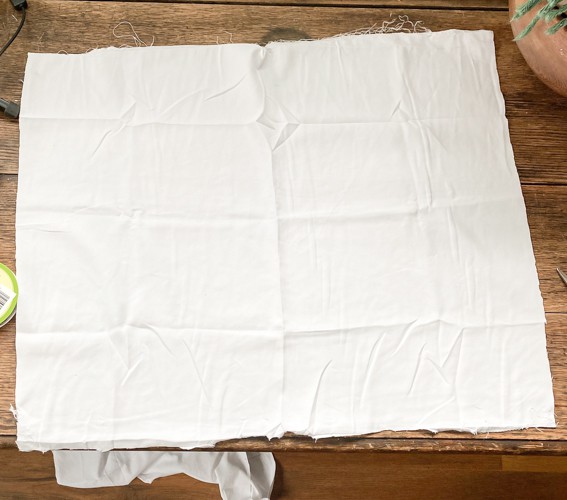
- Next, you will cut this piece in half and then those halves in half again. I made 8 ghosts so this was how I did it to only use one standard pillowcase for all 8 ghosts.
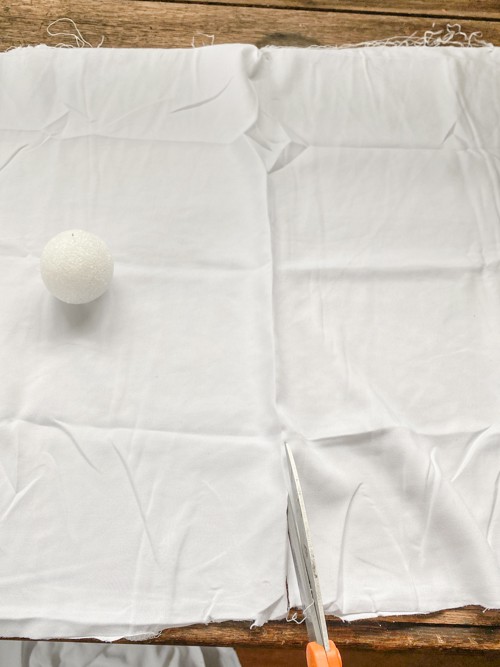
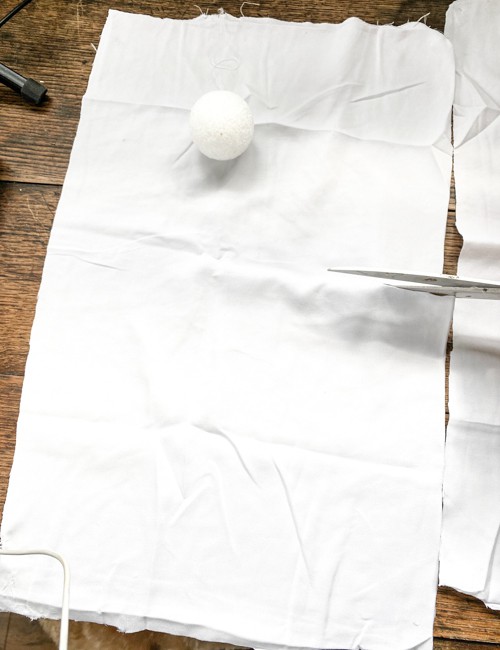
- Once you have all 8 pieces of fabric cut, it is time to start putting your ghosts together.
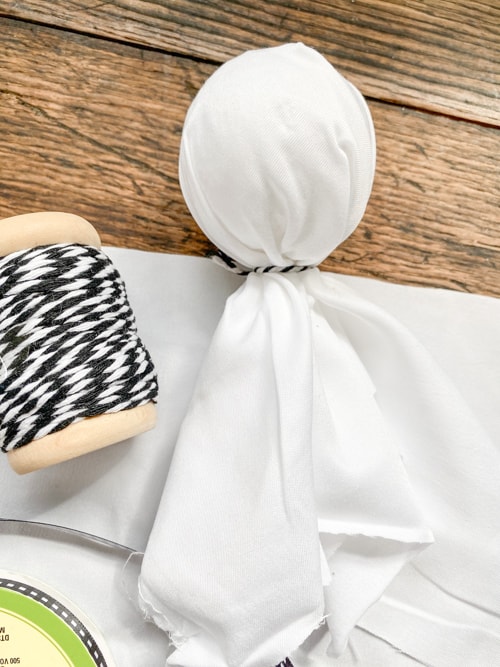
- Put a Styrofoam ball in the center of one of the pieces of cut fabric. Then, wrap the fabric around it as shown above. Tie a small piece of baker’s twine under the ball to secure it.
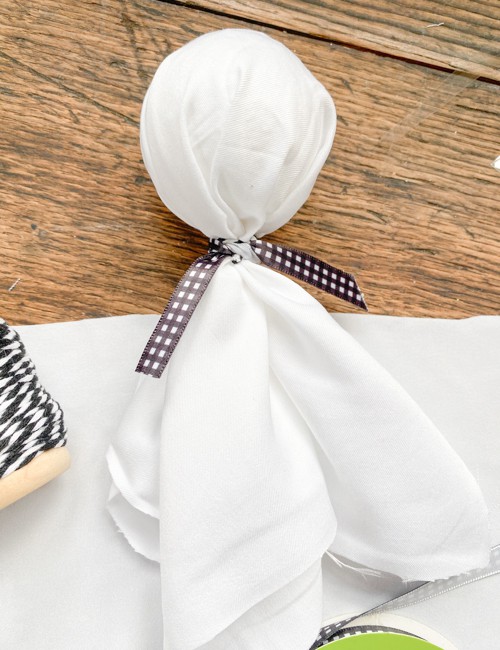
- Next, wrap a piece of ribbon around the baker’s twine you just tied. You could tie in a bow or leave as I did.
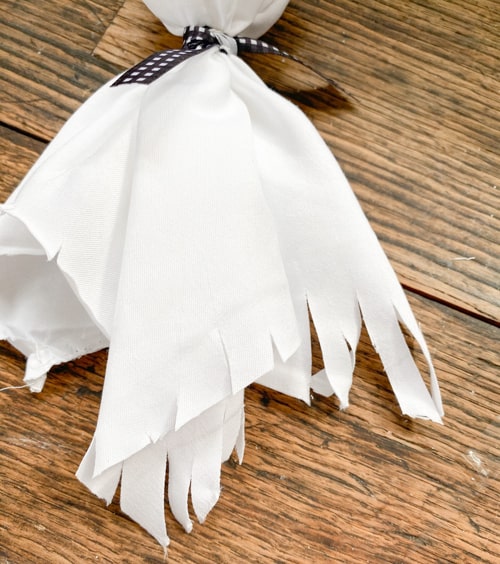
- Now, cut slits at the ends of the fabric in no particular pattern or measurement.
- Once all the slits are cut, go along and rip those slits up higher so it gives a rugged and rag-like look. (You can watch me do this process in my YouTube video linked below.)
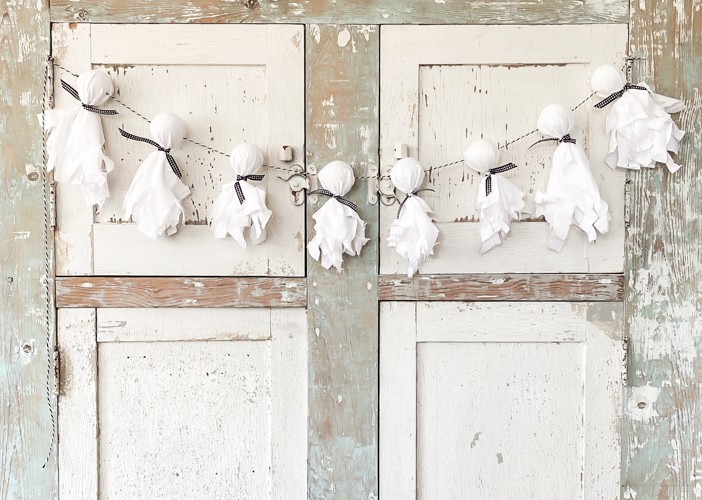
You can definitely leave the ends of your ghosts as they are when you put them together, but I really liked the ripped look at the end of mine.
- Once you have all 8 ghosts made, it is time to create the garland.
- I cut a long piece of the same baker’s twine I used to tie the ghosts. Then, I tied a knot in one end so the ghosts wouldn’t fall off and I threaded the other end through a large needle.
- Then, I poked the needle through the sides of the Styrofoam balls. Once I had all 8 ghosts on the twine, I tied a knot on the other end and cut the excess twine. (Again, you can see this entire process live while I do this project in my YouTube video linked below).
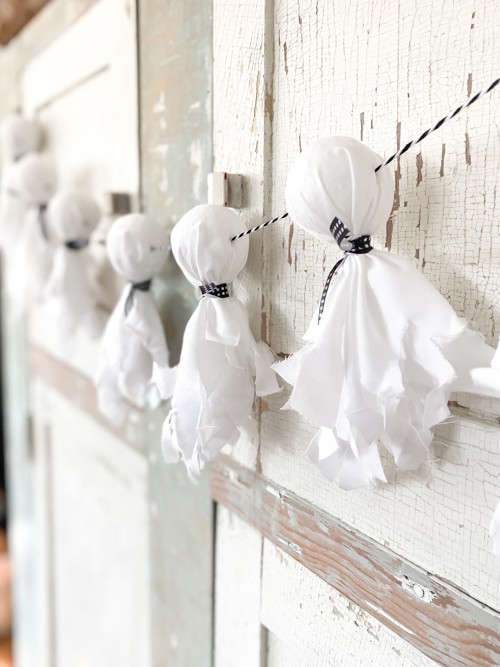
I think this garland is so sweet.
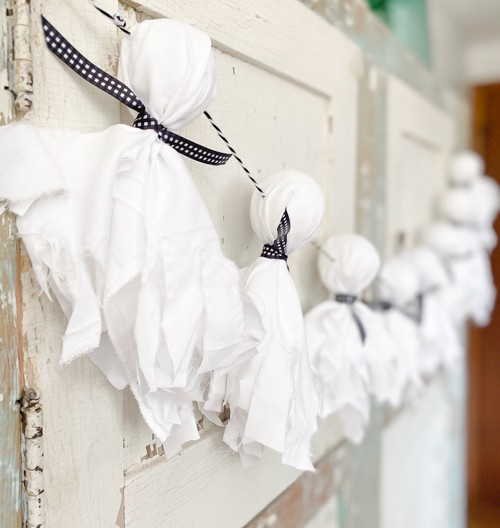
I love the ripped ends. It really added some personality and my own spin to it.
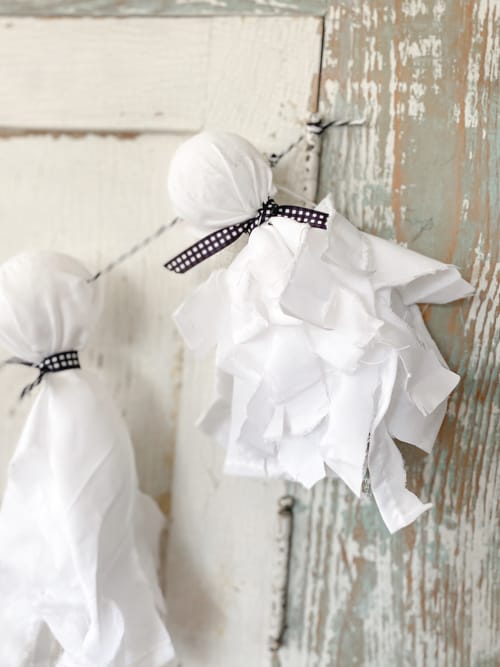
This is definitely a project the kids can help you with. It would be the perfect garland for a party or just for Halloween decorating.
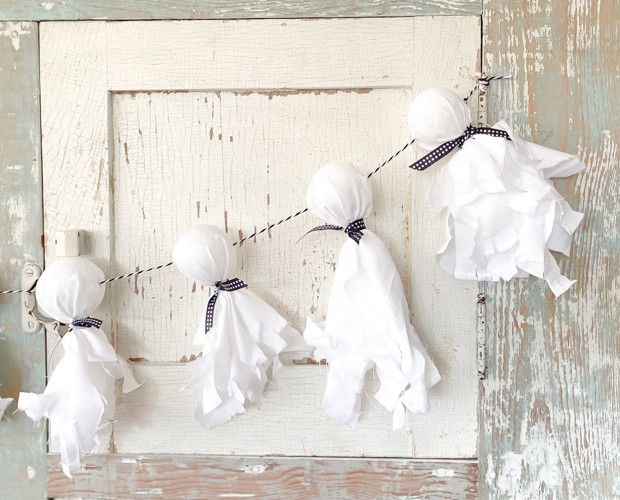
You can’t beat a dollar store craft. I knew I could create something similar to the garland I saw in that shop for a fraction of the cost.
Is this a project you would try?
To watch how I put the ghosts together, head to my video on YouTube HERE. Make sure to SUBSCRIBE when you are there. I am uploading new videos every week!
PIN THIS POST!
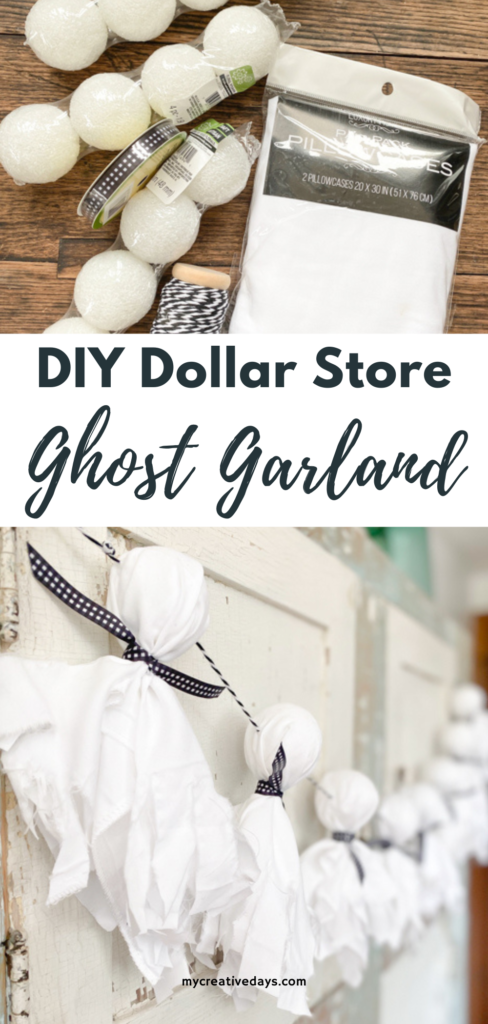
If you liked this project, you will also love these projects:
DIY Halloween Decorations: Wood Jack-O’-Lanterns


I LOVE this project. I’m going to make for our stage in our clubhouse. Dollar store materials are the Best!
It is the best when you can create something with inexpensive supplies!