This Dresser Makeover was part of a blog hop when I used to do monthly makeovers based on a theme. The theme for this particular month was storage.
Storage is a huge topic all the time around our house. We lack it and I am constantly trying to come up with creative ways to add it in different rooms in our home. One thing we all need in our bedrooms is a dresser. Our closets are tiny so any additional storage for clothes is needed.
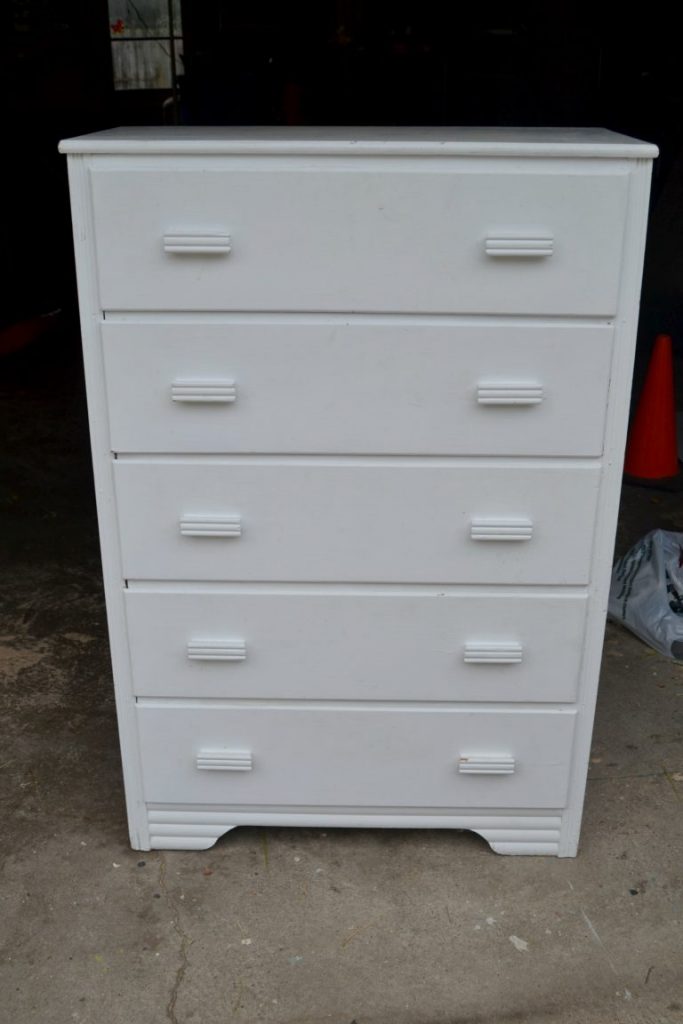
I picked of this white dresser at a yard sale in late September.
It is basic, but still had a lot of potential.
The knobs were the first thing to go.
When I was inspecting them at the yard sale, I saw they had screws so I knew they would be simple to replace.
NOT!
After I unscrewed them, I tried to pull them off.
They would not come off!
I had to call in reinforcement.
Matt.
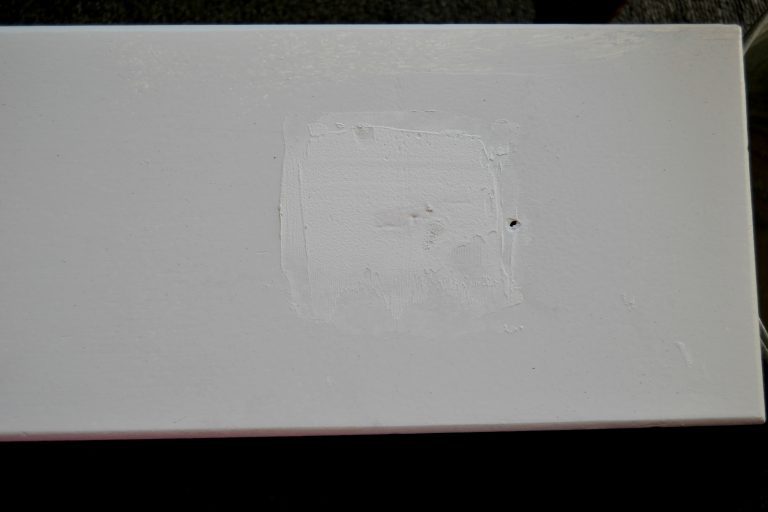
He used different tools to get them all off. It was like the knobs were part of the wood on the drawer fronts. They had been painted so many times that they were stuck on there really well. Of course, having to pry these suckers off left a few gouges that we had to patch.
Why is it that the projects you think are going to be the easiest to make over are the ones that give you the hardest time? Does that happen to you?
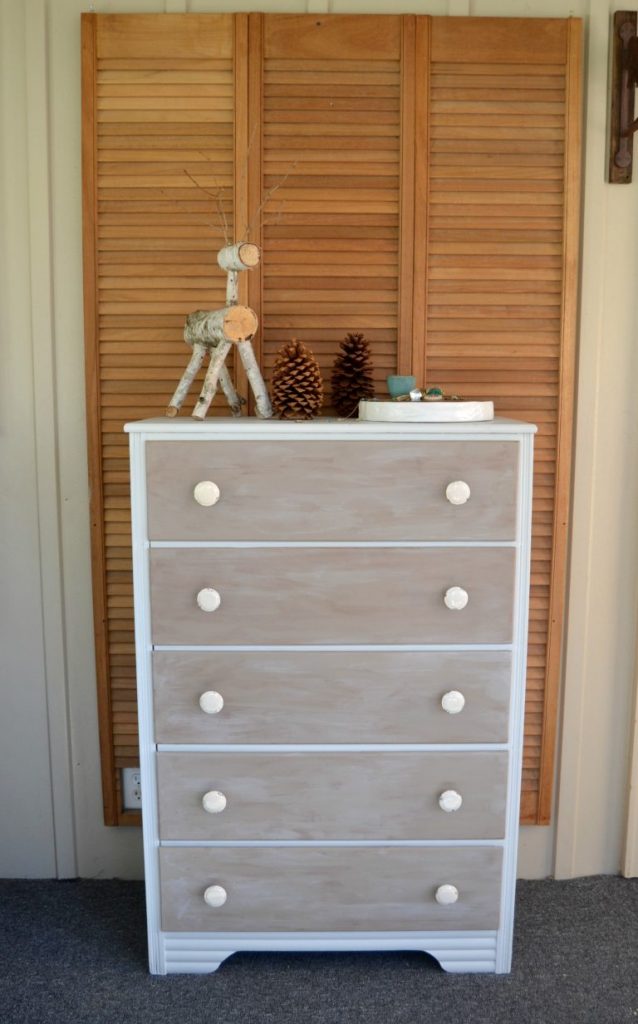
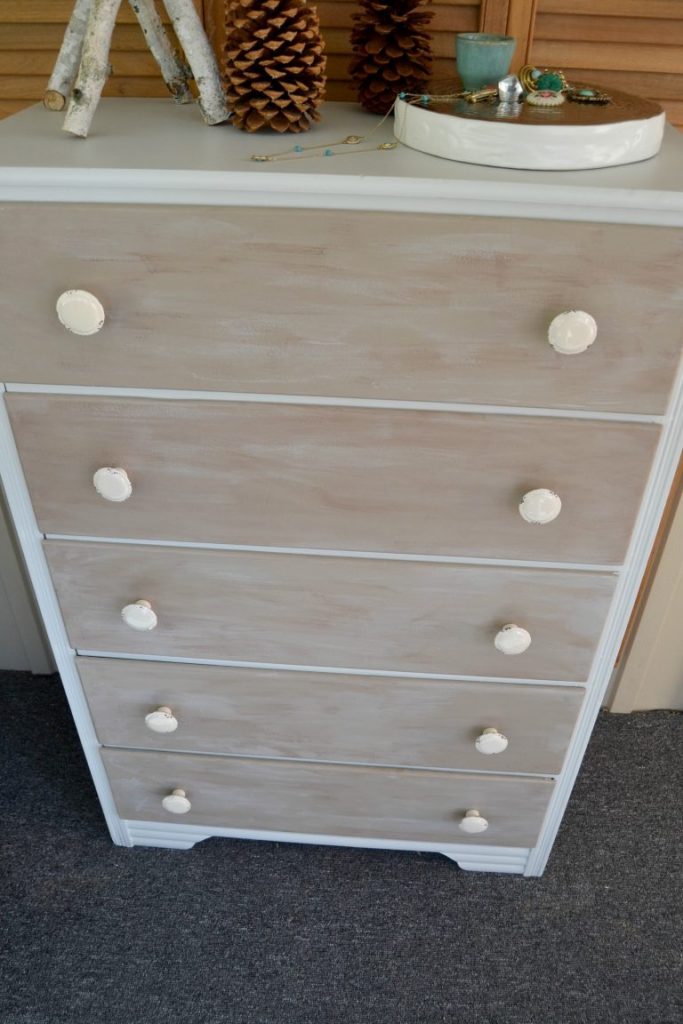
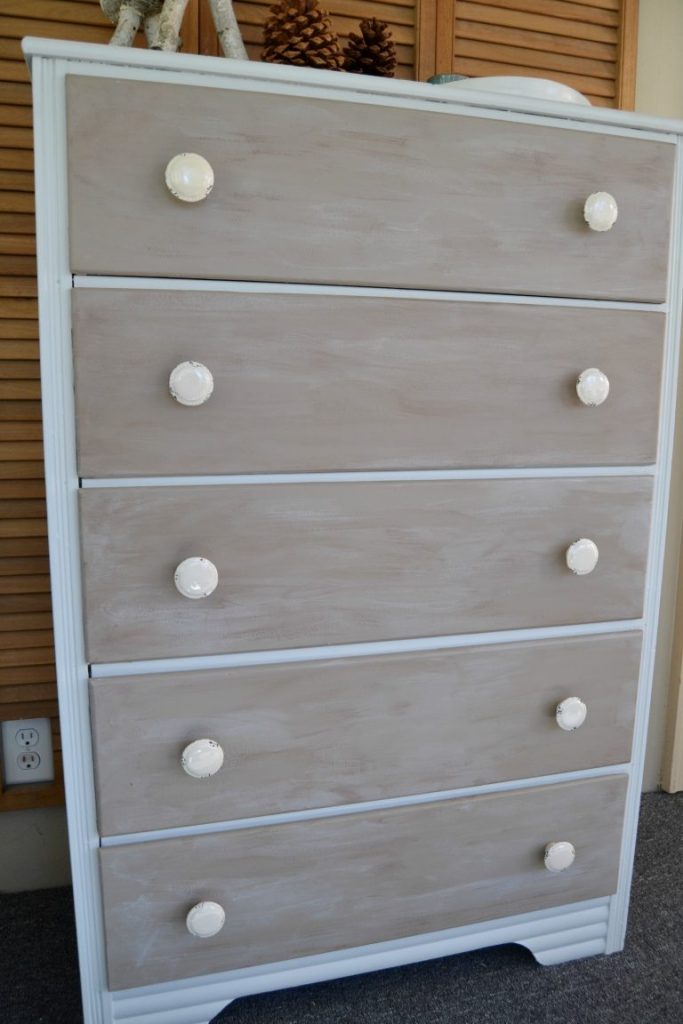
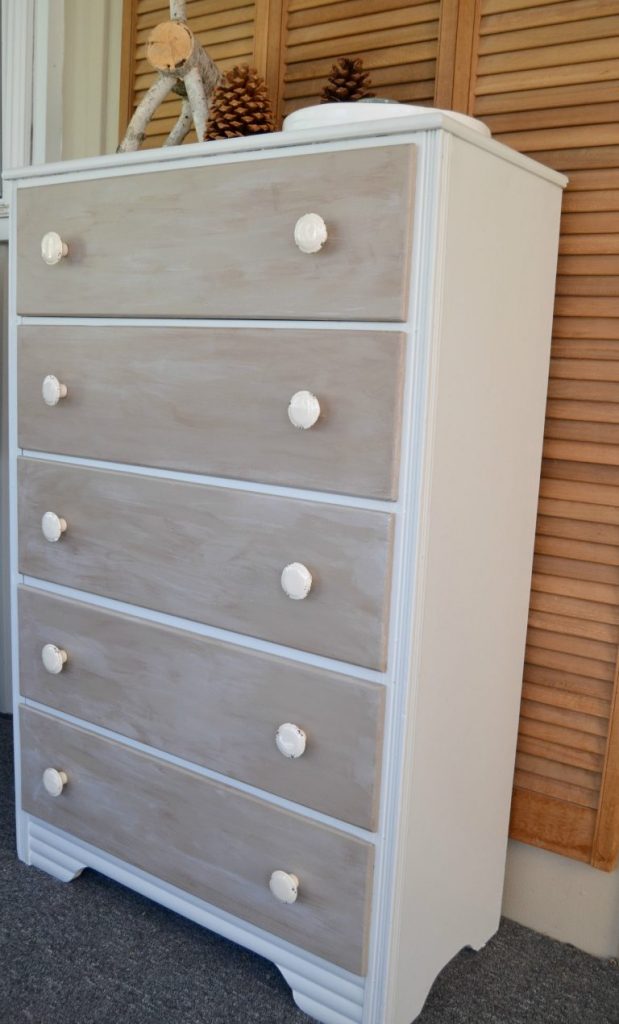
Well, good news…… the dresser came out super cute and I tried a paint technique I have had pictured in my head for some time.
(When I started working on this dresser, it was very cold here in Iowa so I had to work on it in the basement. I didn’t take pictures of the process in our dark basement, but I am going to explain my way through it. 🙂 )
I am inspired by so many things in so many places. When I see different things, it always sparks up new project ideas. One thing I have been pondering for a while now is achieving a weathered look with different colored paints. This dresser was my guinea pig. I had nothing to lose. If it didn’t work out, I could just paint over it.
To start, I painted the outer shell of this dresser in a light gray color. Then, I painted the drawer fronts the same color (as a primer).
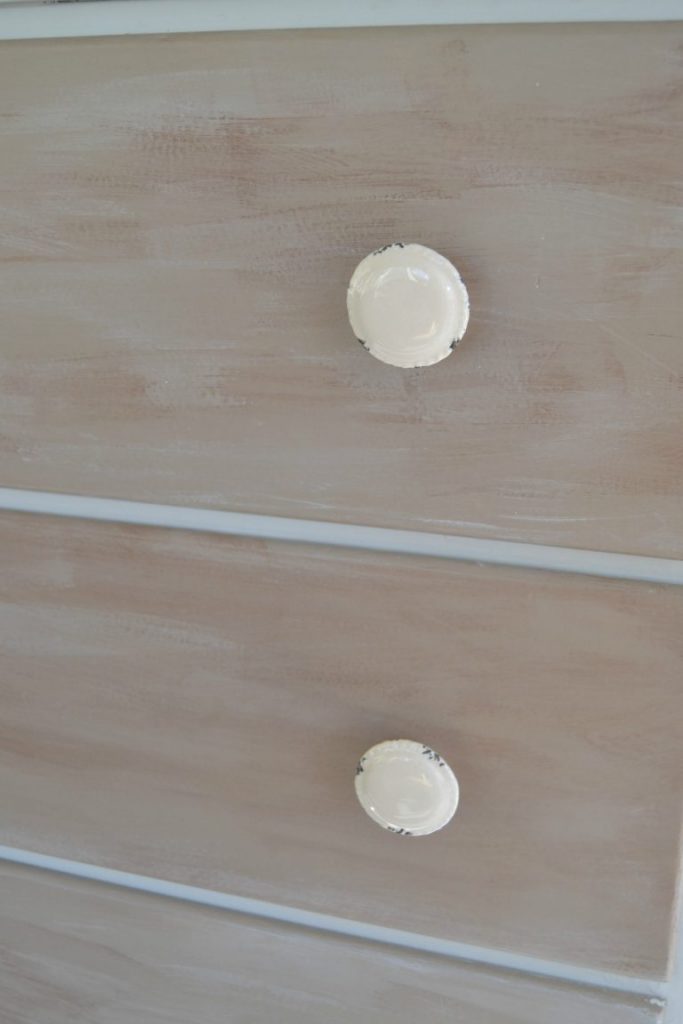
After that dried, I grabbed paint samples I had picked up in the mis-matched section at Menards. I used a taupe color, a dark brown and a light gray. The technique was a lot easier than I thought. I started out with tons of hesitation, but by the last drawer, I was flying through it.
I painted all the drawers the taupe color. Then, working on one drawer at a time, I brushed the light gray paint on all over the drawer (horizontally, across the drawer). While it was still wet, I took a dry rag and rubbed it in.
After that, I did the same thing with the dark brown paint. I brushed it on and then rubbed it in and off. It was fun to watch the effect happen. If I didn’t like the way it was looking, I would use a wet rag to rub it off and then do the process over in that area. To be honest, once you get going with it, it really goes fast. I will definitely do this again on another piece.
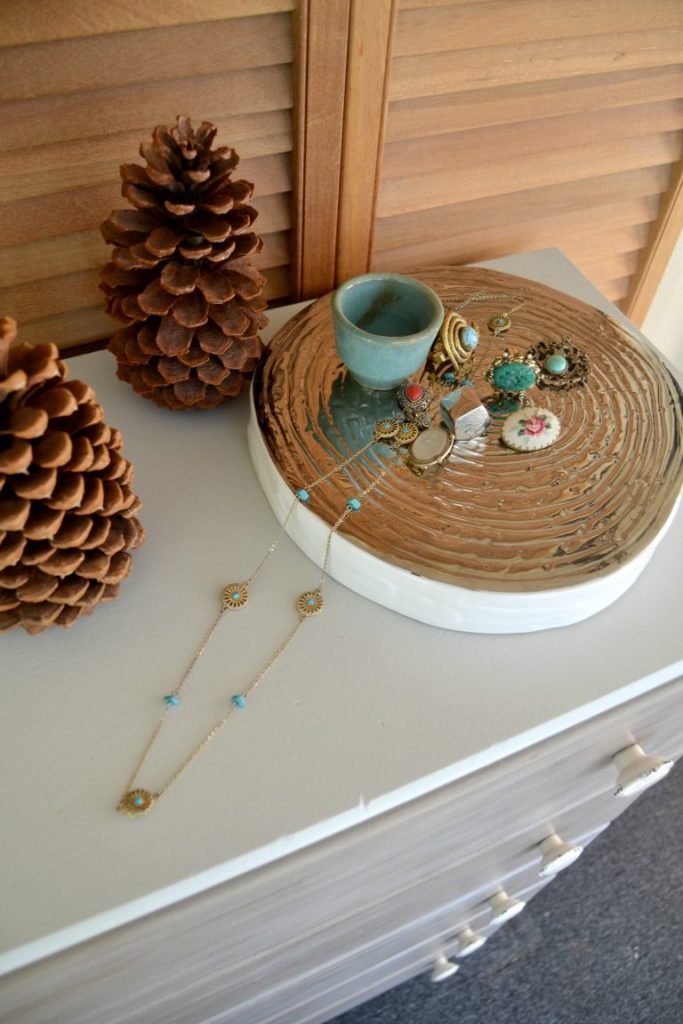
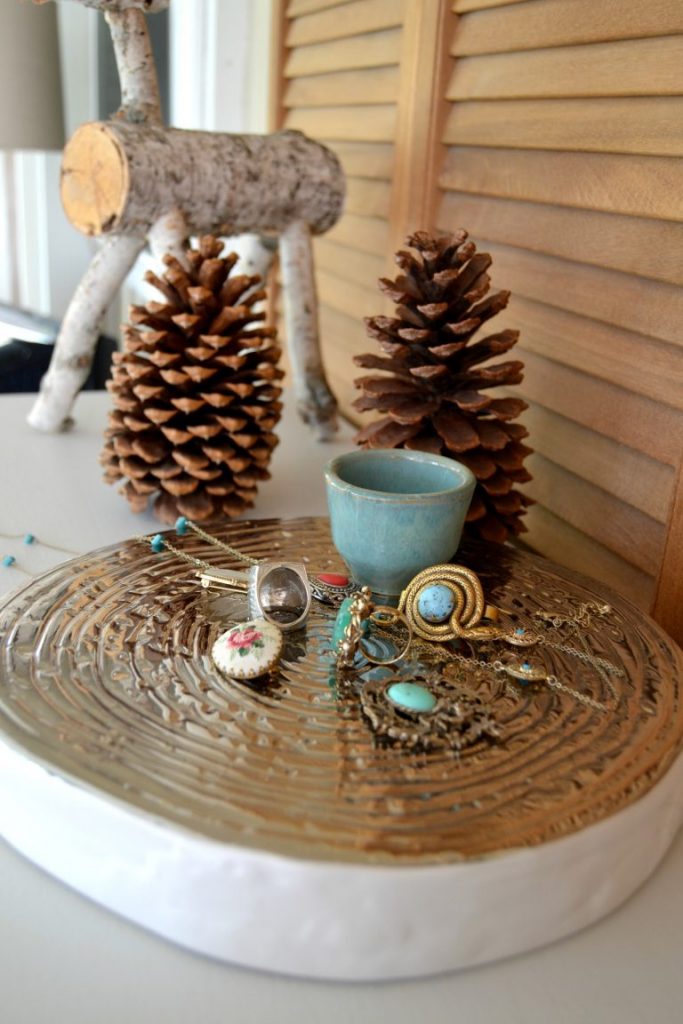
It is so much fun staging these pieces. It is one of my favorite parts about this job.
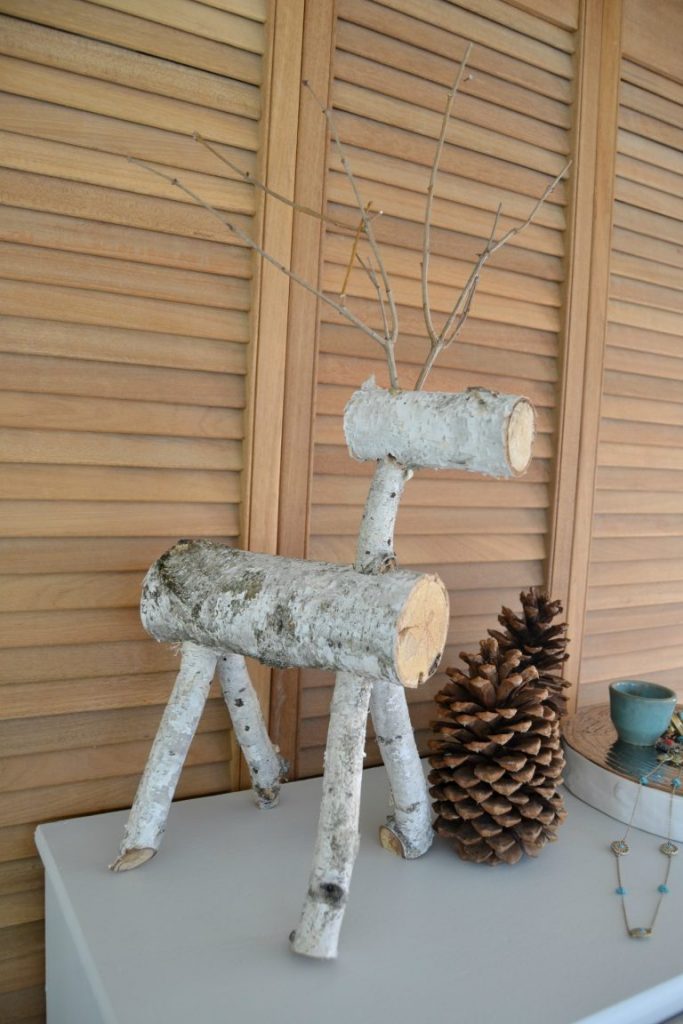
The birch reindeer was one of our Christmas projects from last year. He is still a favorite of mine.
Hunting for different things to use in photos is half the fun of staging.
Oh no. I am already missing yard sales….. 🙁
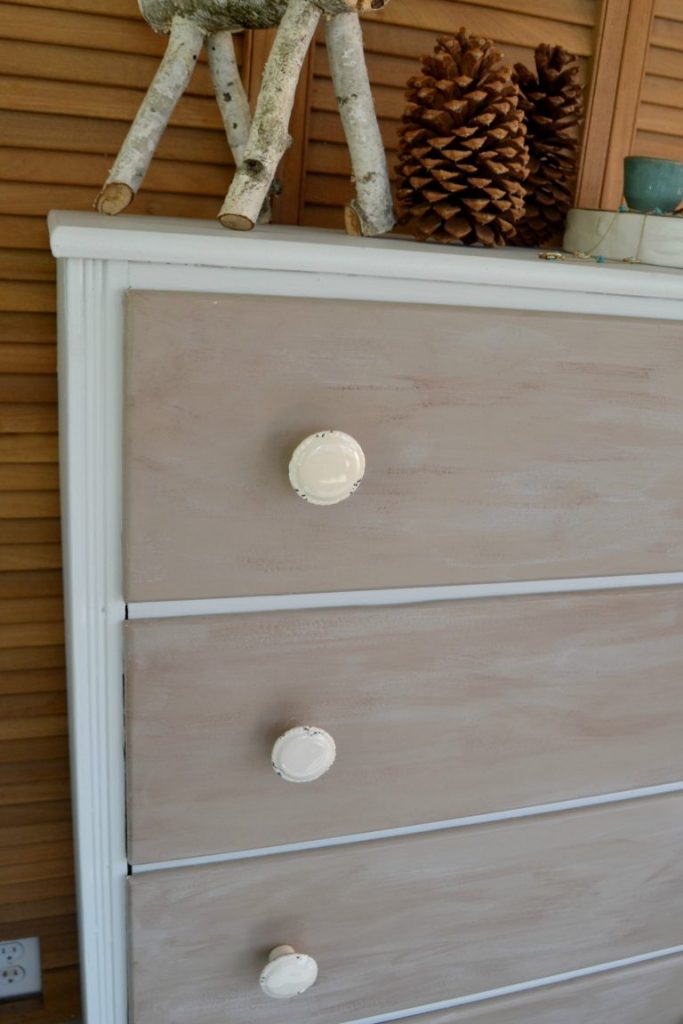
To finish this piece, I could not resist the hardware at Rustic Brands. They sent me the Distressed Cream Round knobs for this dresser.
Hello, gorgeous!
They were the perfect fit. I truly believe that the hardware can make or break a piece. I would much rather browse through this kind of “bling” than the other more expensive stuff. 🙂
{Affiliate links are used in this post. You can read my disclosure HERE.}
If you are looking for vintage reproduction hardware, you need to check out Rustic Brands. They developed their hardware line with a “focus on the furniture painting market and the need to have something unique to complete your special projects.”
I am so excited I tried this Faux Weathered technique. It was easy and now that I have it under my belt, I will try it again. This dresser makeover added five drawers of storage. Much needed if you live in a house like ours.
If you don’t have a dresser makeover right now, I found some great options online:
PIN THIS POST!
If you liked this dresser makeover, you will also love these makeovers:
Large Square Coffee Table Makeover
How To Paint Furniture Without Sanding
DIY Painted Buffet Makeover – Making It Pretty Again!



Love the look Lindsay! It’s so rustic and perfect for this time of year. Pinning!
Thank you Larissa!
Super project! You did great with the weathered finish. Love the chippy knobs too:)
Thank you Wendi!!!
Beautiful! I really love the weathered finish on the drawer fronts!
Thank you Amy!
This turned out fantastic, Lindsay! I love when a new idea works out! XO
Me too Christy! Thanks!
What a difference Lindsay – I love the weathered finish and must remember the technique you used. Those knobs are awesome! I’ve got to know where you got that sweet blinged wood slice?
Thank you Marie! I got the wood slice at a yard sale this summer, but it was from Target!!! I love it!
What a pretty and rustic finish! The chippy knobs are a nice touch and I’m not familiar with Rustic Brands so I’ll be checking them out.
Thank you Amy! Rustic Brands is amazing!
Lindsay, I have seen this technique before and done with elaborate steps that didn’t get as great results as yours. I’m planning to try this because the weathered look is perfect for our place. Love the deer too!
Thanks Jeanette!
Oh my gosh, Lindsay, I’m so inspired I don’t know where to start! First, I LOVE the weathered finish, and I think I have just the piece to try that on. And those KNOBS?? I can’t wait to check out Rustic Brands. I’m in love and I don’t care who knows it! 😉 Ok, I’ll stop now…
THANK YOU SO MUCH KIMM! You just made my day. You will fall in love with Rustic Brands. I want to try each and every one of their knobs.
I really love the look of those drawers. I have a couple of dressers I’ll be painting this winter and I’ve just pinned this to my board for ideas.
It was super easy! Thank you!!!
Love that weathered look and the knobs are perfect! Hopefully much easier to deal with than the old ones 🙂
Thanks Bre!
I love the weathered finish on this, Lindsay! And yes- I totally understand how the “easy” projects often turn out to be difficult. Excellent job!
Thank you Jen!
The weathered finish technique is perfect for the drawer fronts. After reading your explanation of how to do it, I’m wanting to try that technique. Great project!
It was really easy Paula! I need to do it again and blog about the entire process. Maybe my first Periscope?? EEEEK! 🙂
Such a great makeover. Your paint treatment looks great!
Thank you Suzy!
Your dresser looks great with the finish you chose and those knobs… are perfect with it and have me drooling! lol
Thanks Lucy!
Your dresser turned out great! And oh my that log deer is adorable.
Thank you for sharing at the Create – Share – Inspire link party. Please come back soon!
Emily
Thank you Emily!!!
Thanks for sharing!
Thanks for sharing! Table sale