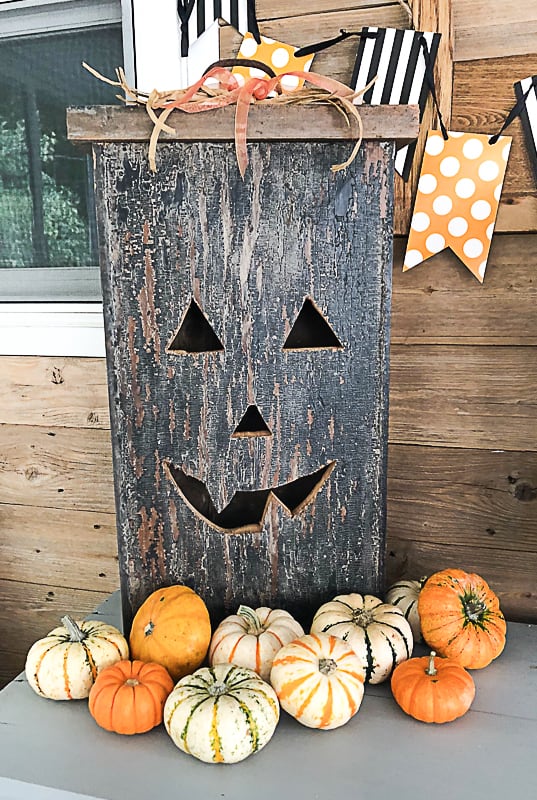
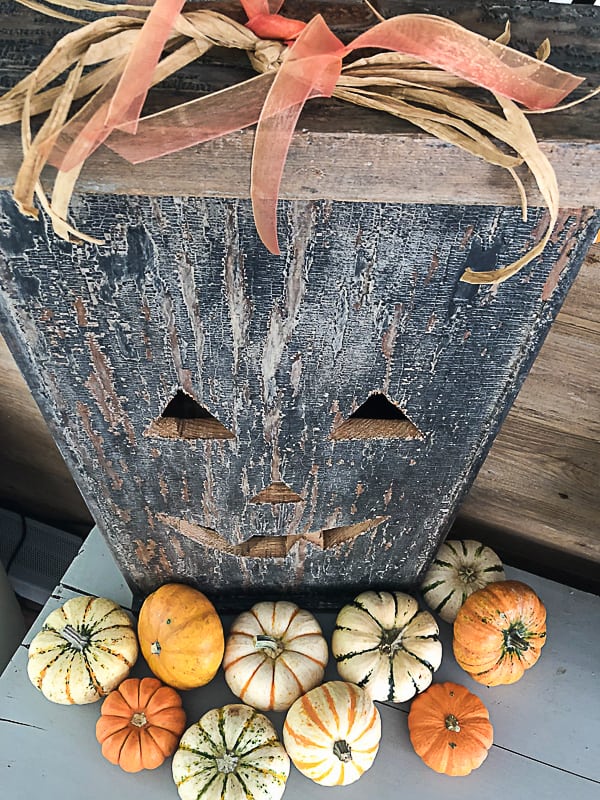
We have made these DIY Halloween Decorations before and I shared them on the blog way back when I first started it, but I never showed step by step instructions. I had no idea how to do this blog thing when I started so now that I understand it a little better, 😉 I thought this would be a fun project to share the right way.
We don’t do a ton of Halloween decorating now that the kids are older. We do however, host Halloween every year at our house for family so it is fun to put a few things up here and there.
These wood jack-o-lanterns are one of my favorite projects we have done. They can be customized to any size, shape and color. We have made them in so many ways and they turn out cute every time.
When we were planning on sharing this project, I thought it would be fun to use new wood and stain the wood jack-o-lanterns, but then, Matt had an idea and I am so happy he did.
{Affiliate links are used in this post. You can read my disclosure HERE.}
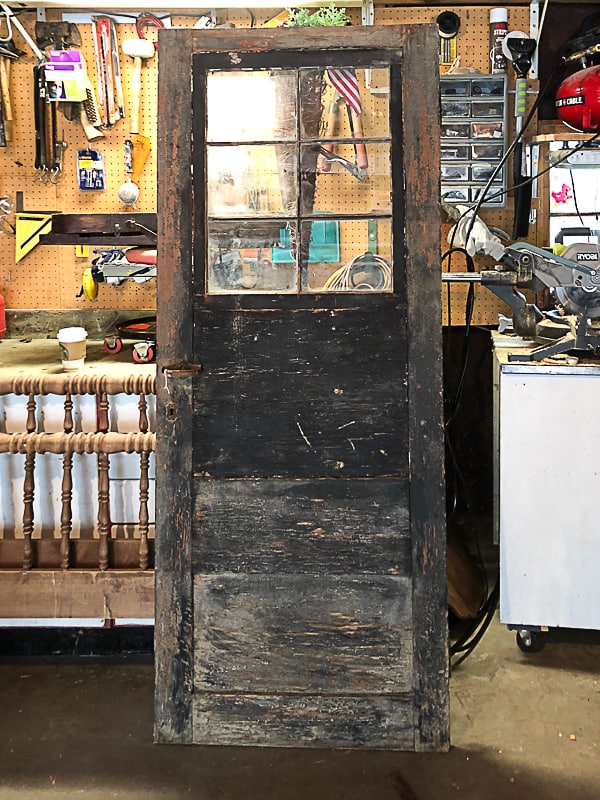
We recently had a yard sale at our house. We sold so much, but there were a few things left. One of those things was this old door. It had the best patina and so many great features that while Matt was putting things away, he thought we could make our jack-o-lanterns out of the door. After we looked it over and talked about it, we both knew it would be a great idea.
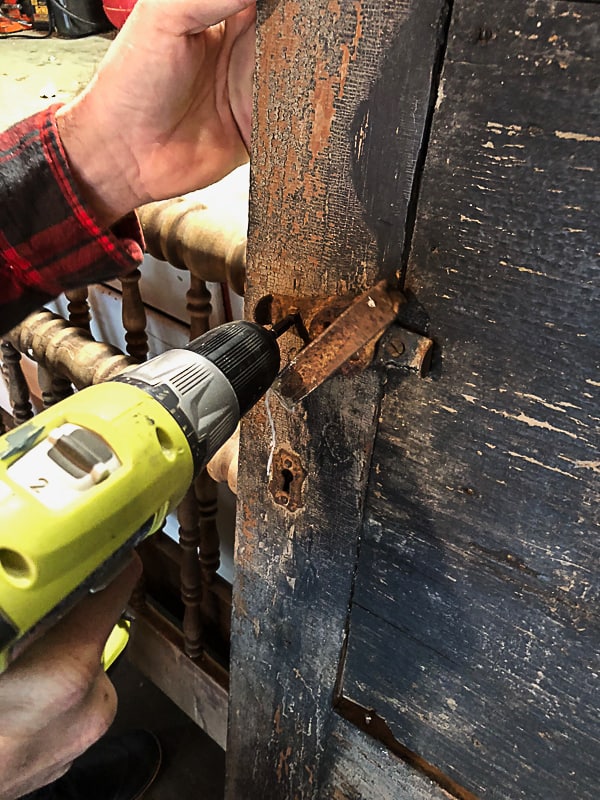
The first thing we did was remove all the beautiful hardware off the door. I wanted to use the handle for the stem of the jack-o-lantern and the other hardware pieces will go in our “stash” and used on other projects.
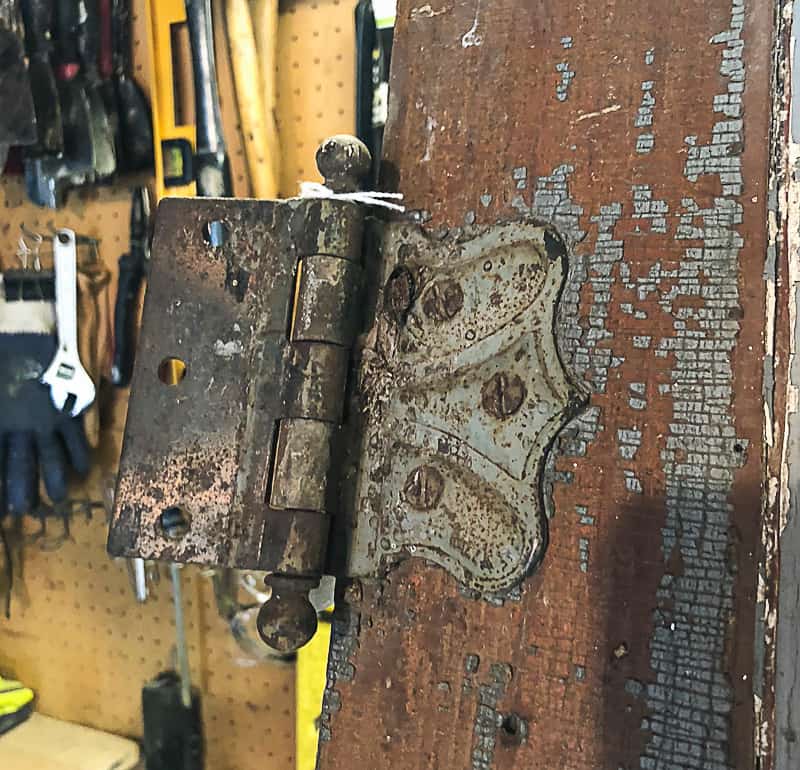
The green hinges are beautiful! The have the best patina and I know we will be able to repurpose them on another project.
Supplies Used To Make These DIY Halloween Decorations:
Chalk
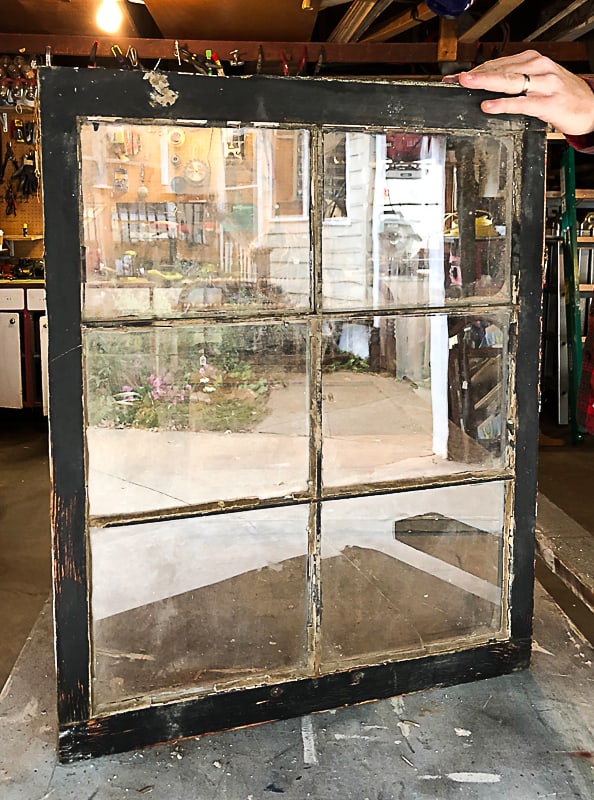
The window in the door was its own piece. We were able to cut it out so we can use it for something else. This one door had so many things going for it that we will be able to repurpose it into so many projects.
We used the wood from the bottom of the door for the jack-o-lantern. The chippy black paint is perfect for Halloween and the pieces were the perfect size.
We did the project live on Facebook. Here is the video so you can see how these DIY Halloween decorations come together:
As you can see from the video, once you have the wood cut, it is very easy to put the jack-o-lantern together. You can customize these guys any way you like: paint them, stain them (if you use new wood), make different faces, different sizes, etc. The possibilities are endless. We have loved every one we have made. This one was a little bigger than the previous ones we have made so we may add an additional Light Kit to the top so he lights up even more.
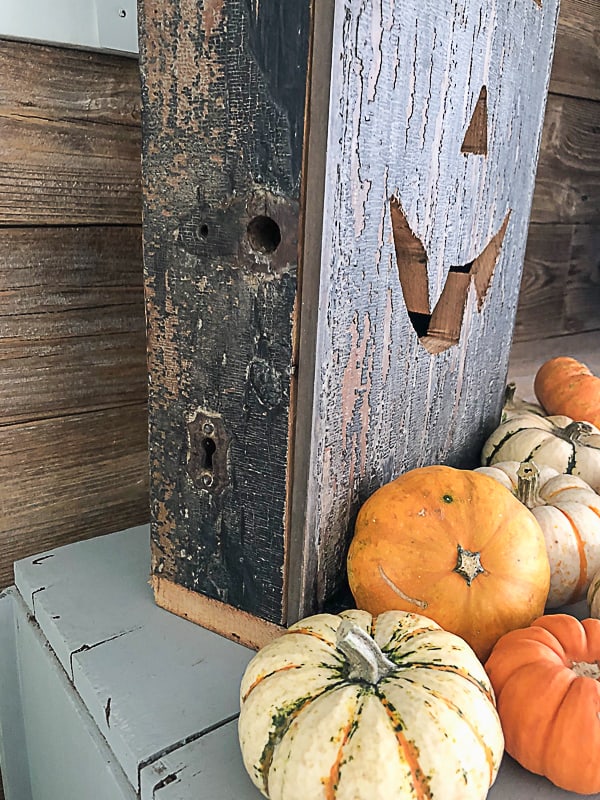
I love that we were able to use the piece of the door that had the key hole in it on the side. It adds character and charm to this little guy.
I hope these easy DIY projects encourage you to get out there and try some of them at home. We have learned so much through our little projects and we absolutely love sharing them here with you all. I would love to see your jack-o-lanterns if you make them! Send me a photo of them!!
PIN THIS POST!
If you liked this DIY Halloween decorations post, you will also love these Halloween ideas:
Fall Decorating: Witch Hat Wreath
Halloween Banner: Easy DIY Mummy Banner
Halloween Party Plan: Mini-Trifles & Monster Goo


