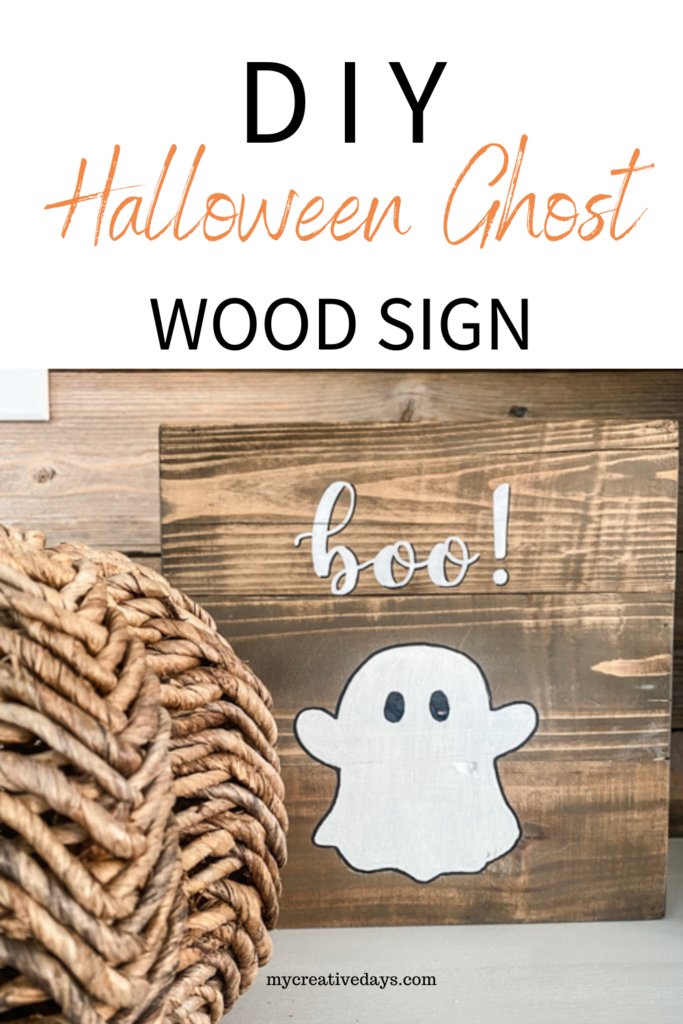
Looking for a simple, budget-friendly way to decorate your home for Halloween? This DIY Halloween ghost sign is the perfect project! Whether you’re a seasoned DIYer or a crafting beginner, this ghost sign is easy to make and adds a spooky yet cute touch to your Halloween decor. Best of all, you can customize it to suit your style and space. Follow this step-by-step guide to create your very own DIY Halloween ghost sign in no time!
{Affiliate links are used in this post. Click on any underlined links to find the products and sources I am referring to. You can read my disclosure HERE.}
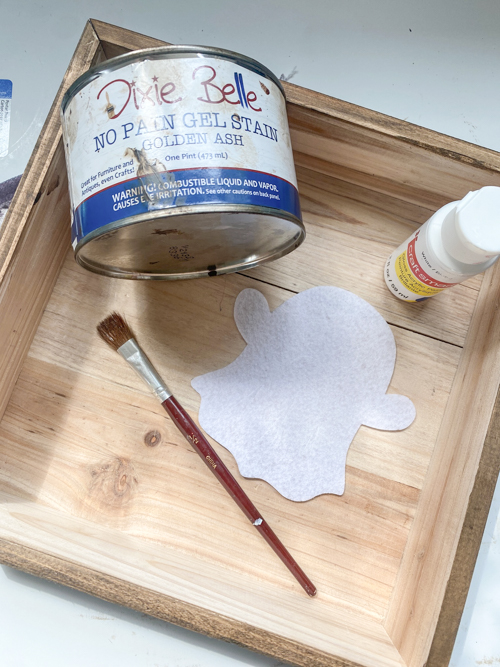
Materials You’ll Need:
- Wooden Sign
- White Paint
- Gel Stain
- Stain Applicator
- Black paint or a black Sharpie marker
- Paintbrush
- Sandpaper (optional, for a distressed look)
- Pencil for sketching
- Ghost stencil
- White and black Paint Pens
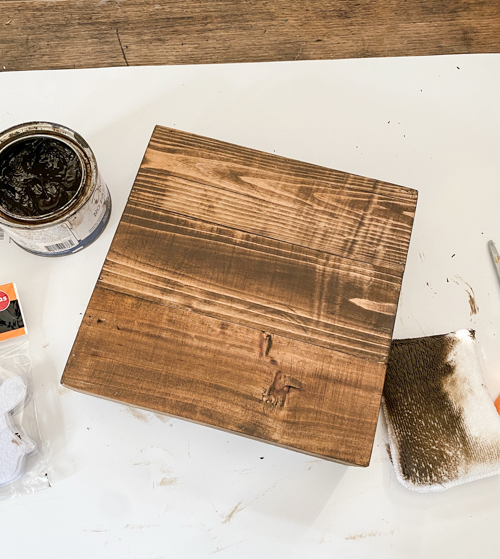
Step 1: Prep Your Wooden Sign
Start by prepping your wooden board. If you’re using an old piece of wood, make sure to sand it down to create a smooth surface. If you want a more rustic or distressed look, leave the wood as-is or give it a light sanding. Wipe away any dust and debris before you start staining.
Step 2: Stain the Background
Cover the entire surface of the board with stain. You could also paint it. This will be the background for your DIY Halloween ghost sign. Allow the stain to dry completely before moving on to the next step.

Step 3: Sketch Your Ghost Design
Once the stain is dry, it’s time to sketch the outline of your ghost. I used a felt ghost from a package of 12 I picked up at Dollar Tree for my stencil. You could print one off or free-hand it as well. Use a pencil to lightly trace it. Don’t worry if it isn’t perfect; part of the charm of a DIY Halloween ghost sign is its handmade feel!
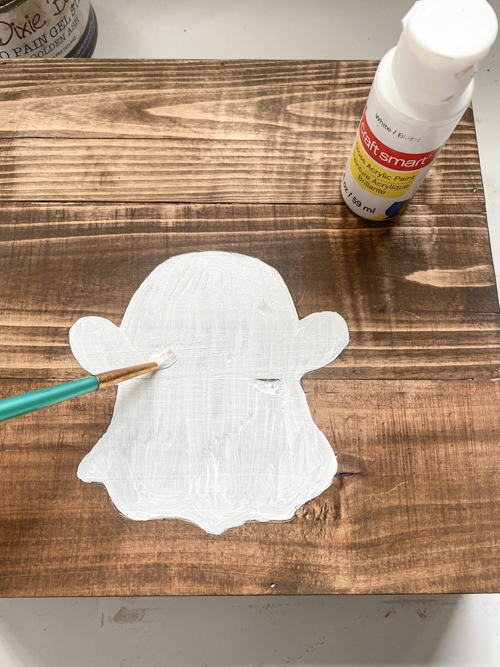
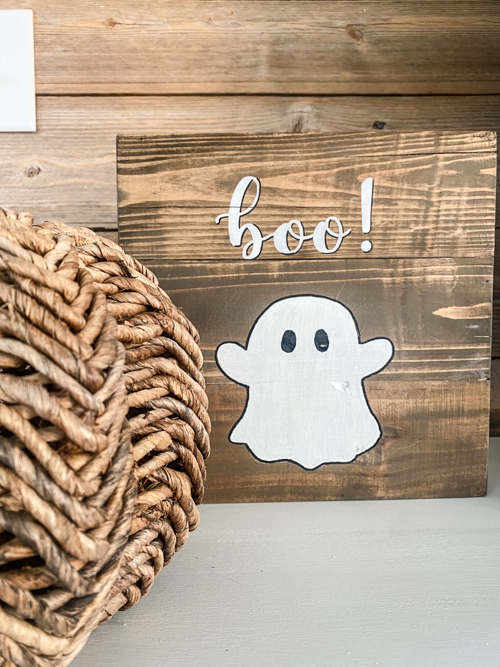
Step 4: Paint the Ghost Details
Using white craft paint, fill in your ghost.
Step 5: Add Details
Now it’s time to bring your ghost to life! Add eyes and words to your sign. You can add whatever you like. I kept it simple. Use paint pens to add details. Our daughter, Gabrielle helped me with the words.
Step 6: Optional Distressed Look
If you prefer a vintage or rustic aesthetic, take your sandpaper and gently distress the ghost and the words. This gives the sign a worn look, perfect for a farmhouse or shabby chic Halloween theme.
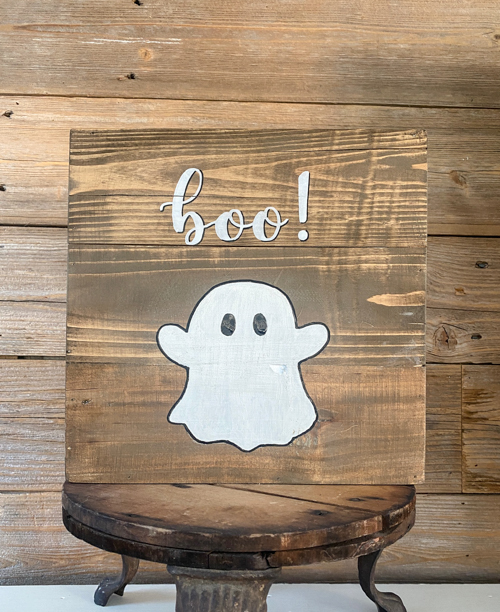
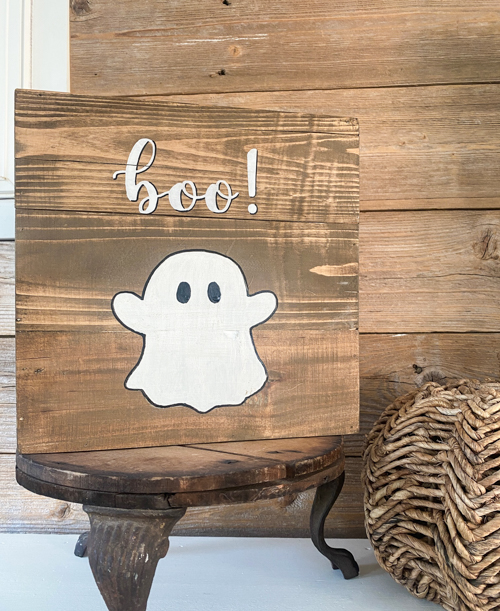
Step 6: Display Your DIY Halloween Ghost Sign
Your DIY Halloween ghost sign is ready to display! It’s an easy way to add some fun, festive charm to your Halloween decorations without spending a lot of money.
You can watch the sign being made in real time in my YouTube video HERE. Make sure to SUBSCRIBE when you are there. I am launching new videos every week and I don’t want you to miss any of them!
Tips for Customizing Your DIY Halloween Ghost Sign
- Try different colors: While white and black are traditional for ghosts, you can experiment with colors like gray, purple, or orange to give your sign a unique twist.
- Add extra elements: Consider adding bats, stars, or other Halloween symbols around the ghost to make the sign more detailed and fun.
- Use stencils for text: Stencils can help you create neat, professional-looking letters for phrases like “Spooky” or “Boo” on your sign.
- Change the size: If you want a larger statement piece, use a bigger wooden board. For something smaller, like a tabletop sign, opt for a more compact board.
Why Make a DIY Halloween Ghost Sign?
Creating your own DIY Halloween ghost sign is not only easy and fun, but it’s also a great way to get creative with your seasonal decor. Instead of buying expensive pre-made signs from the store, you can make one that perfectly fits your style. Plus, DIY projects like this are a great way to spend time with family, and kids can even help paint or add their personal touches!
This DIY Halloween ghost sign is the perfect craft project for anyone looking to add a personal touch to their Halloween decorations. It’s easy to make, customizable, and budget-friendly. Whether you’re decorating indoors or outdoors, this ghost sign will add the perfect spooky vibe to your home. So grab your materials, and get started on creating a Halloween decoration that’s sure to impress!
PIN THIS POST!
What a great DIY idea! We just had our carpet cleaning done to prep for a Halloween party, and now we’re excited to start decorating. This ghost sign project looks like the perfect way to add some festive charm. Can’t wait to get started!