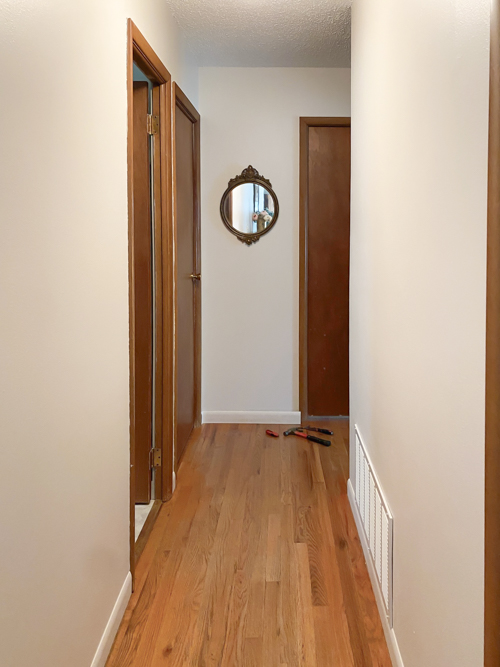
Is your hallway feeling a bit lackluster and in need of a refresh? Ours was. I wanted to find a way to add a little bit of interest to the end of our hallway and this project did just that. In this step-by-step DIY hallway makeover tutorial, we’ll guide you through a simple and budget-friendly DIY project to transform your hallway with a stunning planked wall makeover.
Why Planked Walls?
Planked walls add rustic charm and timeless appeal. Not only do they add texture and character to any space but they’re also surprisingly easy to install, making them perfect for DIY enthusiasts of all skill levels. This DIY hallway makeover was an easy way for us to add visual interest to the end of our hallway in a couple of hours.
{Affiliate links are used in this post. Click on any of the underlined links to find the products and sources I am referring to. You can read my disclosure HERE.}
Supplies Used In This DIY Hallway Makeover:
PVC Planks (we love these planks for projects like this. They make it easy.)
Level
Measuring tape
Miter Saw (if cutting planks)
Brad nails and/or adhesive (we just used the nails)
Nail gun
Sander and sandpaper
Paint (we used the same color as the walls)
Steps To This Makeover:
Step 1: Measure and Prepare
Begin by deciding if you are hanging the planks vertically or horizontally. Then, measure the wall or walls you plan to plank. Take accurate measurements to determine how many planks you will need. Make sure to take into account the spacing you want between them.
Time-saving tip: If you get the planks I linked above, the spacing is already done for you. They fit into each other and give you the perfect spacing. Prepare your walls by cleaning and sanding so that the planks go on a smooth and clean surface.
Step 2: Cut The Planks
Use a miter saw to cut the planks to fit the measurement of your walls.
Step 3: Sand and Finish
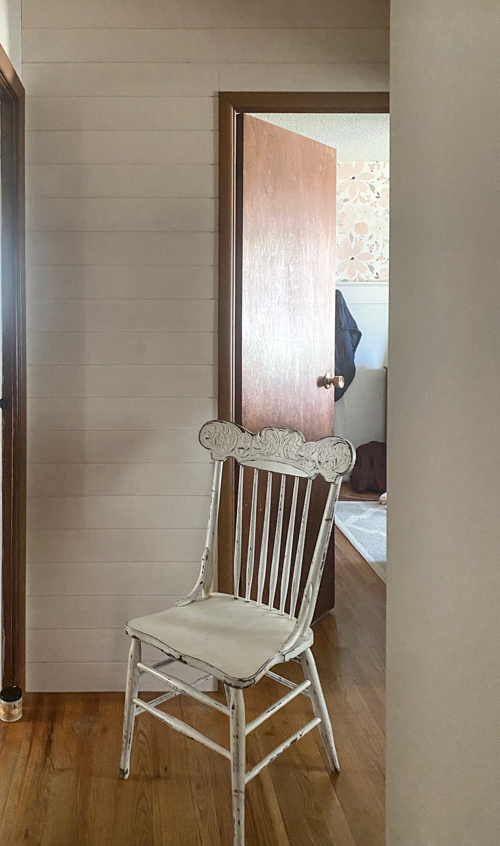
Once the planks have been cut, I suggest sanding them and painting them before you install them. It makes that process easier and then all you have to do are touch-ups after you install the planks on the wall. If you are using wood planks and staining them, I would do that in this step as well. The sanding just makes sure the planks are smooth and the paint/stain looks flawless when dry. I just wanted to add some visual interest to the end of our hallway so I painted ours the color of the rest of the walls. Allow ample time for the paint or stain to dry before moving on to the next step.
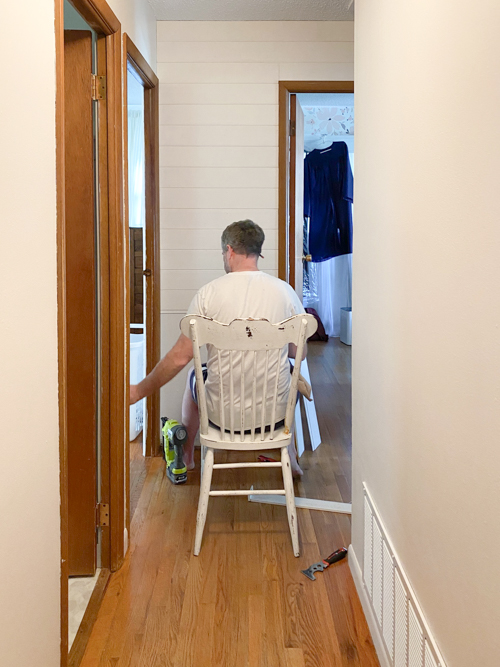
Step 4: Install the Planks
Using a level to ensure straight lines, begin installing the planks from the top of the wall and work your way down. That was the order we did ours so that the top piece would be a full plank. Secure each plank using nails or adhesive. We did not use adhesives with ours and it worked great because it is a smaller wall. Continue this process until the entire wall is covered.
Step 5: Enjoy Your New Look!
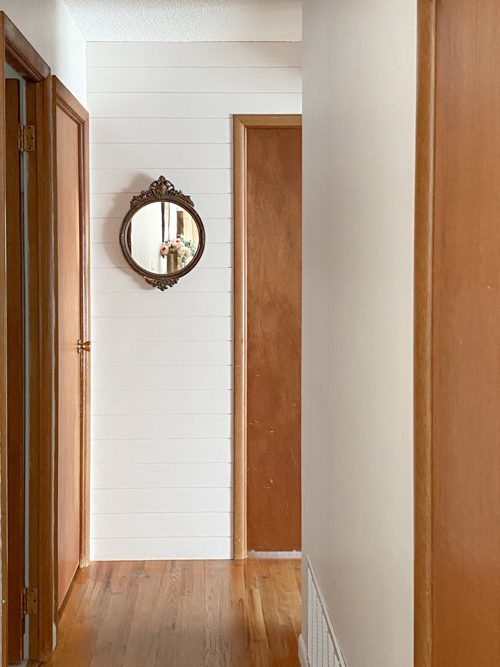
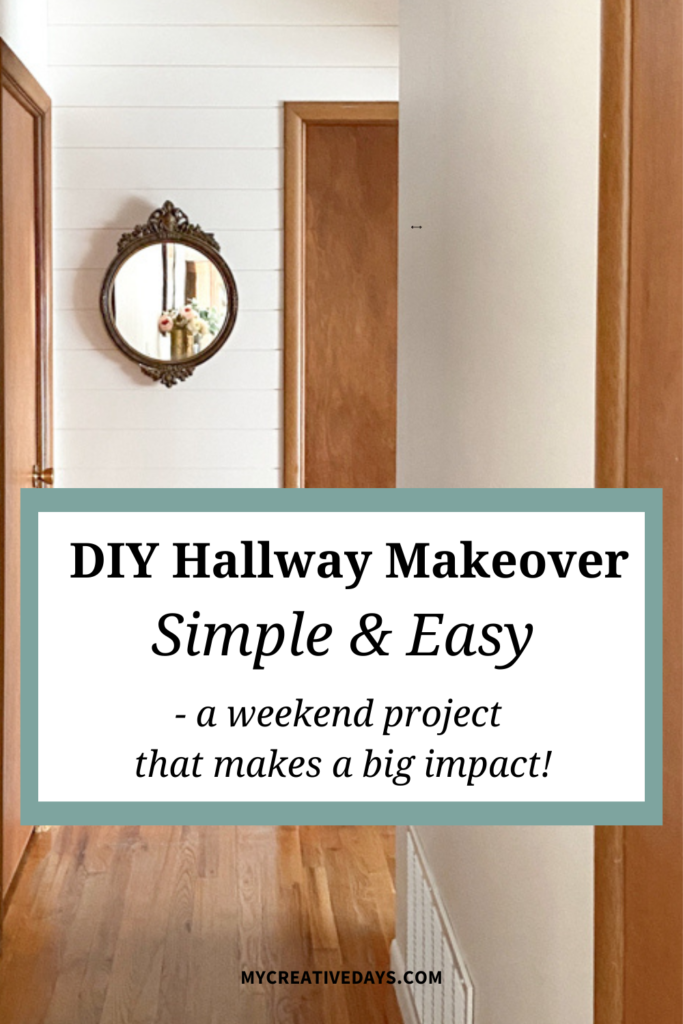
Stand back and admire your handiwork! Your hallway now boasts a beautiful planked wall that adds depth and character to the space. Consider adding decorative elements such as artwork or mirrors to further enhance the visual appeal.

I thought about doing a small gallery wall with some vintage prints and frames I have been picking up but this wall was just too small and I love the simple look of this antique mirror here.
The planks in this DIY hallway makeover add a touch of interest at the end of the hall that was boring before. Now, I want to work on the doors to the bedrooms and bathroom. I am still thinking about them. Do I make over the doors that we have to make it budget-friendly or do we get new doors? The jury is still out on that.
With just a few simple materials and a bit of elbow grease, you can completely transform your hallway with a DIY hallway makeover. Whether you prefer a rustic farmhouse look or a more modern aesthetic, this DIY project offers endless possibilities to customize your space to suit your style. Give it a try and watch as your hallway comes to life with newfound charm and character!
You can see more of our DIY projects on my YouTube channel being done in real-time! You can find my channel HERE. Make sure to SUBSCRIBE when you are there. I am launching new videos every week!
PIN THIS POST!
If you liked this post, you will also love these easy tutorials:
15 Small Bathroom Makeovers To Inspire Your Project