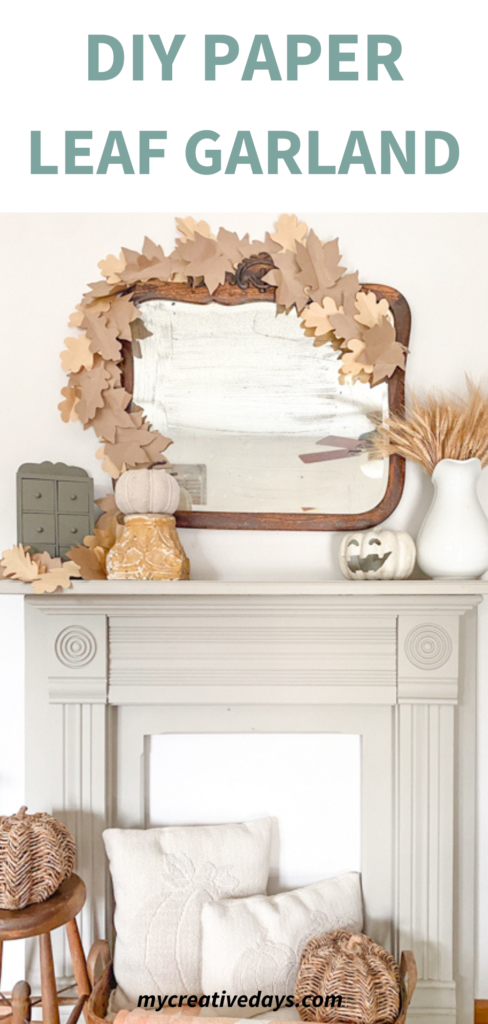
This DIY paper leaf garland tutorial will show you how to create a beautiful fall piece for your home using mostly items you have on hand.
{Affiliate links are used in this post. Click on any of the underlined links to find the products I am talking about. You can read my disclosure HERE.}
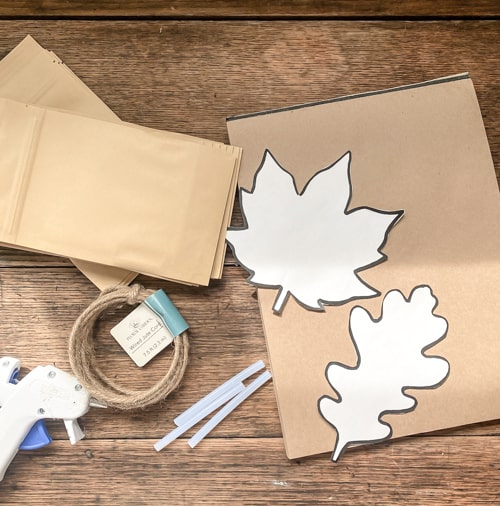
Supplies Needed For This Project
Jute Wired Cord (mine is 7.5′ long)
Brown Paper (use lunch bags, brown grocery bags)
Leaf Templates (find templates HERE)
Scissors
Pen
Steps To Make This Easy Garland
- Print off leaf templates and cut them out. You can do these with any leaf shape and any size. I wanted mine to be big.
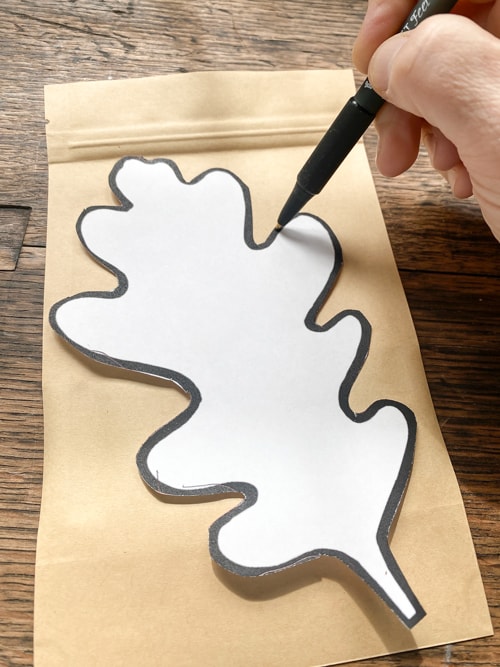
- Next, trace your leaves onto your paper.
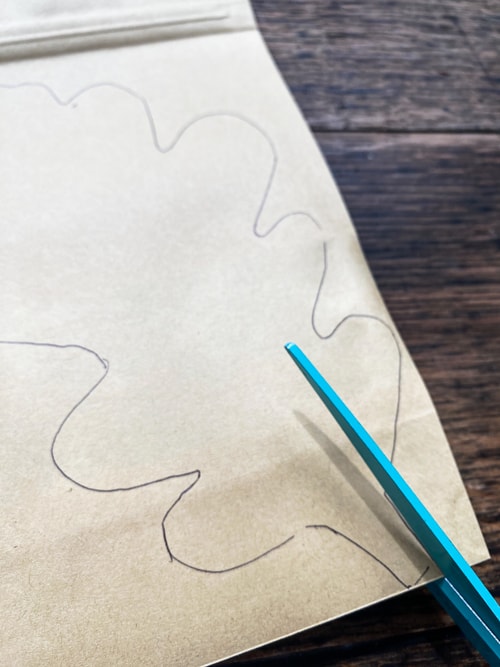
- Cut the leaves out.
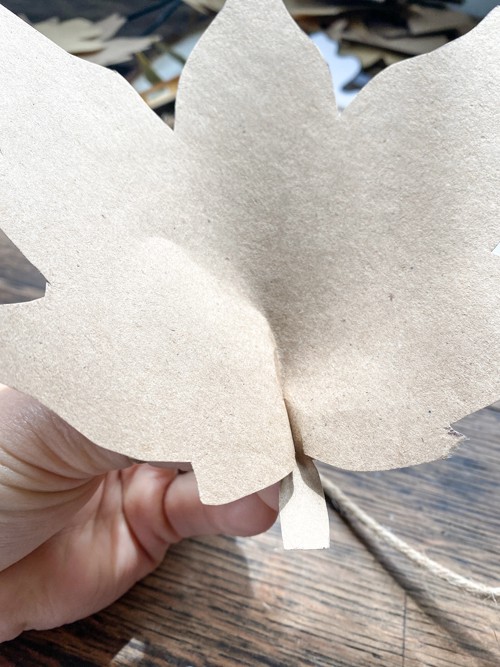
- Then, pinch the center of the leaves as shown in the photo below. I did this to add some dimension to the garland.
- Next, hot glue the leaves to the “front” of the cord, next to each other, in different directions. You don’t want to see the cord so glue the leaves all on the same “side” of the cord.
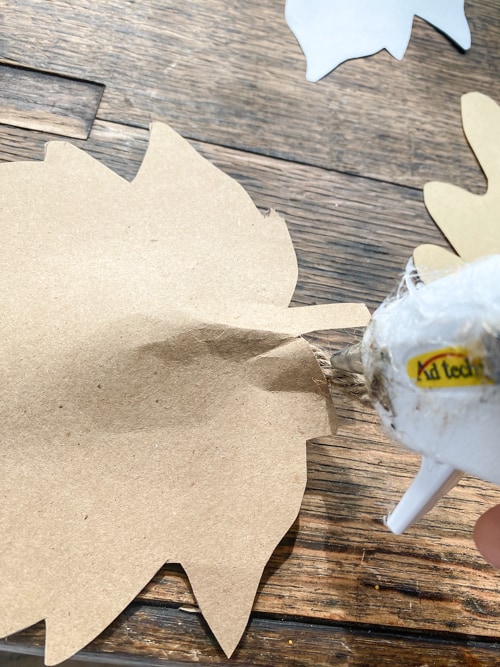
- When you glue the leaves in different directions it makes the garland look fuller and more substantial.
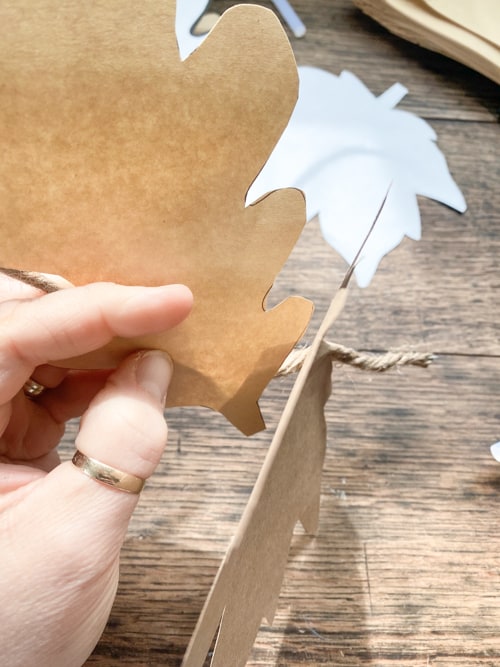
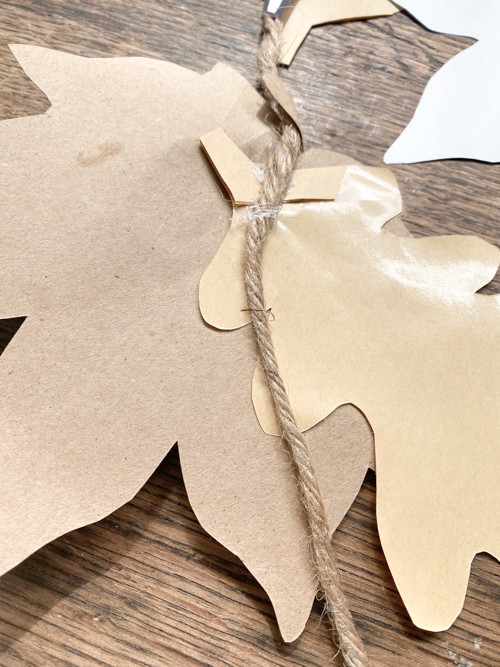
I absolutely love the way this garland turned out. It was the most simple project and looks really good!

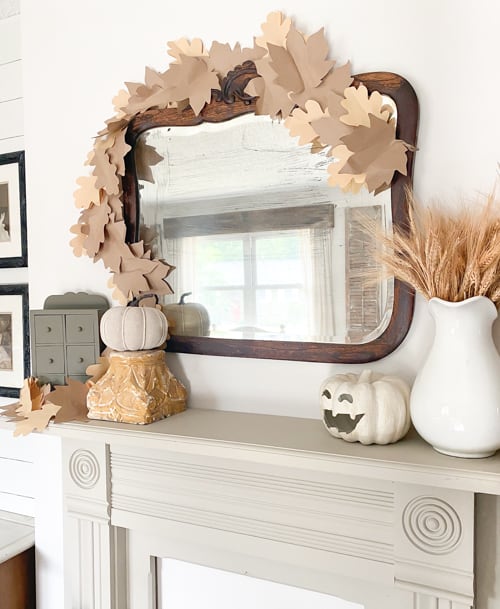
A little brown paper, some jute cord, and hot glue can make the perfect fall statement for any spot in your home.
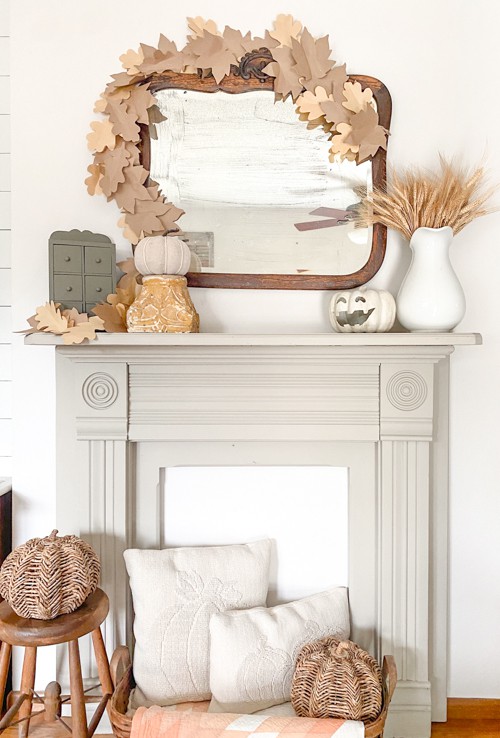
You could even bend this wired garland around a wreath and have an amazing fall leaf wreath.
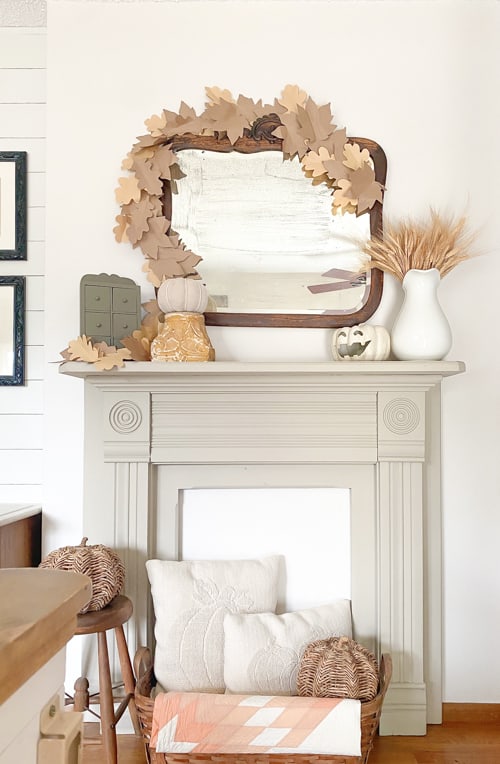
What do you think of this easy project? Would you try it? If you do, I would love to see it! Post a photo on Instagram and tag me @mycreativedays!
You can watch me putting this DIY paper leaf garland together with some tips I learned while doing it on my YouTube channel HERE.
Make sure you SUBSCRIBE to my channel when you are there! I am sharing new DIYs and so much more every week on my channel! I don’t want you to miss out on any of them.
PIN THIS POST!
