I am excited to share this round side table makeover with you today! It was an easy project and I am IN LOVE with its shape and how it turned out.
I haven’t been to many yard sales this summer, but I have found a couple that have been so much fun! I think I have maybe stopped at five yard sales total this summer. That is a crazy low number for me. I am usually out and about every week seeing what I can find. The pandemic has changed that, but it hasn’t stopped it completely. I have been to two sales this summer that were really amazing and I came home with some great finds. Although, through this pandemic, I am a little pickier about what I am bringing home. #whodis
The piece really has to speak to me for me to bring it home this year and this table was screeeamminggggg, “TAKE ME HOME!”
I listened.
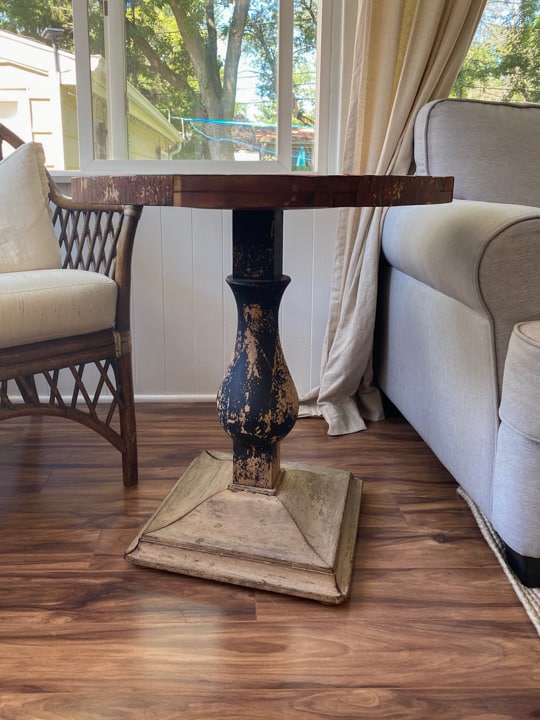
I didn’t see this table right away because the lady hosting the sale had a bunch of things on it. When I finally did get a glimpse at it, I asked her if it was for sale. She said, “yes” and I told her I would take it.
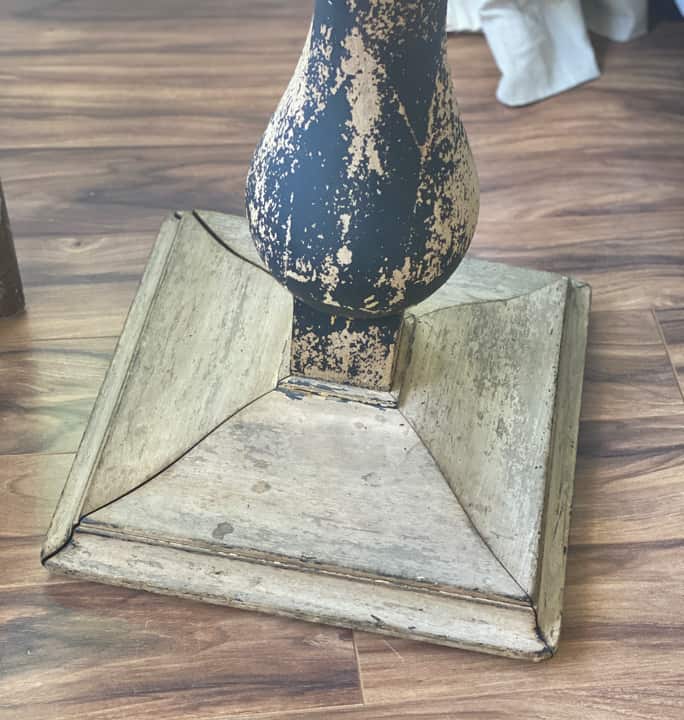
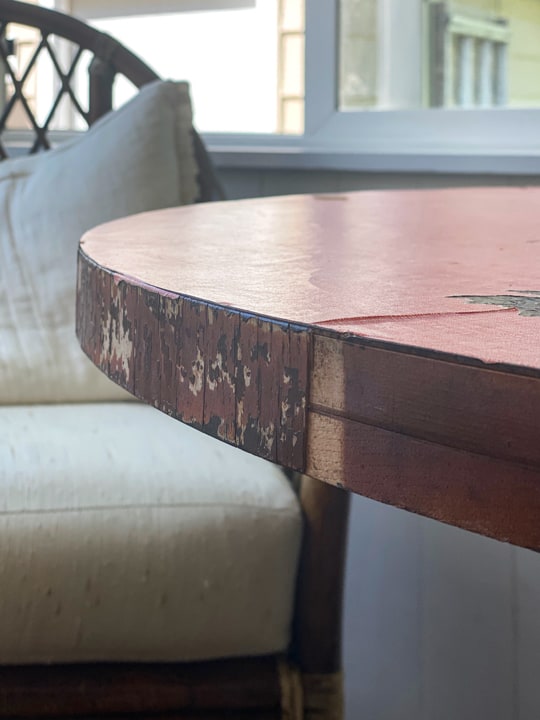
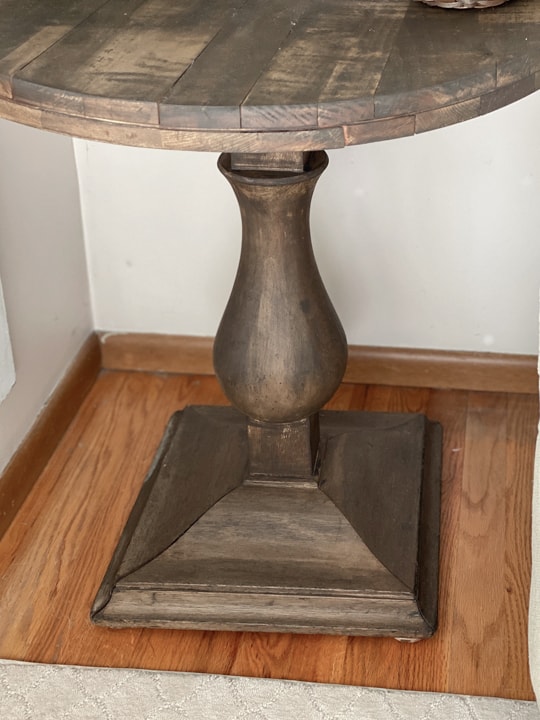
The part that was really speaking to me about this table was the shape of the base and from the side, the table didn’t look so bad.
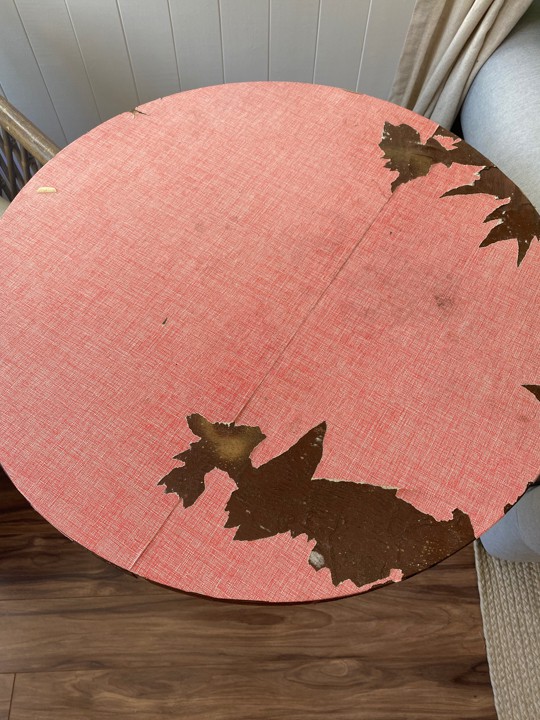
The top though …… was a situation all in its own.
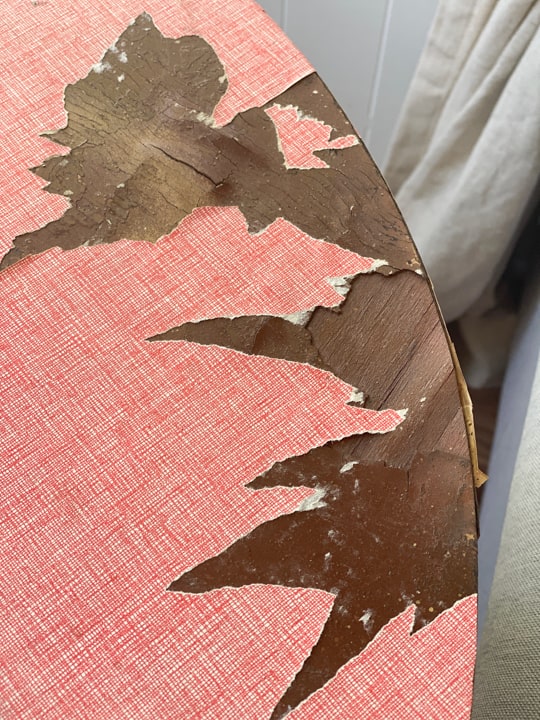
The situation on the top didn’t chase me away, it was just surprising when she took all the stuff off of it.
Peeling veneer is never a deterrent for me because I have discovered three different methods to fix it.
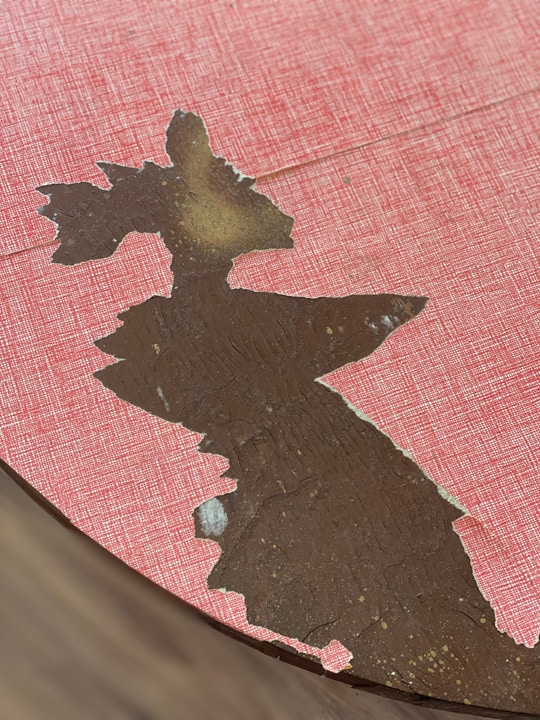
Not only was veneer missing off the top, but what was left was crackling and in poor shape. The veneer around the edge of the top was missing and peeling off as well.
The top would take the most work, but I could still see so much potential in this piece. I couldn’t wait to get it home and start working on it.
{Affiliate links are used in this post. Click on any of the underlined links to find the products I am talking about. You can read my disclosure HERE.}
Supplies Used In This DIY Round Side Table Makeover
Gel Stain – Dixie Belle Paint (color “Walnut”)
An old rag to apply the gel stain
Like I have said before, I am always sharing the “behind the scenes” look into each project I work on in my Instagram stories. You can find me on Instagram HERE.
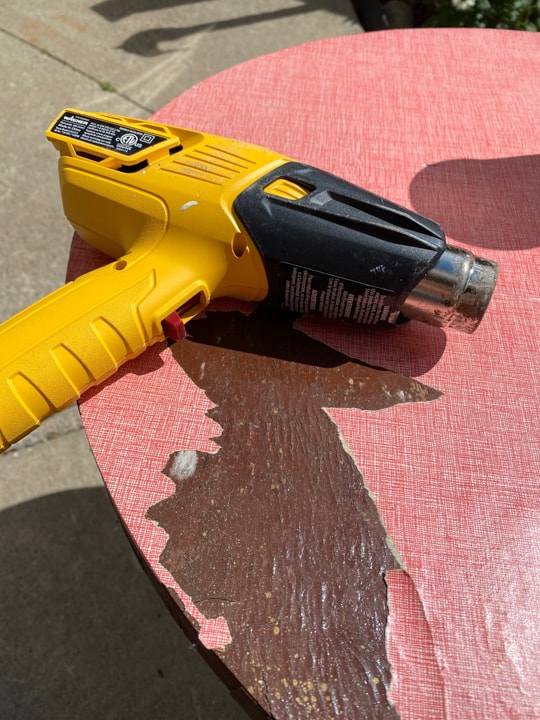
The first thing I had to do was get out my favorite heat gun and see if I could make the top and the edge around the top look better.
It worked SO WELL!
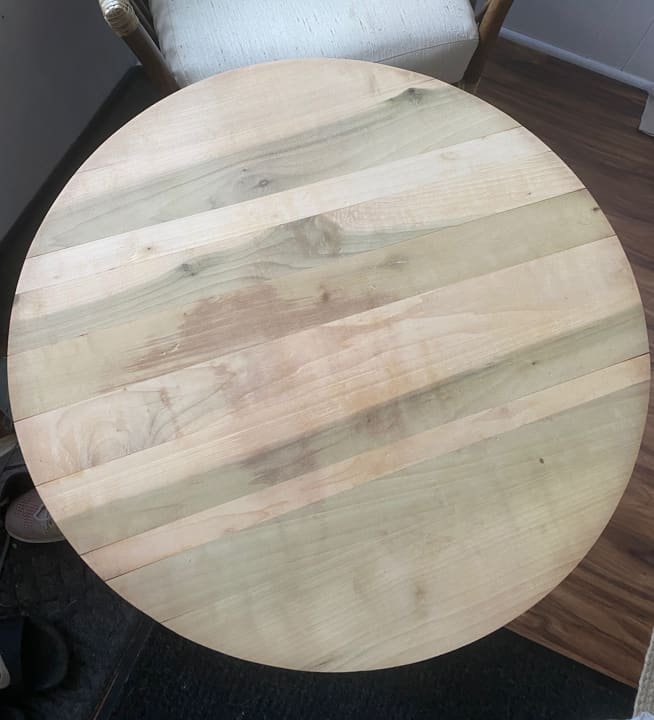
Once all the veneer was off, I used my orbital sander to prep the edge and top for stain.
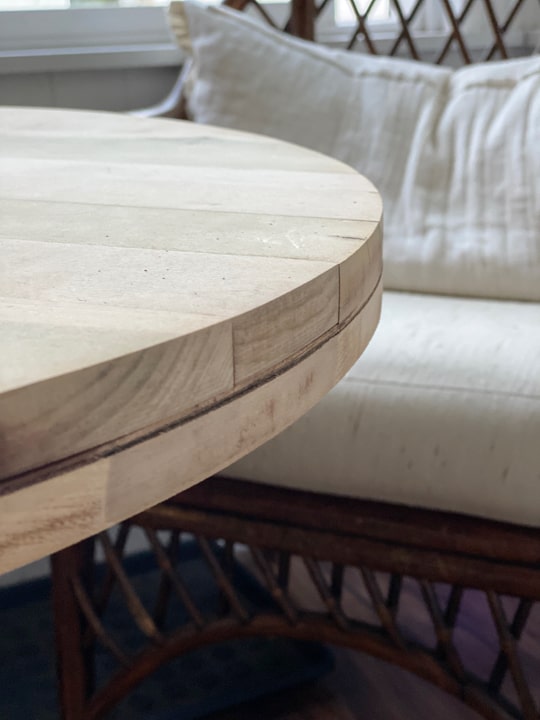
I really liked the chippy black paint on the base, but when I rubbed a piece of sandpaper over it, it all fell off. Since this was coming off without any trouble at all, I decided to remove it all and stain the entire table.
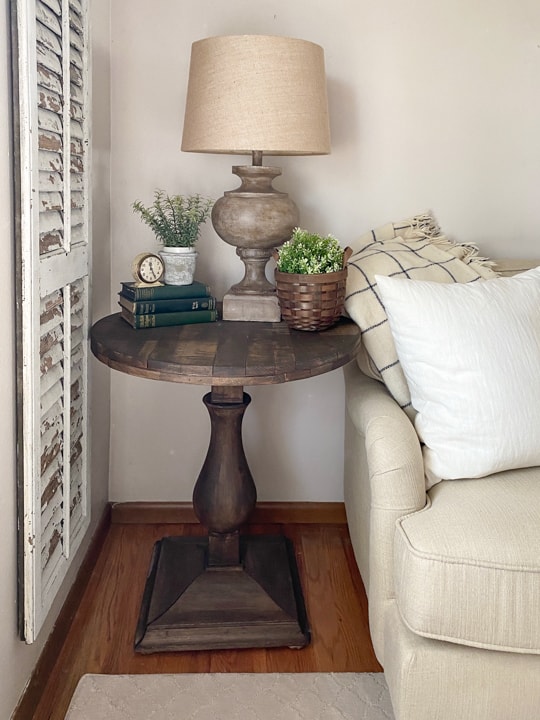
This was my first time using the gel stain from Dixie Belle Paint. I am hooked! It was so easy to apply and the “Walnut” color is beautiful!
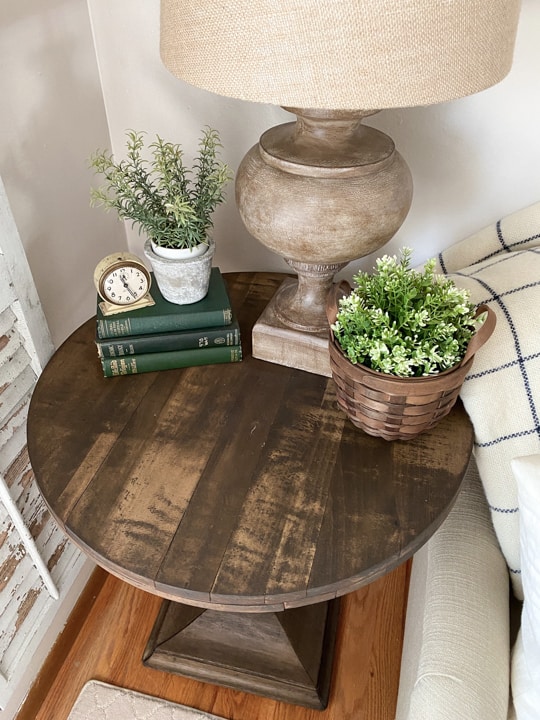
Once I had the table done and it was dry, I brought it into our living room. Since we got a new sofa, I have not been inspired in this room, but the table was a perfect fit for the left side of the sofa.
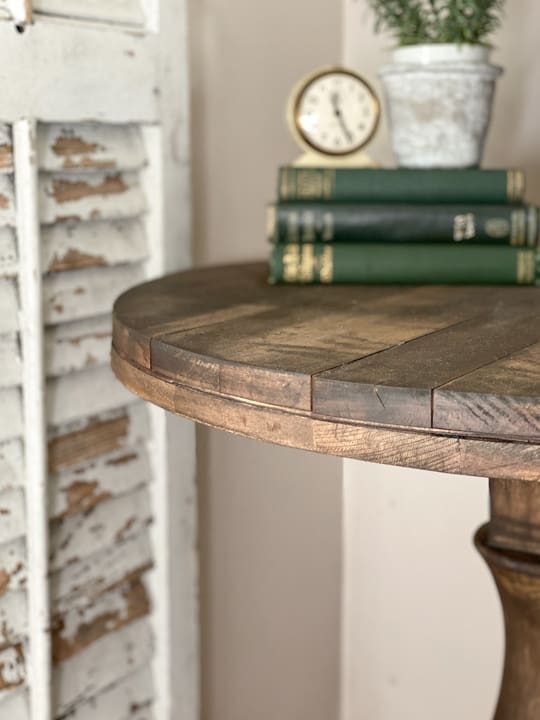
As soon as I got it into the room, I was excited to have a new surface to decorate. 🙂
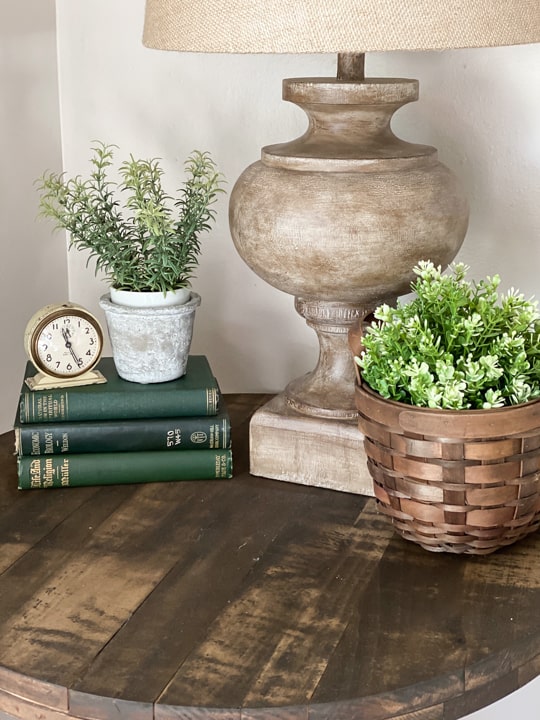
Let’s be honest with ourselves – isn’t that the main reason we get excited about new furniture? The new decorating possibilities?
Now, if I could just figure out the wall behind the new sofa, I will be set. 🙂
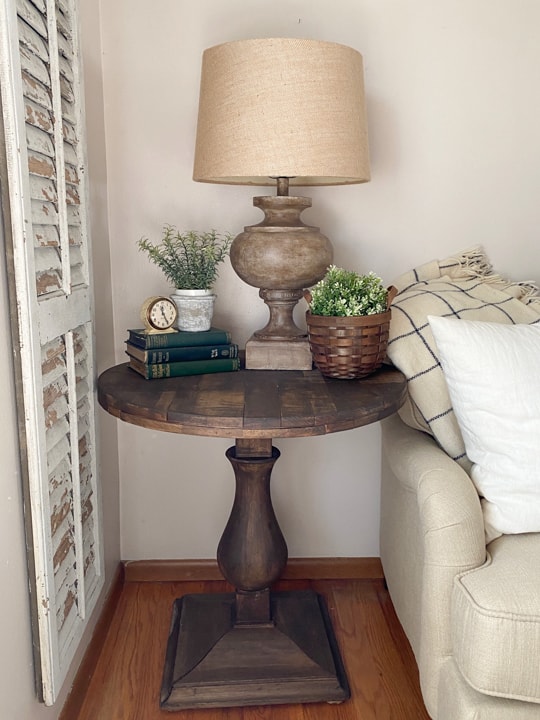
Would you have painted this table instead of the stain?
PIN THIS POST!

If you like this makeover, you will also love these transformations:
French Provincial Dresser Makeover
Rustic Dresser Makeover Tutorial
The Easy Way To Remove Veneer From Furniture

